
broke my timing chain guide, time to rebuild (pics)
 04-10-2011, 02:16 PM
#181
now for the pics of the day
so before i went to work on the head, i emptied a can of pb blaster on it. while that soaked, i took a look at my other packages
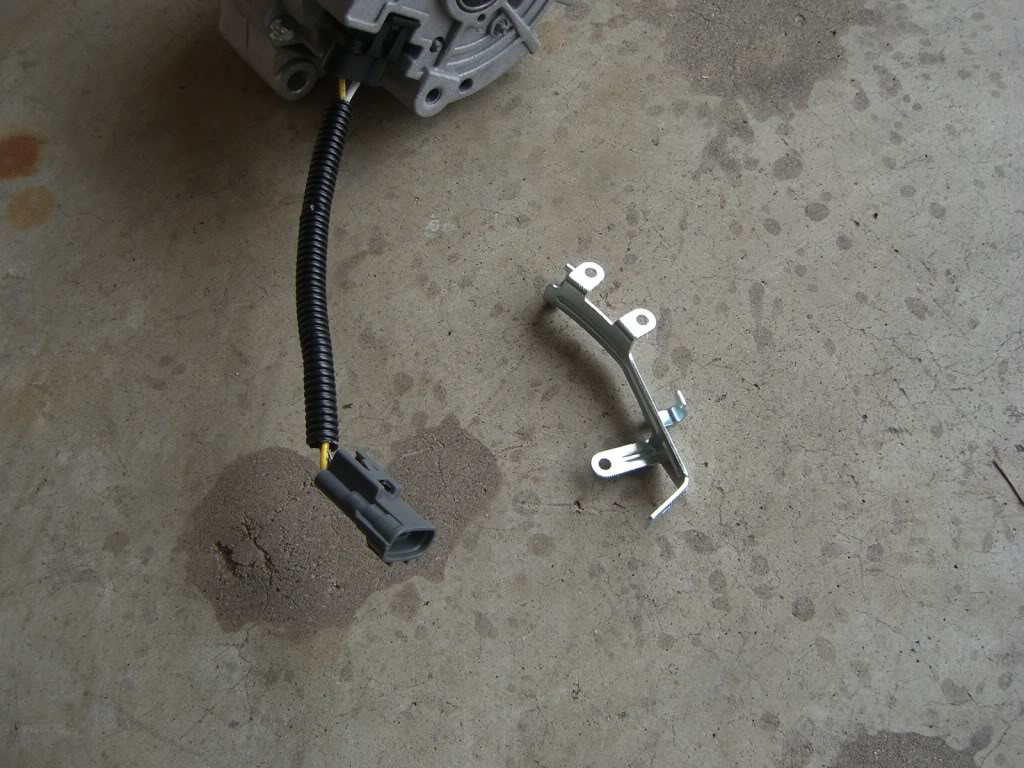
here's that alternator adapter
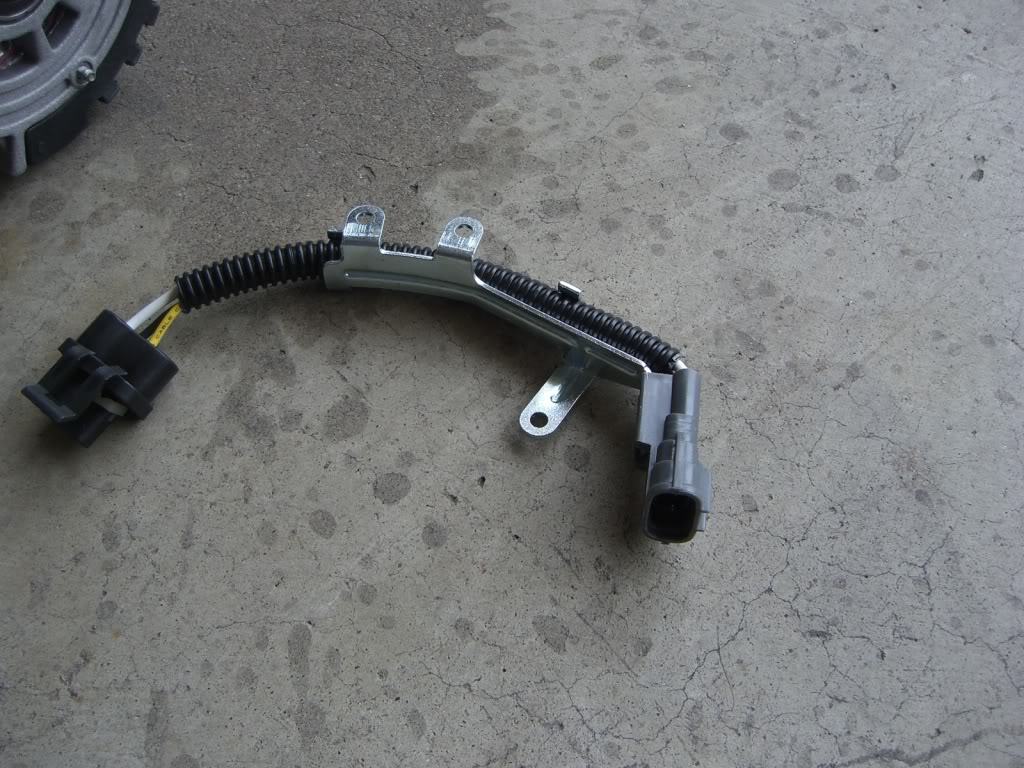
$13 part, transforms into...
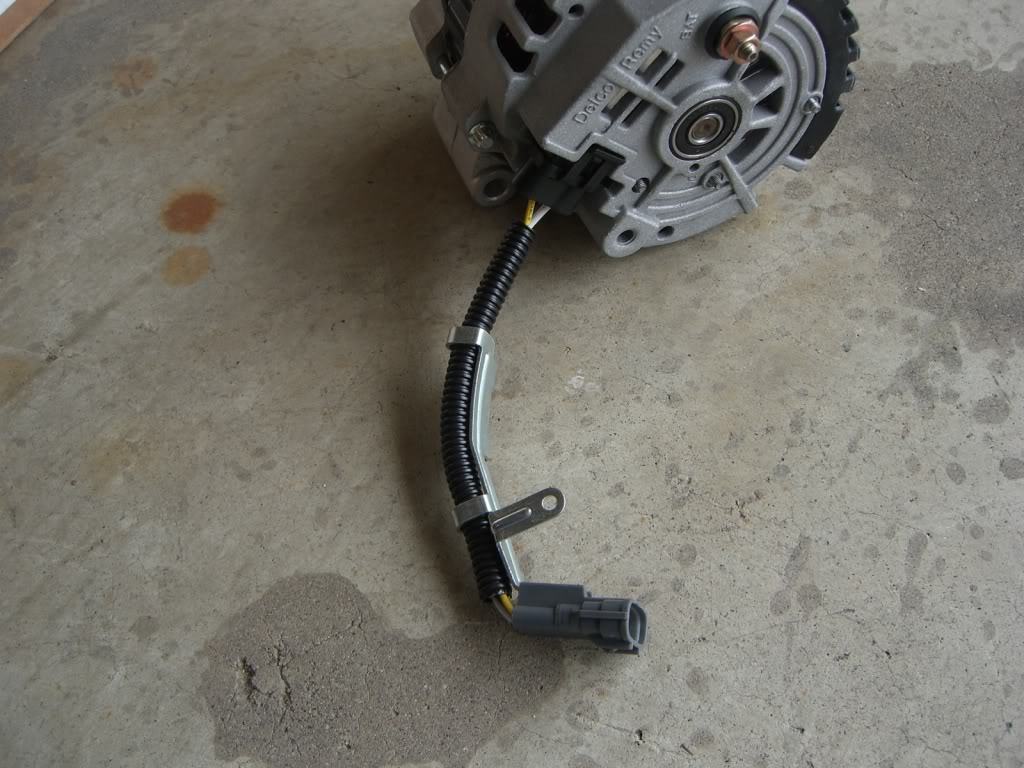
a $16 part!! wow!
more painting the bracket. i had a bit of fun waiting for it to dry
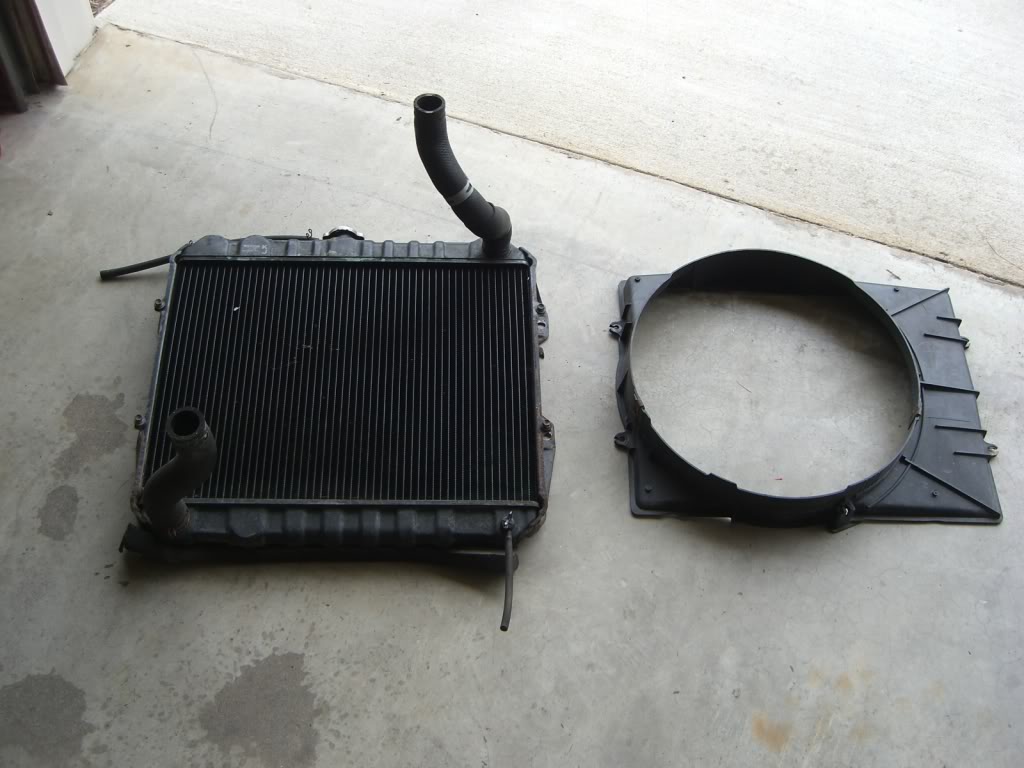
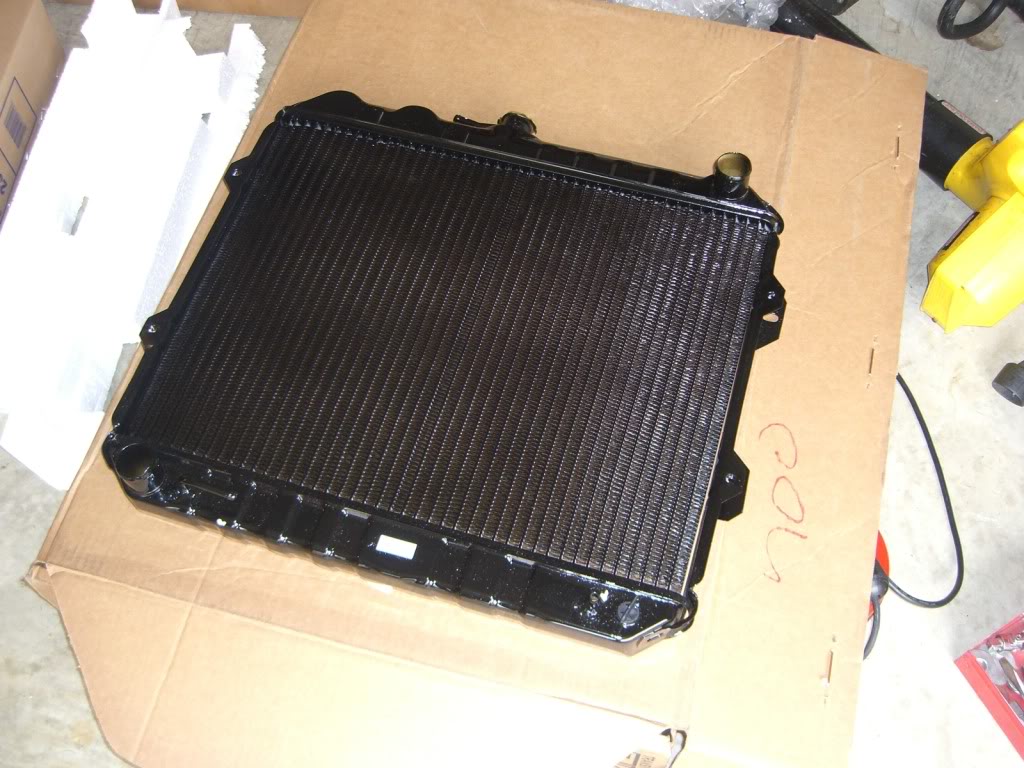
the fan and radiator parts. i counted the rows of fins in each radiator. the stock is 2 x 52 (104 total fins), and the new one is 3 x 43 (129 total)
now back to the head. the last little bit i had to move it
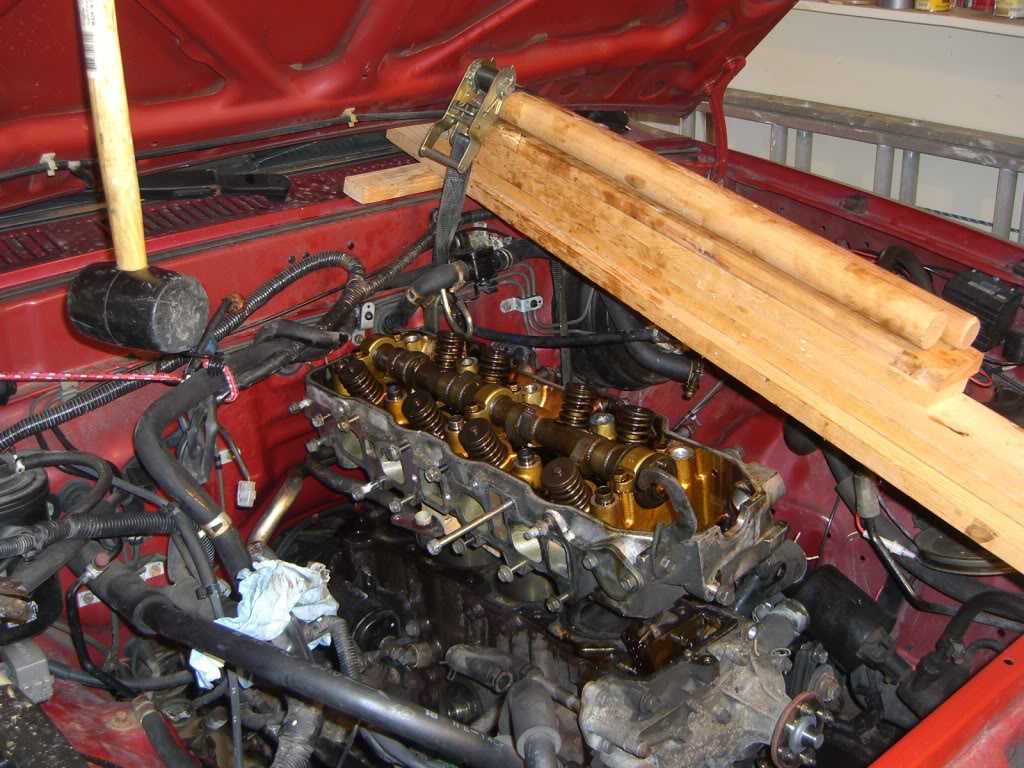
and out!!!
:flipoff:
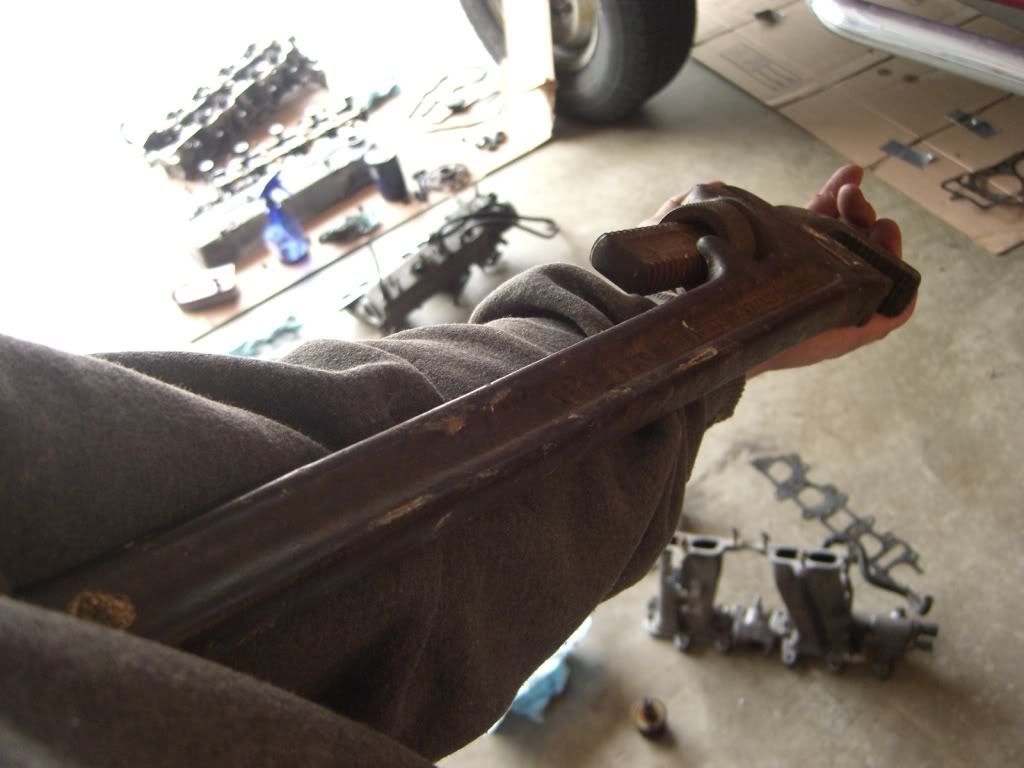
the tool i used to get it off. yeah, it's the length of my arm
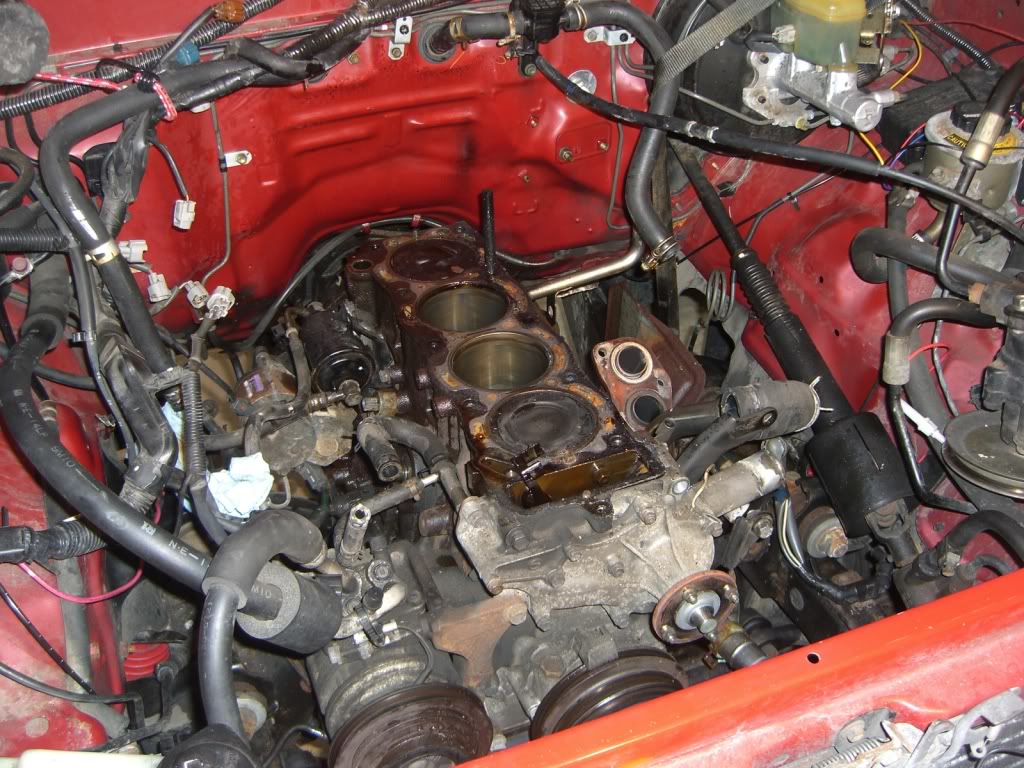
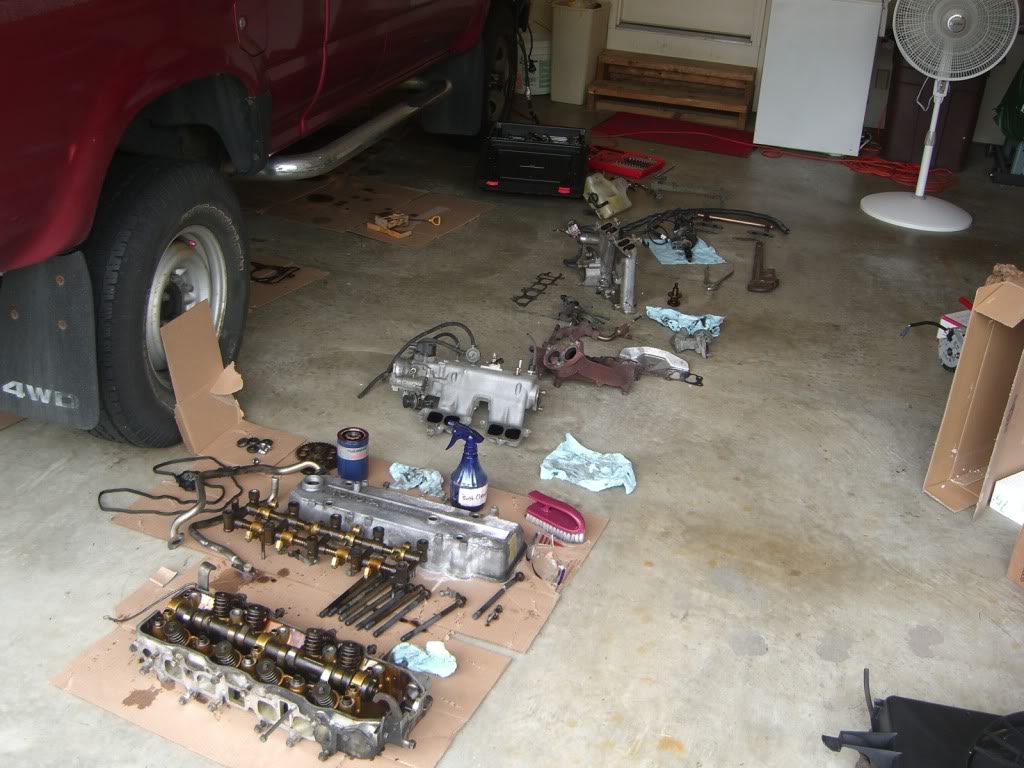
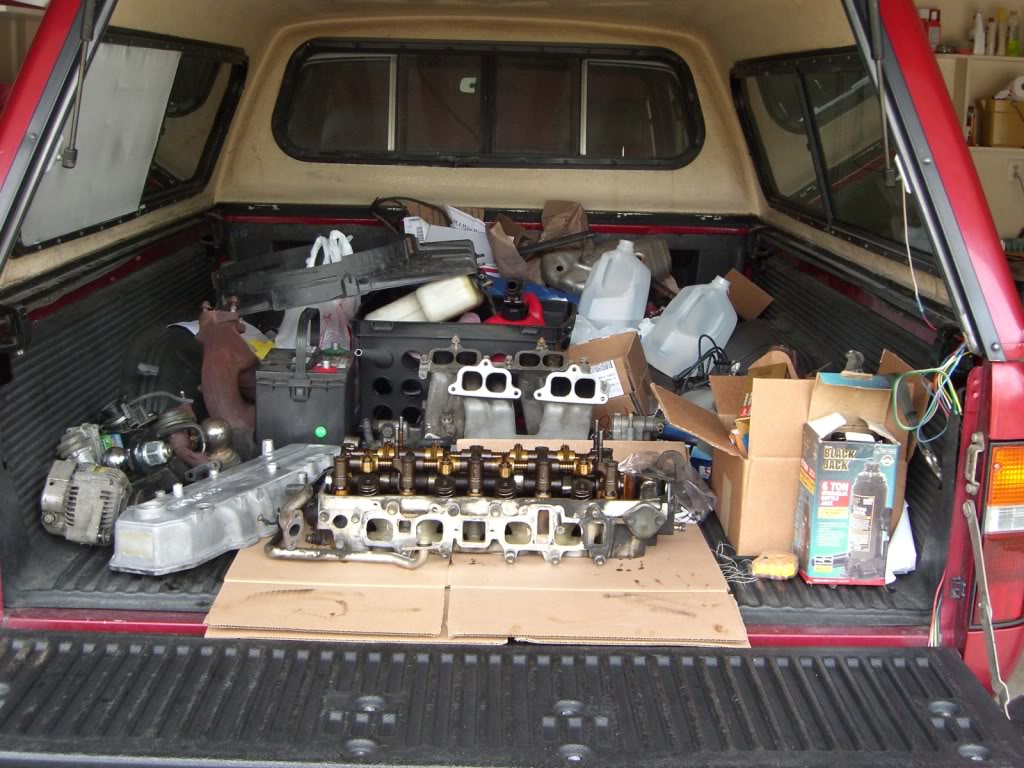
all the junk i took off today
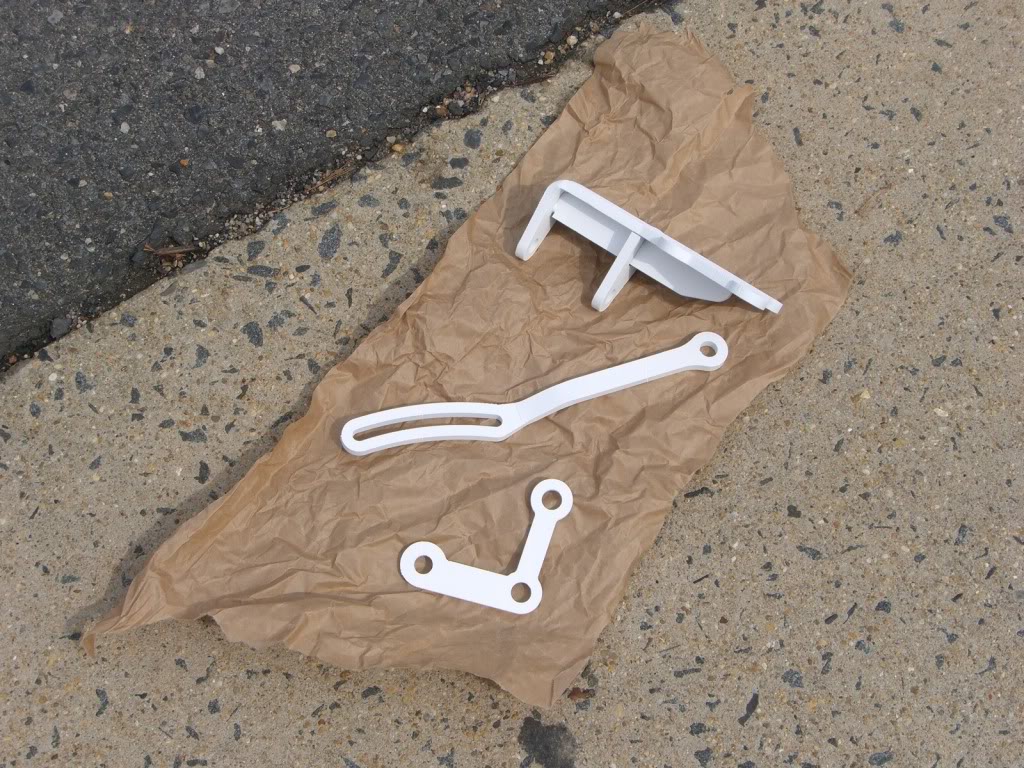
the bracket. don't hate the white. it was $3 cheaper than the other colors
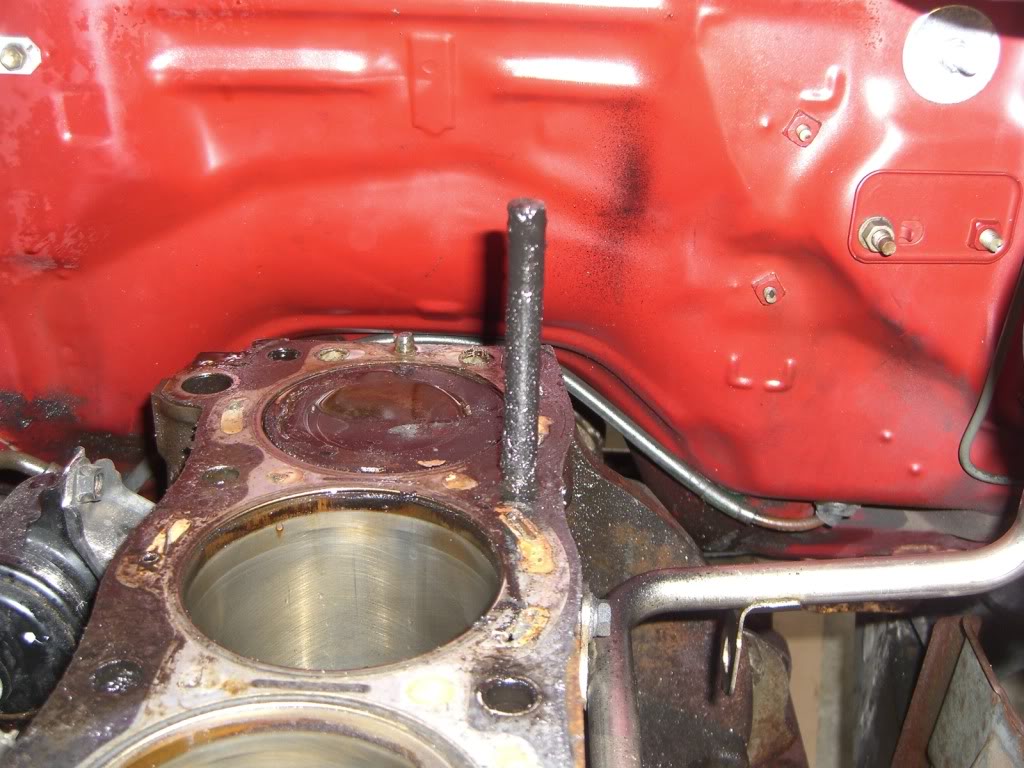
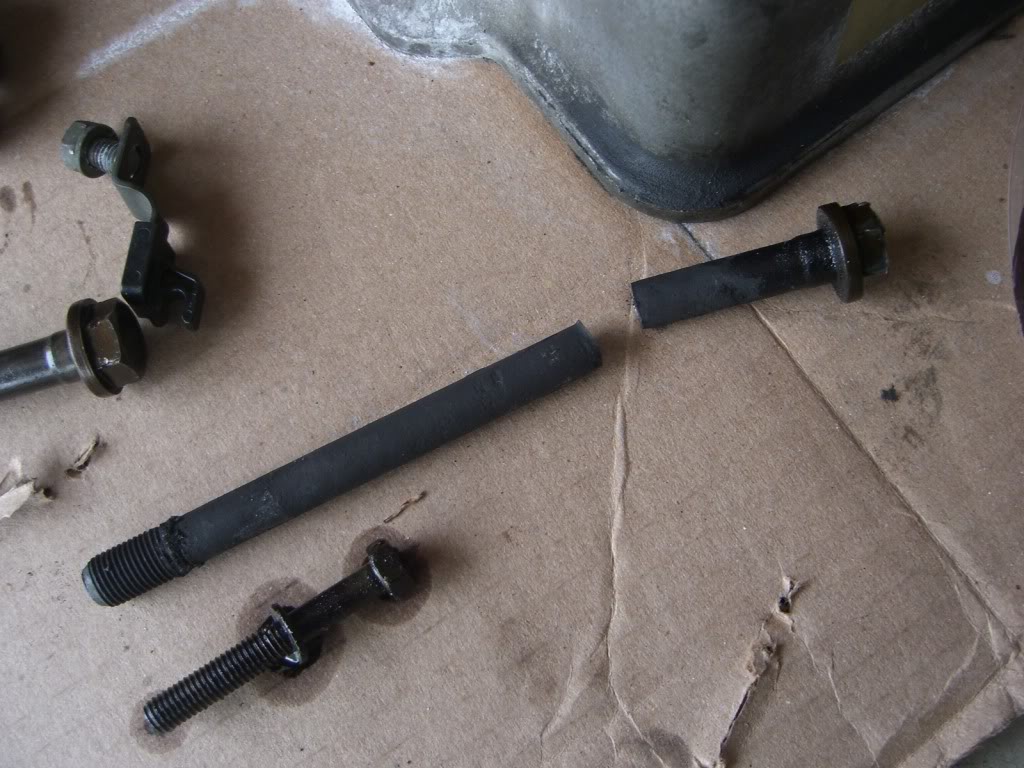
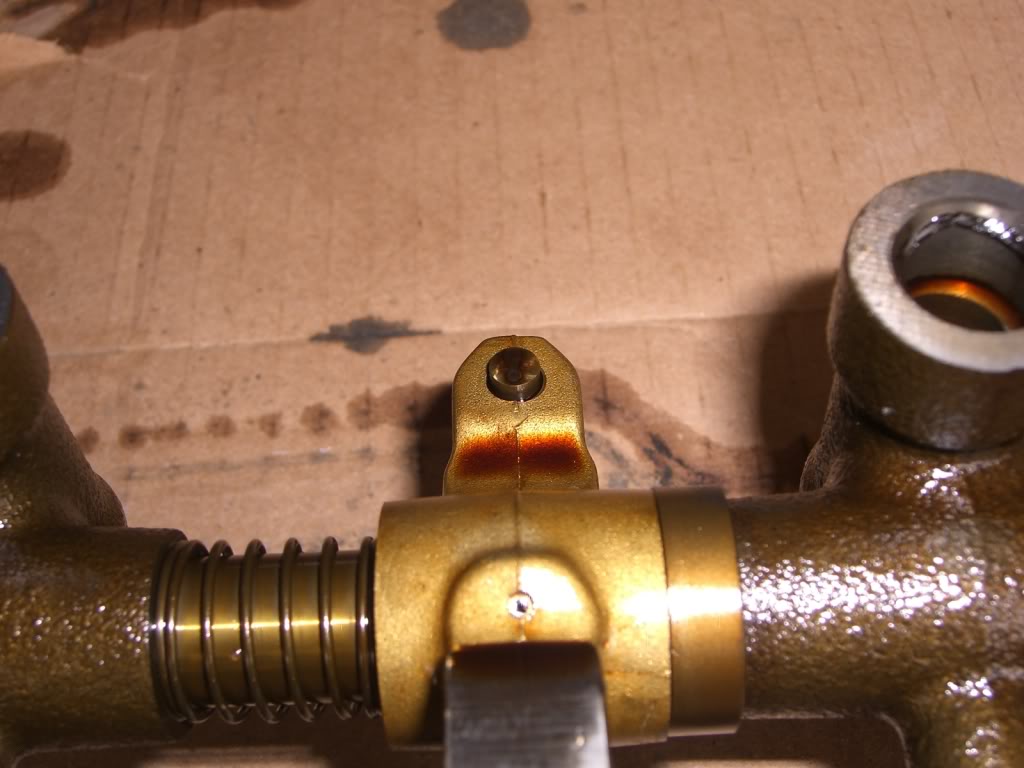
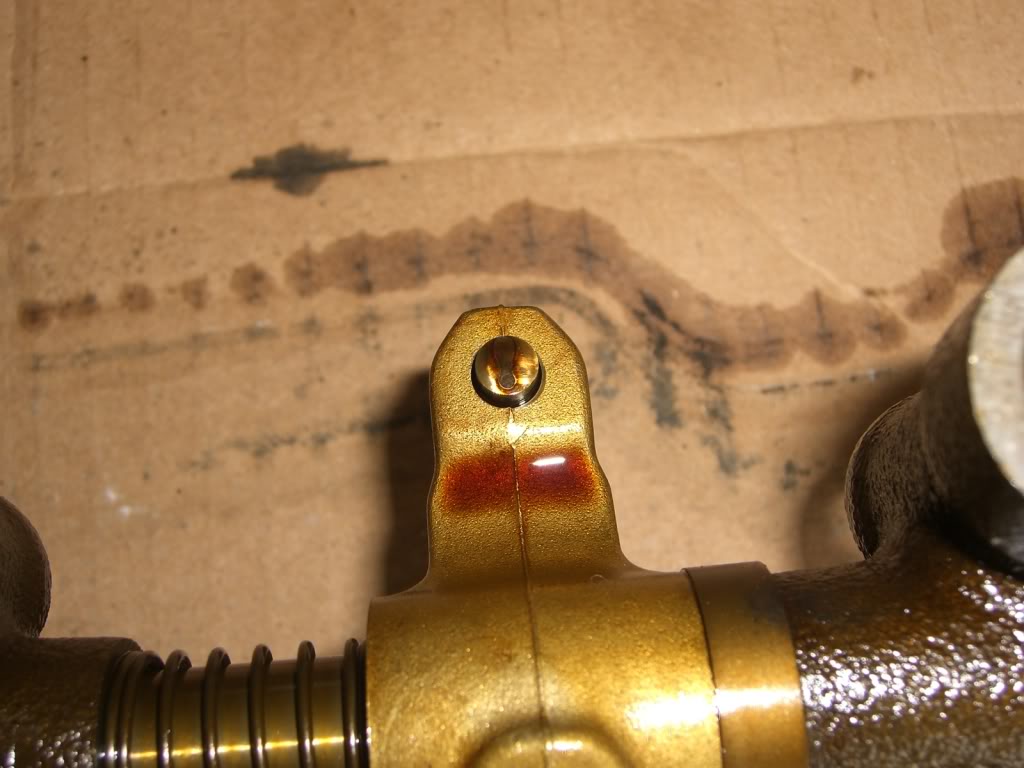
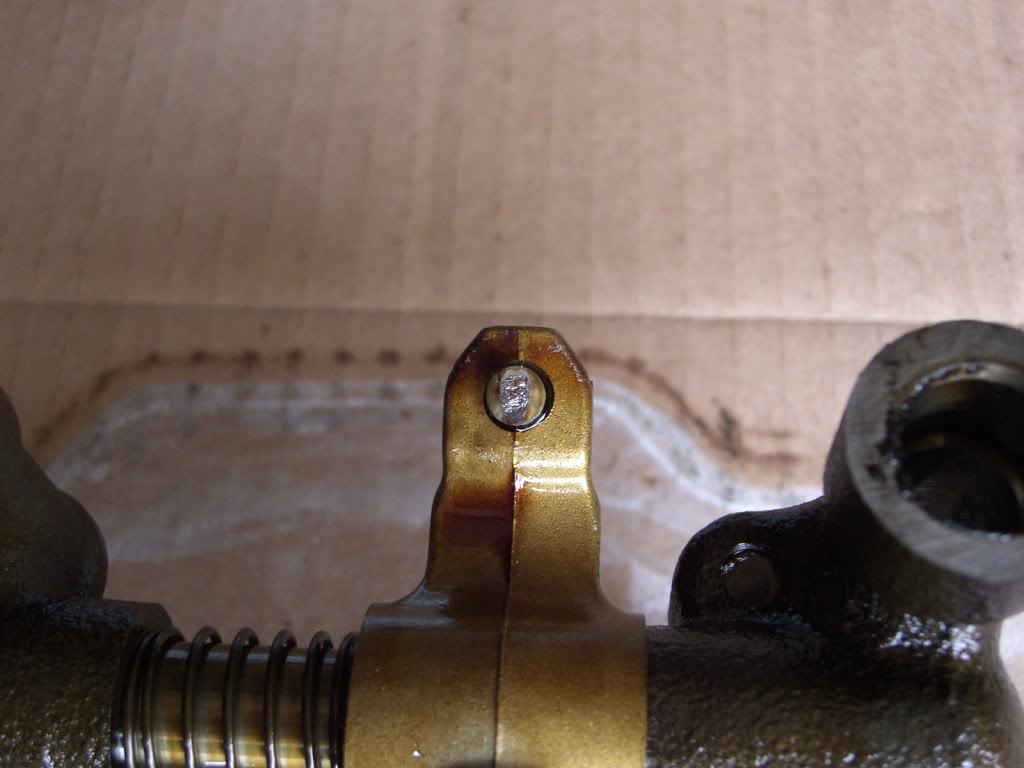
that trouble bolt. guess what my next order is going to be
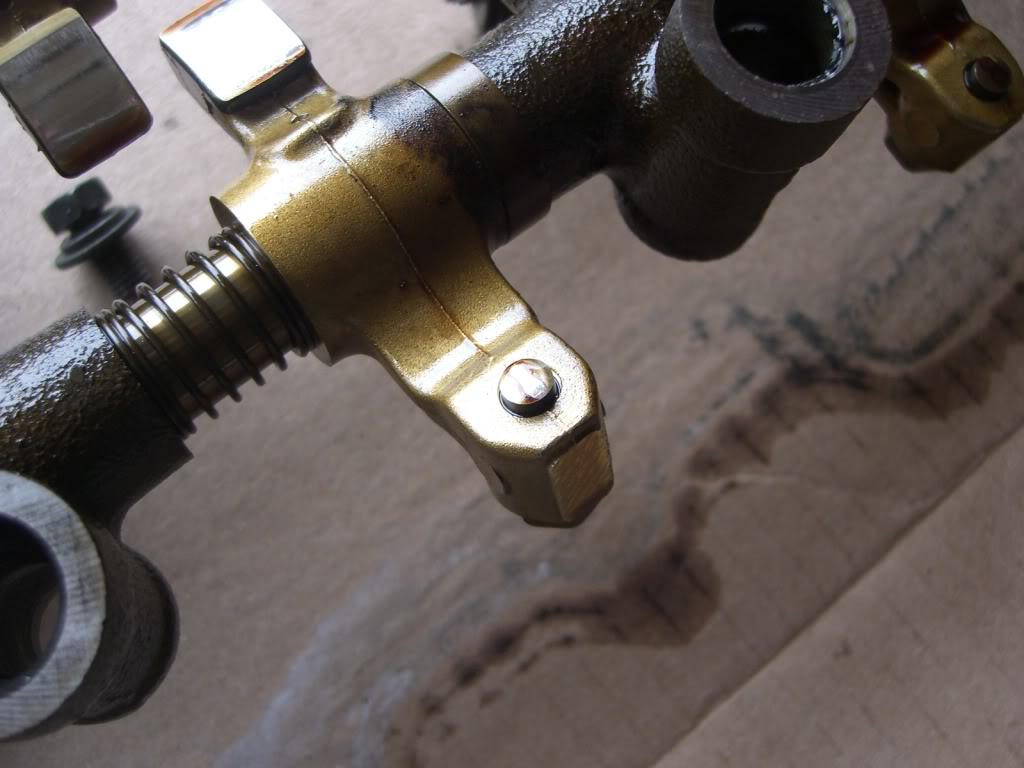
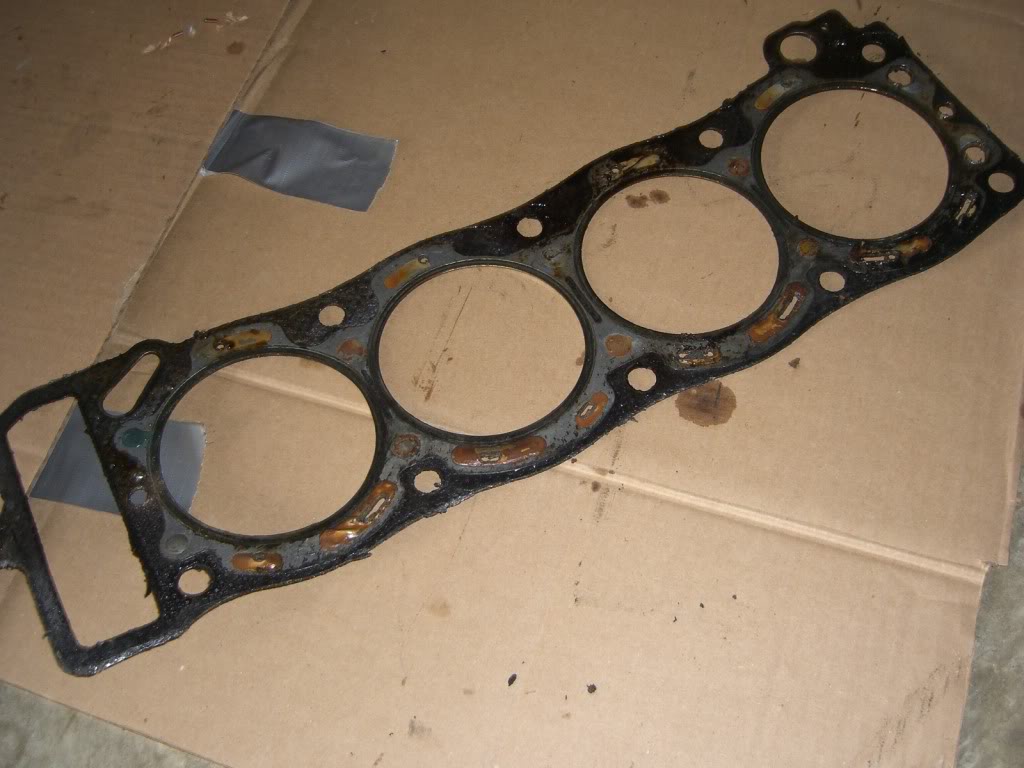
i don't know if you can see them, but the adjusters have the "hourglass" thing going on (mark, you had that iirc). also, the #1 intake was a little rough (last pic)
#1 intake
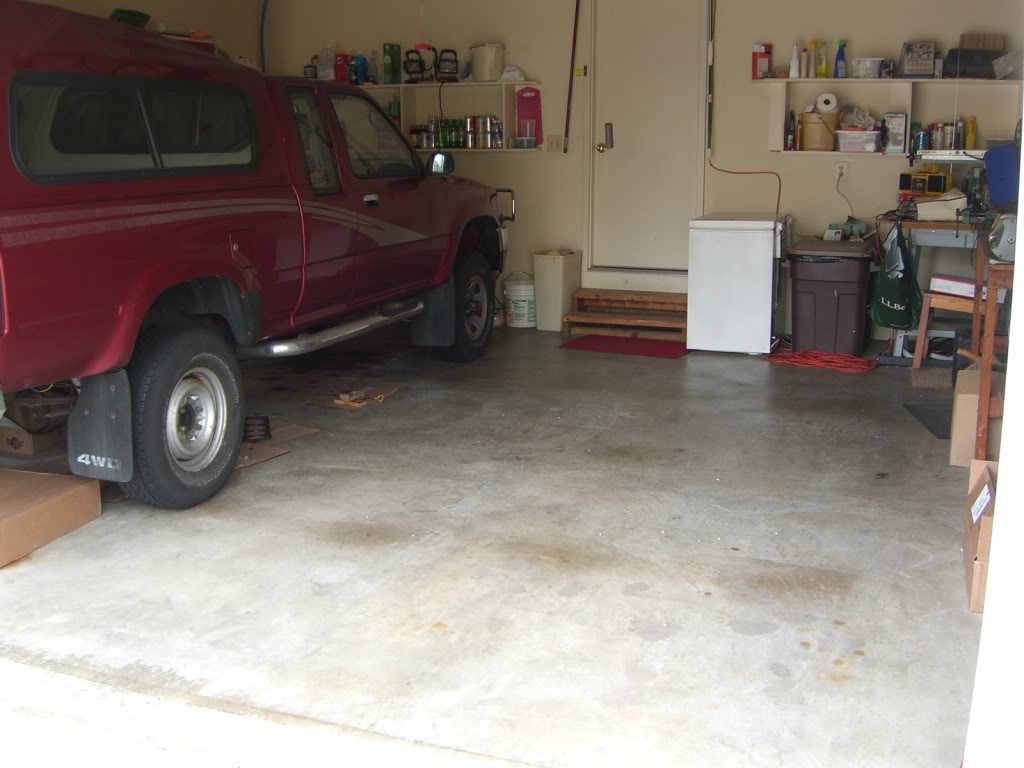
all the stuff in the truck, to make room in the garage
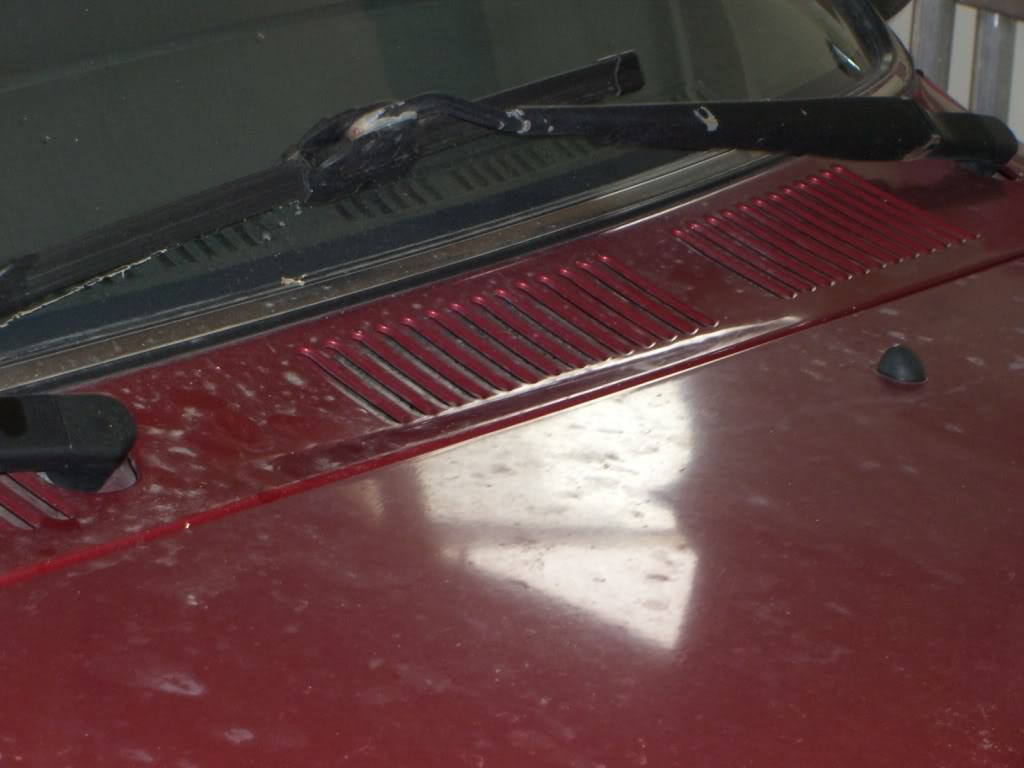
the boards left a nice little dent in my valance. might have to get a "smoothie" from toyota-fiberglass
175k on this baby, without a single problem
and the garage after i cleaned it up
aaaahhhhh.... my stress levels this weekend went from 3 to 7 to 10 to 1 (1-10 scale)
i'm sooo glad this part is over. everything else seems easy now
so before i went to work on the head, i emptied a can of pb blaster on it. while that soaked, i took a look at my other packages
here's that alternator adapter
$13 part, transforms into...
a $16 part!! wow!
more painting the bracket. i had a bit of fun waiting for it to dry
the fan and radiator parts. i counted the rows of fins in each radiator. the stock is 2 x 52 (104 total fins), and the new one is 3 x 43 (129 total)
now back to the head. the last little bit i had to move it
and out!!!
:flipoff:
the tool i used to get it off. yeah, it's the length of my arm
all the junk i took off today
the bracket. don't hate the white. it was $3 cheaper than the other colors
that trouble bolt. guess what my next order is going to be
i don't know if you can see them, but the adjusters have the "hourglass" thing going on (mark, you had that iirc). also, the #1 intake was a little rough (last pic)
#1 intake
all the stuff in the truck, to make room in the garage
the boards left a nice little dent in my valance. might have to get a "smoothie" from toyota-fiberglass
175k on this baby, without a single problem
and the garage after i cleaned it up
aaaahhhhh.... my stress levels this weekend went from 3 to 7 to 10 to 1 (1-10 scale)
i'm sooo glad this part is over. everything else seems easy now
 04-13-2011, 09:14 AM
#189
Registered User
Not sure about the coolant holes.
Make sure you coat the cylinder walls with a thin layer of oil(thin!!) so that any humidity does not create rust while you have her torn down.
Another tip on seized bolts, especially in aluminum. If at all possible, hit the head of the bolt with a hammer or large blunt object to 'free' the bolt head and threads. When I rebuilt my bike I had lots of steel bolts seized to the aluminum engine cases and forks. The bolts started to rust and swell slightly, making them 'stick' to the aluminum. A bike mechani friend of mine told me to wack the heads with a hammer a few times before cranking them out. Didn't loose or break one bolt. Nothing as you know is a guarantee.
04-13-2011, 10:34 AM
#191
Wow, that's GREAT NEWS, man!
NOW,>>>>>>>> You're going to chase them all REALLY well, right?(especially #8! that bugger, correct?) lol.
Dang, I go on vacation and return to a BUNCH done! CONGRATZ! Looking GREAT, MAN!
BTW, ...... that alternator kit, ...you just bolt it in with the bracket they provide and new Motor Mount flange/pivot arm portion, ......and the connector they have plugs right into our harness connector side? Mine's brand new, ...but eventually, I'd like to do this when I start adding more power SUCKERS! LOL
04-13-2011, 11:46 AM
#193
haha always great to have you on my threads, mark. yeah, the first adapter i got was the wrong one. so i got this one, which does work (and happens to be $3 more without the metal guide thing?). the aftermarket bracket is from a guy on pirate (toolbox guy, i think). it's all cnc cut and very nicely welded. i painted it to keep the rust off. i haven't tried it on to make sure it fits in with the motor mount, but it should.
Last edited by irab88; 04-13-2011 at 11:50 AM.
04-14-2011, 04:49 AM
#195
actually, not much. just the adapter, the bracket, and a new ring terminal for the positive cable. however, that cable is run to a small junction box on the driver's side (square with a big [+] on it). i would at least run about 8-gauge wire from the alt to that box, then run any high-amp thing from that box. since i'm making my own buss-bars, i'm going to be running everything off of that instead of the box. i changed my mind about something, too. i'm going to run the secondary fuse box off of a relay, so it's only powered when the ignition is on. i'll also have a by-pass switch in the cab, but i don't want to drain my battery because i left some lights on.
also, i'm running 6-gauge wire to the back to charge the deep-cycle i got for the trailer, so i have another source of juice if i need an emergency jump while i'm camping
also, i'm running 6-gauge wire to the back to charge the deep-cycle i got for the trailer, so i have another source of juice if i need an emergency jump while i'm camping
04-14-2011, 05:17 AM
#196
Registered User
Ian, while you have everything apart have you thought about port matching? It's something you could do easily, and may provide a bit more umph to your supra afm mod.
And if it doesn't add any significant SOP dyno, you didnt loose any $$.
Just a thought.
And if it doesn't add any significant SOP dyno, you didnt loose any $$.
Just a thought.
04-14-2011, 05:38 AM
#197
ennh- not to keen on all that work for a minor improvement. i know this would be an opportune time to do it, but i have enough to worry about right now. a good cleaning is in order for the intake and injectors, and i think that'll help a bunch (not to mention the chain and guide replacement). thanks for the suggestion, though
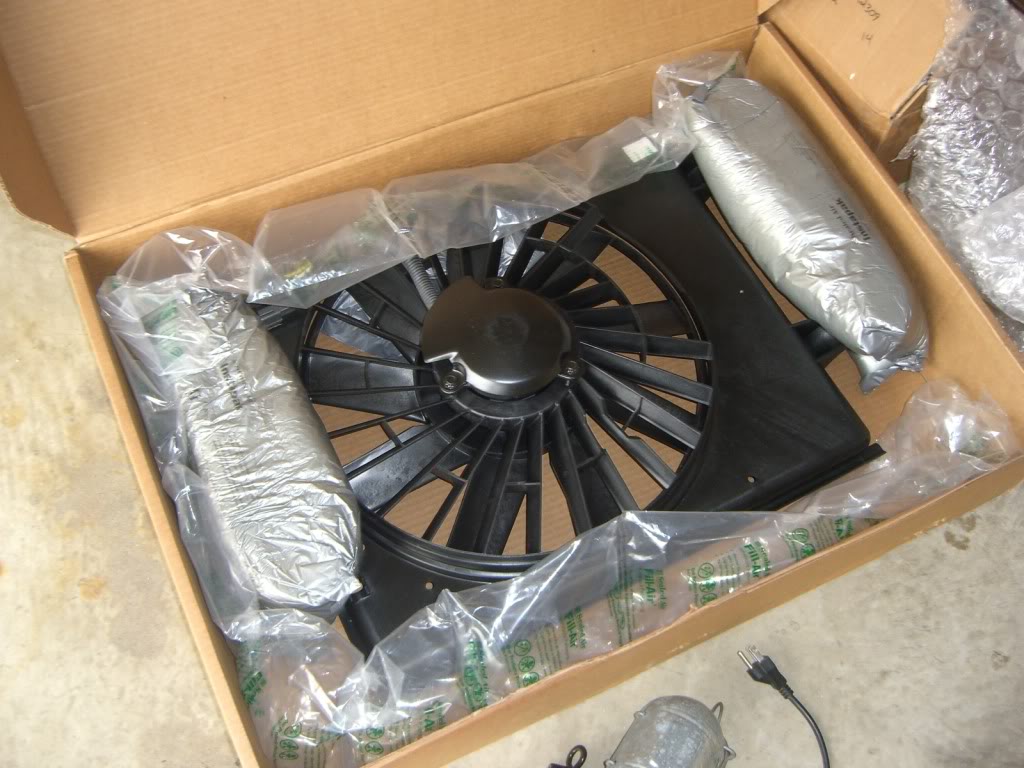
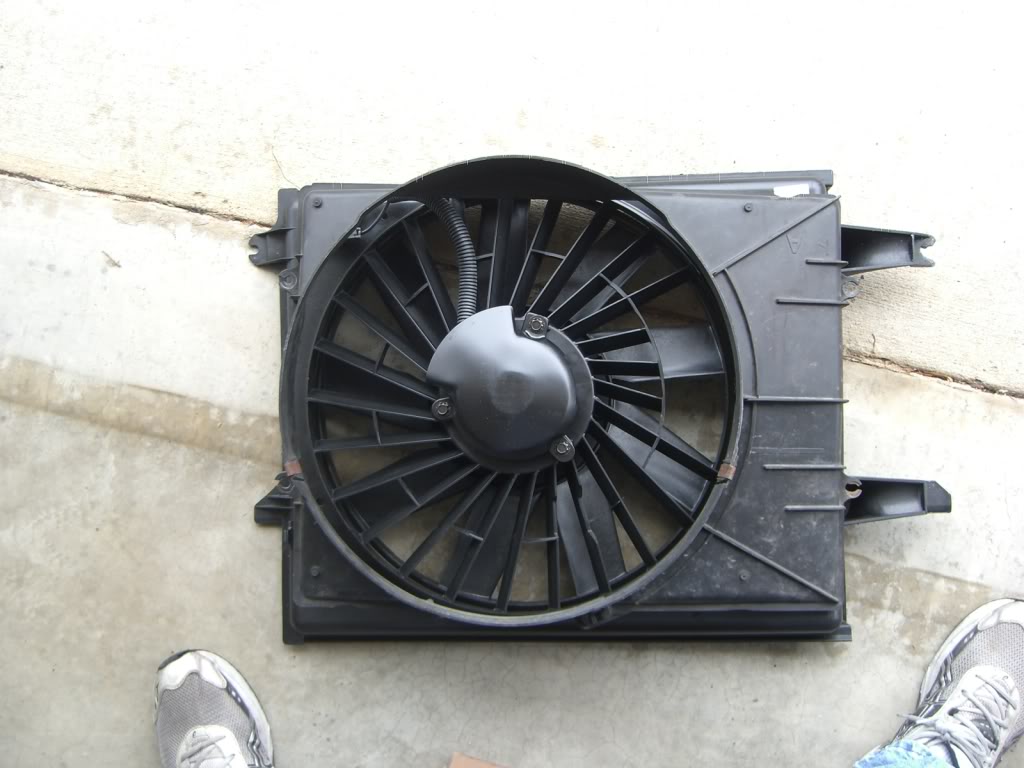
also, i'll still get the parts for the e-fan, but for now, i'll just be working on the engine. when i finish, i'll be using the mechanical fan for about a week to iron out any problems, and then i'll put the e-fan in. the old radiator is out for good, and i'll use it to mock-up my e-fan setup. i'm going to try 2 things, if the first one doesn't work. first is cutting the mercury shroud to fit. second is cutting the fan itself out and mounting it in my stock shroud. i have time to think about it, but it's a start
also, i'll still get the parts for the e-fan, but for now, i'll just be working on the engine. when i finish, i'll be using the mechanical fan for about a week to iron out any problems, and then i'll put the e-fan in. the old radiator is out for good, and i'll use it to mock-up my e-fan setup. i'm going to try 2 things, if the first one doesn't work. first is cutting the mercury shroud to fit. second is cutting the fan itself out and mounting it in my stock shroud. i have time to think about it, but it's a start
04-14-2011, 06:11 AM
#198
YotaTech Milestone-Two Millionth Post
Ian.....are you going to get the injectors serviced, including the cold start or no?
if so, I recommend www.witchhunter.com
if so, I recommend www.witchhunter.com
04-14-2011, 07:02 AM
#200
YotaTech Milestone-Two Millionth Post
my pics are pretty dang good on my thread in regards to them. it amounted to a hill of beans as far as performance.....good prior, good-er after, but the cleaning and new seals was probably worth the expense plus the peace-of-mind of knowing that those parts won't be likely culprits in the near future.
in other words.......DOOOOOOOOOO IIIIIIIIIITTTTTTT


