
Bleeder-Dude's Official 22re Engine Rebuild Thread - TONS OF PICTURES!!!
 05-14-2009, 09:06 PM
#161
Contributing Member
Thread Starter

I'm going to pick up a pipe-wrench tomorrow after work, and let them soak one more night, and see if I can't pull them out over the weekend
I forgot to ask the machine shop earlier when I called them if they could extract them
 if all else fails, they SHOULD be able to if I can't
 05-14-2009, 10:24 PM
#162
Contributing Member
Bleeder I understand you will use new pistons , you are going oversize right .
The machine shop needs your new pistons so they can measure and bore .
They will not assemble the block if you dont want them to but they still need your new pistons , at least the machine shop I use has always wanted my new pistons before they make the hole bigger .
The machine shop needs your new pistons so they can measure and bore .
They will not assemble the block if you dont want them to but they still need your new pistons , at least the machine shop I use has always wanted my new pistons before they make the hole bigger .
05-15-2009, 03:50 AM
#163
Registered User
Join Date: May 2007
Location: Lancaster, PA
Posts: 91
Likes: 0
Received 0 Likes
on
0 Posts
Bleeder I understand you will use new pistons , you are going oversize right .
The machine shop needs your new pistons so they can measure and bore .
They will not assemble the block if you dont want them to but they still need your new pistons , at least the machine shop I use has always wanted my new pistons before they make the hole bigger .
The machine shop needs your new pistons so they can measure and bore .
They will not assemble the block if you dont want them to but they still need your new pistons , at least the machine shop I use has always wanted my new pistons before they make the hole bigger .
Last edited by HAI-TEK7; 05-15-2009 at 03:52 AM.

 05-15-2009, 06:04 PM
#165
Contributing Member
Thread Starter
well, as reffering to the pistons, I was talking to one of my tech's at work today, and he brought up the same point 
looks like I may have the crank worked over first to see what size main bearings I'll have to go with (might just get away with a polish), and once I get those specs, I'll order the LCE master kit so that I can bring the pistons up with the block to the machine shop.
I'll I think I MAY be replacing the rods too... just for good measure...
but anywho, my plans tonight were canceled so I played with it a little
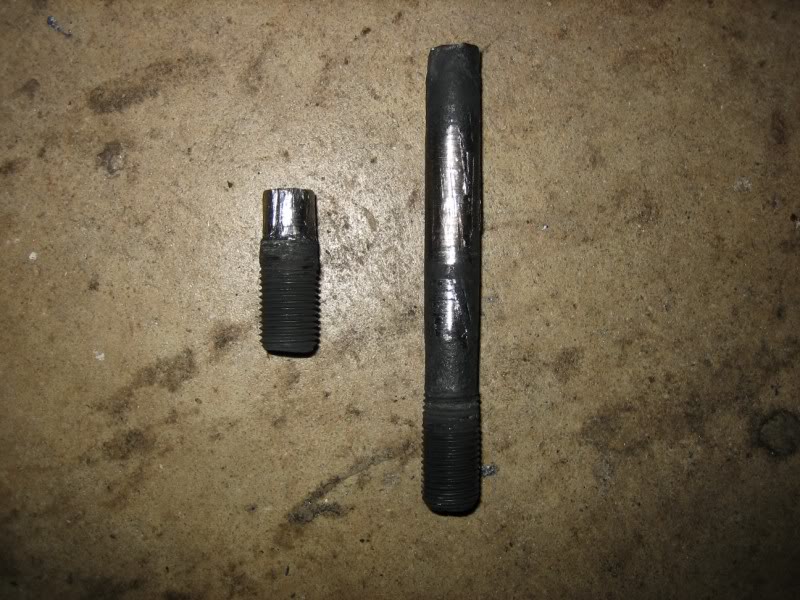
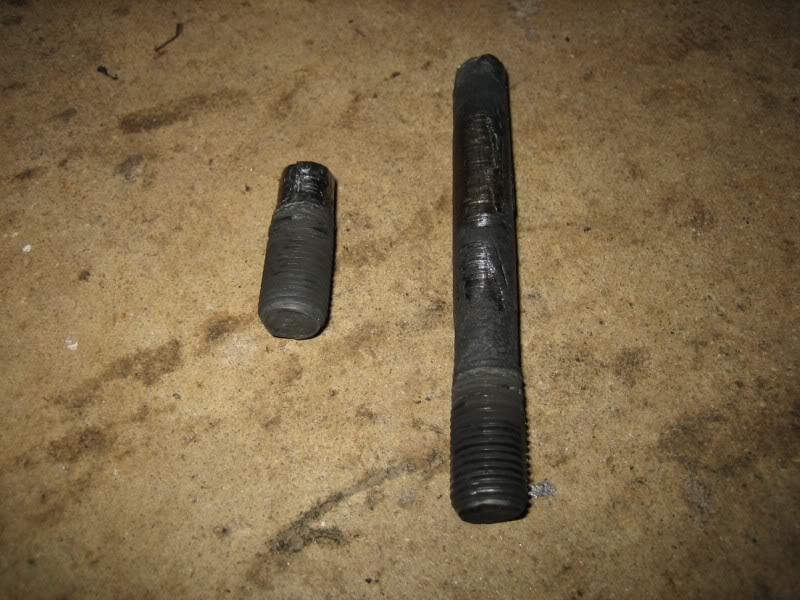
got them darn broken head bolts out!
and then spun the block over and removed those two center oil pan studs. what's the purpose of those anyway? can I just replace those with regular bolts during assembely?
managed to tap that dip stick tube out too

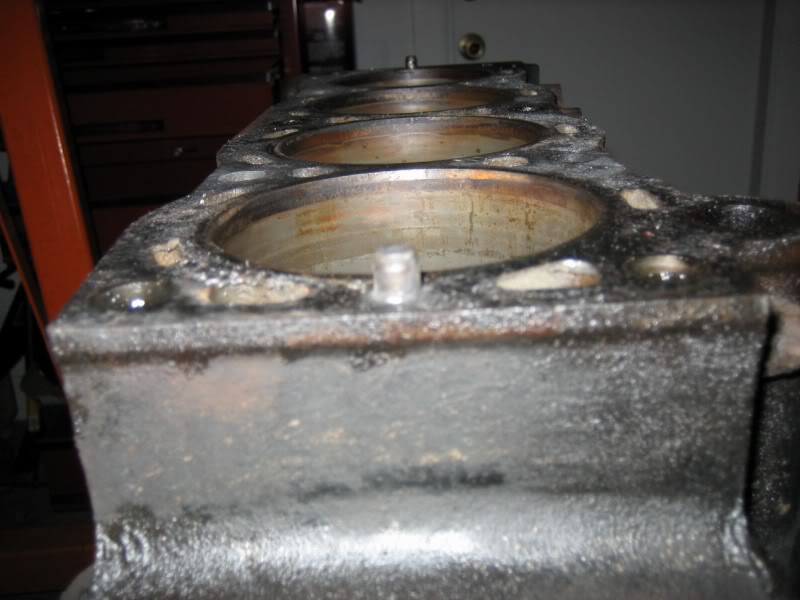
so now the block's COMPLETELY stripped, accept for 2 things... (minus the freeze plugs)
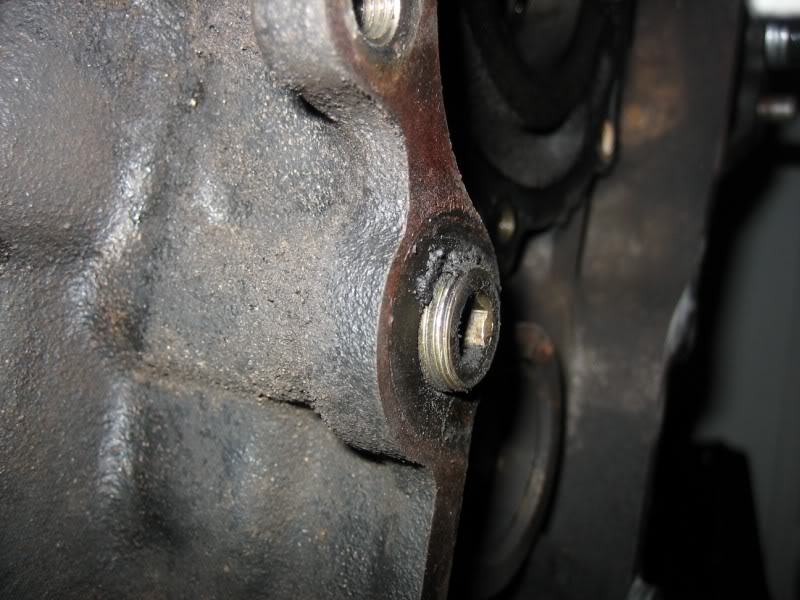
one, this plug, that I can't remove because my allen wrench set has ran off somewhere...
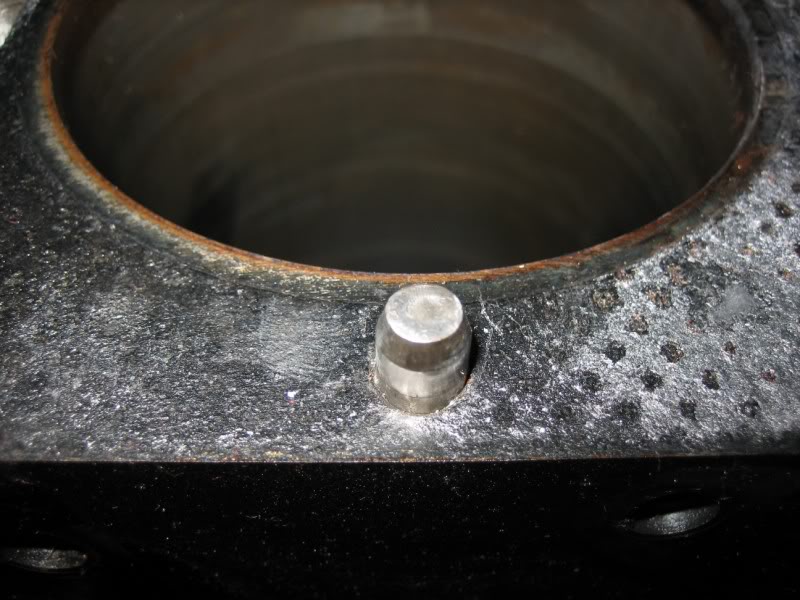
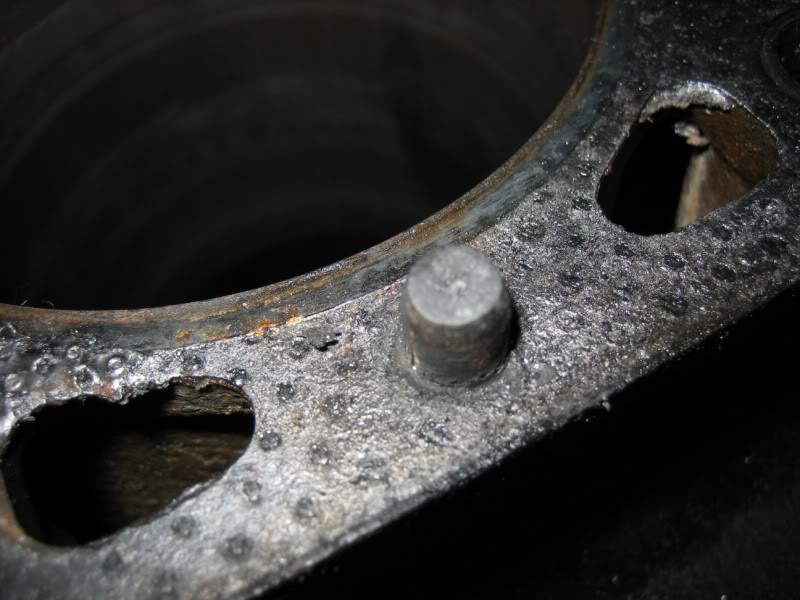
and two, these head alignment dowels on top of the block... are they removable??? will they need to come out to get the block machined?
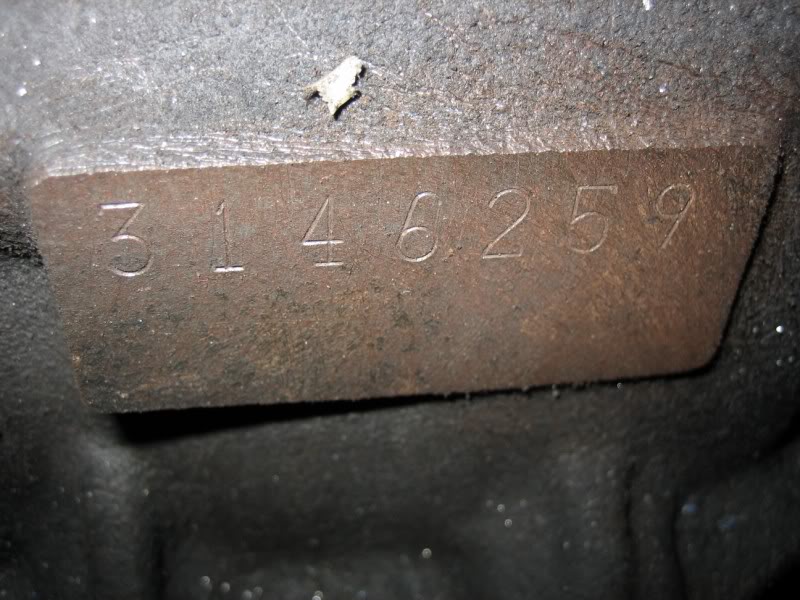
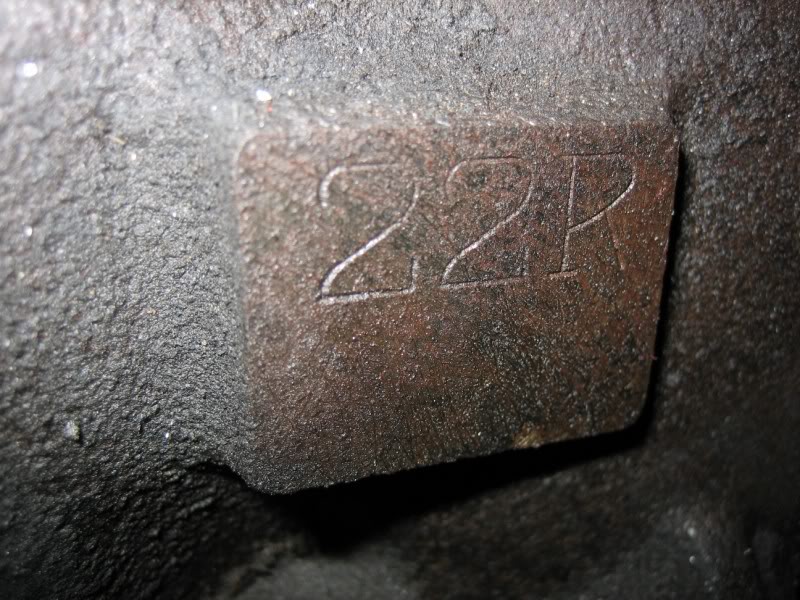
and just fer kicks, block numbers
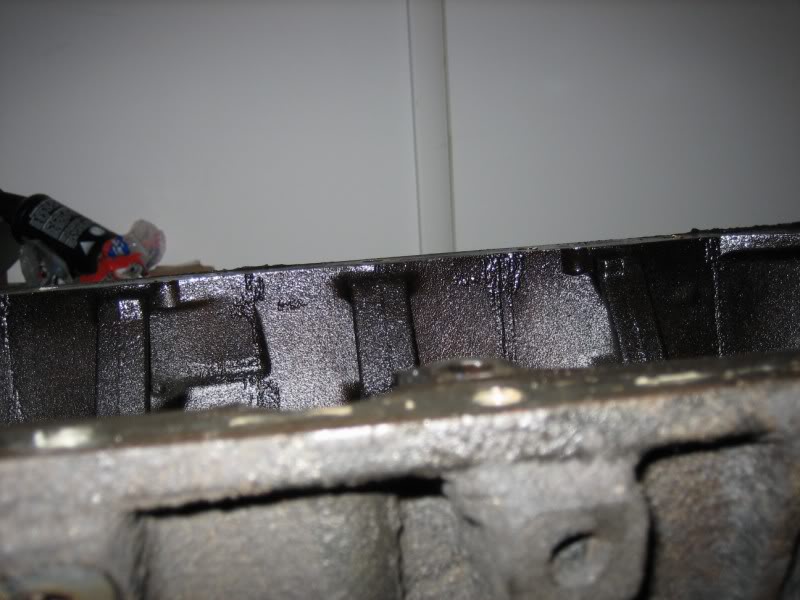
OH, AND I cleaned my oil pan out, lmao
look at this mess that came out!!!
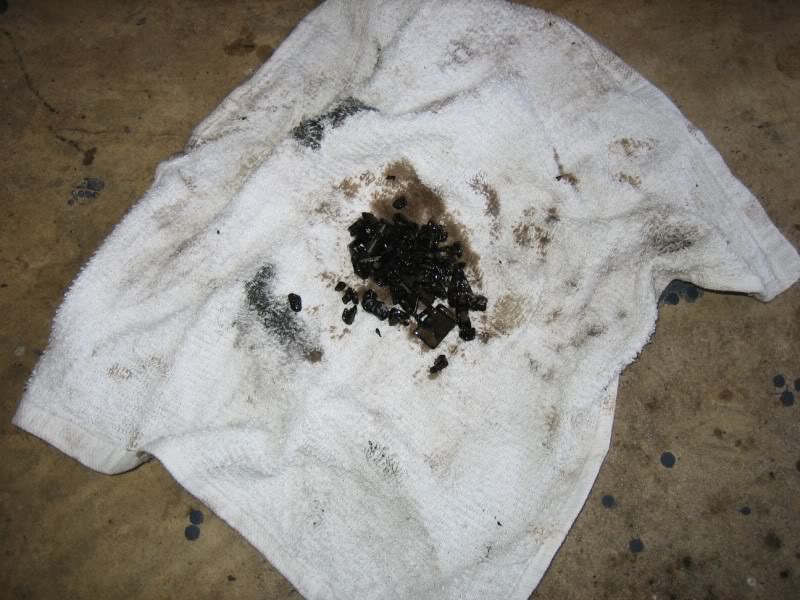
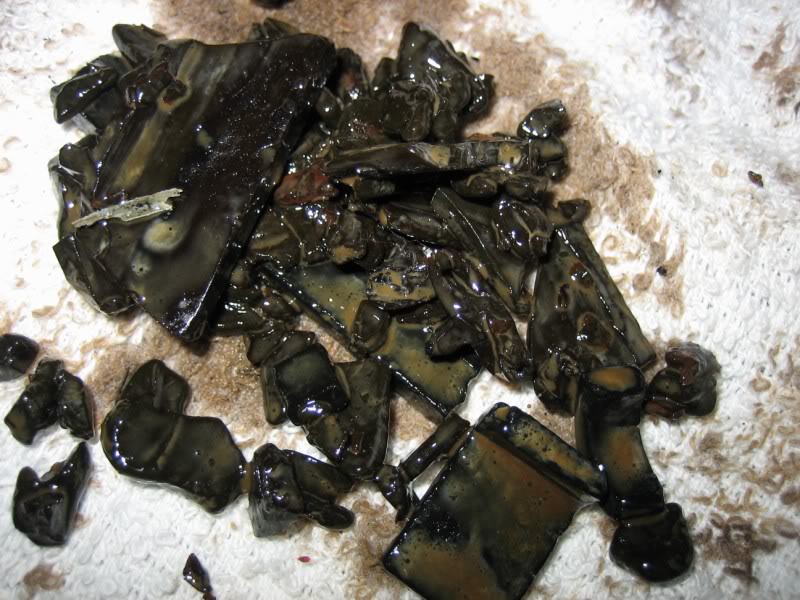
there has GOT to be more than just this recent broken guide there... that's a lot of plastic shrapnel
and I decided to put into use a little thing I brought home from work a while ago
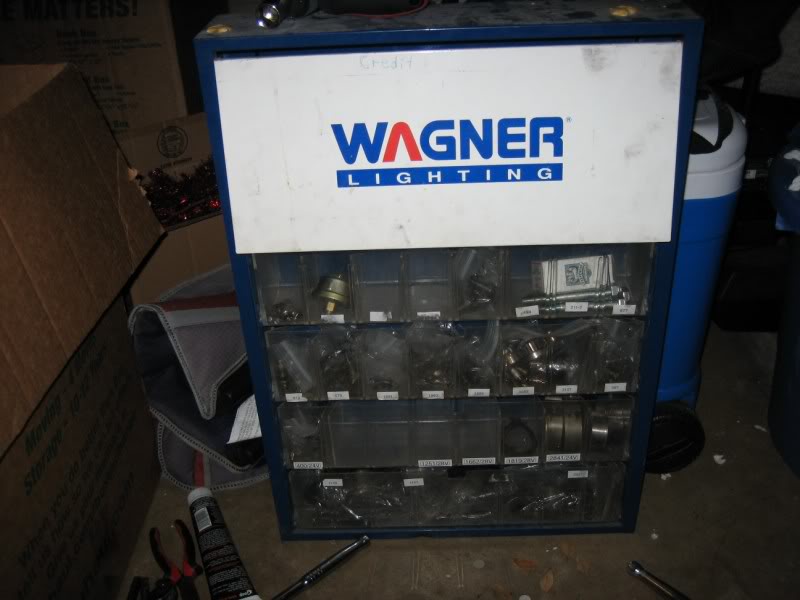
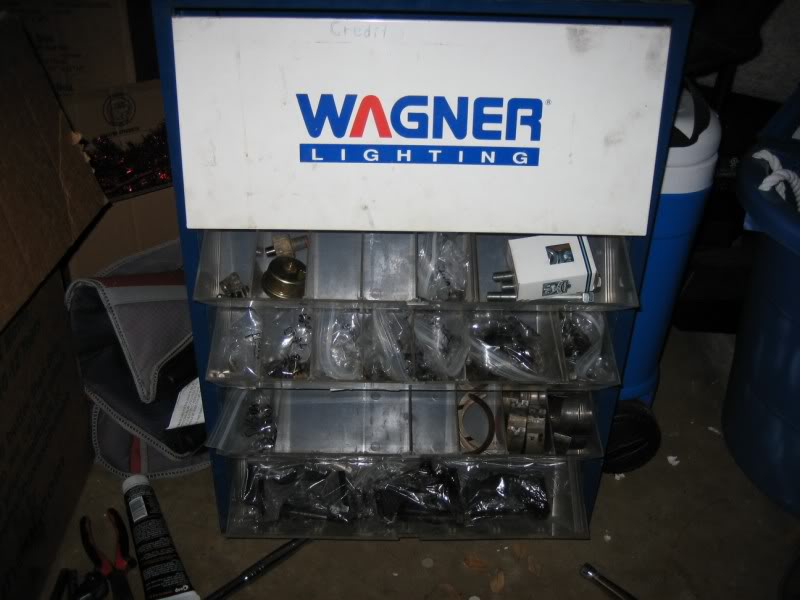
I plan on putting all the bolts in it
but right now, the block, and the crank, as just sitting there pretty much just ready to be worked over
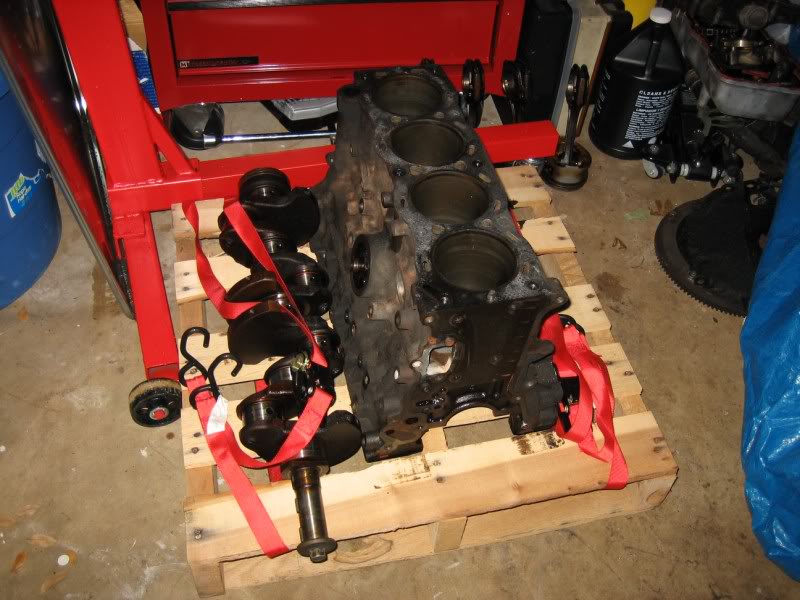
looks like I may have the crank worked over first to see what size main bearings I'll have to go with (might just get away with a polish
), and once I get those specs, I'll order the LCE master kit so that I can bring the pistons up with the block to the machine shop.I'll I think I MAY be replacing the rods too... just for good measure...
but anywho, my plans tonight were canceled
so I played with it a little got them darn broken head bolts out!
and then spun the block over and removed those two center oil pan studs. what's the purpose of those anyway?
can I just replace those with regular bolts during assembely?managed to tap that dip stick tube out too
so now the block's COMPLETELY stripped, accept for 2 things... (minus the freeze plugs)
one, this plug, that I can't remove because my allen wrench set has ran off somewhere...
and two, these head alignment dowels on top of the block... are they removable??? will they need to come out to get the block machined?
and just fer kicks, block numbers
OH, AND I cleaned my oil pan out, lmao
look at this mess that came out!!!
there has GOT to be more than just this recent broken guide there... that's a lot of plastic shrapnel
and I decided to put into use a little thing I brought home from work a while ago
I plan on putting all the bolts in it
but right now, the block, and the crank, as just sitting there
pretty much just ready to be worked over
Last edited by iamsuperbleeder; 05-15-2009 at 06:07 PM.
05-15-2009, 06:29 PM
#167
Registered User
those pan studs are there for ease of installation (helps line the pan up with the bolt holes). yes those dowel's in the block have to come out before it gets surfaced, but the machine shop will take care of that. also before you go and buy new rods, have your's checked. stock rods are plenty strong enough for a mild built motor.(unless your stroked and 14to1 ).
).
looks good, keep up the pics!
).looks good, keep up the pics!
05-15-2009, 08:17 PM
#168
Contributing Member
I agree Bleeder Have your rods checked first They should be fine and will last you another 300,000 miles .
Yea the machine shop will take care of the dowles for you .
So how did you end up taking the broken studs out? Great job on that one.
Yea the machine shop will take care of the dowles for you .
So how did you end up taking the broken studs out? Great job on that one.
05-15-2009, 08:31 PM
#169
Contributing Member
Thread Starter
well, not a "normal" pipe wrench; I picked one of these up at the hardware store on the way home
http://www.irwin.com/irwin/consumer/...rwinProd100381
pretty good grabbing tool
they still put up a good fight, but I struck them enough times with a hammer that I think it helped dislodge them
when all else fails, get a bigger hammer eh?
Last edited by iamsuperbleeder; 05-15-2009 at 08:32 PM.
05-16-2009, 05:23 PM
#170
Contributing Member
Thread Starter
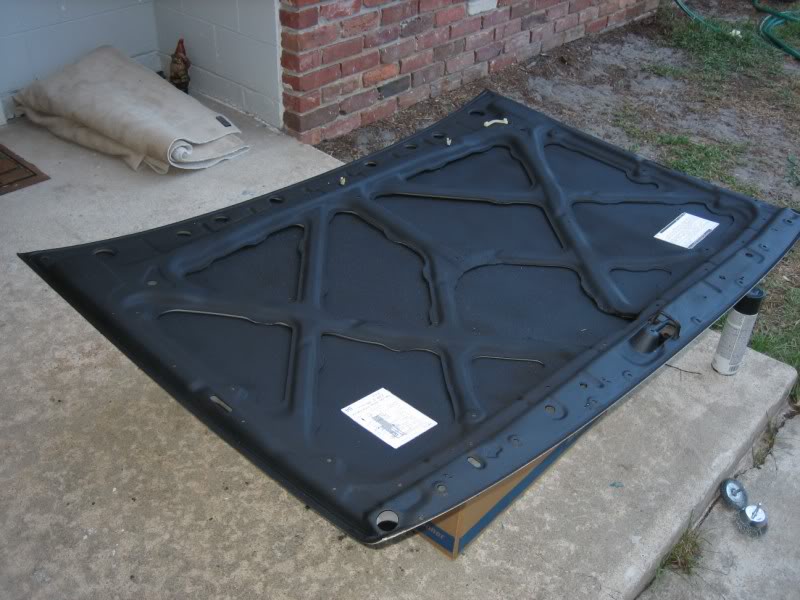
well I did a little bit of paint prep work today, just on the underside of the hood
man lemme tell ya... as long as it took to clean, scuff, and tape off the hood, I can only imagine how much of a PITA the engine bay's going to be
but it's going to look nice; I covered the original catalyst and egr system diagrams, hinge bolt holes, and along all the edges with masking tape, and tomorrow I'll get some news paper and cover the top side so I don't get any of this rubberized black undercoating mess on it and screw up my paint job, hit it with some primer, and slap some color on it
a little paint work is about the only thing I CAN get done right now... my garage is a mess cause the rest of the houshold has all kinda crap thrown in there in my way, that'll be gone next week...
I need a house of my own
05-16-2009, 09:00 PM
#171
Registered User
Looking good so far 'Bleeder!
I just sat here and read this whole thread within the last hour and i gotta admit, pretty impressing. But I'm pretty sure you would've got that last 4k miles easily, it's called a Toyota for a reason!
And btw, i watched that darn running man video twice! Can't you tell there is so much excitement in my life.
05-17-2009, 04:01 PM
#173
Contributing Member
Thread Starter
did a little painting today
that under-coat crap is some thick stuff! I'm surprised that flows out of a spray nozle, lol
oh and hood weighs like 5 lbs more now
but what I'm more proud of is my valve cover

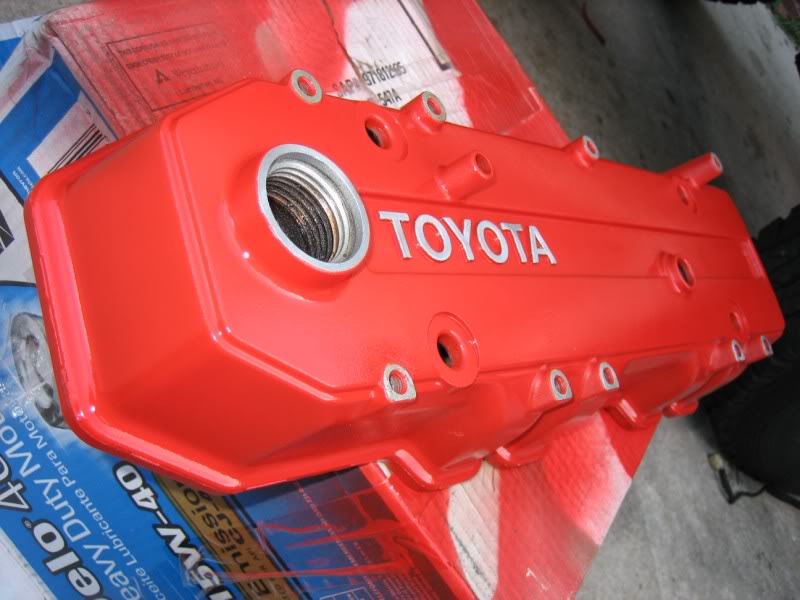
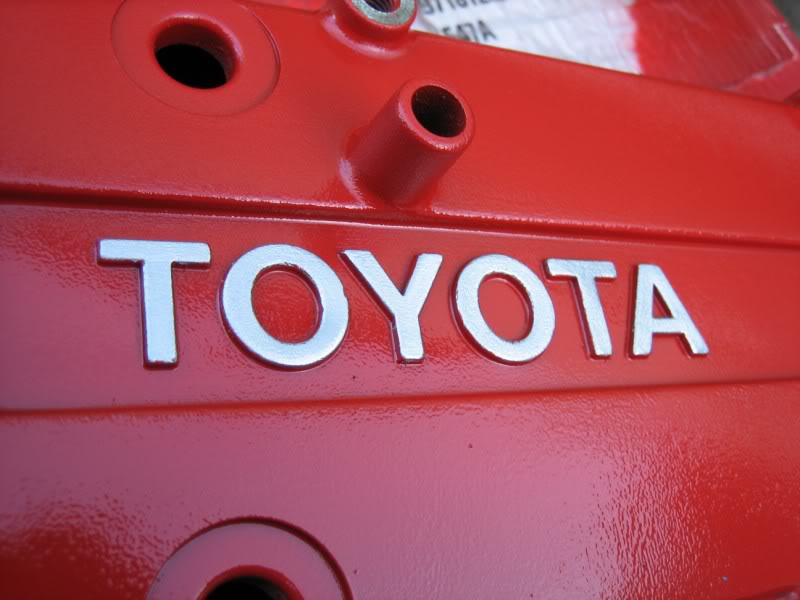
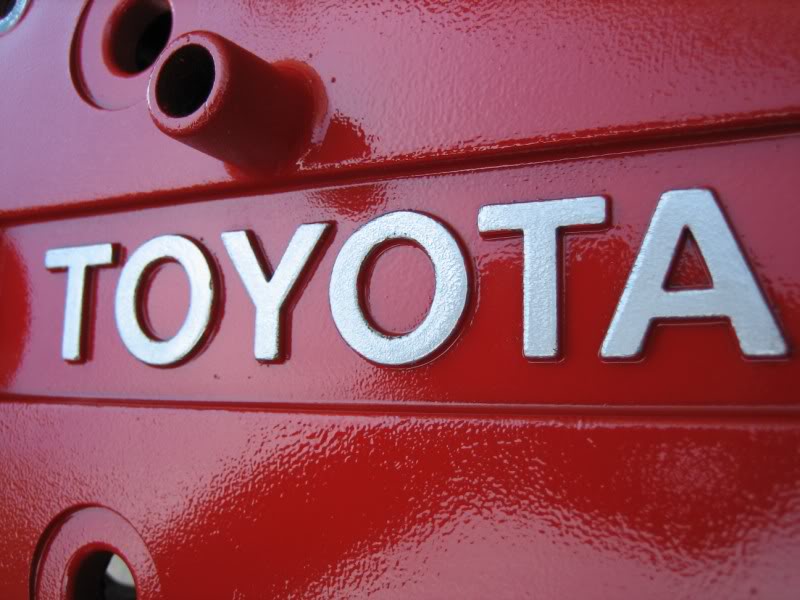
wire-wheeled the whole thing, put on a coat of primer, 2 coats of red, then a coat of clear after removing the taped off portions
I decided on a couple of changes from my original plan though...
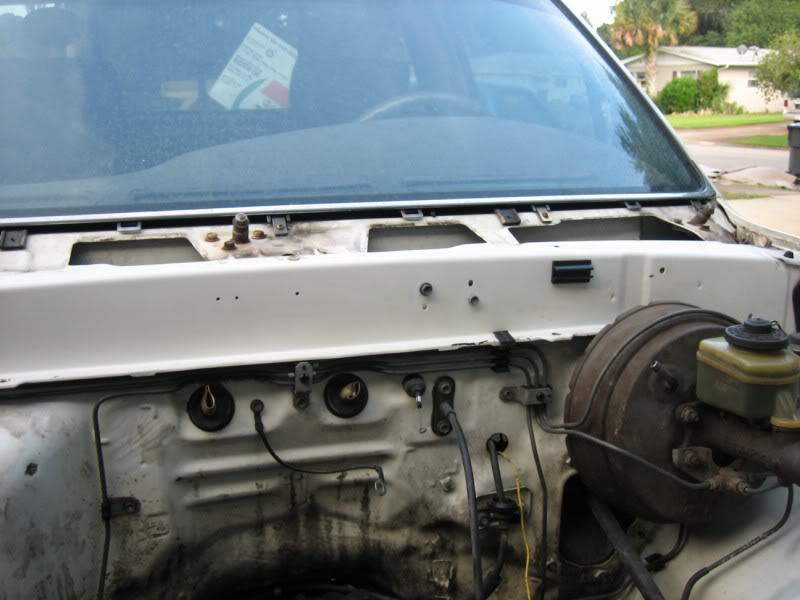
First off, I started to remove things to prep the engine bay for paint. I got maybe half way done removing all the things in there, and thought to myself "damn, this is a lot of stuff...", and I also started noticing all the little nooks and cranny's that might be hard to get paint to shoot into... So for kicks, I thought I'd try to just clean some of the paint up, just to see what it would look like. Well, much to my surprise, after a little degreasing and scrubbing, spots starter to look brand new!

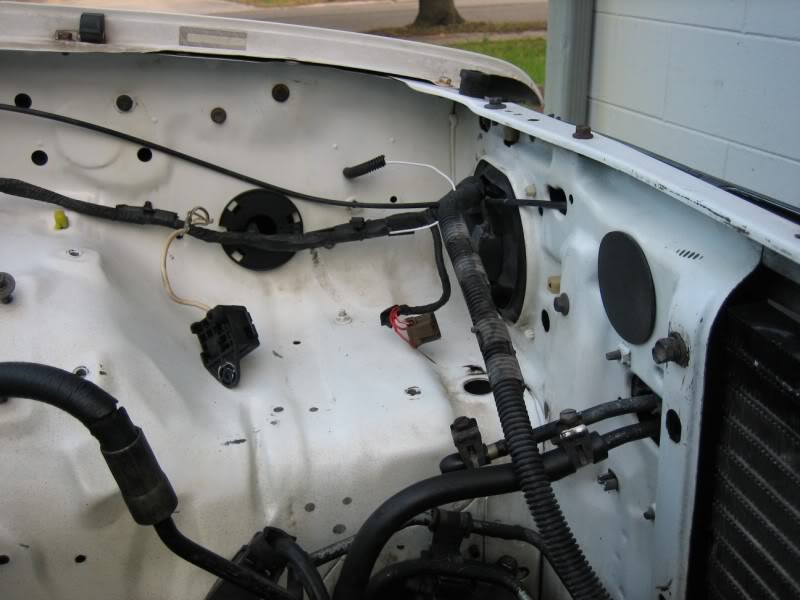
Most of it's still looking like this though...
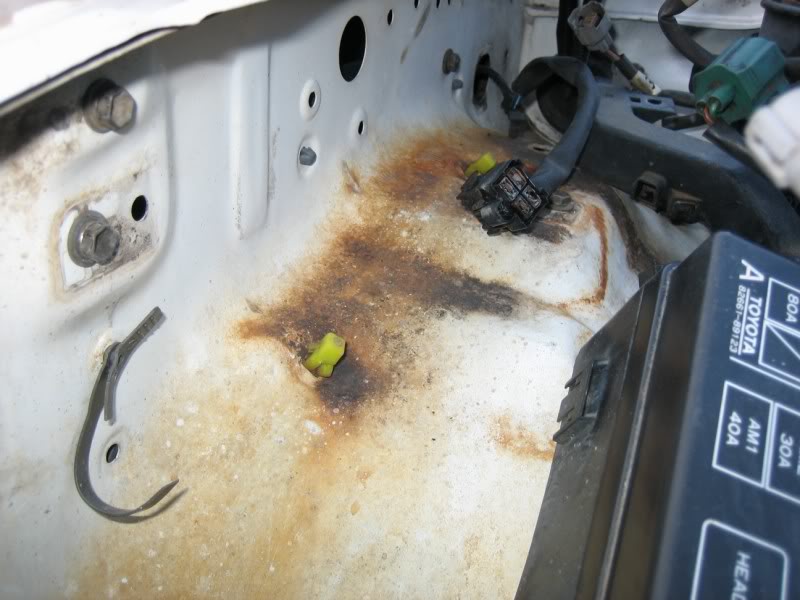
But I stopped removing stuff, and I'm going to try to clean it as good as it can be cleaned, and see what it looks like. Chanced are, I'm just going to clean it to like-new looking shape, and leave it at that! The hood will be better in black though, as it had some spots on it that were really messed up paint wise.
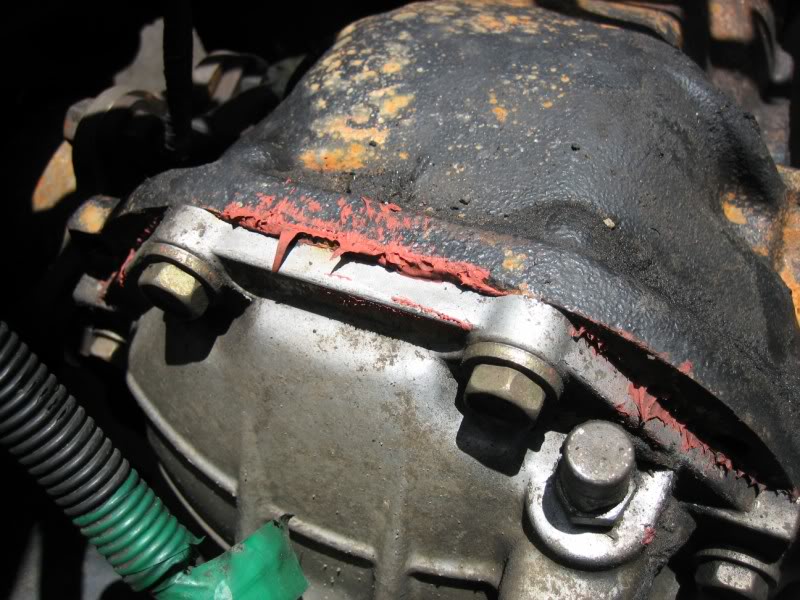
Also, I noticed something else today...
Does it look like someone's been in the front diff in the past? just doesn't look like a factory-job to me...
that under-coat crap is some thick stuff! I'm surprised that flows out of a spray nozle, lol
oh and hood weighs like 5 lbs more now
but what I'm more proud of is my valve cover
wire-wheeled the whole thing, put on a coat of primer, 2 coats of red, then a coat of clear after removing the taped off portions
I decided on a couple of changes from my original plan though...
First off, I started to remove things to prep the engine bay for paint. I got maybe half way done removing all the things in there, and thought to myself "damn, this is a lot of stuff...", and I also started noticing all the little nooks and cranny's that might be hard to get paint to shoot into... So for kicks, I thought I'd try to just clean some of the paint up, just to see what it would look like. Well, much to my surprise, after a little degreasing and scrubbing, spots starter to look brand new!
Most of it's still looking like this though...
But I stopped removing stuff, and I'm going to try to clean it as good as it can be cleaned, and see what it looks like. Chanced are, I'm just going to clean it to like-new looking shape, and leave it at that! The hood will be better in black though, as it had some spots on it that were really messed up paint wise.
Also, I noticed something else today...
Does it look like someone's been in the front diff in the past?
just doesn't look like a factory-job to me...
05-17-2009, 04:33 PM
#174
Registered User

Join Date: Apr 2009
Posts: 95
Likes: 0
Received 0 Likes
on
0 Posts
Ok dude that is sick! How did you keep the TOYOTA just flat metal? I guess you just cut the tape very carefully? Or did you sand off the red before the clear coat? I am planning on adjusting my valves soon. I think I might look into painting mine while it's off.
05-17-2009, 04:39 PM
#175
Contributing Member
iTrader: (3)
Looking good man, I may just jump on the band wagon and paint my valve cover too!!! Except it'll be "Go fast Green" to match my skid plates!! That's like 2-3HP right there!!! lol!!!
05-17-2009, 04:41 PM
#176
Contributing Member
Thread Starter
It's a PITA, and still takes a little touching up with the razor one's the paint's laid and the tape's removed, but it came out pretty good. It's not perfect; it's still rough around some of the edged, but I think it'll do just fine.
05-17-2009, 05:24 PM
#177
Registered User


