
Bleeder-Dude's Official 22re Engine Rebuild Thread - TONS OF PICTURES!!!
 07-25-2009, 03:49 AM
#721
Registered User
Join Date: Jul 2005
Posts: 117
Likes: 0
Received 0 Likes
on
0 Posts
First of all Id like to say you must have the heart of a saint. Because first of all Id never have paid to ship their fist screw up back to them. Second they would have either shipped my stuff out over night the first time or they would have been refunding my money. And third shipping the wrong part the second time would have pushed me over the edge wether its needed at that time or not. Its more of a question of their compitence and ability to do the job right the first time. Yes everyone screws up opnce in a while, poop happens but this long this many times on a rather big ticket item is a bit ridiculas imo. But i guess one good thing will come from this ordeal, I know where im NOT ordering my new clutch or bumper from. Because if that is their idea of customer service in todays economy i know alot of other struggling smaller shops who are willing to provide the customer service and treat me with a bit of respect. As far as that T-shirt goes Id use it as a shop rag..lol. There is an old saying: fool me once shame on you, fool me twice shame on me. GL with your project bleeder i have been following from the beginning and plan on doin most of what u have done to my spare motor in the near future(with the exception of the paint job lol)

Last edited by Duelertoyota4x4; 07-25-2009 at 03:51 AM.
 07-25-2009, 08:57 PM
#722
Contributing Member
Thread Starter
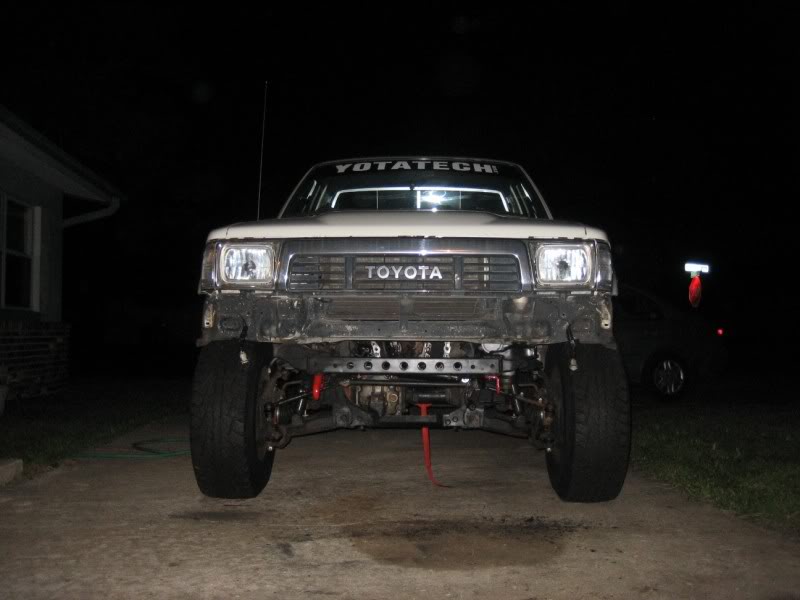
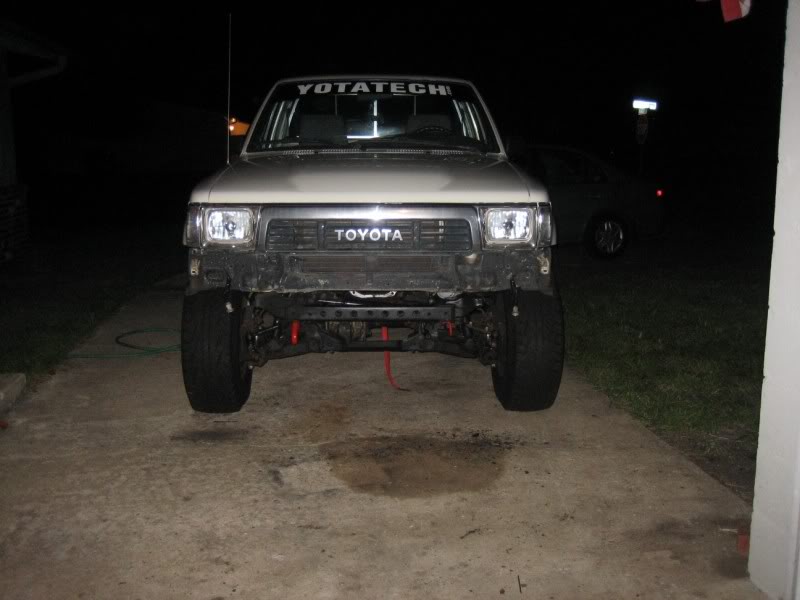
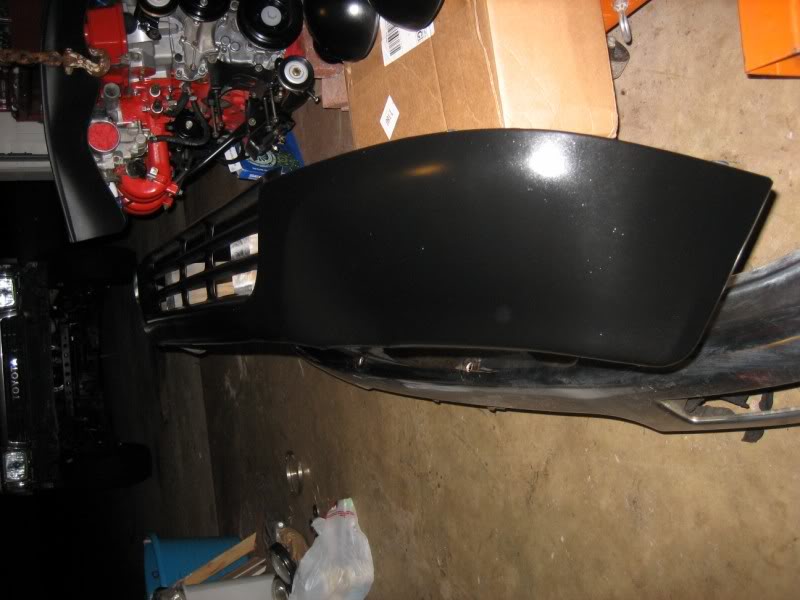
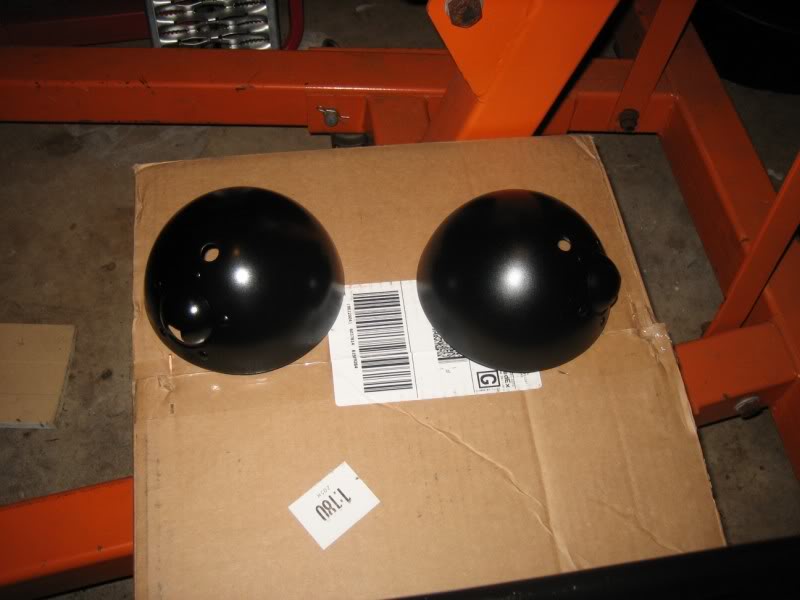
Well, I took the day to do something I've been wanting to do for along time, and that's punch out some dings and repaint the lower front valance  I also sanded and painted the rusting fog lights, cause they were starting to look pretty bad, lol

I also sanded and painted the rusting fog lights, cause they were starting to look pretty bad, lol
 07-26-2009, 02:20 AM
#724
Registered User
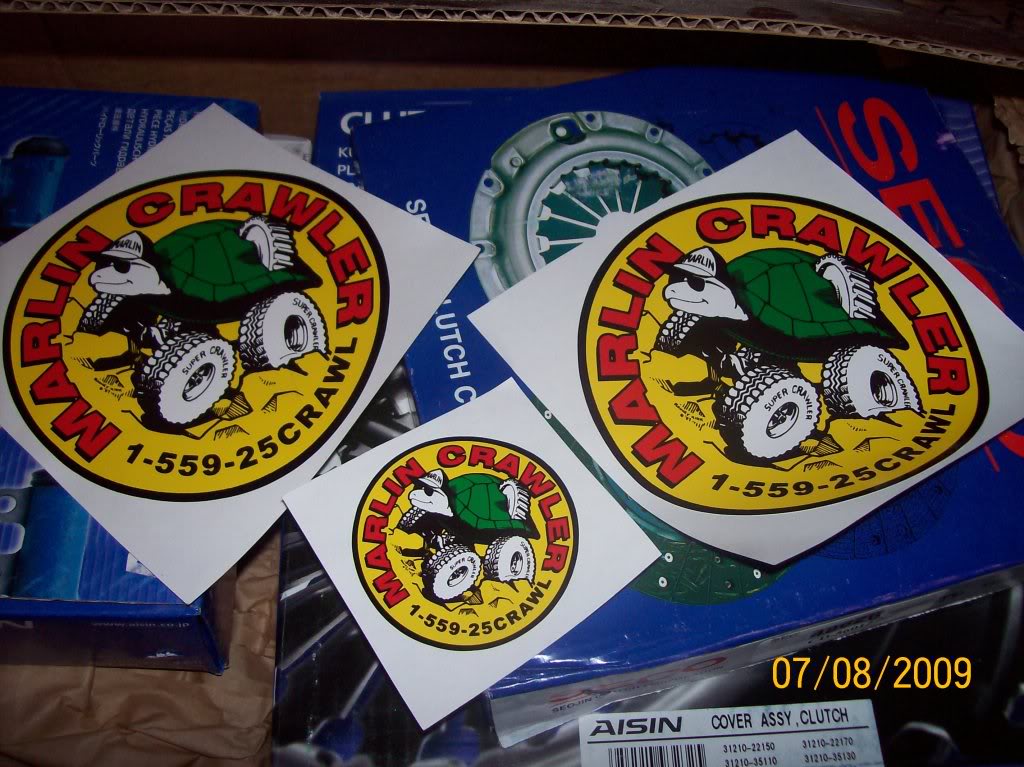
I had THEE exact thing happen with my MC clutch. Here is the link to my rant the day I got the wrong clutch. https://www.yotatech.com/forums/f152...1/index10.html They sent a clutch for a V6. I got mad then calmed down and called them and they overnighted the correct one (22re) with a Tee shirt.
Your truck is looking great! I can't wait to see that beautiful motor running.
Your truck is looking great! I can't wait to see that beautiful motor running.
Last edited by toyospearo; 07-26-2009 at 02:25 AM.
07-26-2009, 04:13 PM
#727
Registered User
Join Date: Nov 2008
Posts: 39
Likes: 0
Received 0 Likes
on
0 Posts
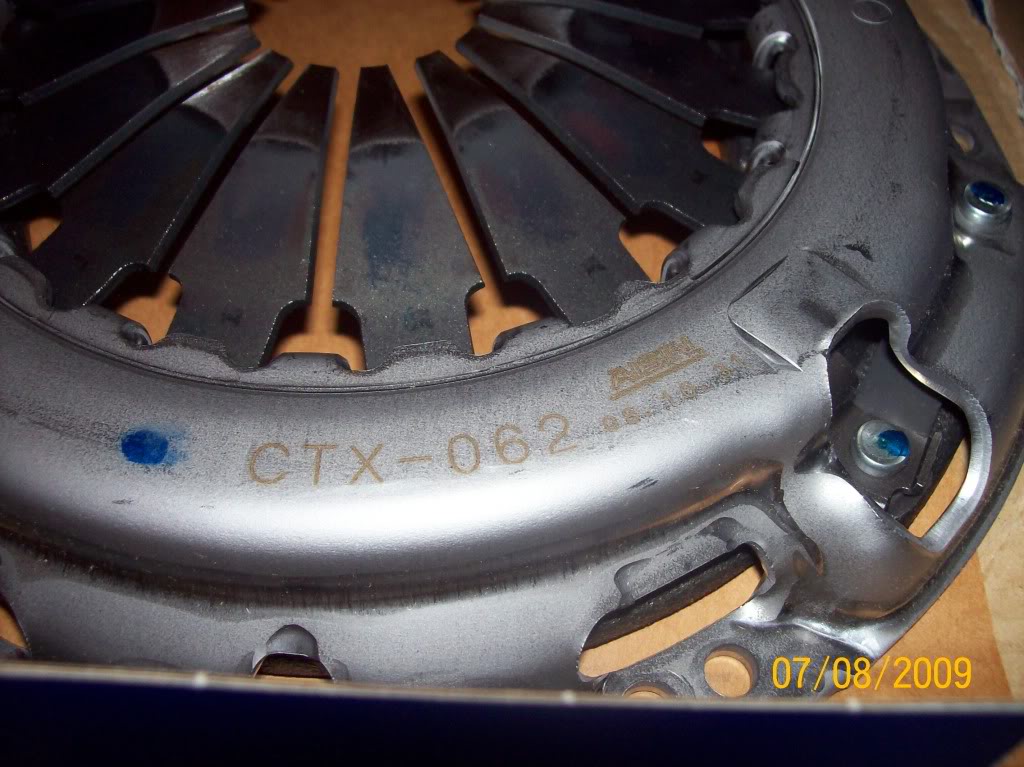
Hey bleeder is this the same Pressure plate you got, the wrong one?
This was the one I got from Marlin W/My 1200 LB 22re kit. I have yet to install it as the motor isnt quite done yet. So i have no idea if it's the correct one or not.
Here is my clutch disk, it looks the same as yours does now..
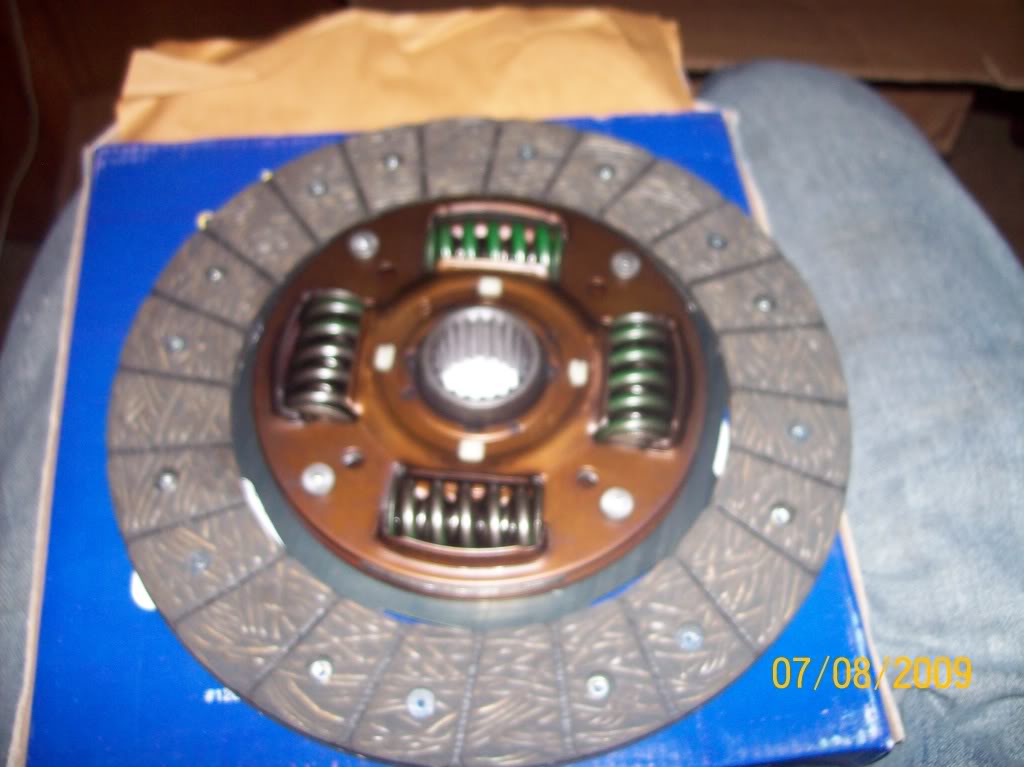
And a FREE goodie just for you....
This was the one I got from Marlin W/My 1200 LB 22re kit. I have yet to install it as the motor isnt quite done yet. So i have no idea if it's the correct one or not.
Here is my clutch disk, it looks the same as yours does now..
And a FREE goodie just for you....
07-26-2009, 05:37 PM
#728
Contributing Member
Thread Starter
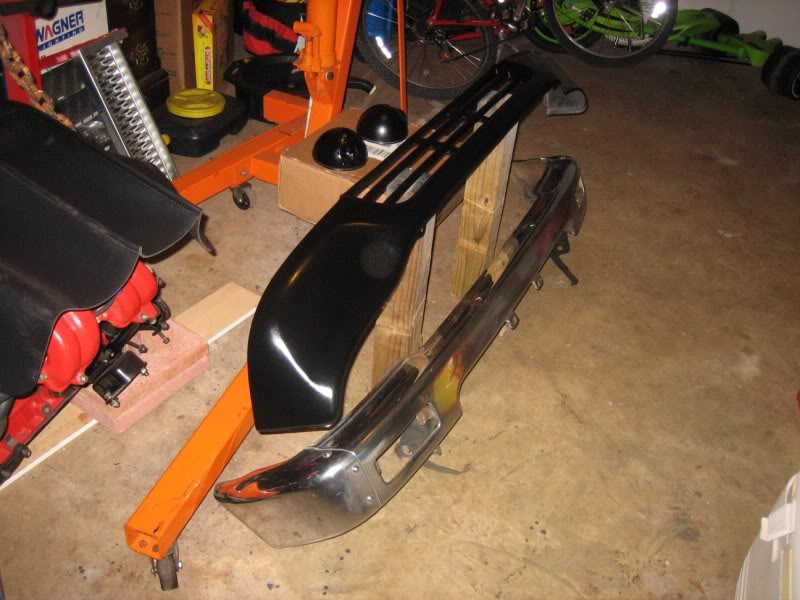
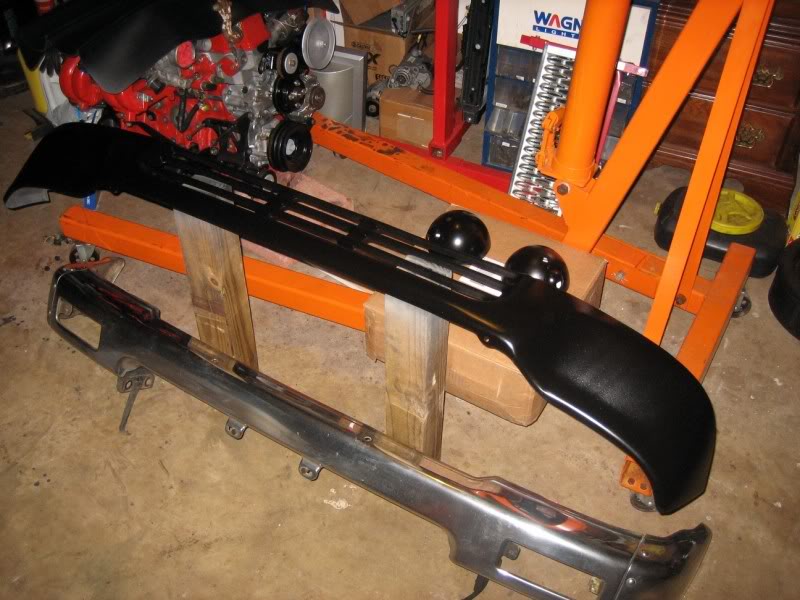
ya know I held the bumper up to the truck to see what it would look like without the valance to see qhat it would look like, and it just looked like it was missing something
I really wish I had a MC or an Adicted Offroad bumper to bolt back on there, lol
I got it all bolted back on today; looks a lot better IMO with the black bottom peice
Then ventured to do something that I was GOING to make a surprise addition to the thread but it's got me so aggeivated now that I just have to talk about it 
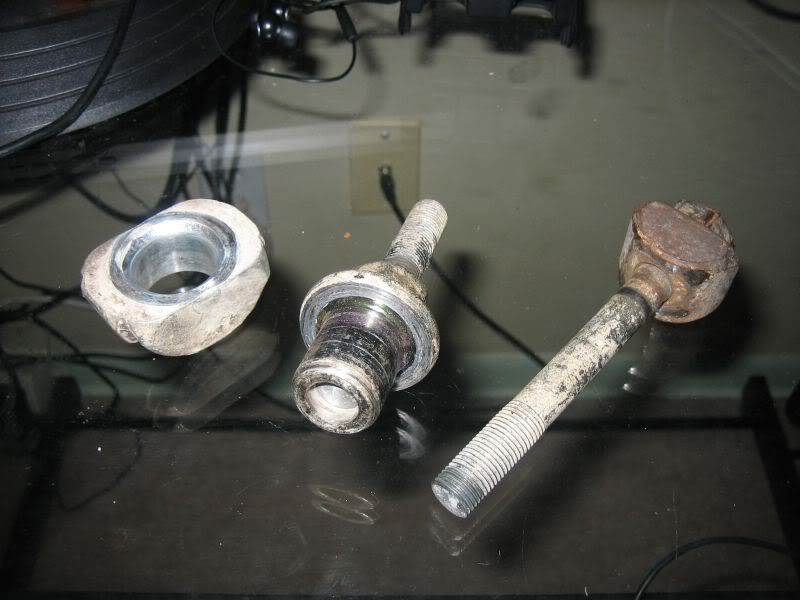
I pulled my Rancho UCA's out of the garage and thought I'd throw em on. Well, the trouble started right away when loosening the t-bars to take the pressure off of them, and managed to break the passenger side adjustment bolt
and on top of that, I have to get some new shorter t-bar to control arm bolts, AND control arm mount to frame bolts...
these have turned into a nightmare!!!
I really wish I had a MC or an Adicted Offroad bumper to bolt back on there, lol
I got it all bolted back on today; looks a lot better IMO with the black bottom peice
Then ventured to do something that I was GOING to make a surprise addition to the thread
but it's got me so aggeivated now that I just have to talk about it I pulled my Rancho UCA's out of the garage and thought I'd throw em on. Well, the trouble started right away when loosening the t-bars to take the pressure off of them, and managed to break the passenger side adjustment bolt
and on top of that, I have to get some new shorter t-bar to control arm bolts, AND control arm mount to frame bolts...
these have turned into a nightmare!!!
Last edited by iamsuperbleeder; 07-26-2009 at 05:44 PM.
 07-26-2009, 07:24 PM
#730
Contributing Member
Thread Starter
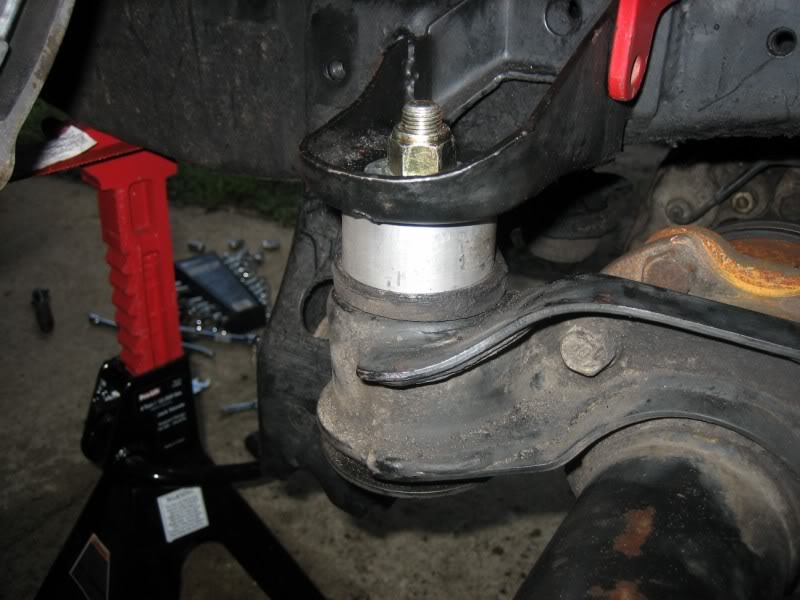
but we should be good to go; I'll call up the dealership and see that I can't get some t-bar adjustment bolts in reletively quick, and I'll swing by the 'ol harware store tomorrow and pick up some grade 8's for the other bolts
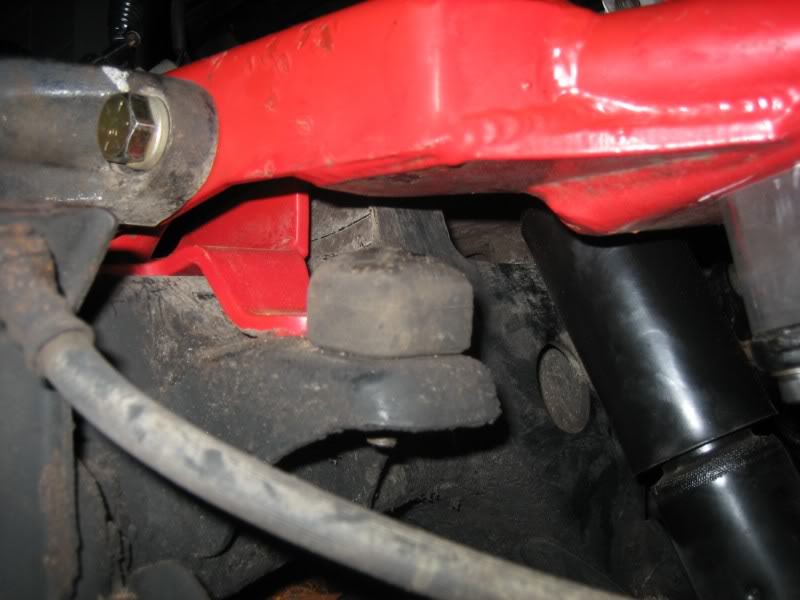
I can already see that I'm going to have to shim the droop bump stops with them though; no biggie. Should hopefully get the UCA's and diff drop bolted in tomorrow and just wait on the t-bar adjusters

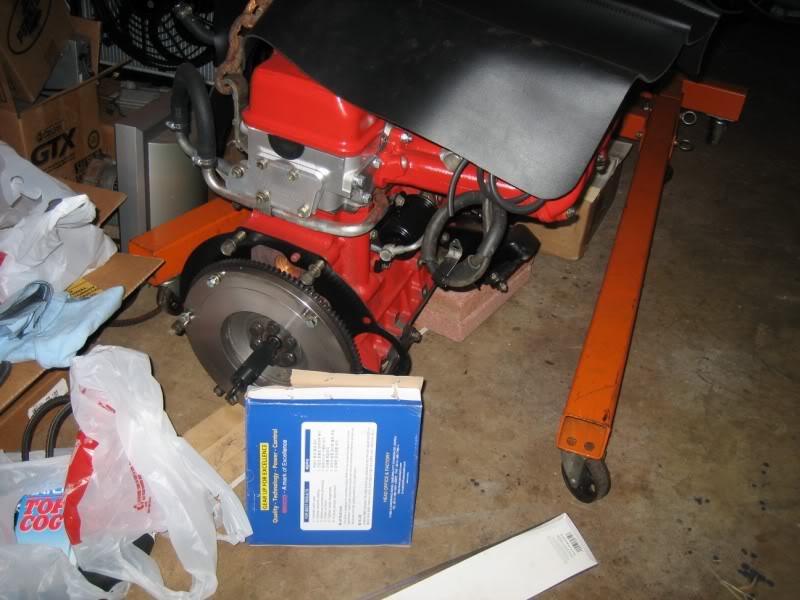
gotta have something to keep me occupied since I can't drop the motor in yet
07-26-2009, 07:29 PM
#731
Contributing Member
iTrader: (3)
Geez, you that bored? LOL!!
Sounds like you've got a plan, which is good 'cause some people just give up. Of course, without pics of this "said" event this could all be some clever fabrication of a dream of something you wish you could do and you actually have the motor in and tested and you're simply plugging your post numbers prolonging our anticipation of such a beautiful creation...
...I'm just sayin'
LOL!!Sounds like you've got a plan, which is good 'cause some people just give up. Of course, without pics of this "said" event this could all be some clever fabrication of a dream of something you wish you could do and you actually have the motor in and tested and you're simply plugging your post numbers prolonging our anticipation of such a beautiful creation...
...I'm just sayin'
07-26-2009, 08:39 PM
#732
Contributing Member
Thread Starter
Geez, you that bored? LOL!!
Sounds like you've got a plan, which is good 'cause some people just give up. Of course, without pics of this "said" event this could all be some clever fabrication of a dream of something you wish you could do and you actually have the motor in and tested and you're simply plugging your post numbers prolonging our anticipation of such a beautiful creation...
...I'm just sayin'
LOL!!Sounds like you've got a plan, which is good 'cause some people just give up. Of course, without pics of this "said" event this could all be some clever fabrication of a dream of something you wish you could do and you actually have the motor in and tested and you're simply plugging your post numbers prolonging our anticipation of such a beautiful creation...
...I'm just sayin'
it's sitting here on my computer desk cause I'm taking it with me tomorrow as I leave for work, and might just stop by the dealership; who know's, they might have it in stock!
 07-26-2009, 08:59 PM
#734
Contributing Member
Bleeder, Im a little late but man another mistake , I cant believe you actually paid to ship their mistake back to them .MAN!!!
Anyway other than the clutch thing eveything looks good.
Anyway other than the clutch thing eveything looks good.
07-27-2009, 09:06 PM
#736
Contributing Member
Thread Starter
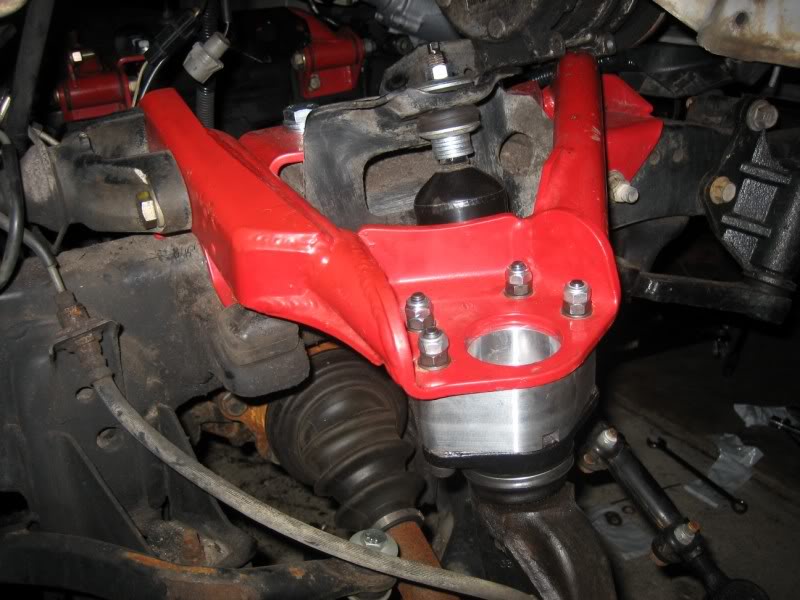
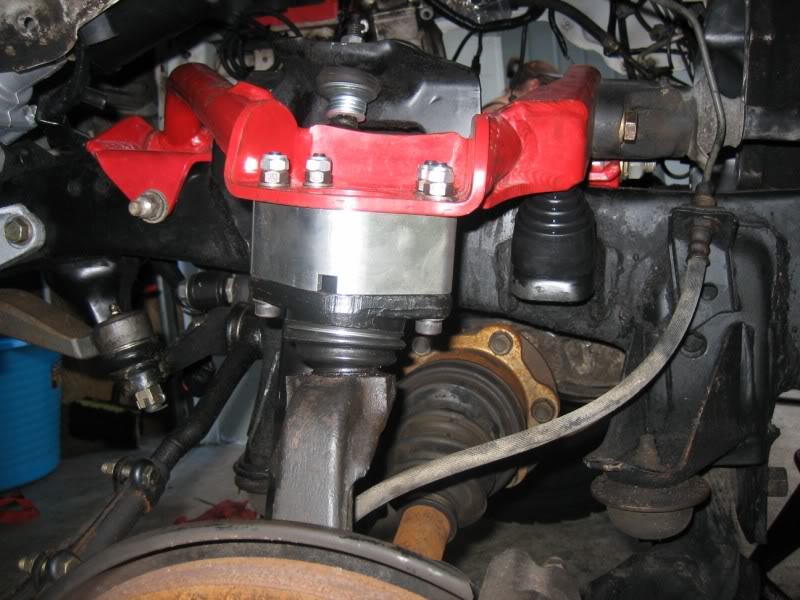
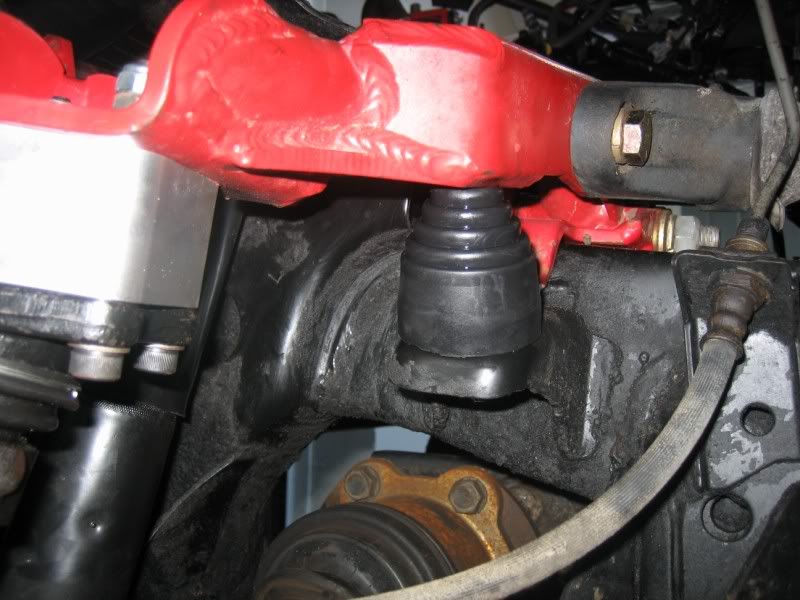
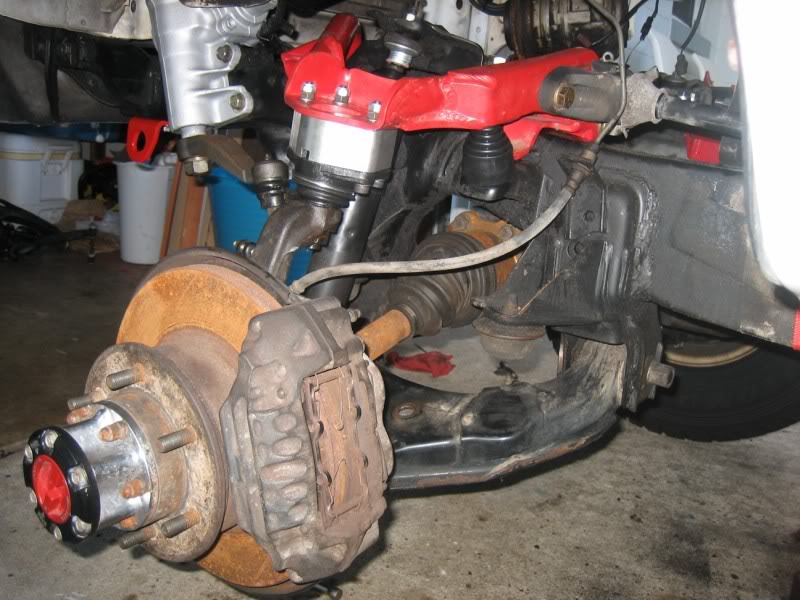
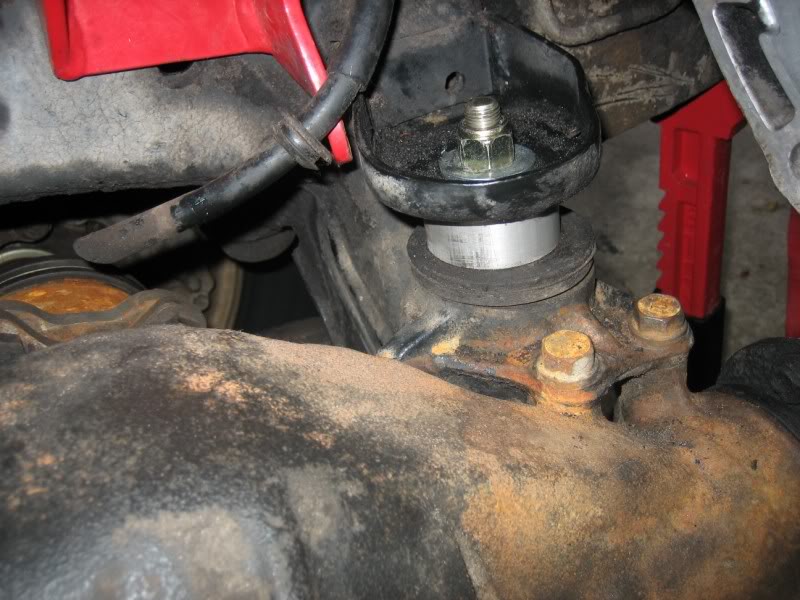
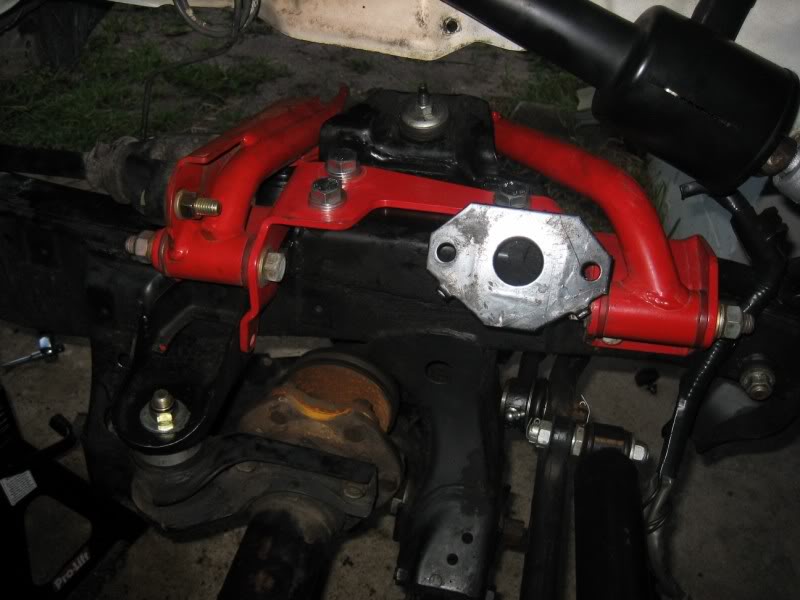
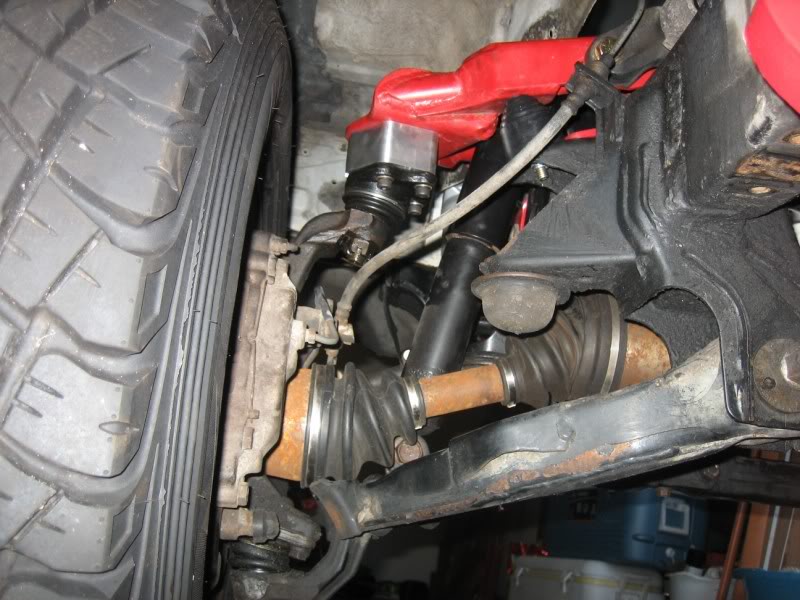
well, I may have taken this little project a little too far now, lol
I got into installing these UCA's and managed to break all but 2 of the ball joint mounting bolts
before torquing them down:
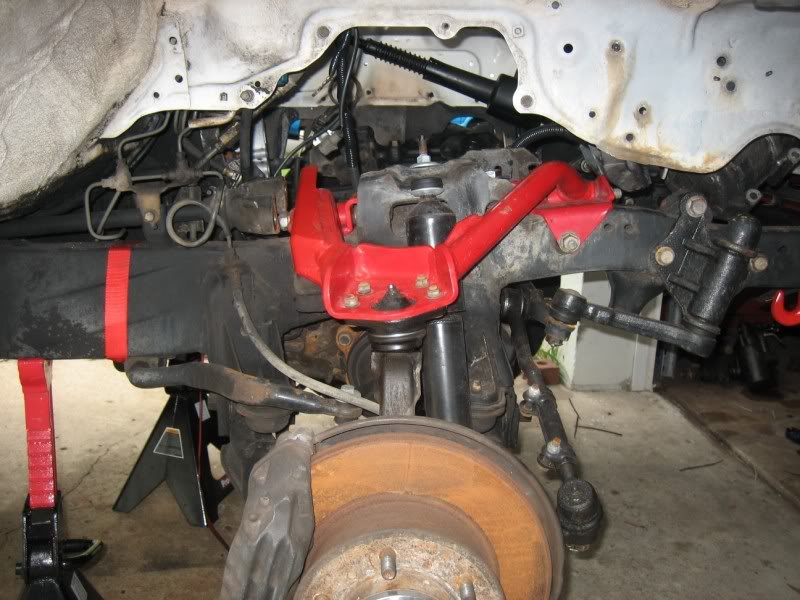
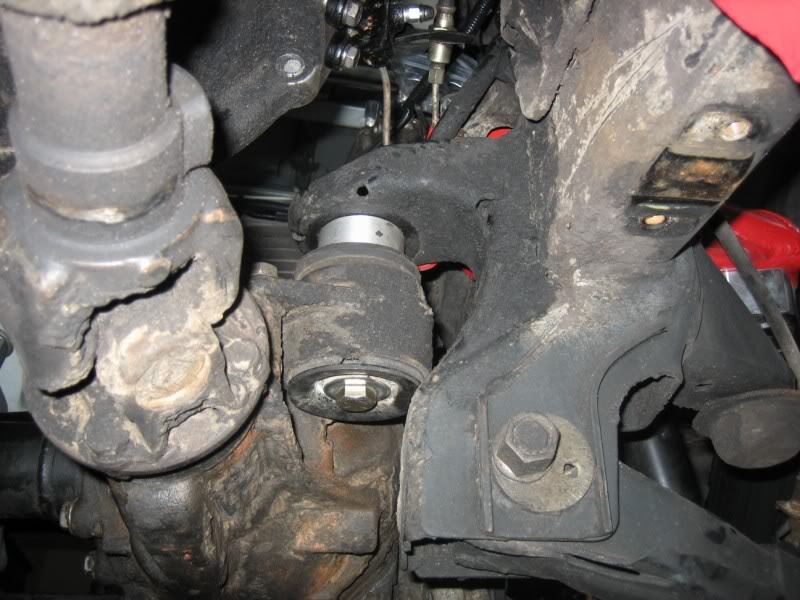
well, after snapping them, I remembered about the other ball joint bolts I had, the ony thing is that they are 1 1/2" longer than the originals, beacause they come with BJ spacers
SOOOOO... we're going to try something
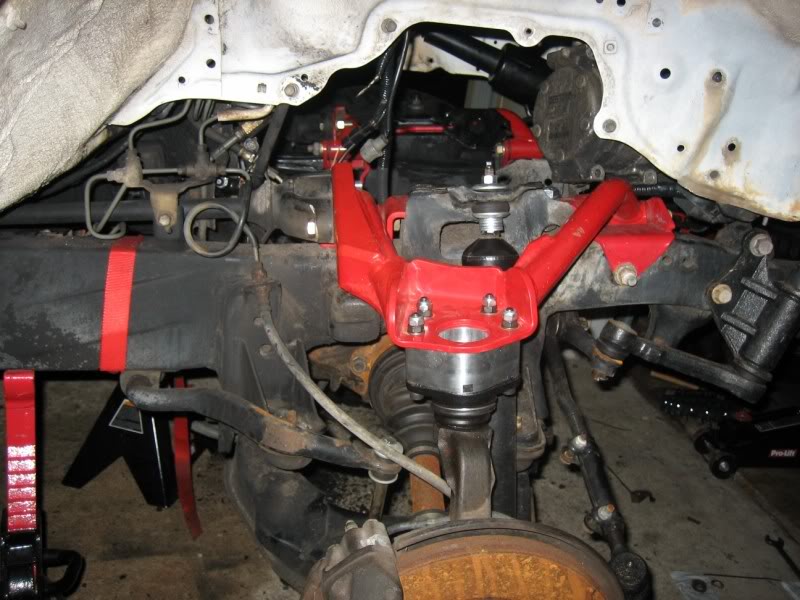
so, I've got some major enginuity to do here...
I'm installing the diff drop tomorrow, and and I've got to shim the heck out of the droop bump stops so the stock shocks are not the droop limiter for now untill I can put some longer shocks on it on second thought, I'll probably have to replace them with some taller urithane stops from the parts store, cause I might not be able to shim them enough, lol
the dealership will have my t-bar bolts on Wednesday, and then at least I can set the truck back on it's wheels. and the clutch should come in that day too, but I'll probably wait untill the weekend to drop the motor in
I'm going to have a hay-day with the alignment when this is all done though, lol
I got into installing these UCA's and managed to break all but 2 of the ball joint mounting bolts
before torquing them down:
well, after snapping them, I remembered about the other ball joint bolts I had, the ony thing is that they are 1 1/2" longer than the originals, beacause they come with BJ spacers
SOOOOO... we're going to try something
so, I've got some major enginuity to do here...
I'm installing the diff drop tomorrow, and and I've got to shim the heck out of the droop bump stops so the stock shocks are not the droop limiter for now untill I can put some longer shocks on it
on second thought, I'll probably have to replace them with some taller urithane stops from the parts store, cause I might not be able to shim them enough, lolthe dealership will have my t-bar bolts on Wednesday, and then at least I can set the truck back on it's wheels. and the clutch should come in that day too, but I'll probably wait untill the weekend to drop the motor in
I'm going to have a hay-day with the alignment when this is all done though, lol
07-28-2009, 03:55 PM
#739
Registered User
Join Date: Dec 2008
Location: NFM, Florida
Posts: 432
Likes: 0
Received 0 Likes
on
0 Posts
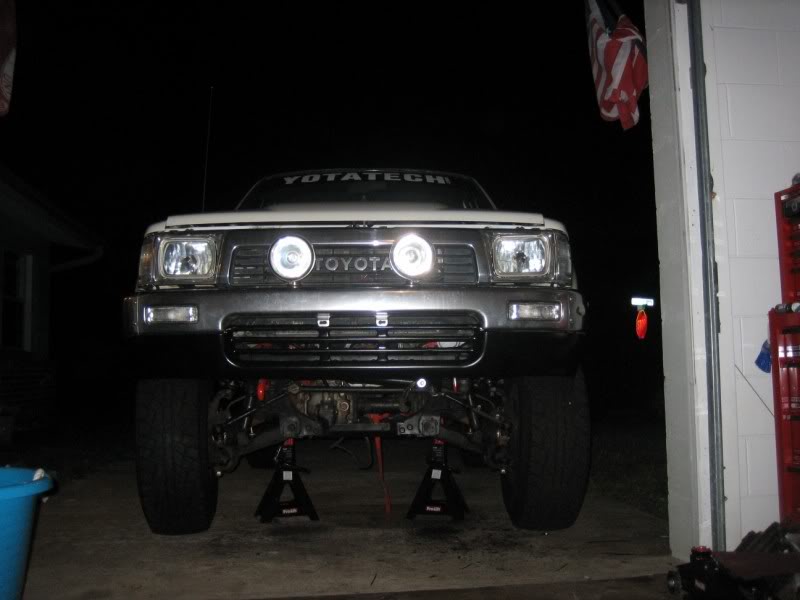
i like the color combo, but damn dude you didn't have to paint the jackstands too! 
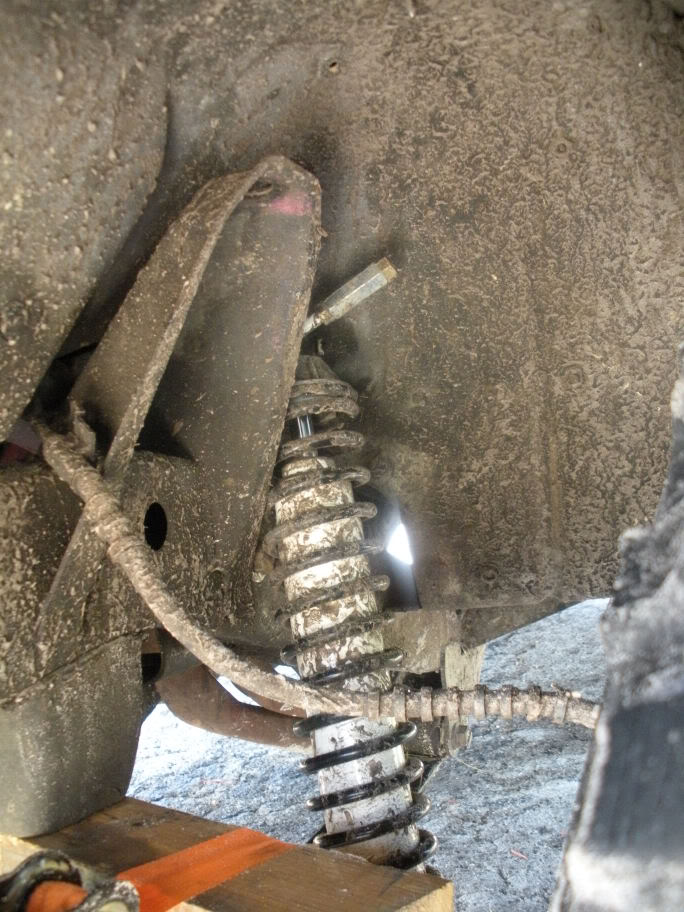
whatever you do, don't use those "shock extenders." a buddy of mine had them on his truck and broke 1 shock and bent 2 more because of that crap....
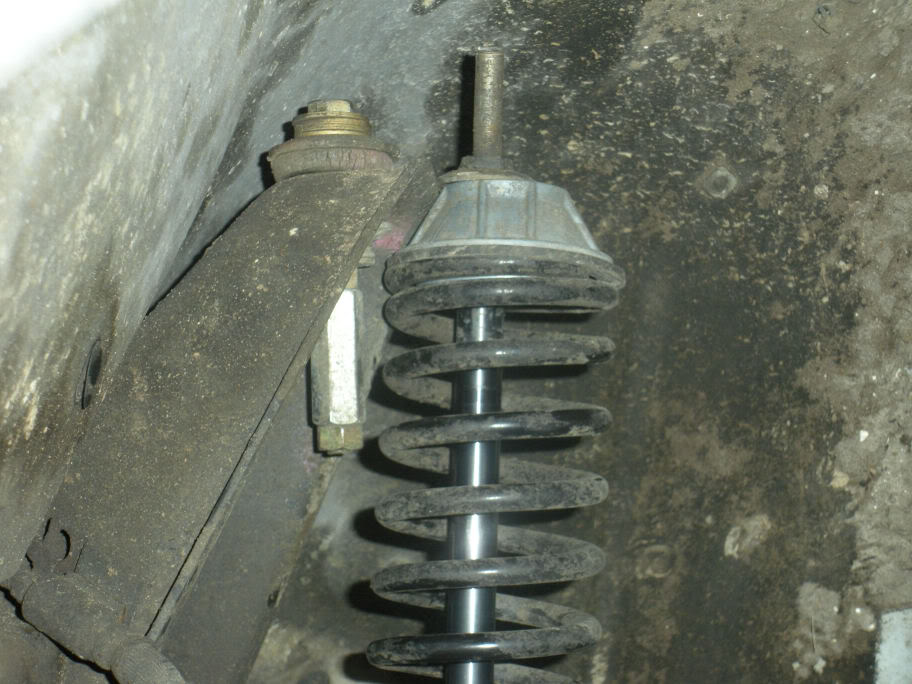
let me tell you that wasn't a very fun trail fix either.
here's a pic of the shock we replaced in the woods that bent and broke 10 minutes later.
whatever you do, don't use those "shock extenders." a buddy of mine had them on his truck and broke 1 shock and bent 2 more because of that crap....
let me tell you that wasn't a very fun trail fix either.
here's a pic of the shock we replaced in the woods that bent and broke 10 minutes later.
Last edited by waskillywabbit; 07-29-2009 at 06:41 PM.
07-28-2009, 05:03 PM
#740
Contributing Member
Thread Starter
and holy crap on the shock extender!!!

no I didn't use any of those, I just used a handful of washers to lengthen the shocks about .5"; enough to still let the suspention still go to full compression
it'll work fine for nowSO, I finished the rest of that little project today, aside from picking up and installing the tortion bar bolts from Toyota, which I will do tomorrow afternoon
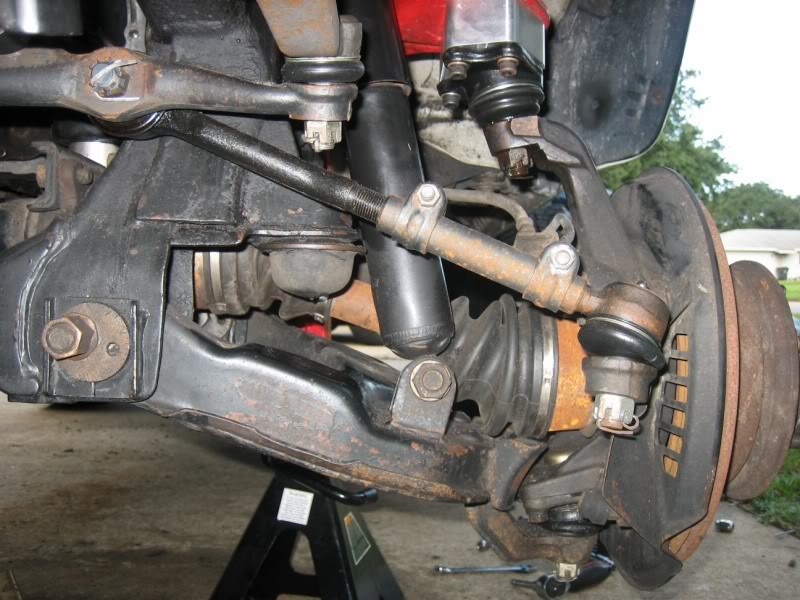
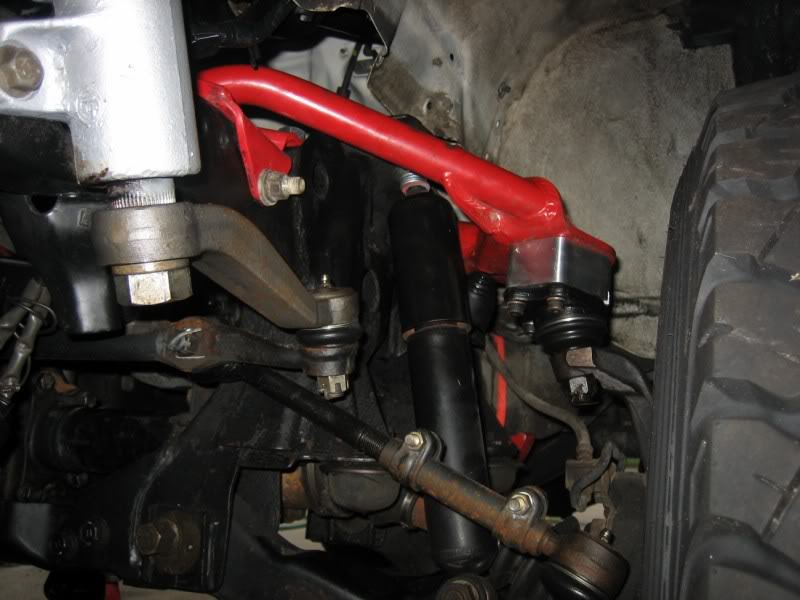
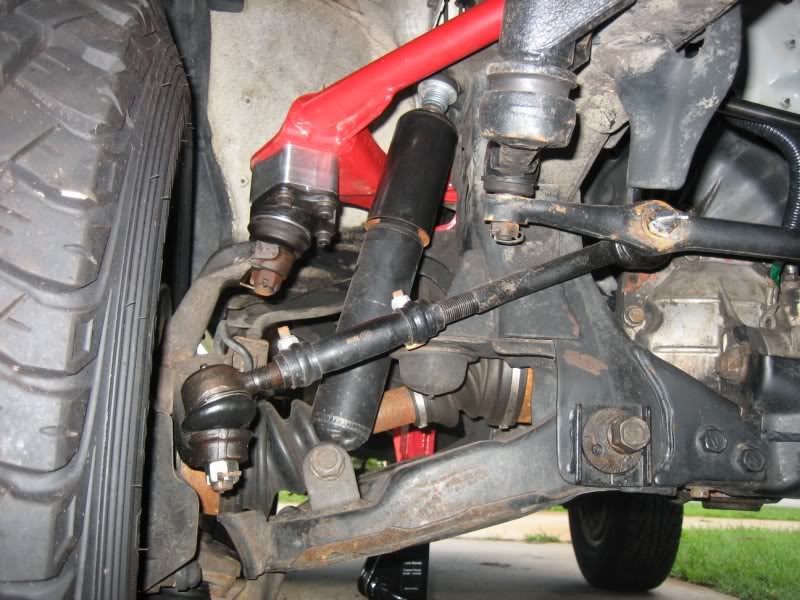
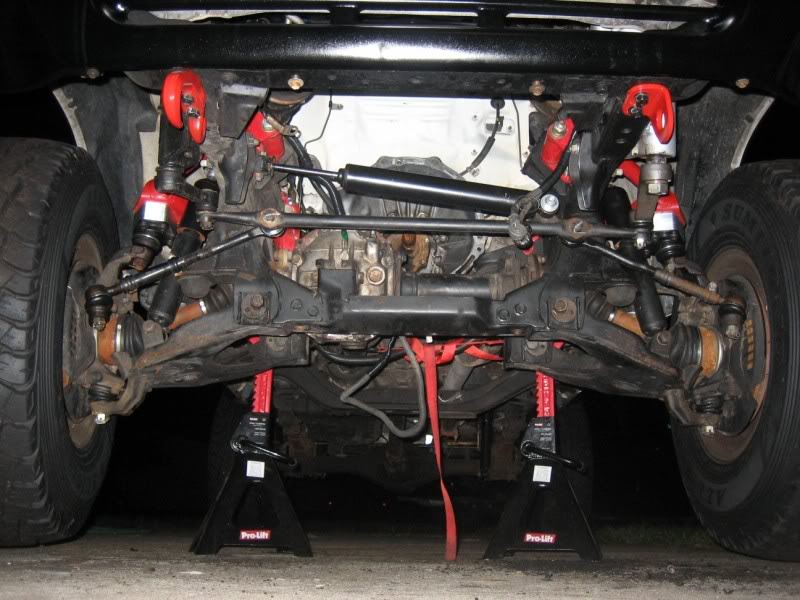
and I know already that I'm going to need an idler arm brace very soon, cause I see this arm turning into a pretzle the first time I even hit a pothole in the road, with that crazy angle on the tie-rod, lol
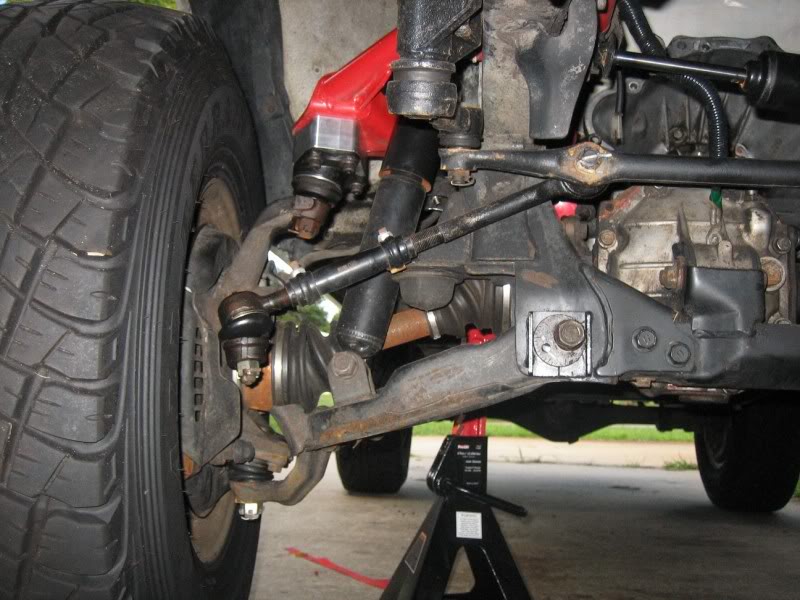
she goes bump-stop to bump-stop with no CV binding; roughly 6" of travel
not a whole lot, but it is IFS and with the t-bars WAY relaxed, it'll flex like a sum-b1ch 

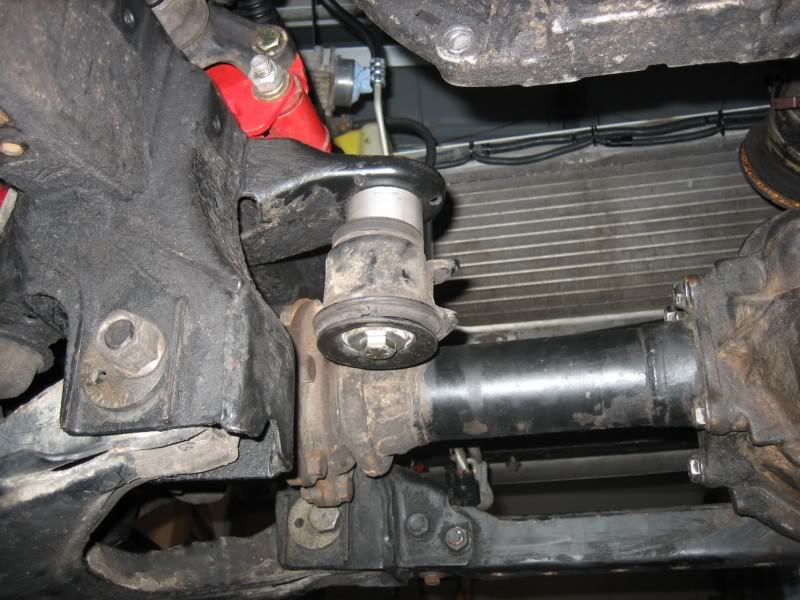
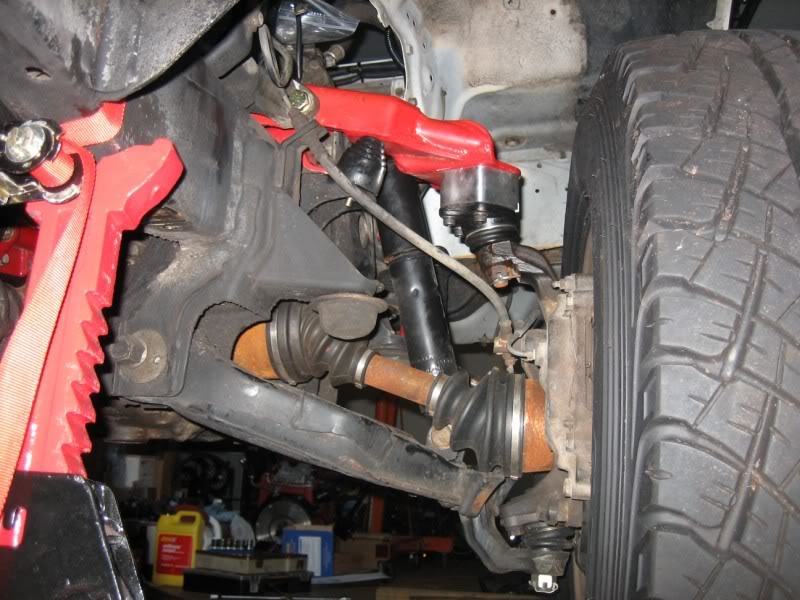
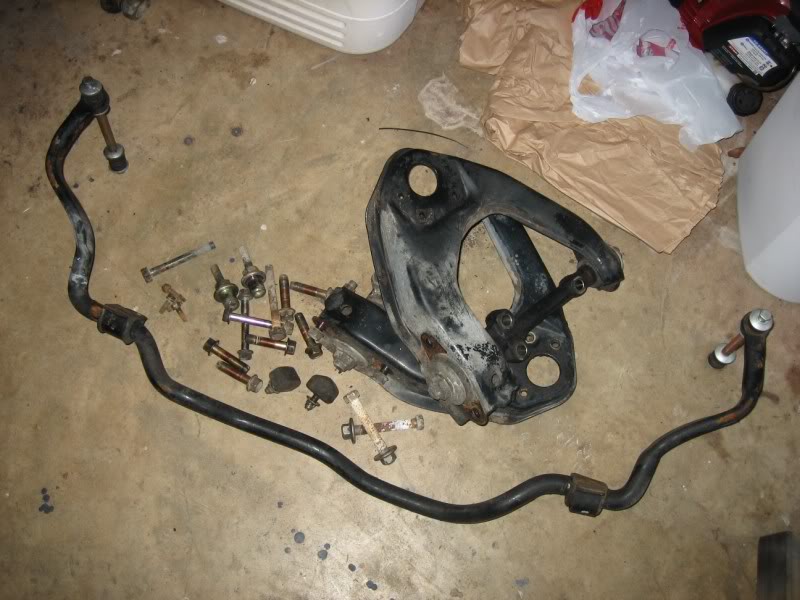
One thing you will notice is that I had to remove the sway bar, because my stupid self didn't order the 1" drops for it too when I order the diff drop a long time ago, lol. So I just added it to the "old parts" for now; it'll go back on after I order and get in the extentions
Oh, and no I haven't forgotten what this whole thread is about
still awaiting that dang clutch... should be here tomorrow. I'll probably get the clutch boted to the flywheel after I throw the t-bar bolts on tomorrow, and just maybe, Thursday I'll set the motor in the truck finally 

Last edited by waskillywabbit; 07-29-2009 at 06:41 PM.


