
Bleeder-Dude's Official 22re Engine Rebuild Thread - TONS OF PICTURES!!!
 07-16-2009, 07:33 PM
#661
Contributing Member
Thread Starter
looks fine to me; about the only thing different I would have done is remove the metal heat shield to prevent any sealing issues since mose headers have a flange that's larger than a stock manifold's, and they can catch an edge of that shield and keep things from fulling tightening down
are you try'n to jack my thread with your pretty little two-toned header? that thing looks sick!
are you try'n to jack my thread with your pretty little two-toned header?
that thing looks sick!
 07-16-2009, 08:08 PM
#663
Contributing Member
looks fine to me; about the only thing different I would have done is remove the metal heat shield to prevent any sealing issues since mose headers have a flange that's larger than a stock manifold's, and they can catch an edge of that shield and keep things from fulling tightening down
are you try'n to jack my thread with your pretty little two-toned header? that thing looks sick!
are you try'n to jack my thread with your pretty little two-toned header?
that thing looks sick!NO I am not trying to jack your tread just seems easier to get your option here then in my build thread it seems to me just me and my comments now.
07-16-2009, 09:47 PM
#664
Contributing Member
Thread Starter
 07-16-2009, 10:14 PM
#665
Registered User
That rad and fan setup is sweet! It makes me wanna ditch my stock fan and be able to override it if i want it on.
I cant wait for this thing to be fired up!!!
Too bad about marlin. Im in the same boat tho, kinda, i ordered some shifter bushings and i think they got lost. time for a phone call.
I cant wait for this thing to be fired up!!!
Too bad about marlin. Im in the same boat tho, kinda, i ordered some shifter bushings and i think they got lost. time for a phone call.
07-17-2009, 03:33 AM
#666
Contributing Member
Bleeder What size is that fan how much air doe's it pull and are you gonna put a shroud on it?
I ask because I have two 10" fans we use on are k9 cars to keep the dogs cool that I was thinking about using and I ordered this unit
Derale Adjustable Dial Electric Fan Control Kit
Part# 16769
* Controller mounts on your car or truck
* Radiator in-hose probe temp sensor.
* Adjustable dial activates fan between 150-240F degrees.
* Turn-off is 10 degrees less than turn on.
* Works with any 12 volt fan.
* Maximum capacity is 25 amps.
* A/C override circuit included.
* Designed for single and dual fan setups.
* Kit includes switch, harness, probe, wire hardware, universal mounting bracket and installation booklet with diagram.
and I am thinking of wiring the fans in parelle and then to the set up if I can fit them on the radiator surface if they won't fit I will just get a new fan so I want to know what size and air flow to go with.
One more thing did you just use the fan bolt's and screw them in to the clutch to cancel it out or how did you do it to keep the clutch from spinning?
07-17-2009, 09:20 AM
#667
Registered User
Join Date: Jun 2009
Location: Helena Montana
Posts: 493
Likes: 0
Received 0 Likes
on
0 Posts
yeah, the GMC Sonoma is getting old... I hate it, but at the same time I'm EXTREMELY happy I can use it, lol
Did more wiring today... yes more... finished up the alt wiring, buttoned up the wiring over by the battery which includes mounting the relay for the fog lights, wrapping the wires for protection, and tieing all the wires up.
Threw the battery in to check my wiring, and I'm not gunna lie, I got goose bumps when I turned the key and heard the ol Toyota BEEEEEEEEEEP that I haven't heard in SOOOO long
But I tested my fog lights, and those work perfect after the re-wire
Then flipped the override switch for the fan, and huston we have a problem... relay no go clicky... Started porobing for power, and my override 12+ has power, the constant 12+ from the battery has power, but my ground must not be too sound I would have fixed it then, but it was getting dark, so I'll mess with it tomorrow and see if we can get some air moving
It sure is easy to get anywhere you need to to move wires when there's no motor in the way, lol

Did more wiring today... yes more... finished up the alt wiring, buttoned up the wiring over by the battery which includes mounting the relay for the fog lights, wrapping the wires for protection, and tieing all the wires up.
Threw the battery in to check my wiring, and I'm not gunna lie, I got goose bumps when I turned the key and heard the ol Toyota BEEEEEEEEEEP that I haven't heard in SOOOO long
But I tested my fog lights, and those work perfect after the re-wire
Then flipped the override switch for the fan, and huston we have a problem... relay no go clicky... Started porobing for power, and my override 12+ has power, the constant 12+ from the battery has power, but my ground must not be too sound
I would have fixed it then, but it was getting dark, so I'll mess with it tomorrow and see if we can get some air moving It sure is easy to get anywhere you need to to move wires when there's no motor in the way, lol
haha i guess im lucky
for having somthing to drive accept its not a 4x4 so all those tempting puddles r gonna have to wait 
and the door ajar ding there is nothing like it makes u feel like somthings missing when it goes off lol
Last edited by davo247d; 07-17-2009 at 09:22 AM.
07-17-2009, 01:04 PM
#668
Contributing Member
Thread Starter
1400 CFM
going to run shroudless; I shroud really isn't going to help with the air flow any; the casing of the fan acts more or less like a shroud itself, and it mounts plenty flush with the radiator core that it pulls air through it really good
I ask because I have two 10" fans we use on are k9 cars to keep the dogs cool that I was thinking about using and I ordered this unit
Derale Adjustable Dial Electric Fan Control Kit
Part# 16769
* Controller mounts on your car or truck
* Radiator in-hose probe temp sensor.
* Adjustable dial activates fan between 150-240F degrees.
* Turn-off is 10 degrees less than turn on.
* Works with any 12 volt fan.
* Maximum capacity is 25 amps.
* A/C override circuit included.
* Designed for single and dual fan setups.
* Kit includes switch, harness, probe, wire hardware, universal mounting bracket and installation booklet with diagram.
 07-17-2009, 05:33 PM
#670
Contributing Member
Thread Starter
that would probably look a little better than a bunch of hex-head bolts; thanks!
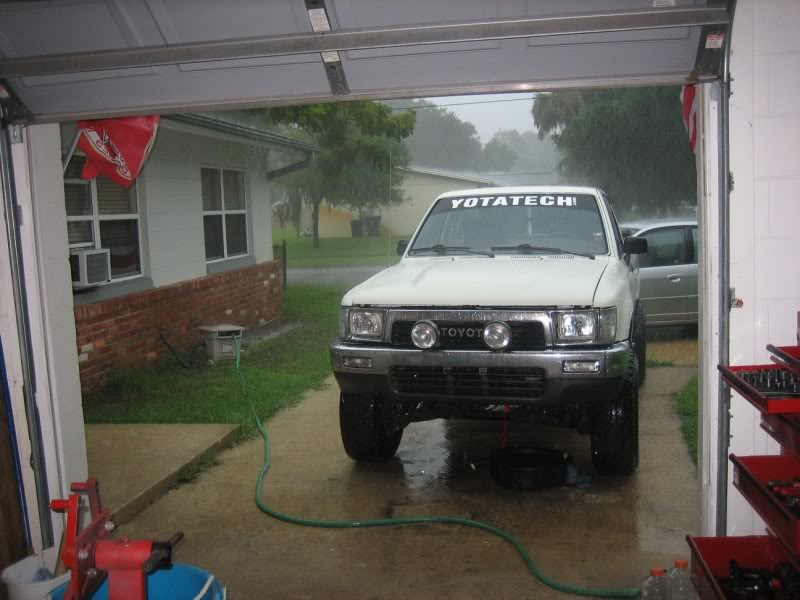
Started on the truck again a little today; got the new clutch master and slave cylinder installed, and then it started pouring rain
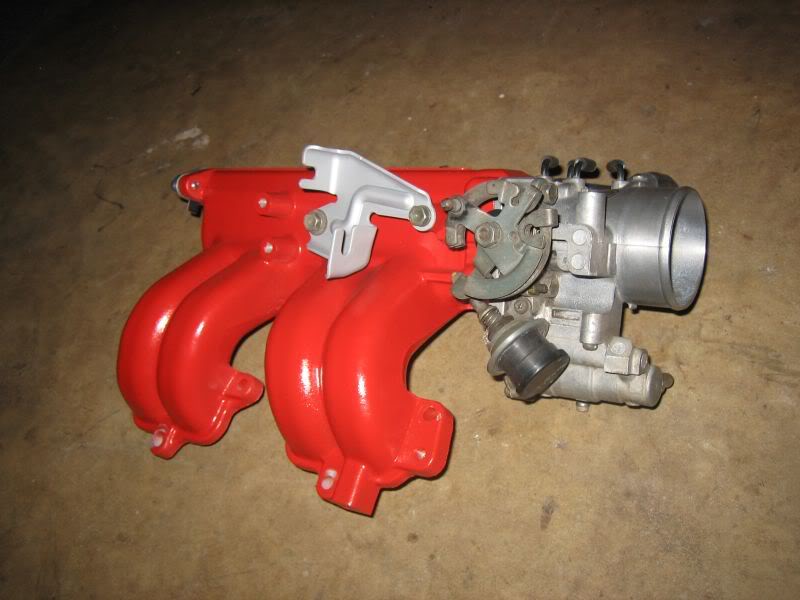
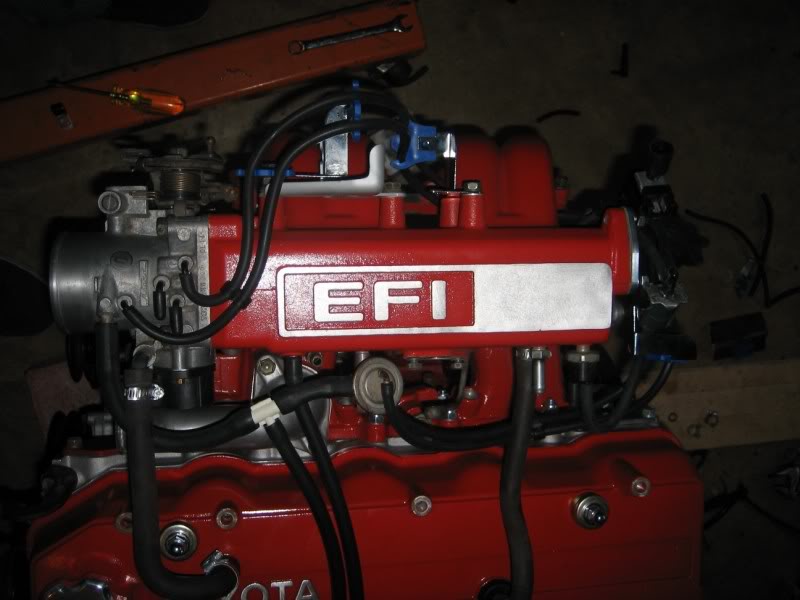
So I retreated into the garage and picked up the upper intake and decided I'd put the little peices and parts back on it
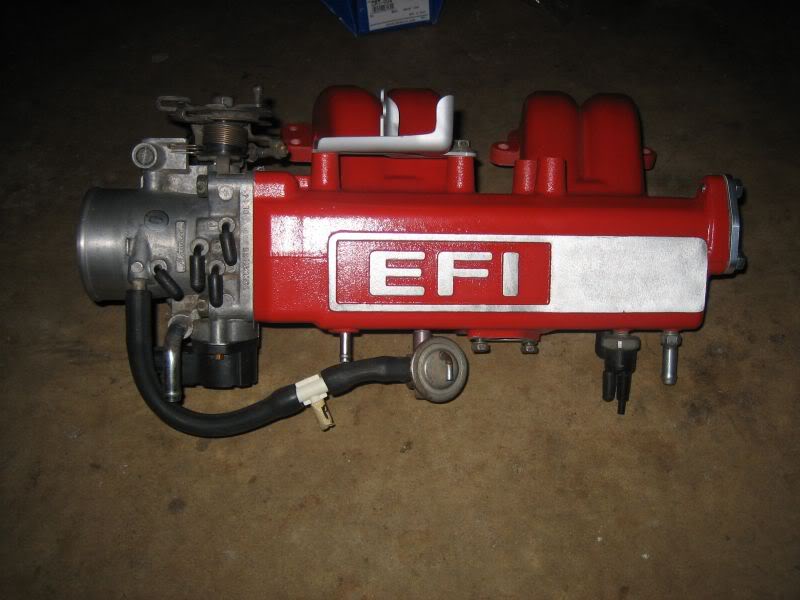
aw crap, I just realised I reversed those two fittings on the back of the intake facing the valve cover
Started on the truck again a little today; got the new clutch master and slave cylinder installed, and then it started pouring rain
So I retreated into the garage and picked up the upper intake and decided I'd put the little peices and parts back on it
aw crap, I just realised I reversed those two fittings on the back of the intake facing the valve cover
Last edited by iamsuperbleeder; 07-17-2009 at 05:37 PM.
07-17-2009, 06:06 PM
#671
Contributing Member
16"
I just order one tonight that pulls 2500 cfm 16" Thanks for the heads up on that
I am going to go shroudless as well , if the 2500 cfm don't cool it then I will find a way to fit a shroud around it.
1400 CFM
going to run shroudless; I shroud really isn't going to help with the air flow any; the casing of the fan acts more or less like a shroud itself, and it mounts plenty flush with the radiator core that it pulls air through it really good
sounds good, but mounting might be an issue; the radiator doesn't have all that much surface room for you to mount fans too. measuring this one up was easy for me, cause I just had the radiator handy, and started pulling some off the shelf at the store until I found one that fit how I wanted
I took the clutch off completely; just th pulley on the water pump! It's only temporarily held on with the original studs and nuts and a few washers, but I'll be replacing those with just bolts and lock-washers
That may be the better way to go I thought about just locking the clutch down but I think I may use your idea and get rid of the clutch all together save a little weight and make them 1/4 mile times drop a bit lol
07-18-2009, 05:58 PM
#672
Contributing Member
Thread Starter
yay, more progress today
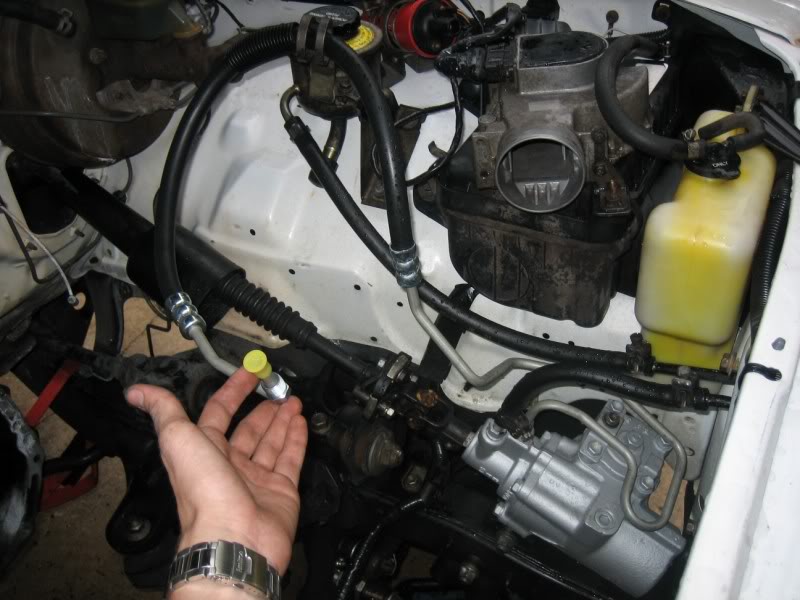
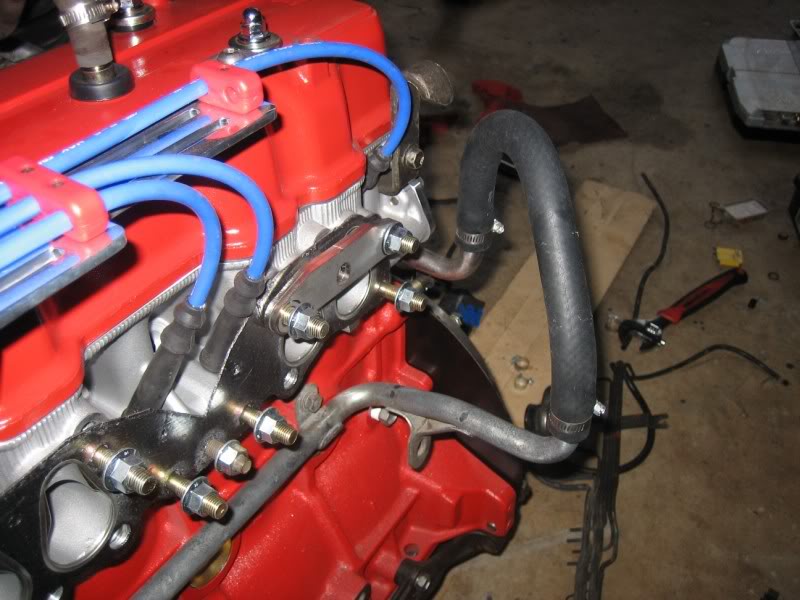
started off by throwing on the new PS pressure hose I ordered since the old one was well beyond shot and was leaking from a split in it, lol
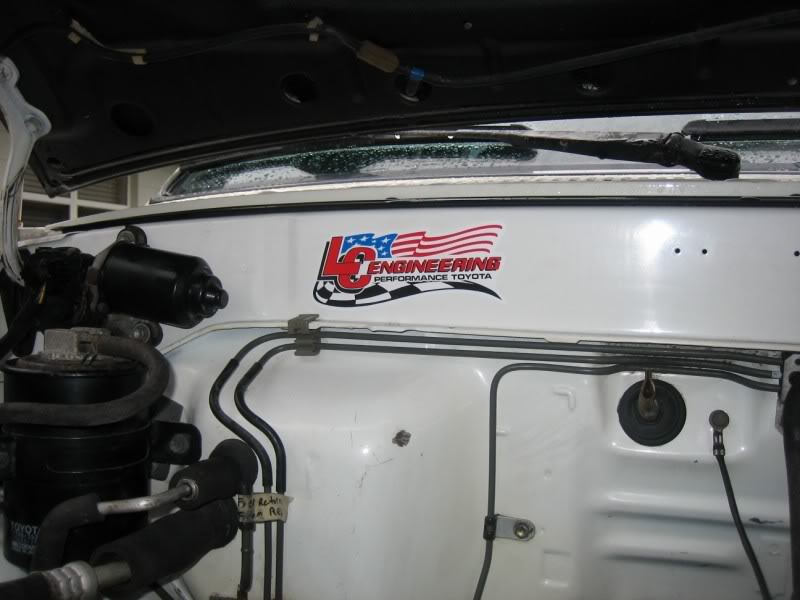
then decided I'd use a couple of these LCE decals
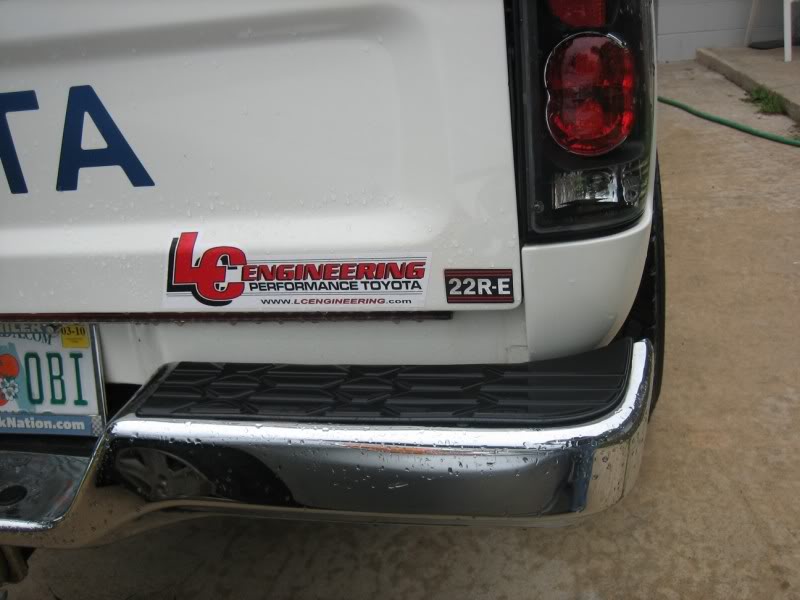
and then Florida showed it's true self
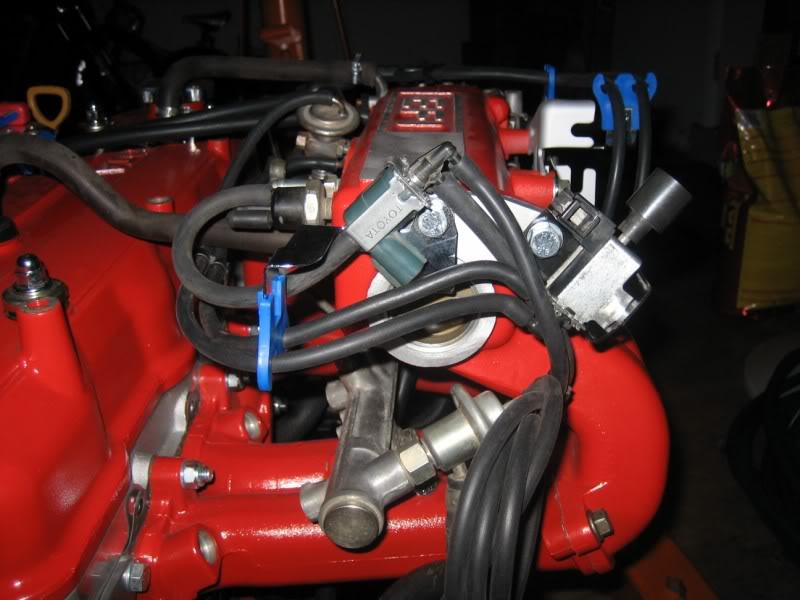
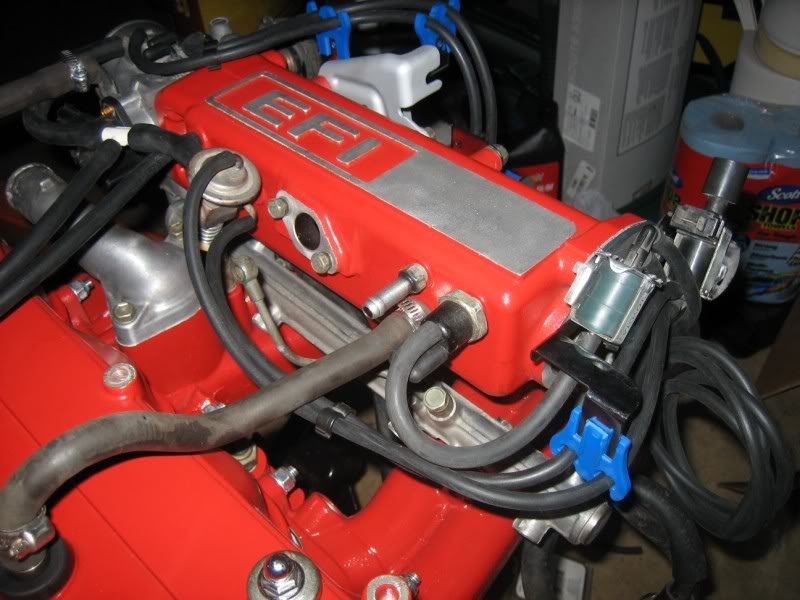
so I tucked myself away into the garage and tackeled some vacuum hose re-routing using some hose I picked up, and some spark-plug wire holders I had from my old 82 Monte I dropped a 350 in see, all these little parts and peices I don't throw away come in mighty handy sometimes! 
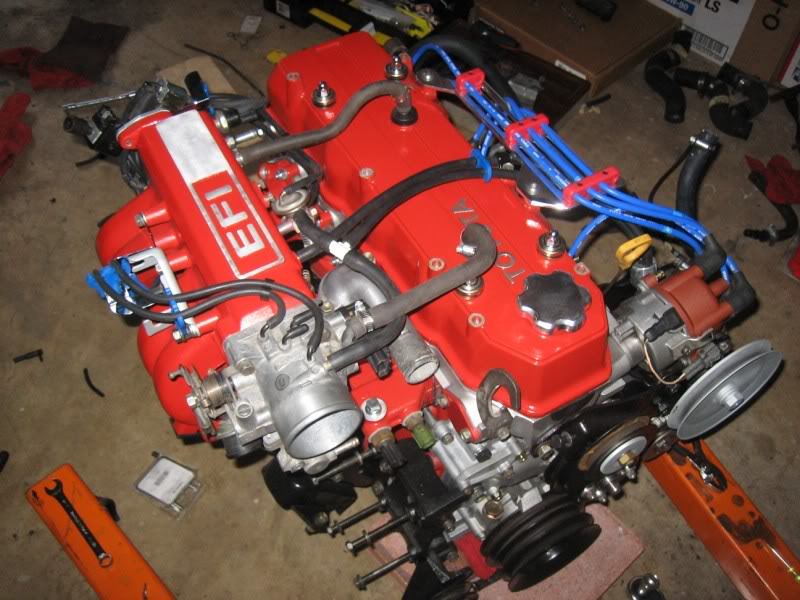

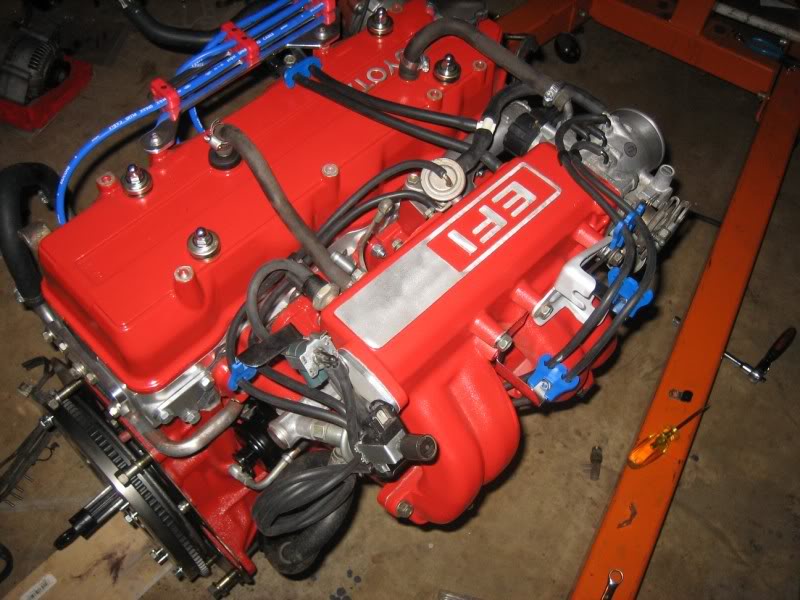
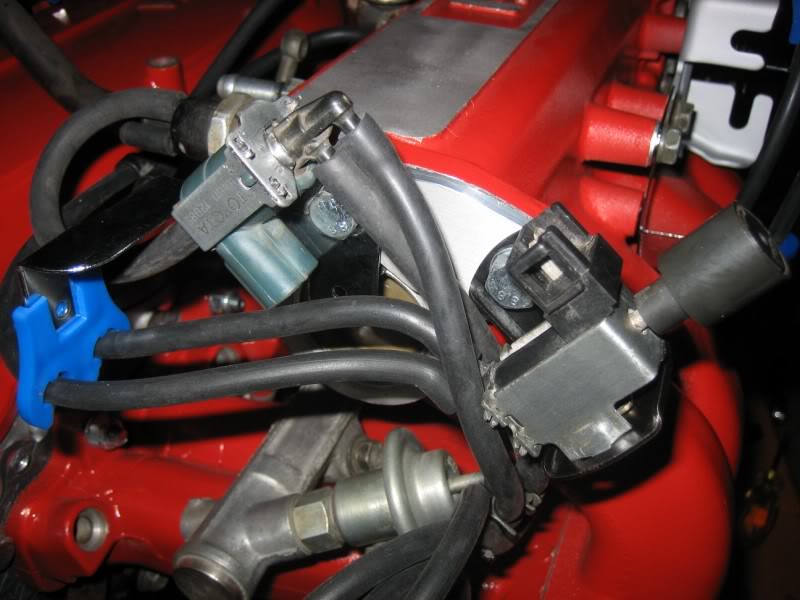
the only VSV's left are the AC idle-up and the fuel pressure regulator (I found out after studying the sticker on the hood, lol), so I decided to help show off my valve cover I'd relocate them. Now I just have to get back in there and extend the wiring for those two plugs
the long coiled up hose at the rear of the plentum goes to the vapor canister
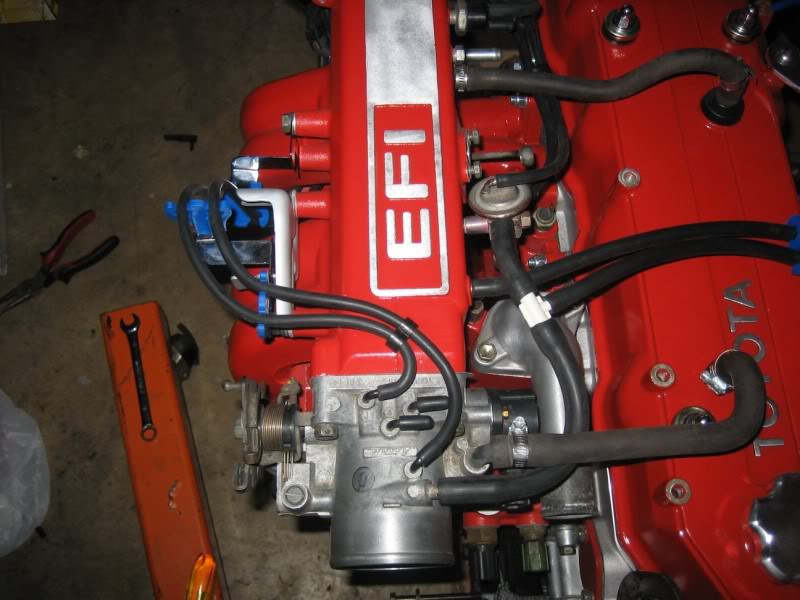
and since I had the PS pump completely off from the truck, I just went ahead and bolted it up to the motor, ran the idle-up hoses for it, painted the face of the pulley, and even threw on a new return hose to go to the resevoir since the old one was dry rotting and cracking... ATF is the last thing I need spewing onto a hot header


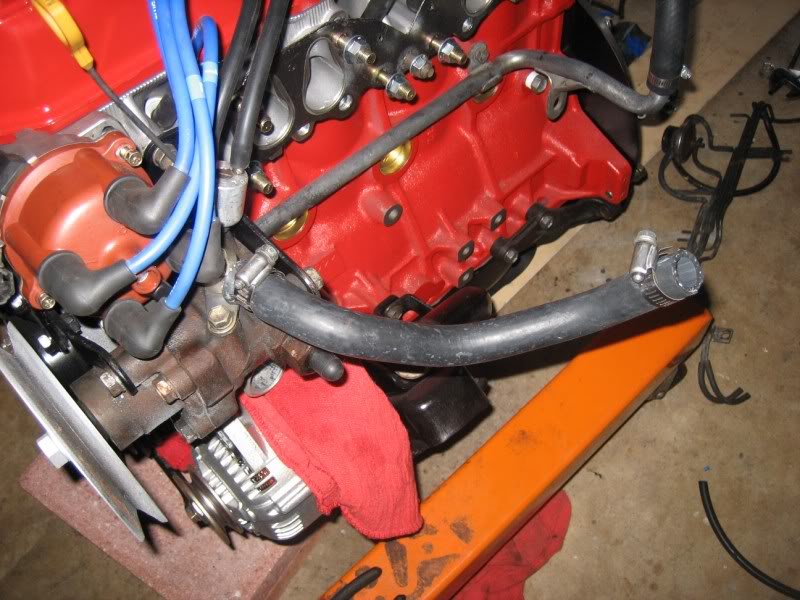
and I also went ahead and put on a new looping hose since my heat core is bypassed right now due to it leaking... I'll fix it before next winter... I've got like 6 months, lol
So as it sits right now, the motor is ready to run accept for getting the injectors rebuild, and they are getting sent out early next week (like Monday or Tuesday), I need to get new belts and radiator hoses which I will order from Toyota and pick up either next Friday or Saturday (gotta wait till that pay check deposits, lol), secure the upper plentum for good once the injectors are in, and she'll be fired up! My only hold up on dropping the motor in the truck right this minute is waiting on my clutch to get here from MC 
started off by throwing on the new PS pressure hose I ordered since the old one was well beyond shot and was leaking from a split in it, lol
then decided I'd use a couple of these LCE decals
and then Florida showed it's true self
so I tucked myself away into the garage and tackeled some vacuum hose re-routing using some hose I picked up, and some spark-plug wire holders I had from my old 82 Monte I dropped a 350 in
see, all these little parts and peices I don't throw away come in mighty handy sometimes! the only VSV's left are the AC idle-up and the fuel pressure regulator (I found out after studying the sticker on the hood, lol), so I decided to help show off my valve cover
I'd relocate them. Now I just have to get back in there and extend the wiring for those two plugsthe long coiled up hose at the rear of the plentum goes to the vapor canister
and since I had the PS pump completely off from the truck, I just went ahead and bolted it up to the motor, ran the idle-up hoses for it, painted the face of the pulley, and even threw on a new return hose to go to the resevoir since the old one was dry rotting and cracking... ATF is the last thing I need spewing onto a hot header
and I also went ahead and put on a new looping hose since my heat core is bypassed right now due to it leaking... I'll fix it before next winter... I've got like 6 months, lol
So as it sits right now, the motor is ready to run accept for getting the injectors rebuild, and they are getting sent out early next week (like Monday or Tuesday), I need to get new belts and radiator hoses which I will order from Toyota and pick up either next Friday or Saturday (gotta wait till that pay check deposits, lol), secure the upper plentum for good once the injectors are in, and she'll be fired up!
My only hold up on dropping the motor in the truck right this minute is waiting on my clutch to get here from MC
Last edited by iamsuperbleeder; 07-18-2009 at 06:03 PM.
07-19-2009, 11:40 AM
#677
Contributing Member
Thread Starter
yeah I used engine block paint on everything accept for the header, and I also used that same header VHT paint on the steering gearbox, PS pump pulley, and throttle cable bracket on the upper plentum, just cause I had it left over and I like the silvery color of it
07-19-2009, 12:09 PM
#678
Registered User

Join Date: Jul 2009
Location: oxford. miss
Posts: 16
Likes: 0
Received 0 Likes
on
0 Posts
I have pulled a bunch of 22r's and its a lot better to pull the wires out of the fire wall and lay them on the moter and than pull the hole thang out. the power stearing is the only thing i take off and sonetimes not that. about 45min i can have it on the stand


