When you click on links to various merchants on this site and make a purchase, this can result in this site earning a commission. Affiliate programs and affiliations include, but are not limited to, the eBay Partner Network.
I would be very surprised if you didn't go after clutch and flywheel while the powertrain is out of the vehicle, but it's worth the question. If it were mine, buy the replacement parts and deal with it until something fails or until I drop the tranny for some other reason - install duals, do rear main seal, etc.
The weird thing is that it seems to only do it after I've hot started the truck. It also appears to be worse when I have a lot of weight in the back...
Yeah I had plan on putting a marlin HD clutch in when I do duals here in the next couple months. I'll do a flywheel at the same time.
HELP! Im having a similar problem. I took my 06 tacoma v6 6speed on the mountain and got her buried in 3 and a half feet of snow and after i dug it out it wouldn't want to go into reverse at all. I had to play with the clutch and after tons of awful grinding i could get it in. I thought it might've been the snow or something but 3 weeks later now its completely thawed out and still fighting me to get into reverse. I can get it in reverse if i push the brake in all the way while shifting and slowly let out the clutch with no gas it'll only grind once but is still messed up. I just bought the truck a month ago and still owe 15k so im pretty heart broken and want to know how to fix it asap.
SOMEONE HELP
Last edited by Terrys87; 01-13-2016 at 02:02 PM.
Reason: Language.
Is your bracket cracked? Have you looked under the dash? See the repair steps above. You might just need to extend the pedal travel with the adjustment bolt. In the interim when you need reverse, turn ignition off, select reverse, start truck and no grinding.
I wanted to thank everyone who has contributed to this thread over the years. I spent a day pulling my bracket out, welding up some reinforcing plate and reinstalling; after reading over the nine pages of comment, pictures and insight, I can say that nothing I encountered surprised me. I was chasing an intermittent start problem and think that the cracked bracket my have been the culprit, but as with all intermittent problems, time will tell.
It's really not hard to shift without a clutch. Sometimes I drive like that when I'm legit just being lazy. Looking at the guys grinding all their gears up.
Most gears mesh around the 2k point if you're going the proper speed. a gentle bit of pressure and the gear will slide right in. doesn't take much practice
if you're really in a pickle, you can get going from a stop with the safety cancel button in first/low gear
anyway, me and my first gen will slink away now hopefully to never return
Am I the only one that knows how to shift gears without a clutch? It's really not hard. Sometimes I drive like that when I'm legit just being lazy.
Most gears mesh around the 2k point if you're going the proper speed. a gentle bit of pressure and the gear will slide right in. doesn't take much practice
if you're really in a pickle, you can get going from a stop with the safety cancel button in first/low gear
I had to do all that to get home when I lost hydraulics. Wasn't fun but definitely doable. Replaced both cylinders and flex hose and was happy to not find a cracked bracket.
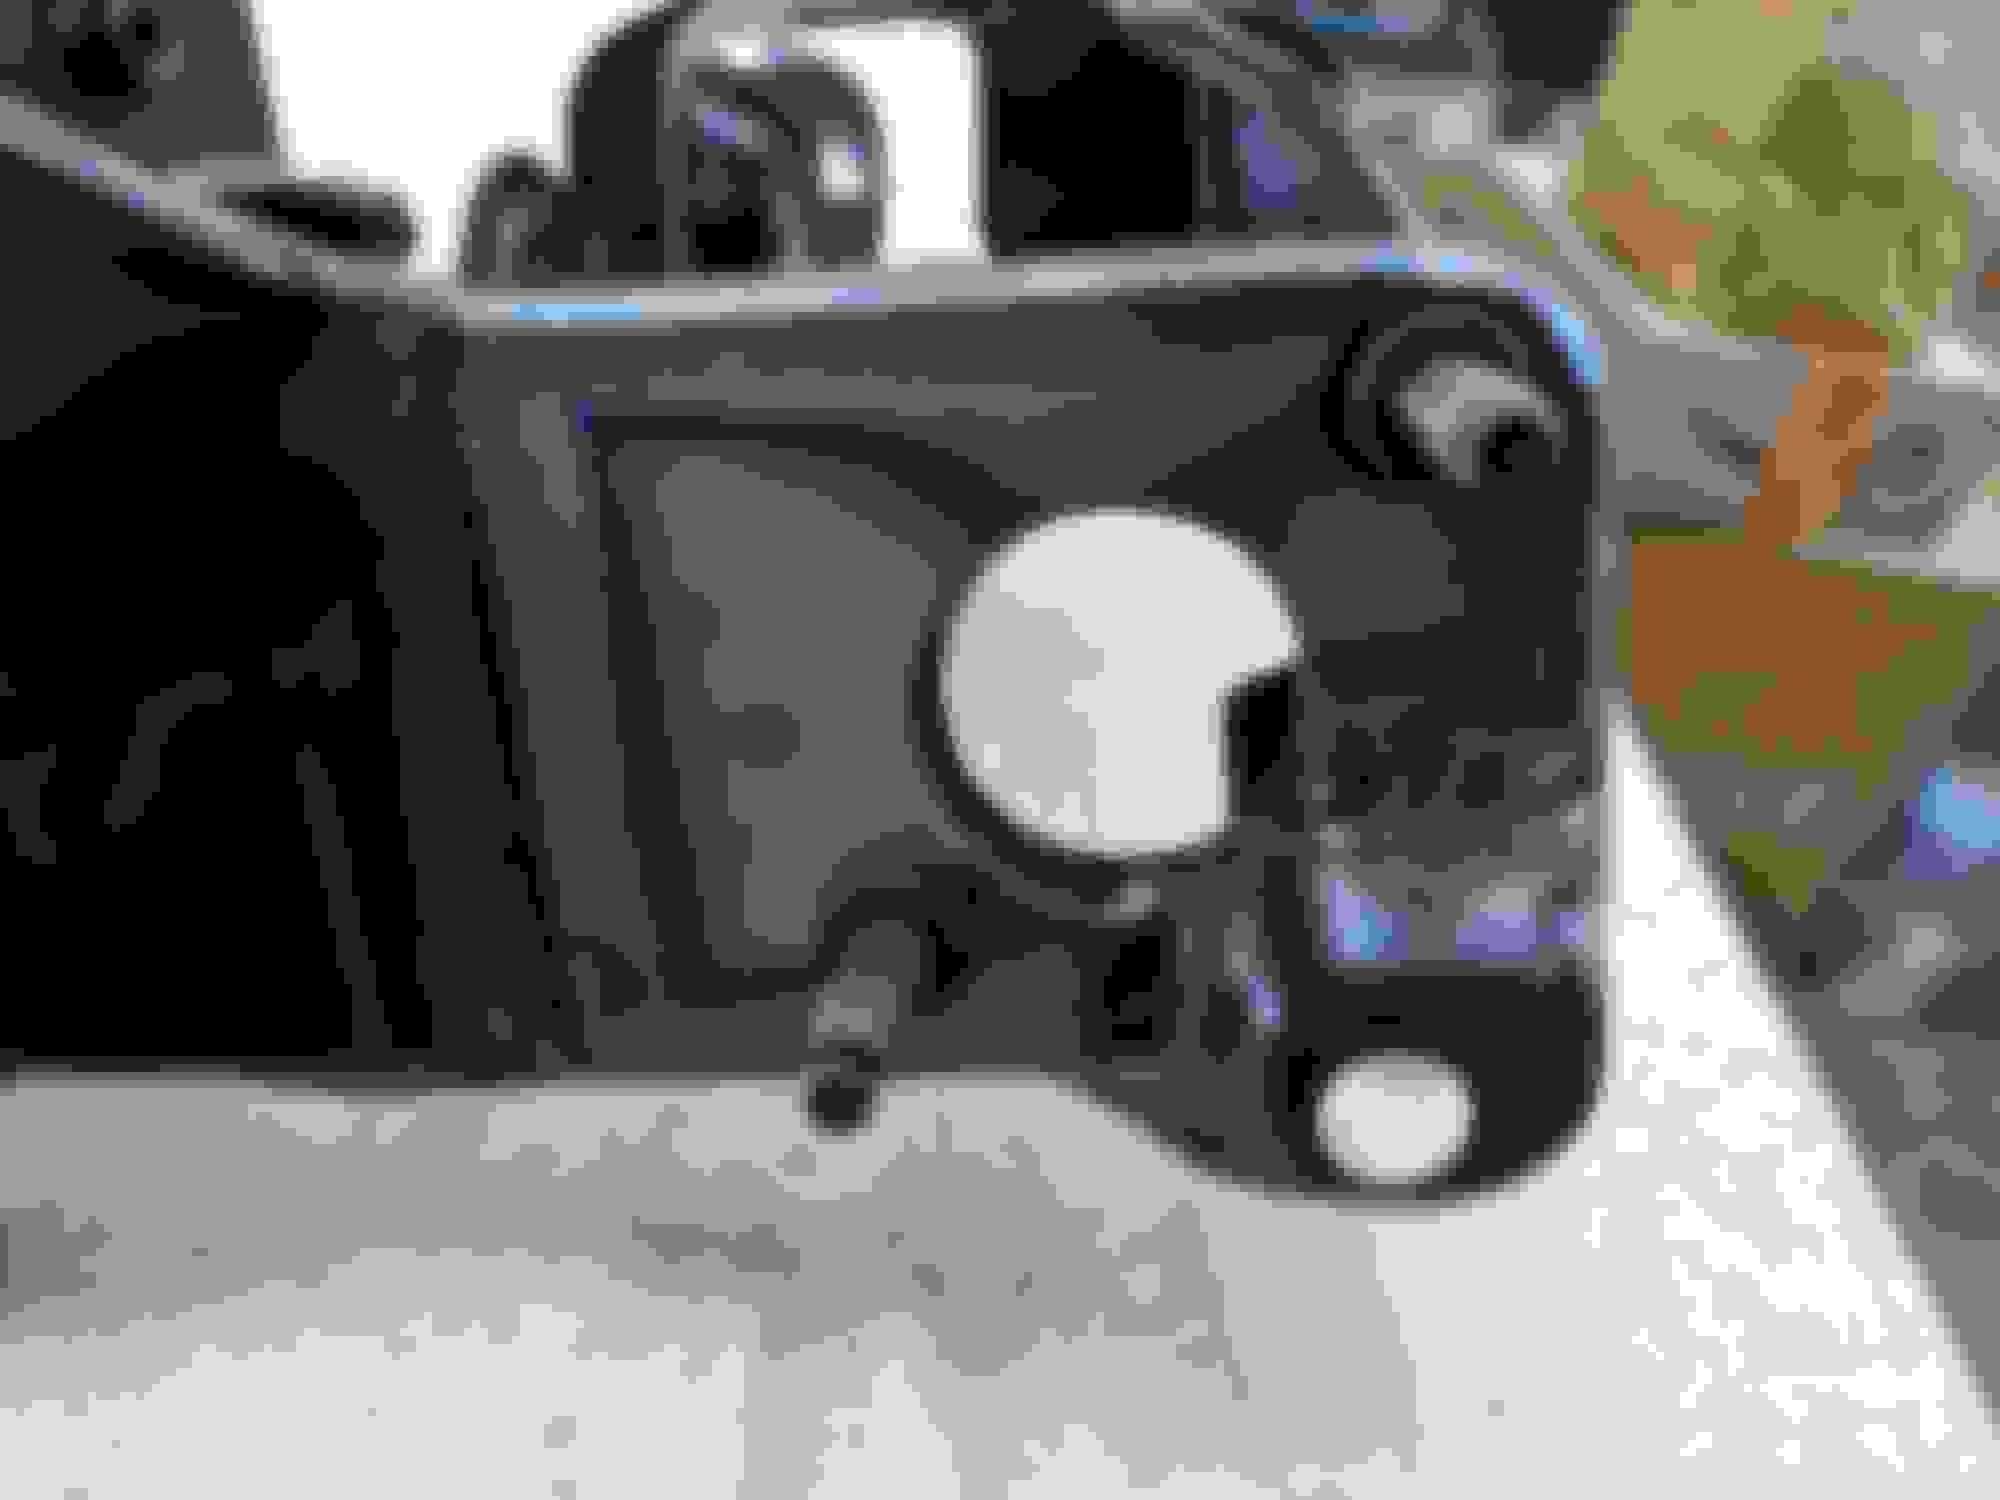
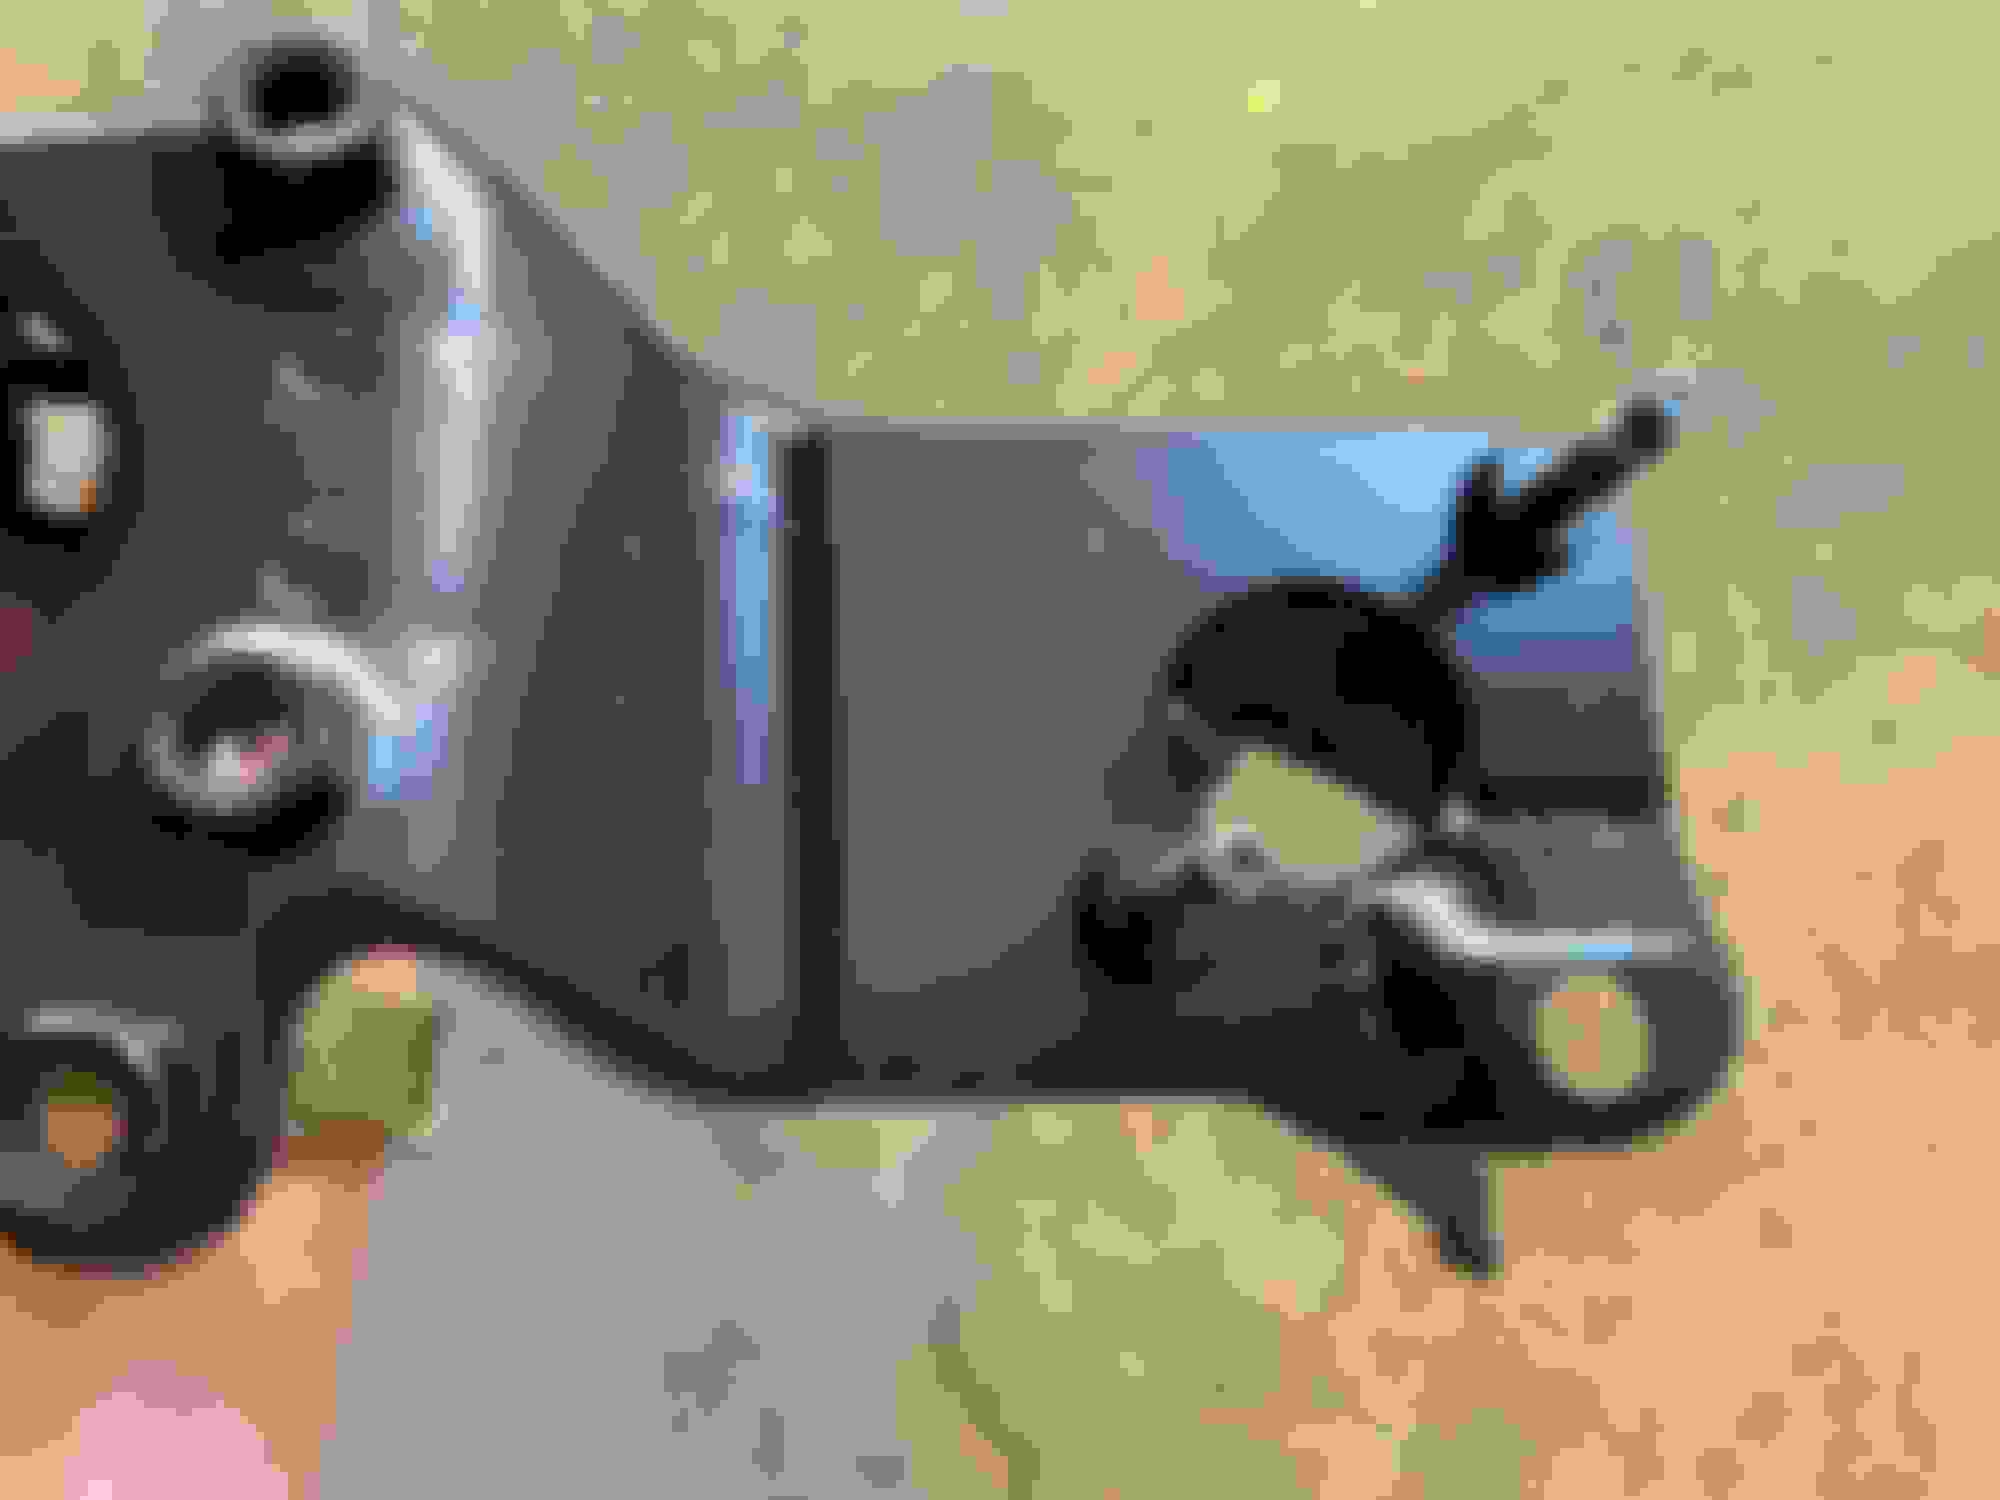
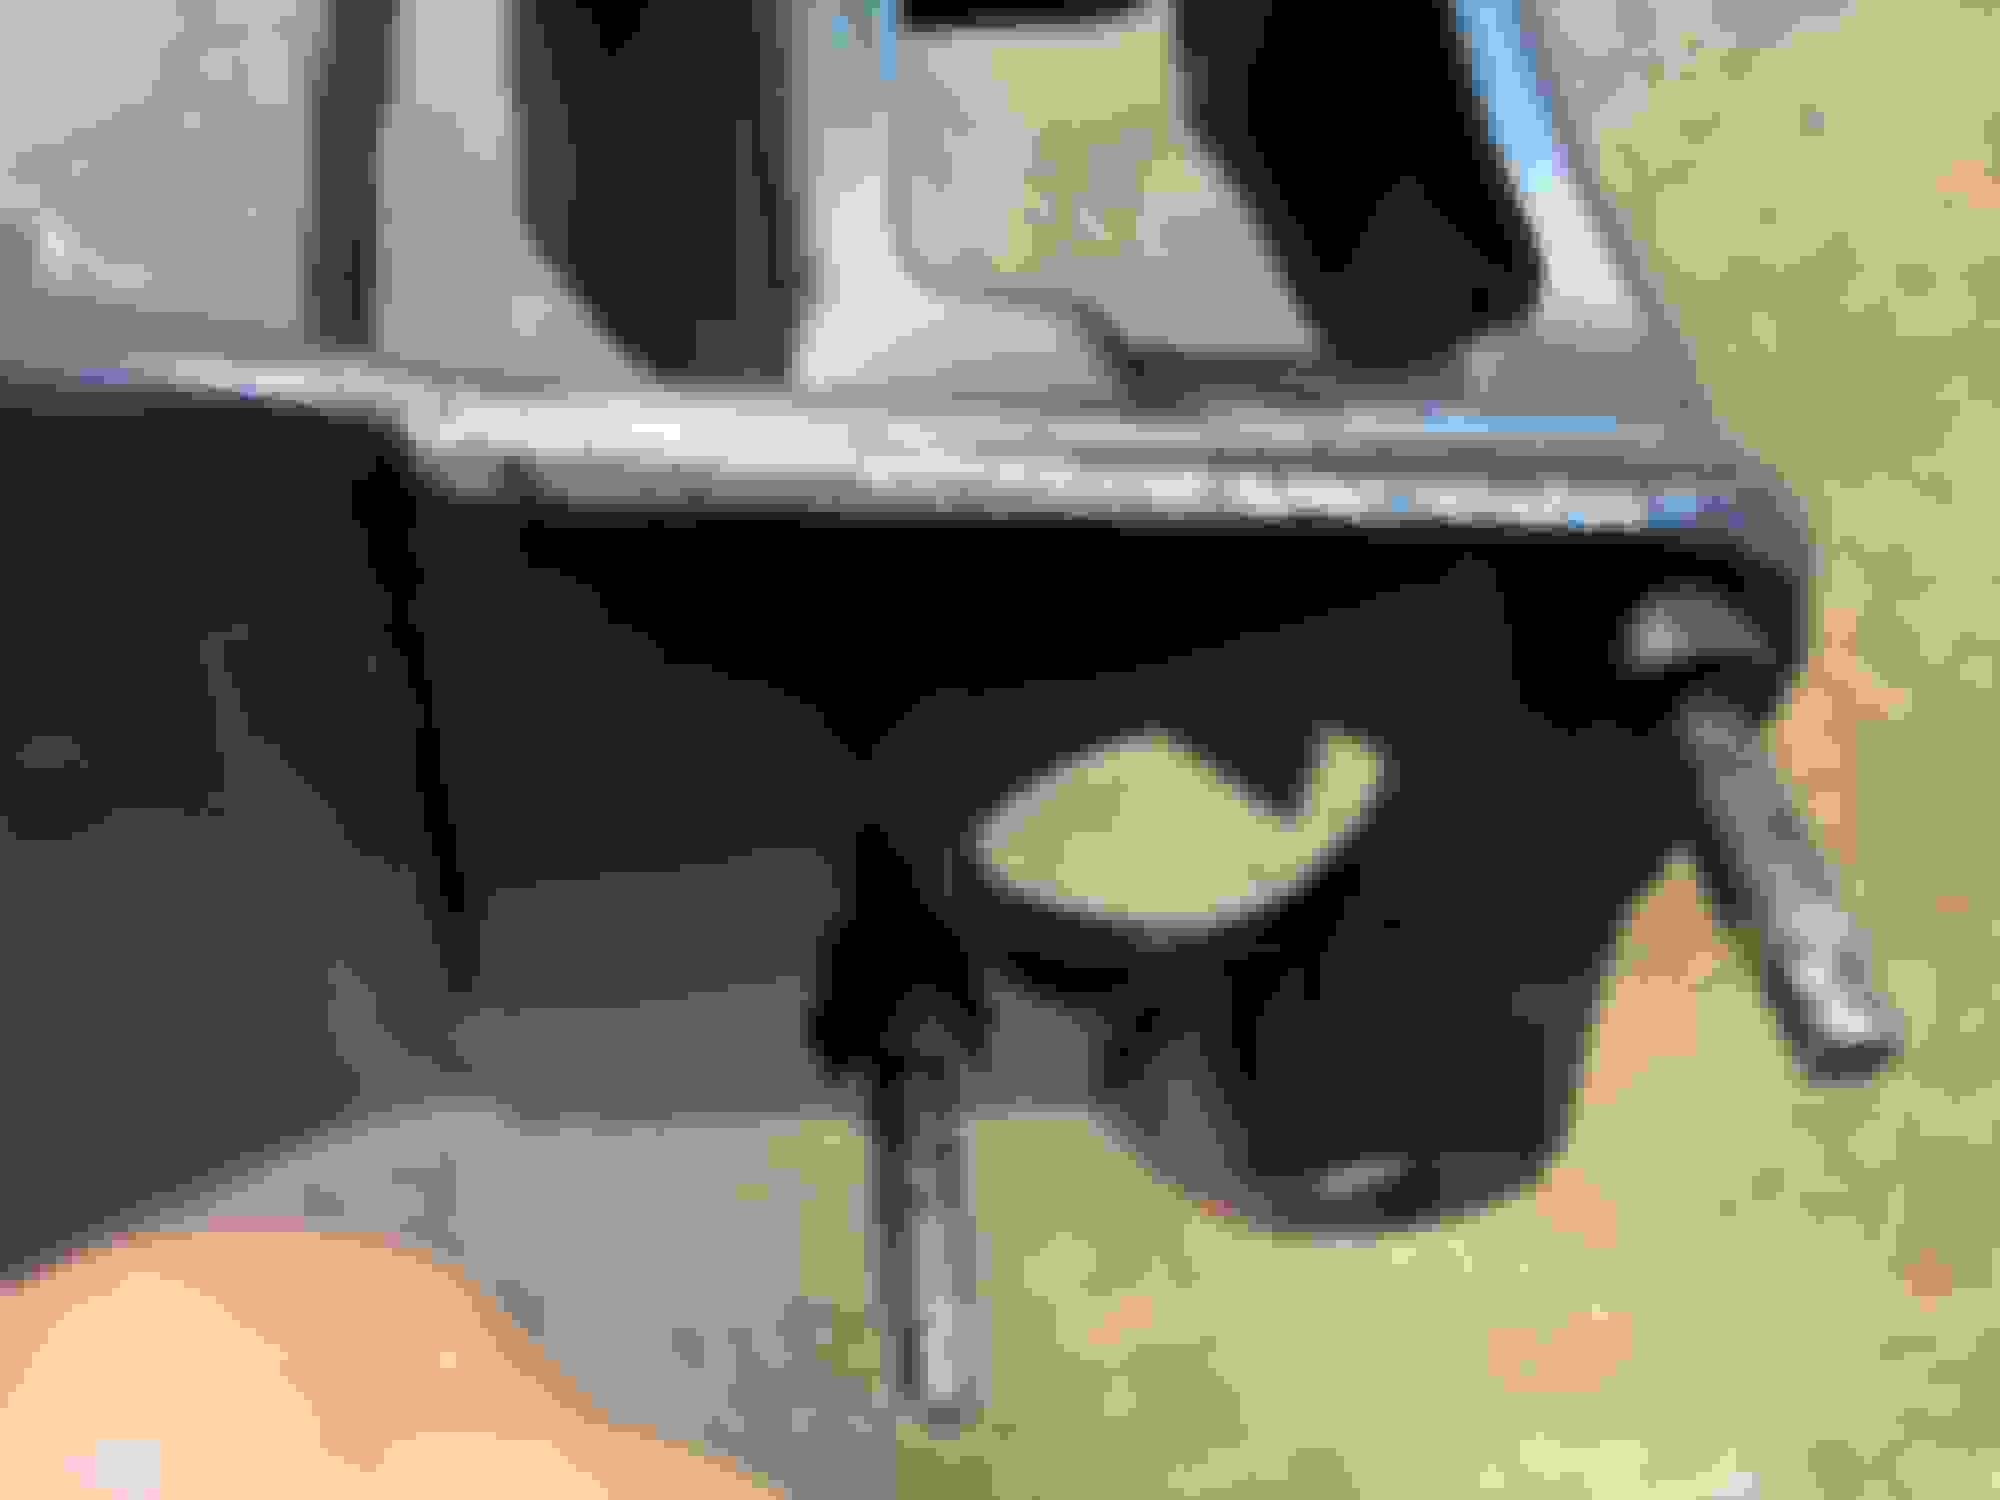
So I have the classic clutch pedal bracket crack on my 1990 4x4 Pickup 3.0 v6, so i got a replacement bracket that is near identical except for the big spring on the clutch pedal. You can see the pictures of the different brackets here.
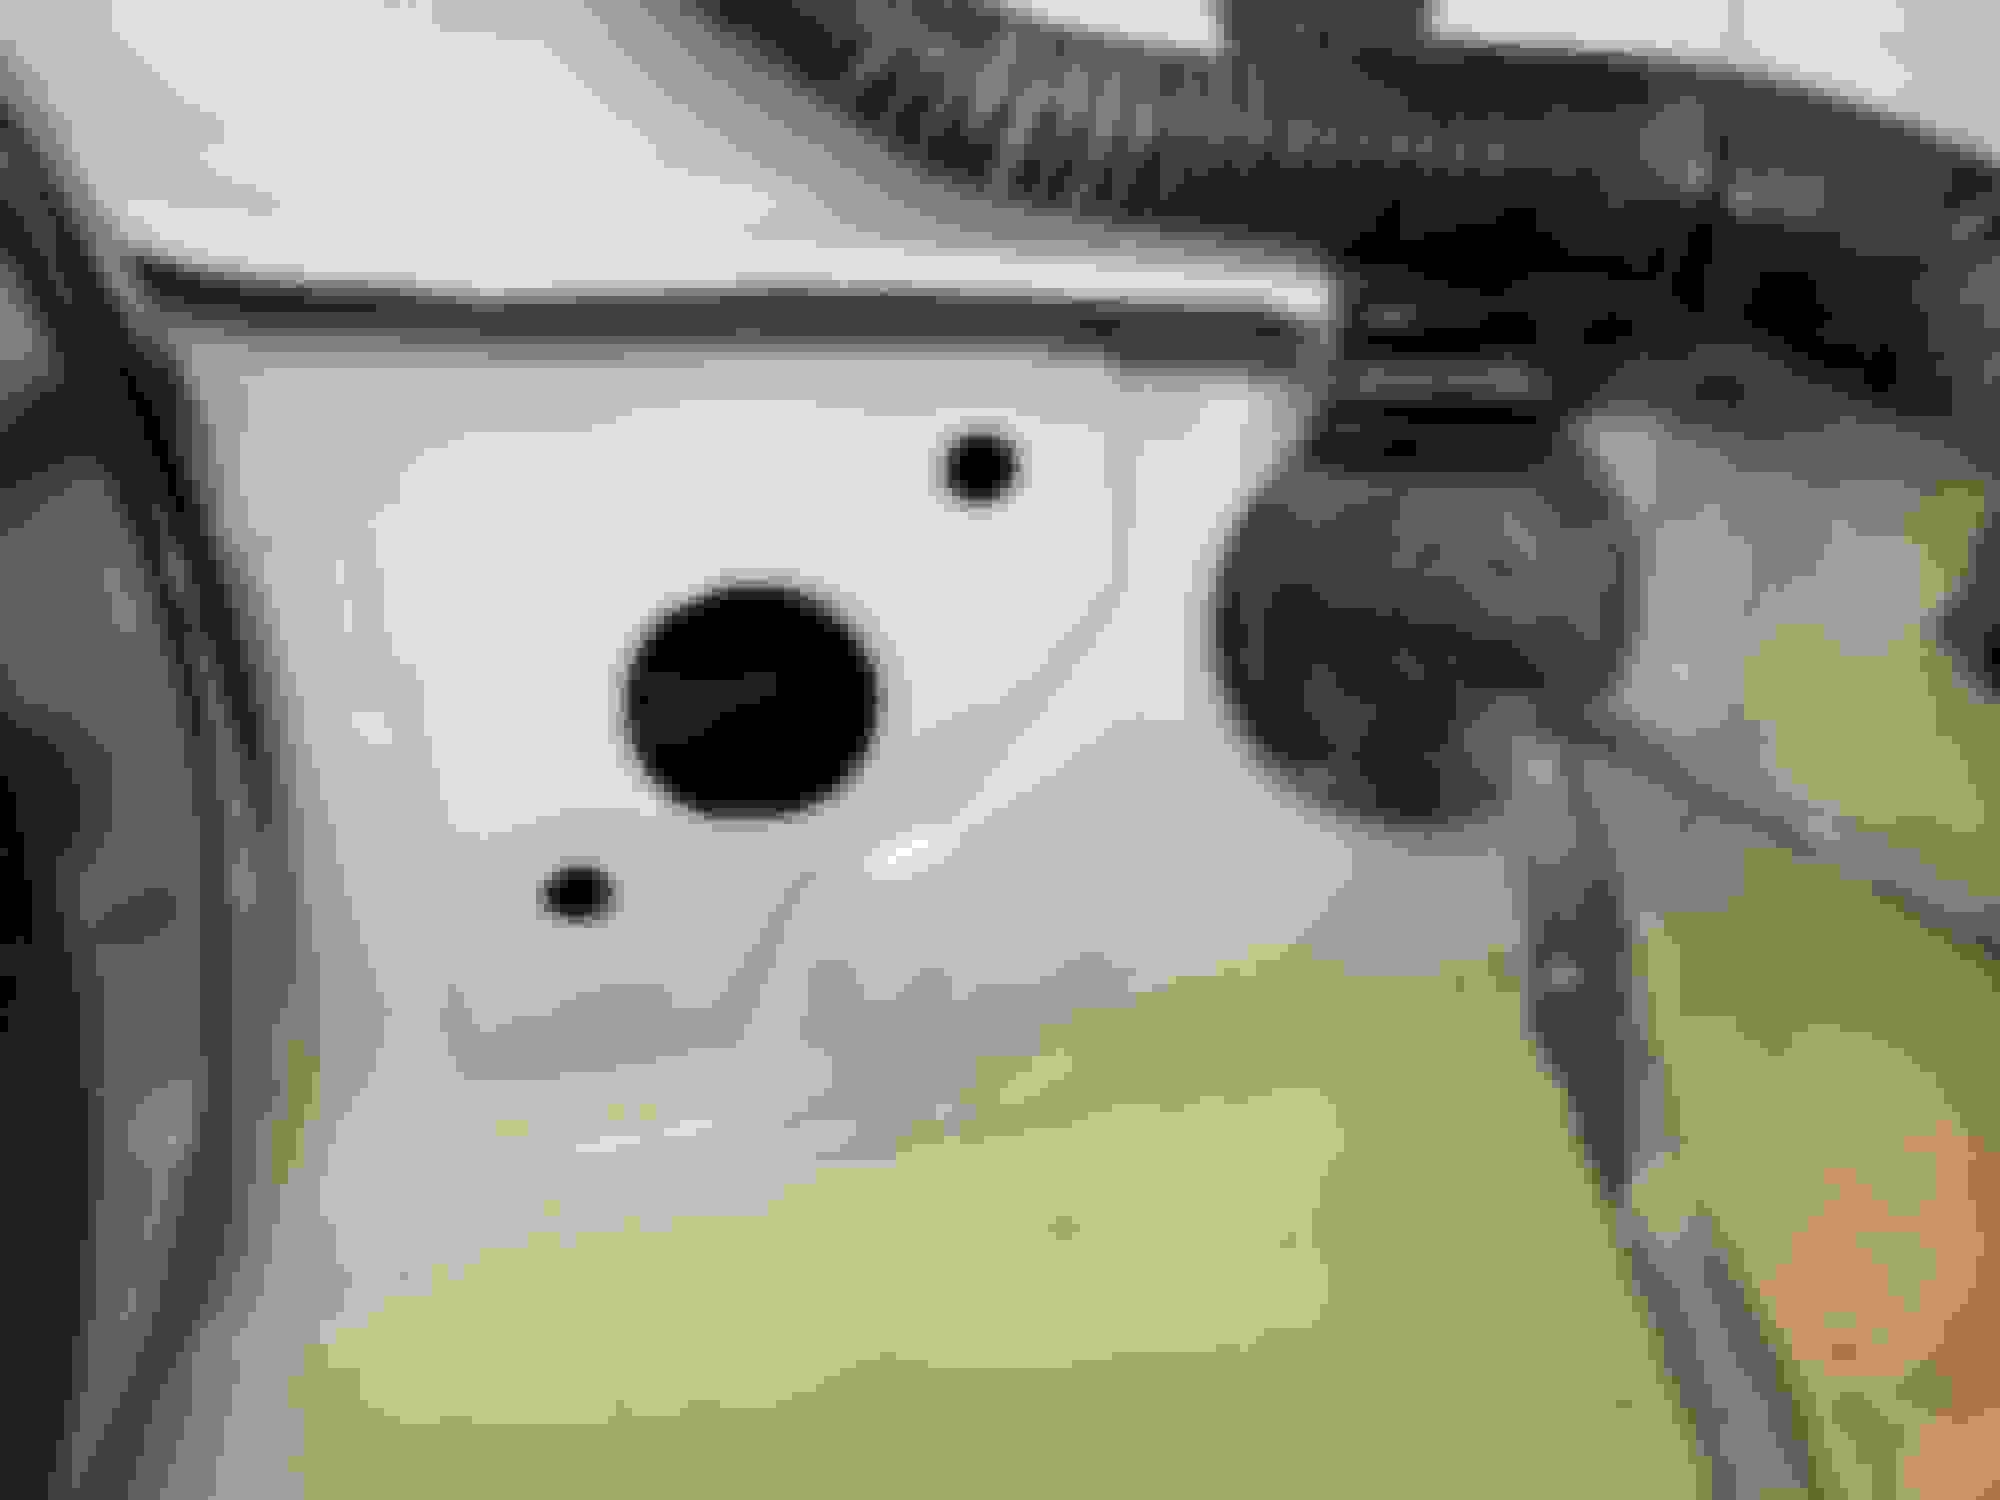
What should I do? could i replace the clutch pedal and get that spring holder plate cut and welded onto the replacement bracket? (on the right in the third photo)
this first photo shows the different clutch pedals, the pedal on the right has a metal bracket for the spring to attach to it pointing downwards.
the second photo shows the close up of the spring on the pedal assembly, and the third photo shows both pedal assemblies.
Differences in the two clutch pedals. the short metal bracket welded to the pedal on the right. ^^^
note the large spring
the two very different clutch pedal brackets. no spring mechanism on the right clutch pedal.
Replaced mine awhile ago. Now I have a different problem. When I try to shift into gear it starts to stall and dies, also does it if it is in neutral when I release the brake.
Mine was so badly cracked and fatigued that the firewall was beginning to crack where the bracket bolts through to the master cylinder.
To remedy this, I�d need to replace the bracket completely ($200 bucks from the dealer, and that�s at a discount), reinforce it, and reinforce the firewall to prevent the cracks from spreading.
I thought about having the firewall welded, but both because the metal is so thin and because I didn�t want to worry about getting my truck to my (very experienced) welder buddy, after consulting with another engineering buddy I decided to sandwich the cracked firewall with a plate on the engine bay side to support the master cylinder and two large fender washers on the inside, sandwiched to the firewall with a suitable epoxy. I settled on PC Autobond after testing a variety of options as it was one of the strongest while still having a little flex (as opposed to something like JB weld which is a bit too hard, or JB weld Marine or auto body dealer which was too soft). I hand traced and cut the plate for the engine bay and cut down two washers for the inside to accommodate the master cylinder. This would both spread out the load from the bracket studs and support the cracks. I also drilled a pin hole at the apex of each crack to stop it from spreading.
A previous owner had (poorly) tried to fix the broken bracket with a handful of random sheet metal screws he screwed through the firewall and up into the cowl. I cleaned up these holes, filled with JB stick, sealed with an auto body sealant, and painted. The top support bracket that�s spot welded to the cowl on the clutch side was completely gone, so I found a metal collar at the hardware store that fit the distance between the top of the bracket and the cowl, a 2� long bolt, and some washers and lock nut. Carefully measured and drilled hole through the cowl into the area where the wiper linkage lives, and dropped the bolt and washer through. A washer and the collar sat underneath between the cowl and bracket, and the bracket was locked in place with a lock washer and nut. Once torqued down, I sealed around the bolt and washer on the outside of the cowl with auto body sealant and paint. Also filled the broken spot weld holes and painted.
I held the washers and master cylinder support plate in with bolts while the epoxy cured. To ensure the epoxy didn�t stick to the bolts, I coated the threads, washers, and nuts with Johnson�s Paste Wax (an old trick used when epoxy glass bedding gun stocks to keep the epoxy from sticking to receivers). I avoided torquing these bolts as clamping is not recommended during cure with epoxy other than to hold in place as it can weaken the joint. Once cured, I removed the bolts, cleaned, sealed with auto body sealant, primed, painted, and cleared.
Last, I got the bracket back from having the brace plate water jetted and welded up. The welder buddy that did this is a real artist and it�s a shame nobody will ever see these nice welds, because hopefully it�ll never come out again.
Bolted everything back in and readjusted the pedal travel on the new master cylinder I put in. Also threw on a new slave cylinder while I was in there. Pedal feel was drastically improved along with engagement, and I confirmed there�s no flex in the firewall. It�s been a couple months now and it�s still solid, but the pedal feel is still much firmer than it should be, leading me to believe the clutch being on its way out is what contributed to the problem. I have an OEM AISIN clutch kit installed and will be bolting back up tomorrow, but that�s another thread for another day (putting a 5VZ clutch and flywheel in my 3VZ truck as the clutch is bad but within a couple years I�ll be doing an engine swap).

 02-26-2015, 11:00 AM