anyone interested in seeing a paint how-to on my 87?


 05-17-2009, 09:47 PM
#102
Registered User

Join Date: Dec 2008
Location: LA
Posts: 596
Likes: 0
Received 0 Likes
on
0 Posts
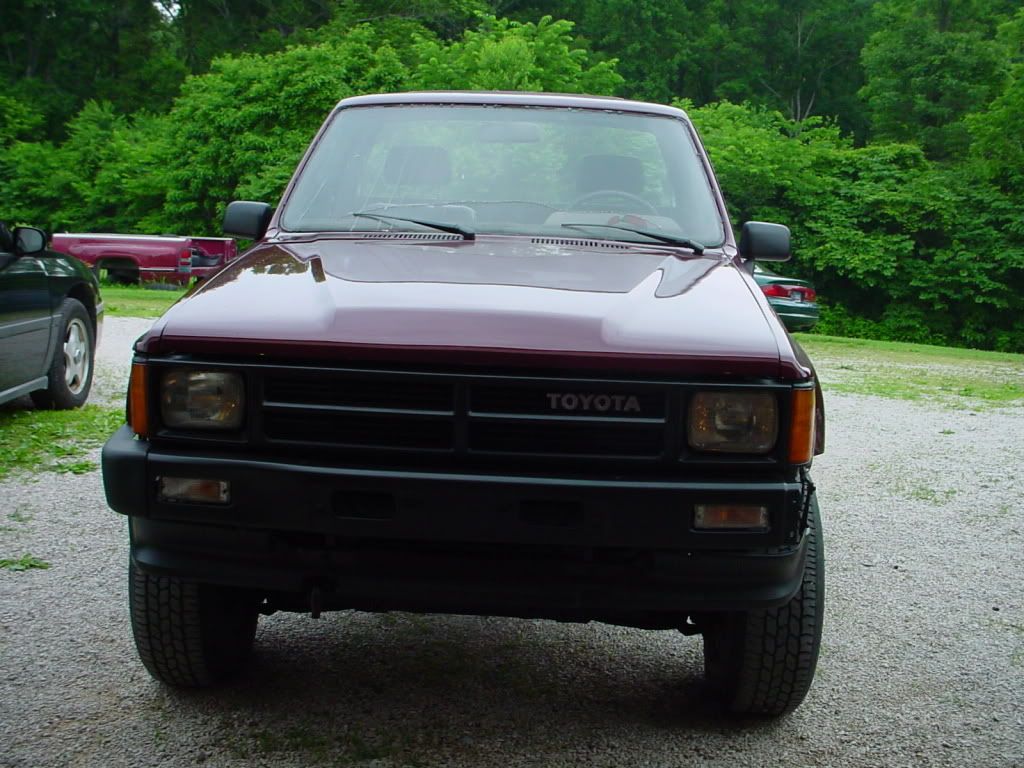
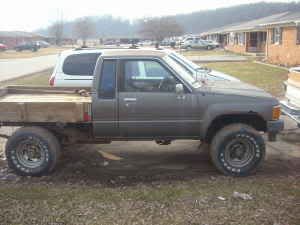
you should paint your lower valence to match the cab color...
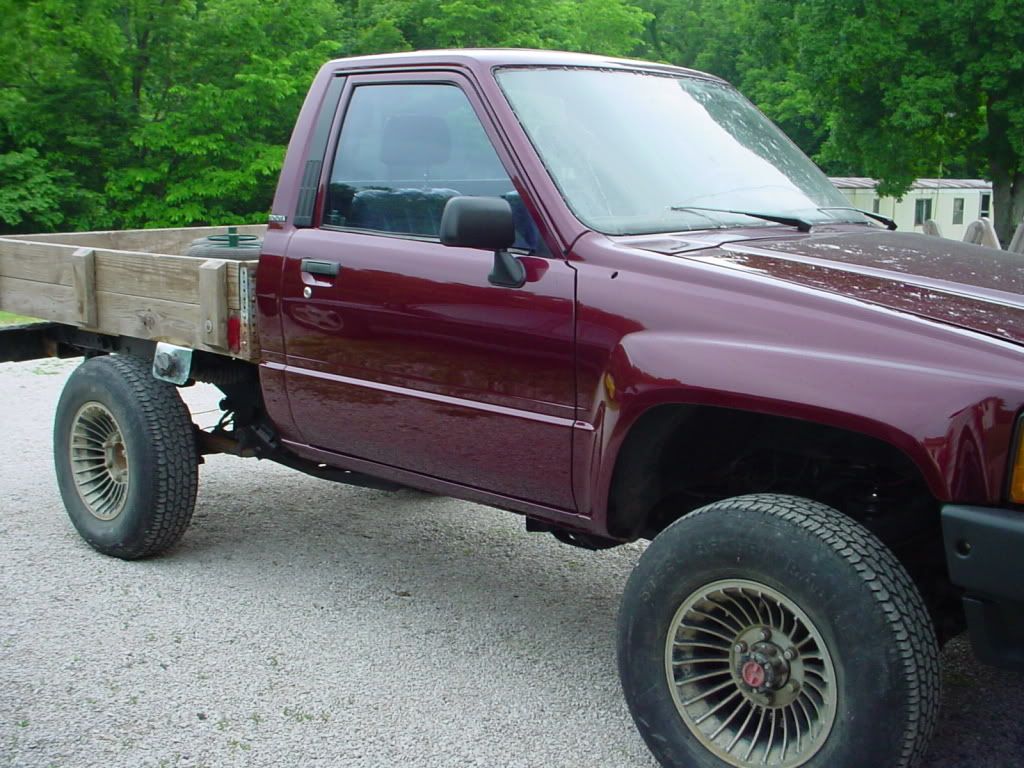
is a bed going on?
and i would recommend some black primer or base coat to go on the mirrors... they're lookin a little faded
is a bed going on?
and i would recommend some black primer or base coat to go on the mirrors... they're lookin a little faded
05-18-2009, 09:54 AM
#103
Registered User
Thread Starter
Join Date: Mar 2009
Location: indiana
Posts: 257
Likes: 0
Received 0 Likes
on
0 Posts
on all of my trim i used cheap spray bomb for coverage and then topcoated with SEM trim black. i still need to paint the front bumper, wiper arms, and mirrors. i was waiting to see if i had to order a new mirror before i painted them, i had to "modify" one to get it back together. i need to order belt mouldings for the doors and a bumper end cap for the left side as well. i haven't started on flatbed plans yet i am still in the research stage.
05-20-2009, 06:50 PM
#104
Registered User
Join Date: Sep 2008
Location: Lake Tapps, Washington
Posts: 359
Likes: 0
Received 0 Likes
on
0 Posts
don't mean to jack the thread but im going to be painting my truck in a week or 2 and I am doing rattle can but I want it to turn out nice. The paint on it is still pretty good, i know I have to sand it but I also want to do wet sanding after that so it will turn out smooth. Can anyone tell me what I will need for wet sanding?No experience on that
05-21-2009, 12:11 PM
#105
Registered User
Thread Starter
Join Date: Mar 2009
Location: indiana
Posts: 257
Likes: 0
Received 0 Likes
on
0 Posts
if your paint is in good shape finish it off pretty fine, 800 or 1000 grit. spray a coat and sand with 1500 grit or so. spray and sand. use a quality paint for the best results, as good as your going to get with spray bomb anyway.
05-21-2009, 12:55 PM
#108
Registered User
Thread Starter
Join Date: Mar 2009
Location: indiana
Posts: 257
Likes: 0
Received 0 Likes
on
0 Posts
i forgot to tell you the easiest and cleanest way is to use a bucket instead of a hose. it will cut down on time between coats because you aren't soaking the whole truck. don't forget the wax and grease remover.
there is nothing wrong with painting in a garage. you might get a little more dirt but that can be sanded and buffed. a spray booth is mostly a production tool anyway. the only advantage to baking is that it dries faster, there is no effect on durability.
there is nothing wrong with painting in a garage. you might get a little more dirt but that can be sanded and buffed. a spray booth is mostly a production tool anyway. the only advantage to baking is that it dries faster, there is no effect on durability.
 05-23-2009, 07:40 PM
#110
Registered User
Join Date: Mar 2009
Location: dayton ohio
Posts: 221
Likes: 0
Received 0 Likes
on
0 Posts
Great info here. I have a qyestion tho. I'm putting a hood scoop on the stock hood (got the 3vze gotta keep it cool) anyway how should I atach it so it won't crack around the edge? I plan to rivet it on then fiberglass unless u have a better idea. Thanks
05-23-2009, 07:52 PM
#111
Registered User
Thread Starter
Join Date: Mar 2009
Location: indiana
Posts: 257
Likes: 0
Received 0 Likes
on
0 Posts
depending on the material of the scoop you could do some different things but i would probably just glue it on. there are excellent adhesives but you could always just rivet it. there are more efficient ways to cool your engine, scoops aren't designed for cooling unless you just like the looks of hood scoops. to be effective you are going to have to cut your hood and possibly add some bracing. depending on the scoop you might need to fab something to keep the trash out of your engine compartment during normal driving.
05-23-2009, 08:24 PM
#112
Registered User
Join Date: Mar 2009
Location: dayton ohio
Posts: 221
Likes: 0
Received 0 Likes
on
0 Posts
Thanks. The scoop is aluminum wraped in fiberglass. I plan on cutting a hole in the hood and putting the scoop back far enough to get air flow around the dreaded 3vze crossover pipe. I'm really just worried about the fiberglass cracking because of vibration. Let me know if u think there is a better way to go about this (sorry doesn't have that much to do with body work but thanks)
05-25-2009, 09:32 AM
#115
Registered User
Join Date: Mar 2007
Location: Guelph, Ontario, Canada
Posts: 53
Likes: 0
Received 0 Likes
on
0 Posts
Great thread here, you seem to do some good work.
Question, my '87 4Runner has a base clearcoat (factory paint) and the clearcoat is flaking off all over. There are a couple of minor rust spots to repair and a dent or 2 to remove. Is the best thing to sand off all of the clearcoat before repainting it? I don't want to go with the clearcoat next time as I would like to be able to buff out scratches. I am even going to repaint the same colour (reasonably close at least) so I don't have to worry about all the door jams.
Question, my '87 4Runner has a base clearcoat (factory paint) and the clearcoat is flaking off all over. There are a couple of minor rust spots to repair and a dent or 2 to remove. Is the best thing to sand off all of the clearcoat before repainting it? I don't want to go with the clearcoat next time as I would like to be able to buff out scratches. I am even going to repaint the same colour (reasonably close at least) so I don't have to worry about all the door jams.
05-25-2009, 06:08 PM
#116
Registered User
Thread Starter
Join Date: Mar 2009
Location: indiana
Posts: 257
Likes: 0
Received 0 Likes
on
0 Posts
you only need to feather out where the clear coat is flaking off. you can buff scratches in clear just as easily as in singlestage paints. clearcoat is by far the superior product because it offers uv protection to the paint. we have all seen old vehicles that are faded out from the sun. uv light breaks down the pigments in the paint which give it that chalky faded appearence. in single stage paints you do not get this uv protection.
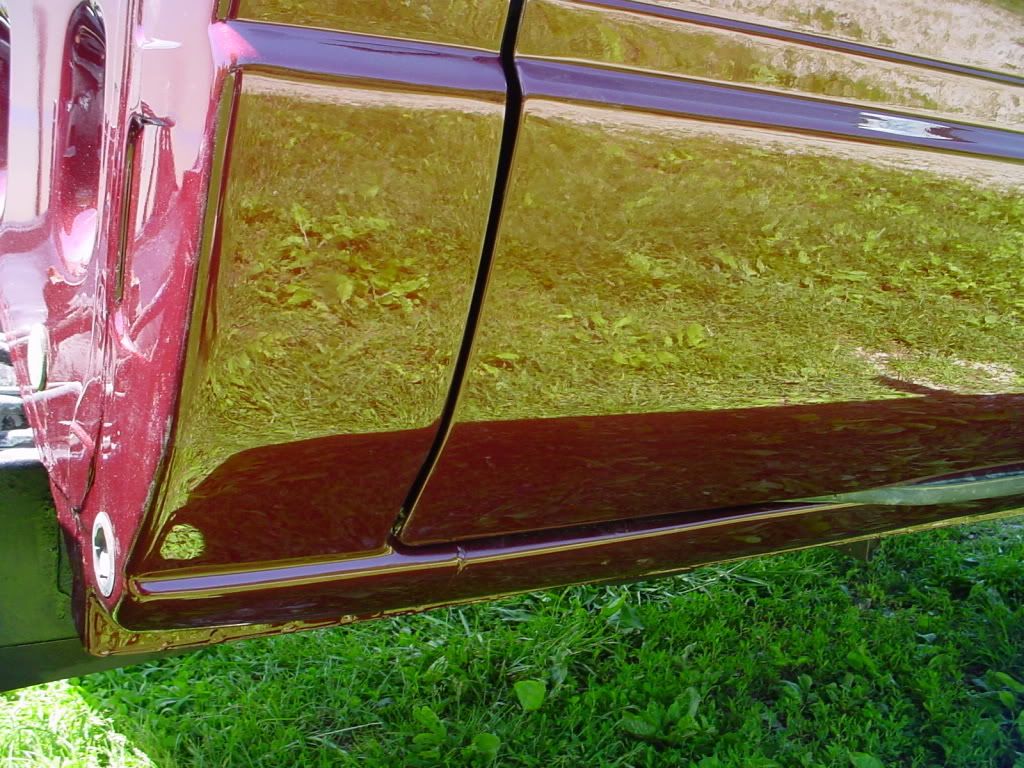
there are some spots i need to buff in my truck that i will detail in this thread whenever i can get to work on it. overall it turned out really clean for the garage but my problems are self-inflicted. the buzzard was spraying thinner through his gun and it got all over the hood. i will get pics up soon.
there are some spots i need to buff in my truck that i will detail in this thread whenever i can get to work on it. overall it turned out really clean for the garage but my problems are self-inflicted. the buzzard was spraying thinner through his gun and it got all over the hood. i will get pics up soon.
 06-09-2009, 07:14 PM
#118
Registered User

Join Date: Mar 2007
Location: Dayton, OH
Posts: 721
Likes: 0
Received 0 Likes
on
0 Posts
wheatus, can i ask you a question? I don't mean to muck up your thread, but is about painting.
I got some rock sliders that were bare steel. I cleaned them with acetone and 2 coated them a day apart with rustoleum primer. I sprayed rustoleum gloss black on them the next day and had a few places where the balck paint krinkled and cracked. What did I do wrong? I thought I had the prep work done properly.
I got some rock sliders that were bare steel. I cleaned them with acetone and 2 coated them a day apart with rustoleum primer. I sprayed rustoleum gloss black on them the next day and had a few places where the balck paint krinkled and cracked. What did I do wrong? I thought I had the prep work done properly.
06-09-2009, 07:23 PM
#119
Registered User
Thread Starter
Join Date: Mar 2009
Location: indiana
Posts: 257
Likes: 0
Received 0 Likes
on
0 Posts
no problem that is why i put it here, there were a lot of dangling threads that didn't really have much good info in them.
wrinkling can occur even though you do everything right. what most likely happened is that there was a scratch or some other defect in the primer coat. when you sprayed the gloss black over the scratch the solvents in the paint (the stuff that keeps it liquid and sprayable) reacted with the primer and caused the wrinkling. it is not a big deal just feather out the bad spots reprime and paint the effected area. make sure you are using an acid etch primer on bare metal.
wrinkling can occur even though you do everything right. what most likely happened is that there was a scratch or some other defect in the primer coat. when you sprayed the gloss black over the scratch the solvents in the paint (the stuff that keeps it liquid and sprayable) reacted with the primer and caused the wrinkling. it is not a big deal just feather out the bad spots reprime and paint the effected area. make sure you are using an acid etch primer on bare metal.
06-13-2009, 04:00 PM
#120
Registered User
Thread Starter
Join Date: Mar 2009
Location: indiana
Posts: 257
Likes: 0
Received 0 Likes
on
0 Posts
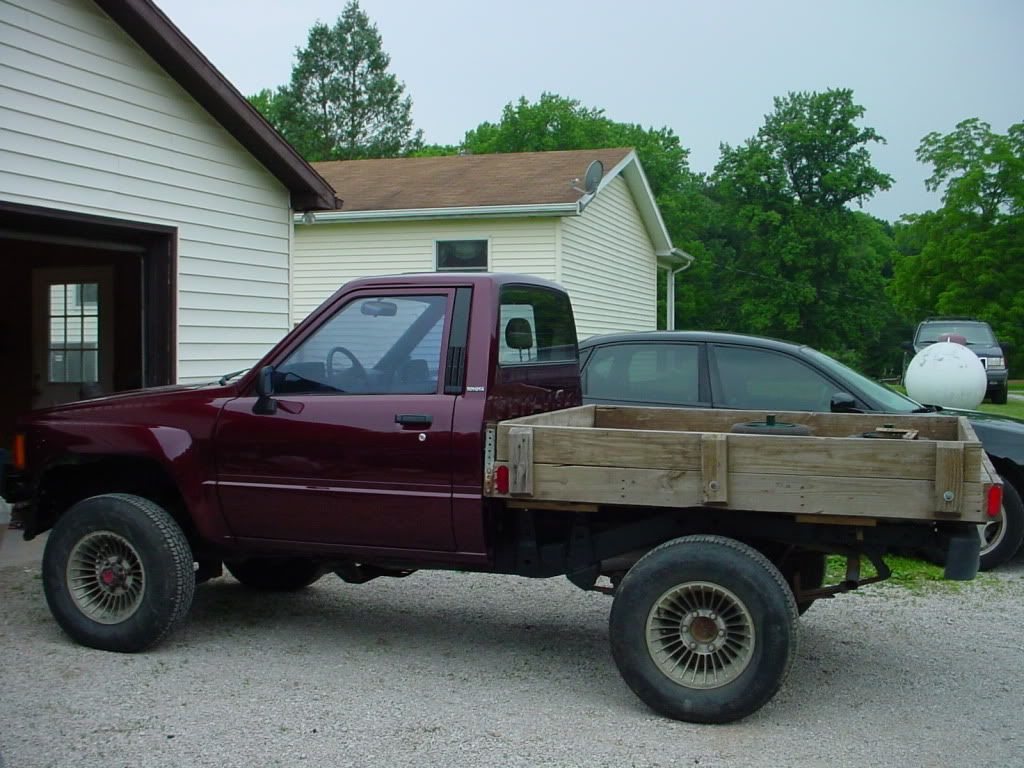
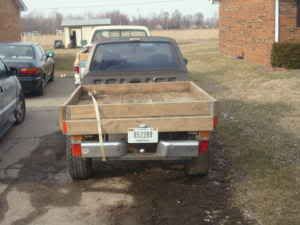
painted mirrors, wiper arms, front bumper today and got the flatbed bolted on. i need to order a bumper end cap and some belt mouldings tonight. the bed is on but it needs some work. i am also going to have a bumper made with an integrated receiver and maybe some taillights that will come to the back of the bed.