When you click on links to various merchants on this site and make a purchase, this can result in this site earning a commission. Affiliate programs and affiliations include, but are not limited to, the eBay Partner Network.
I had hoped to have this project done by the end of 2019. But life happens. My 1987 22re 4Runner.
Short story...I bought the truck with 187k on it. Broke down on my 250 mile trip, 80 miles in. After a night in the back of it in a Walmart parking lot, fighting for a rental car on a Sunday, and heading back two weekends later, I towed it home to work on it on the street for as long as the city would allow me (no garage/grass driveway). broke down in Florence, SC.
was pretty filthy, but it ran...for 80 miles
For the next 5 months until the city kicked me off and I then towed up into my grass driveway. I discovered a sheered timing plate over the oil pump, poor compression, almost completely clogged injectors. I had some posts troubleshooting this back in the summer. The crank had over rotated somehow so that I had to set it at 15* to be TDC. oil pan debris...not good. don't have time to try and "make it run", rather start fresh...
Decided to get a rebuilt long block from Concord engines in Charlotte, NC. It took a few more months for this deal to go down, being 6 hours from there. But finally, I got it. I've slowly been assembling in my shed. Nothing fancy, but trying to install only clean or new parts. So far, this is what I've done...
New Parts:
thermostat
temp sender/sensor
oil level sensor
oil pump
timing cover
has newish water pump
harmonic balancer
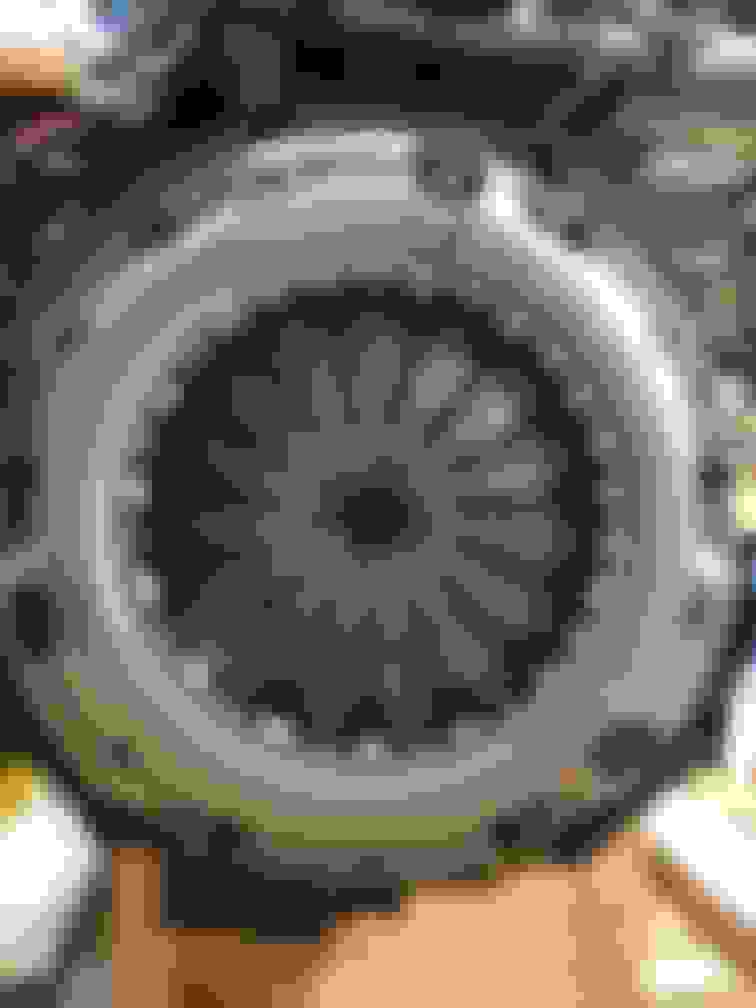
AISIN clutch kit
LUK flywheel
lower radiator hose
exhaust hardware
clutch release bearing/clips
clutch slave cylinder
new passenger side brake caliper
fuel injectors serviced
rust treat/paint mounts, water pipes, header (high heat, i know will eventually burn off)
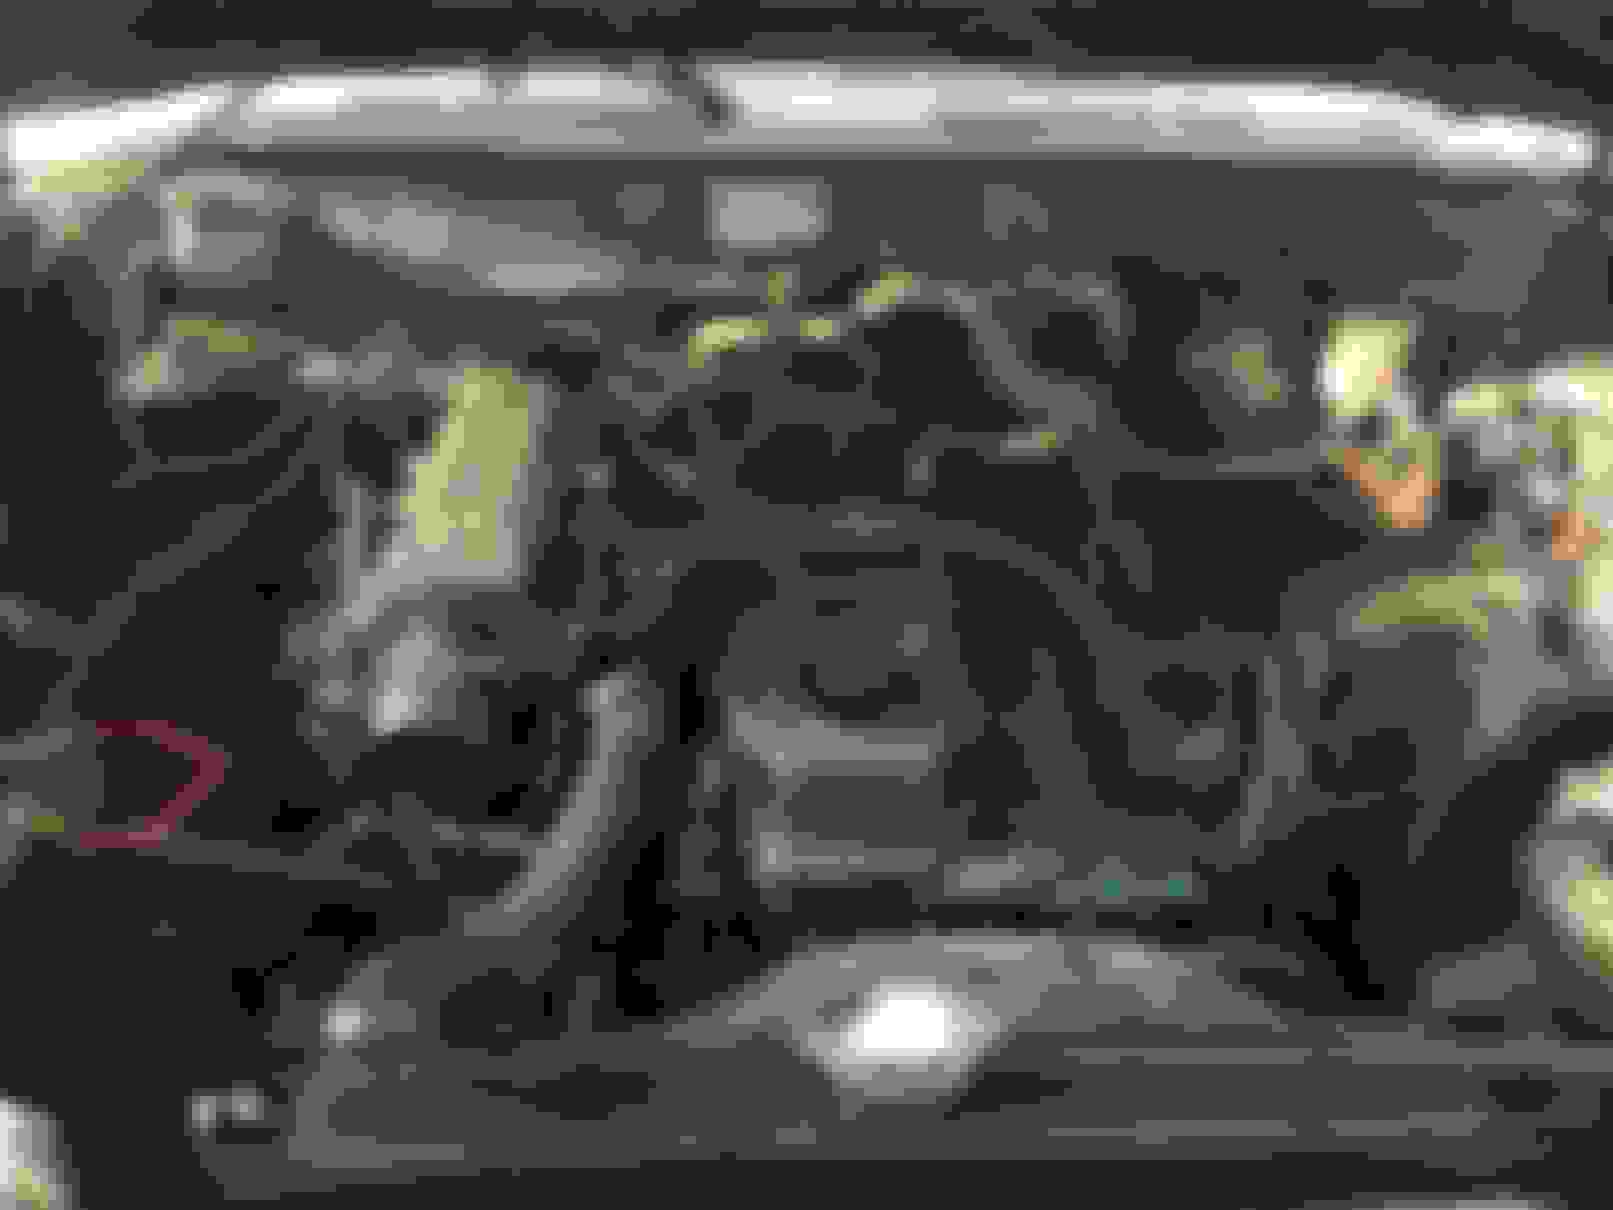
cleaned engine bay and rust treat/paint battery tray
painted/clear coat valve cover and thermostat housing
rust treat/paint rear beast of a bumper
strip/chip bedliner that had been applied to floorboards and POR15 w/fiberglass driverside floorboard
vinyl flooring pretty recent shot of engines status new clutch, flywheel, and bearing.
fuel injectors were operating at 20-50%, serviced back up to spec.
had to chip up some unprepped bed liner, clean rust with wheel, then prepped with POR15 cleaner/etcher, laid it down with cloth on drivers side where it was bad. not professional but pretty rock solid.
vinyl flooring installed!
Still have to do:
install motor!
TPS adjustment (still confused on this process)
belts
fix back window tracks (it will move, but one side seems stuck)
bleed brakes/clutch slave cylinder
replace power steering hose to pump
This is my first build, first major engine work, and first build thread. Mostly done during "nap time", after "bed time", and some lunches, pretty excited what I've been able to learn and do. I will add more after I get back from time at sea and hopefully, finally drop it in! Thanks for the inspiration and knowledge on this site!
Thanks! Yeah, some small rust spots in the usual spots; windshield trim, inside fender well pockets, and few spots along edge of floorboard.
I got the vinyl from Automotive Interiors. Yeah, I had to cut it. Wasn't too bad, but I wouldn't suggest trying it in winter if you're somewhere colder than NC. Was a bit stiff. I started to use a hair dryer for some spots, but don't think you want to use it all over or you could melt out the molding. I'm sure it will settle once it's on the road for a bit and heats up in place. And that color is there "gray", a dark gray for sure.
So I finally got the motor installed. Had tranny held up by a ratchet strap and the motor seemed to slide in pretty effortlessly. However...I put a new harmonic balancer on and it won�t turn over. Could I have messed something up when seating to bellhousing?? Not sure where to start without pulling it. Possible relevant things I can think of...I have the starter installed. It�s in neutral. No fluid in clutch cylinder. Chain was installed by rebuilder.
Did it spin freely before?
Did it spin freely after the harmonic balancer install?
Check all clearances there.
You�ve absolutely double checked and verified the transmission is in neutral?
If there�s a warranty?
Call the engine builder and ask how they would proceed.
I can�t think of anything besides the clutch being installed wrong (flip flopped) or possibly misaligned (that�s far fetched being that the engine and trans are mated now)
Builder says you�re on your own:
Wouldn�t hurt to pull the spark plugs and give it another try. Don�t force anything.
Pull the valve cover, get a peak at the valve train and timing chain.
I checked for neutral at least 10 times. I just tried the old harmonic balancer with no luck. I�m going to call the builder later, thanks for the advice.
I installed the clutch and took plenty of time with it. It rotated before I put the engine in.
No. After I tightened the pulley bolt down, it still wouldn't budge in the CCW direction. Does that still make you think that? I'll also add that I didn't remove the zip ties holding the chain in position until it was on. The mark on the gear and the pulley appear to be in line. I'm still going to talk to the builder, but was thinking taking the gear off the cam would let me know if I messed something up when mating to the bellhousing.
You could pull the valve cover and while having a look at other things in there check to see what valves are loose and what valves are tight. Like when you�re setting valve lash.
Probably just need to pull the engine back out and verify that the clutch, pressure plate, or flywheel aren�t the culprit.
If the builder wants it back, it�s got to come out anyway.
I guess not. What kind of pressure plate are you using? Could it be too tall and interfering with the bellhousing?
was the flywheel bolted on the last time you rotated the engine? Too long of bolts maybe?
I have a AISIN pressure plate, LUK flywheel. It's taken me quite a while to put it together, hour here or there. I'm pretty sure it rotated after I had installed the clutch kit and oil pump installed, as one of the last things I tried to do after that was done was put the harmonic balancer on but decided to wait becuase I couldn't get it tight enough without it wanting to rotate. Builder said to try and rotate from the flywheel with a pry bar and then we could go from there. He was pretty puzzled too.
Any chance starter gear is protruding into flywheel, preventing it from turning over? I'd remove starter. If that is not the problem, I'd drop the rear driveshaft, put the tranny in neutral and make sure you can rotate the output of the tcase by hand. That would confirm that you are indeed in neutral.
Since you think it rotated before installing, I don't think I'd panic yet and think something is wrong with engine, I'd first suspect something in bellhousing is installed wrong\backwards...bolts too long, wrong pressure plate...list goes on.
After starter and driveshaft, if it's easier than removing tranny then I'd remove engine.
Thanks Cory. I just removed the starter and tried to move the flywheel with a pry bar with no luck. I have the rear driveshaft dropped and it does freely spin. It's currently about -15-20* from TDC, so the valves are pretty much tight. The clutch fork does move so I assume that didn't get smashed up and lock anything. An improper length/torqued bolt or connecting engine/bellhousing wouldn't do this, right? I hate those bolts!
From here, I guess my plan of attack will be pull the engine again [#$%!], see if it rotates. If not, start from the pressure plate working in. Check the bolt length holding the plate. Hopefully something will stand out as an obvious culprit??
Now that you said Luk flywheel (not oem) i feel it could be even more likely too long bolts holding it to the crank. Don’t have any specific experience with Luk flywheels, though.
Too long of a rear plate bolt
Figured it out! I was terrible at organizing hardware, never thought I would be as deep as I am. But pulled the engine, saw this bolt for the rear plate that the flywheel was caught on. She rotates!
Finally got her running! I had a lot of troubleshooting to get it started. Battery indicator would drop to ZERO when I turned it over. Made a few changes...PO had removed the 80 amp engine fuse and bypassed it, so I added one from my spare fuse block. Had 3-4 different crimps in on the fuse-engine wire, so replaced that. I cleaned up all of the ground wires and tie in spots. Cleaned up terminals and posts. Just curious, what CCA do ya'll run?
I also siphoned out the old 1/4 tank of gas and added 5 gallons of non-ethanol. I think the lines still had gummed up gas because I still couldn't keep it running without holding the throttle in. After a few starts and break-in revs at 1800-2300, she's stopped stuttering and idle is pretty smooth. I had also changed out the old power steering reservoir for a better spare I had. I was turning the steering wheel to pump the fluid and my old power steering hose from pump to steering ruptured and sprayed oil all over the compartment and hot manifold. White smoke billowed everywhere and scared the crap out of me! But should be an easy fix and hopefully on the road later this week!
I still am trying to find where the small vacuum line goes from my brake booster. I still have my EGR equipment installed but only one VSV (blue), and not the other orange one. That said, all of my vacuum ports seem are occupied. Any ideas?
I still am trying to find where the small vacuum line goes from my brake booster. I still have my EGR equipment installed but only one VSV (blue), and not the other orange one. That said, all of my vacuum ports seem are occupied. Any ideas?
no idea. both of my '87 22re 4runners have a single vacuum line from the booster, a fairly large hose that runs to a port on the upper plenum. in your pic from early in the thread, i only see your large vacuum hose leading from the booster, not a small hose. where is the small hose?

 01-09-2020, 08:25 AM