
3vze complete exhaust
 09-27-2009, 08:23 PM
#21
Registered User
Thread Starter
oh, and by the way. i followed 3 different guides... all of them said the same thing, but reworded... the instructions to remove the driver side header were good and detailed... but the left side. all it simply says is "remove manifold and unbolt crossover, pull crossover down and remove manifold" seriously, the worst instructions. the passenger side was by far the hardest part of the install, since all the vacuum hoses, egr and reed valves are over there. it was just a pain in the butt.
 09-27-2009, 08:46 PM
#23
Registered User
Thread Starter
yeah... lol people wanna hear the sound of my truck how it is now? not too sure why. sounds like a tractor... haha i'll just post it all up at once when its all done and finished. I wish i could've gotten pictures of the during... as in the installation. but yeah. its all good. I cant wait to hear it tomorrow 
09-27-2009, 09:52 PM
#24
Registered User

Join Date: Sep 2009
Posts: 1
Likes: 0
Received 0 Likes
on
0 Posts
I'd be interested to know if you get any better fuel economy as well. I just purchased a 4runner with the 3VZE and my two biggest complaints are, lack of power, and poor fuel economy. I would like to get more of both. Let me know how it goes.
09-27-2009, 10:02 PM
#25
Registered User
Join Date: Jun 2009
Location: Fresno, CA
Posts: 265
Likes: 0
Received 0 Likes
on
0 Posts
nice upgrades. be sure to post performance and mileage gains. i'd love to do this to my truck...but i'm poor. bummer you didn't take any install pics.
ps...i could totally do this in 30 minutes or less
ps...i could totally do this in 30 minutes or less
09-27-2009, 10:25 PM
#26
Registered User
When I pulled my heads for a dropped valve seat I sat down and looked at how tight that crossover exhasut was and asked myself if I ever wanted headers, because now was the time. I did it during the install, so much easier to do when the heads are off.
Good job on getting it done, that is a pain in the ass job.
When putting mine in I did a few things to try to protect the passenger side from the header heat. I put a thermal wrap around the starter, I put a stick on thermal shield on the firewall where the header drops on the passenger side, and I put a thermal tube around the e-brake line, after melting one of them. Later on I installed a small body lift to add some clearance at the fire wall.
Good job.
09-28-2009, 07:17 AM
#27
Registered User
Join Date: Oct 2004
Location: Ringgold Ga/Chattanooga Tn
Posts: 297
Likes: 0
Received 2 Likes
on
2 Posts
Yeah, let us know what you think man, I'm doing my Bodylift soon in prep for an engine swap, but I'm thinking 5.29's, headers, and a few other little things and run the 3.0 till it dies, hopefully you see a milage increase, if I could get 18mpg out of mine I would keep the 3.0 for a long time. And i'm talking on stock 4.56's and current tires, don't see more than 15mpg right now, and low on power, headers are supposed to REALLY help us out though.
09-28-2009, 01:41 PM
#29
Registered User
Thread Starter
Ok... so the computers at work are running hella slow today... so i'll upload everything when im home. Im itching to drive the truck around... I am in love with the new sound.
 09-28-2009, 02:02 PM
#32
Registered User
Thread Starter
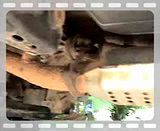
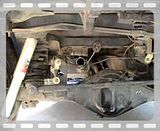
Alrighty. work computer internet cleared up. Here come the pictures and videos. They go in order from head to the tip of the exhaust, just to clear up confusion.
Passenger Side

Driver Side

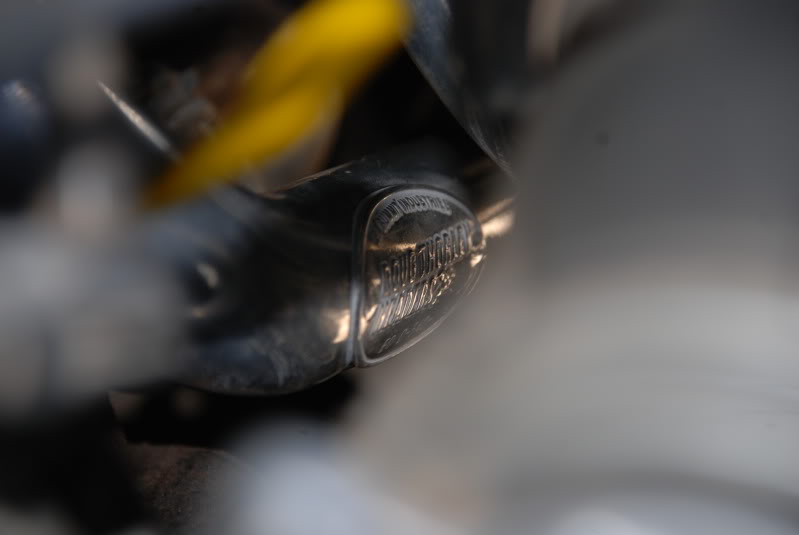
Doug Thorley Emblem
Another Shot of the Driver side
Crossover
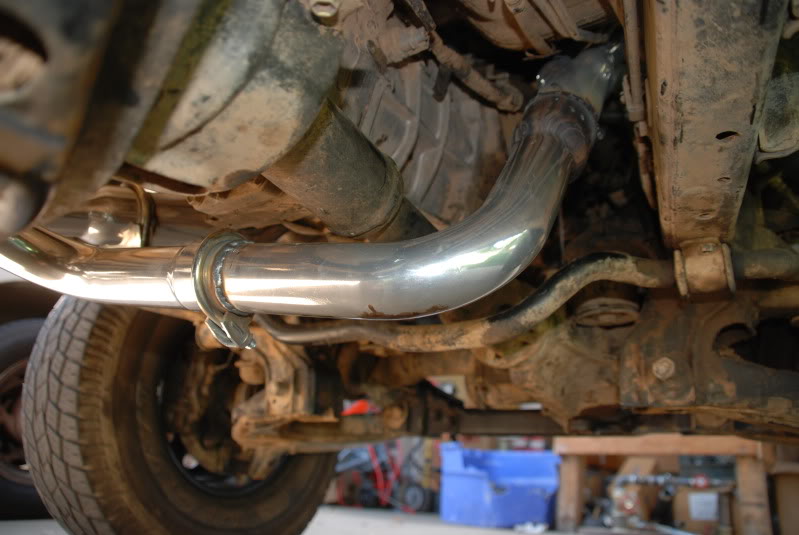
Downpipe
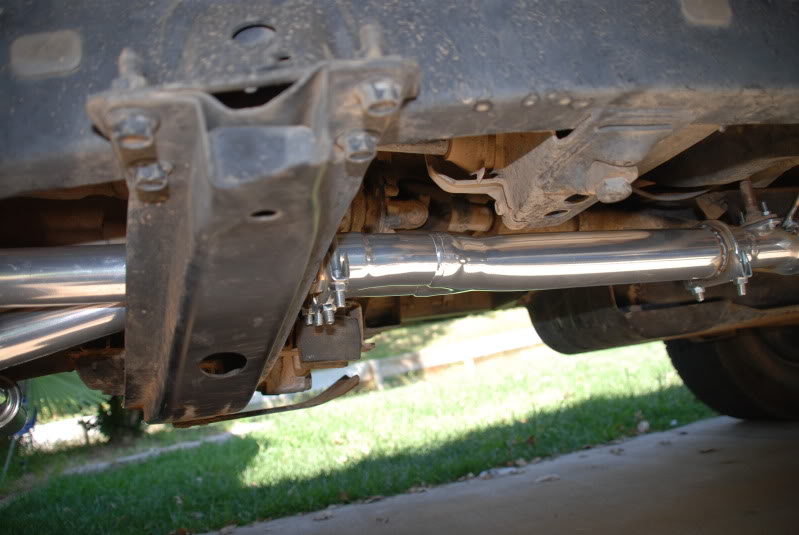
Cat + downpipe set up
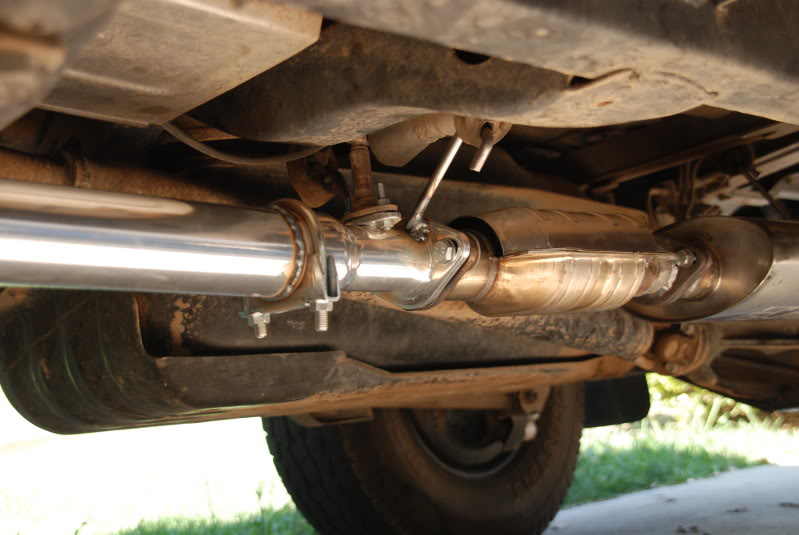
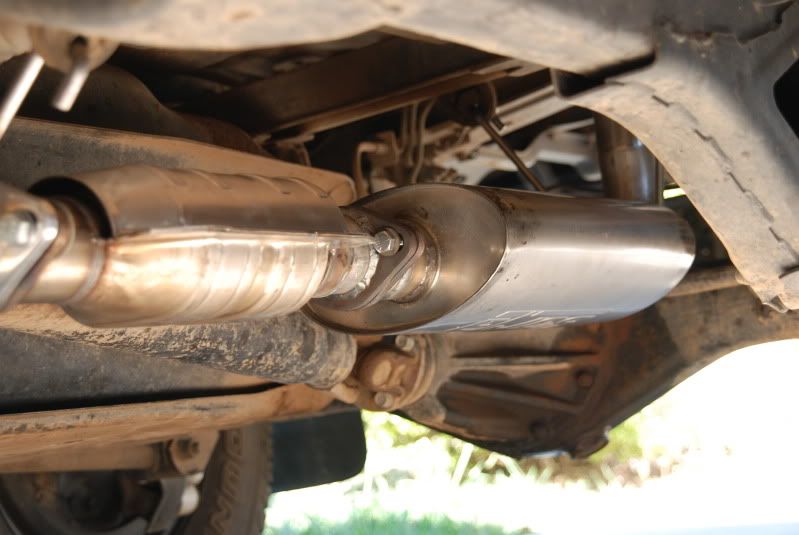
Muffler + cat set up
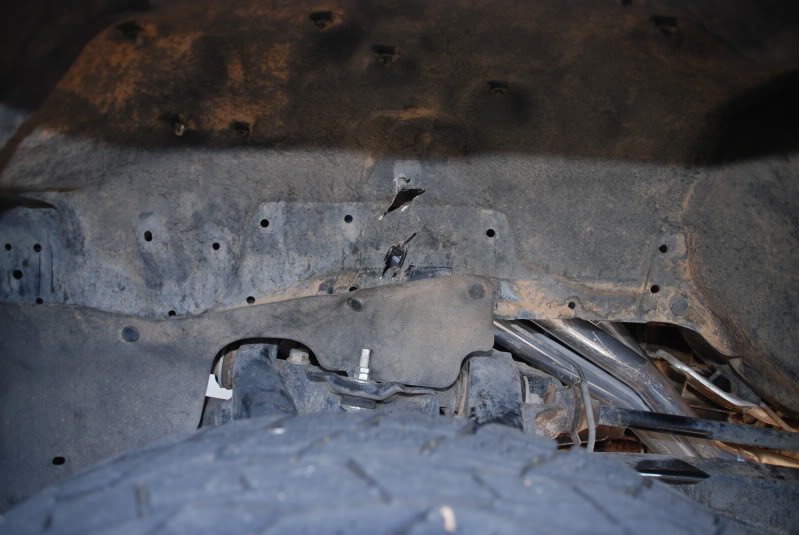
Had to cut into the side of the inner fender to fit a socket in :/ ( this isn't required, just easier that way)
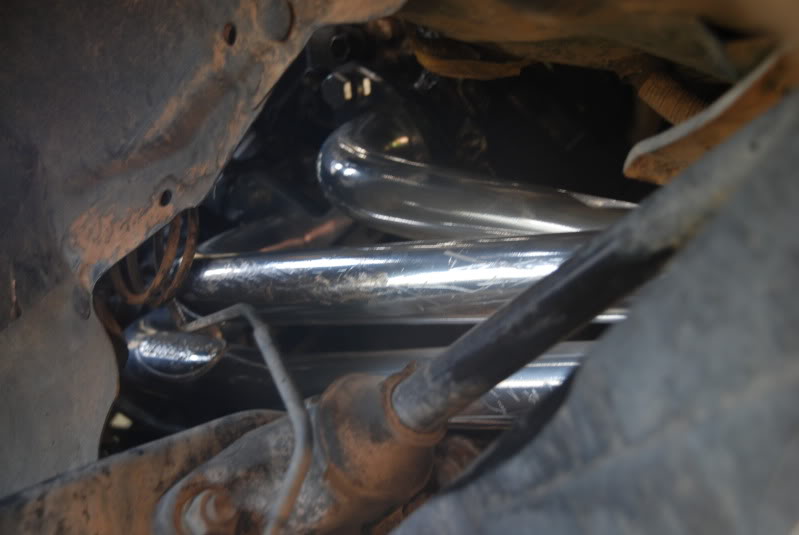
A shot of the passenger side headers going down to the crossover
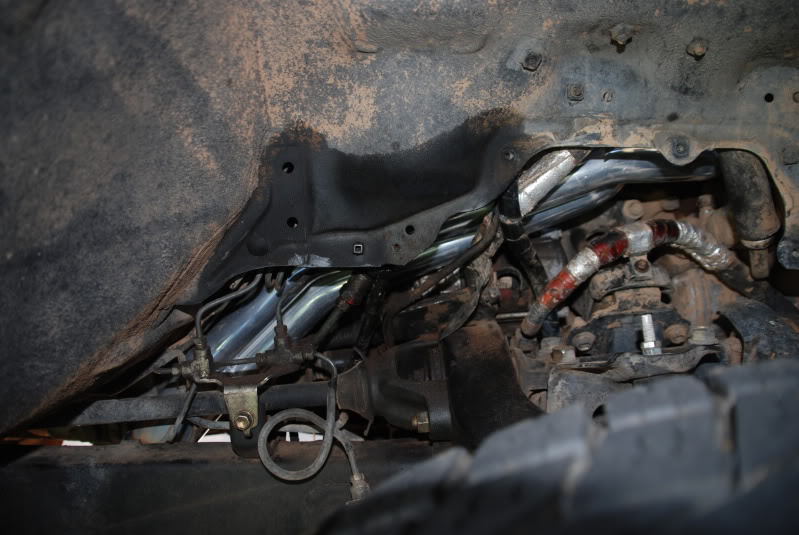
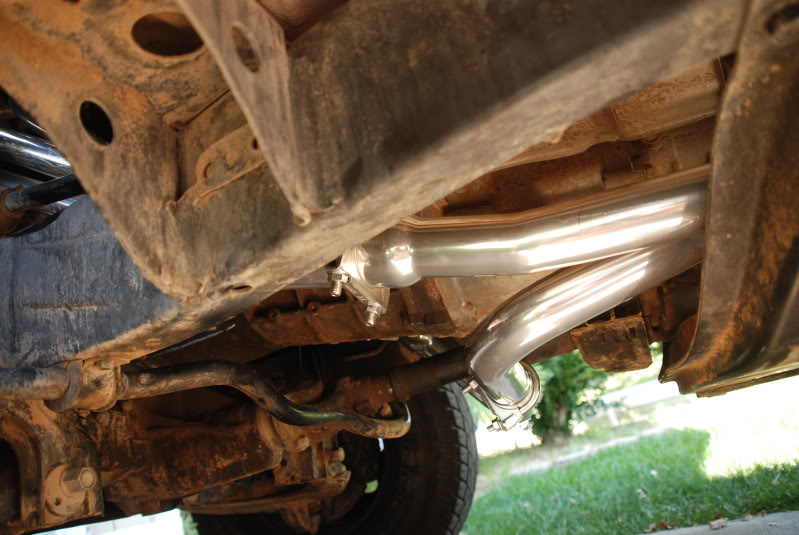
passenger side piping for crossover
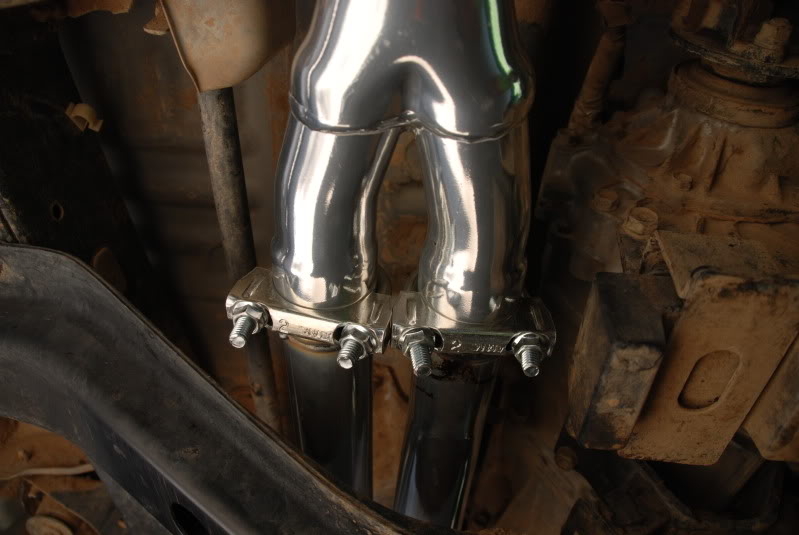
Dual inlet for the downpipe
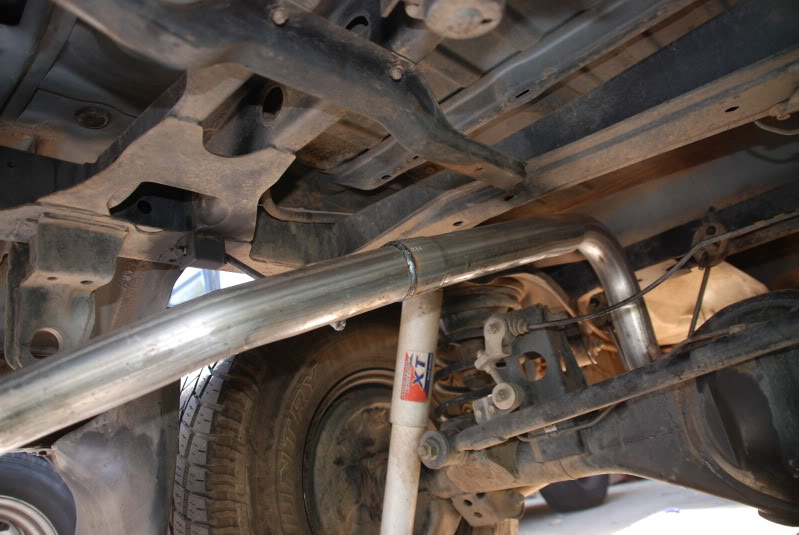
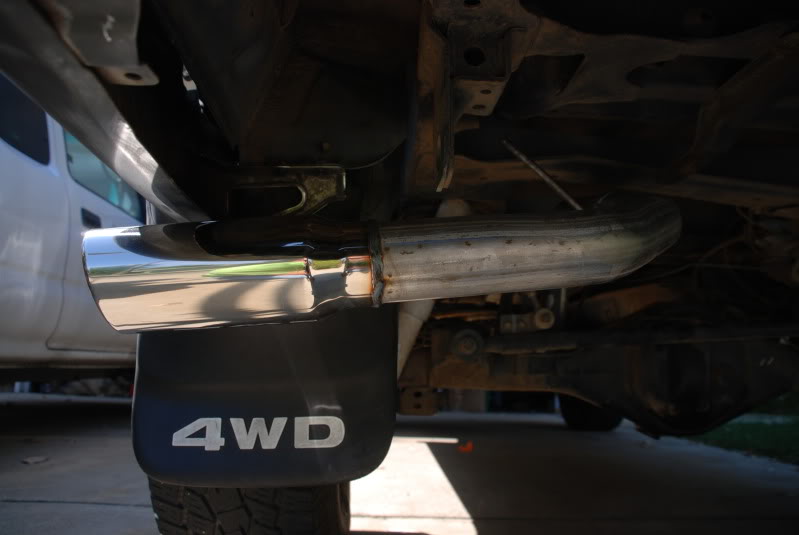
Shot of the tail pipe
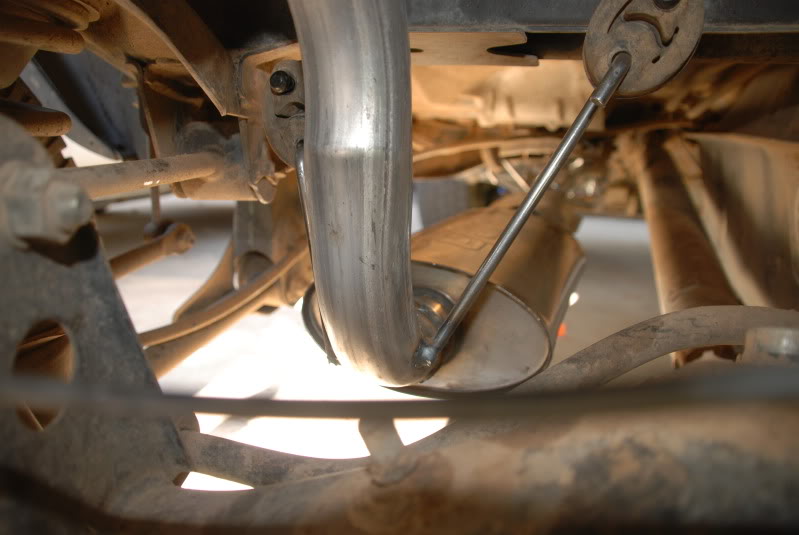
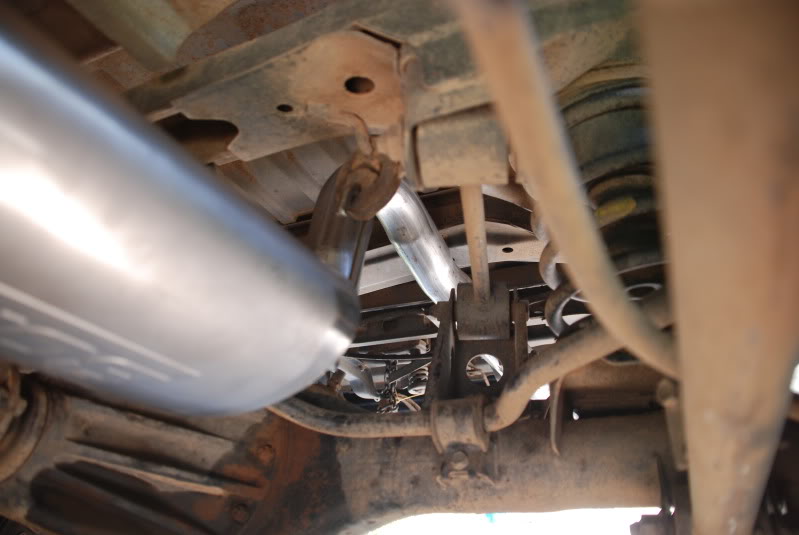
Wanted a shot of the bend at the muffler for the tail pipe to clear the axle.
Another angle for the tail pipe
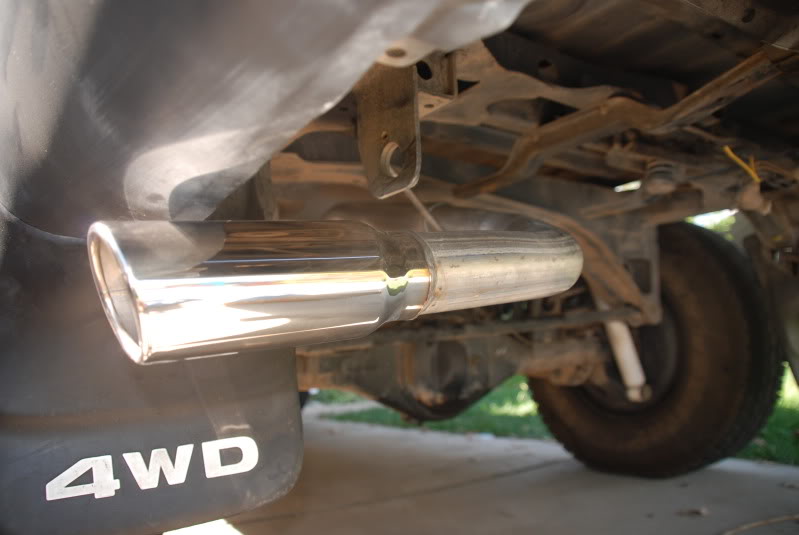
2.25 - 3" tip
Another shot of the tip
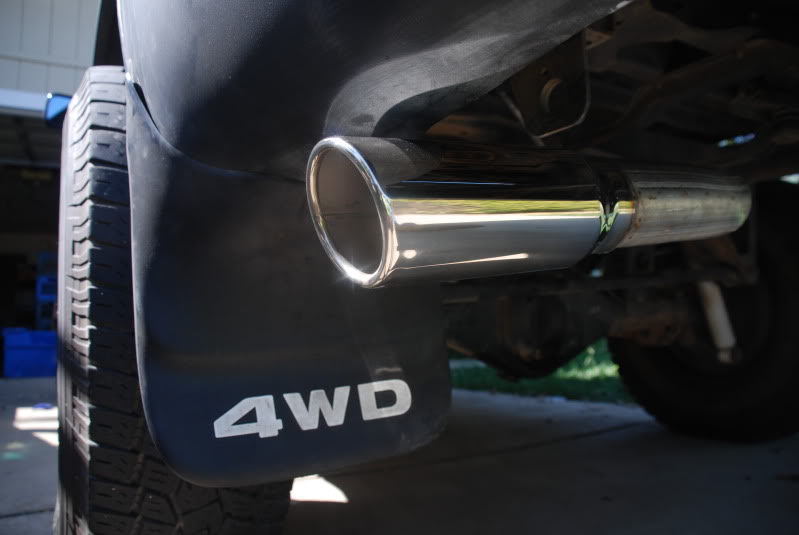
Another shot of the tip
Passenger Side
Driver Side
Doug Thorley Emblem
Another Shot of the Driver side
Crossover
Downpipe
Cat + downpipe set up
Muffler + cat set up
Had to cut into the side of the inner fender to fit a socket in :/ ( this isn't required, just easier that way)
A shot of the passenger side headers going down to the crossover
passenger side piping for crossover
Dual inlet for the downpipe
Shot of the tail pipe
Wanted a shot of the bend at the muffler for the tail pipe to clear the axle.
Another angle for the tail pipe
2.25 - 3" tip
Another shot of the tip
Another shot of the tip
The following users liked this post:
Killemall (06-10-2020)
09-28-2009, 02:05 PM
#33
Registered User
Thread Starter
Heres the video showing my exhaust

and heres the sound clip you all have been asking for GIVE ME FEEDBACK ON THIS. I WANT TO KNOW IF IM NOT THE ONLY ONE THAT LIKES IT. Lol 

and heres the sound clip you all have been asking for
GIVE ME FEEDBACK ON THIS. I WANT TO KNOW IF IM NOT THE ONLY ONE THAT LIKES IT. Lol

 09-28-2009, 02:20 PM
#37
Registered User
Thread Starter
thanks im REALLY satisfied with it... unbelievable sound... and shuts up when I feel like cruising around and listening to music. WOT it roarrrrrs... but when im going gentle its nice and smooth. I will DEFINITELY be posting up a MPG check. and by the way... engine temp is most certainly lower... used to run at half constantly... but now even if im rough on it and rev it up... it doesnt even REACH close to half... absolutely amazing mod for the 3vze. definitely worth the money I spent on it, i'd say.
im REALLY satisfied with it... unbelievable sound... and shuts up when I feel like cruising around and listening to music. WOT it roarrrrrs... but when im going gentle its nice and smooth. I will DEFINITELY be posting up a MPG check. and by the way... engine temp is most certainly lower... used to run at half constantly... but now even if im rough on it and rev it up... it doesnt even REACH close to half... absolutely amazing mod for the 3vze. definitely worth the money I spent on it, i'd say.
09-28-2009, 03:33 PM
#40
Registered User
Thread Starter
Just made a quick video for you jay, and anyone else who wanted to hear it in the cab... pretty sure it'll answer all your questions to how it sounds at what RPM and what it sounds like in the cab


