
1st Gen 4Runner: B-Pillar Badge Restoration?
 06-20-2013, 04:51 PM
#41
Registered User
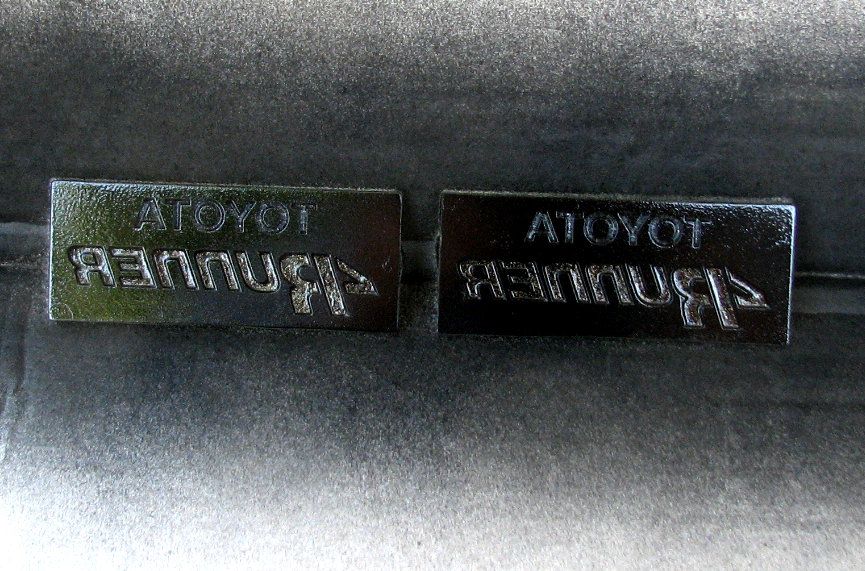
Mine on my truck are screwed up as well, but doesn't really bother me. if the truck is wheeled, it'll just scuff again. :/ billet ones would be sweet though.
 06-20-2013, 05:58 PM
#43
Registered User
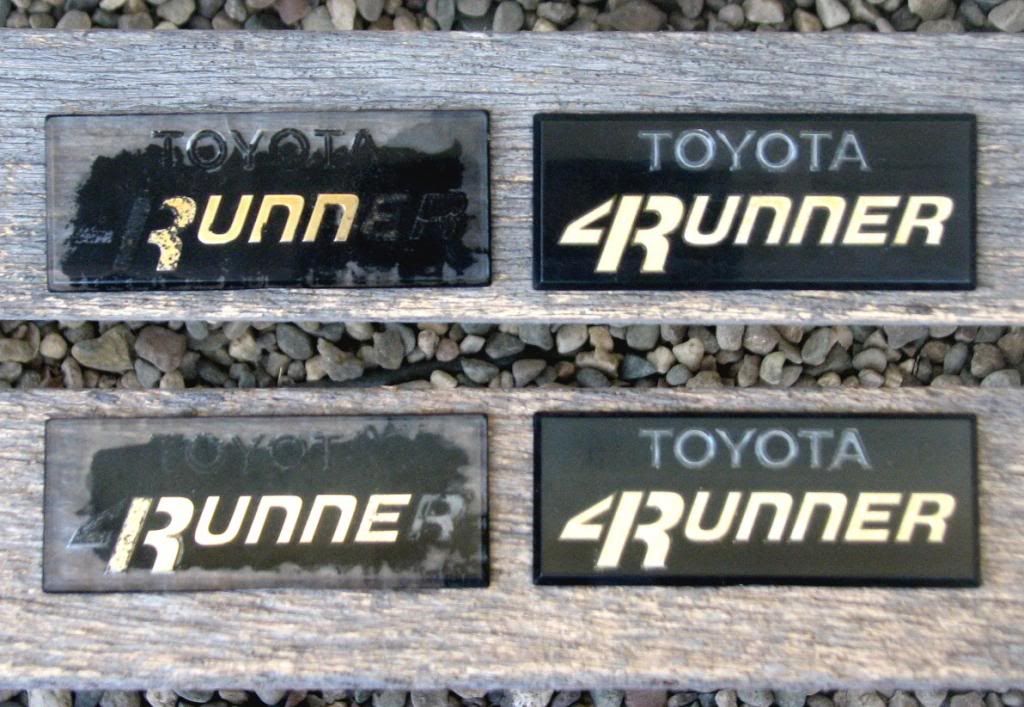
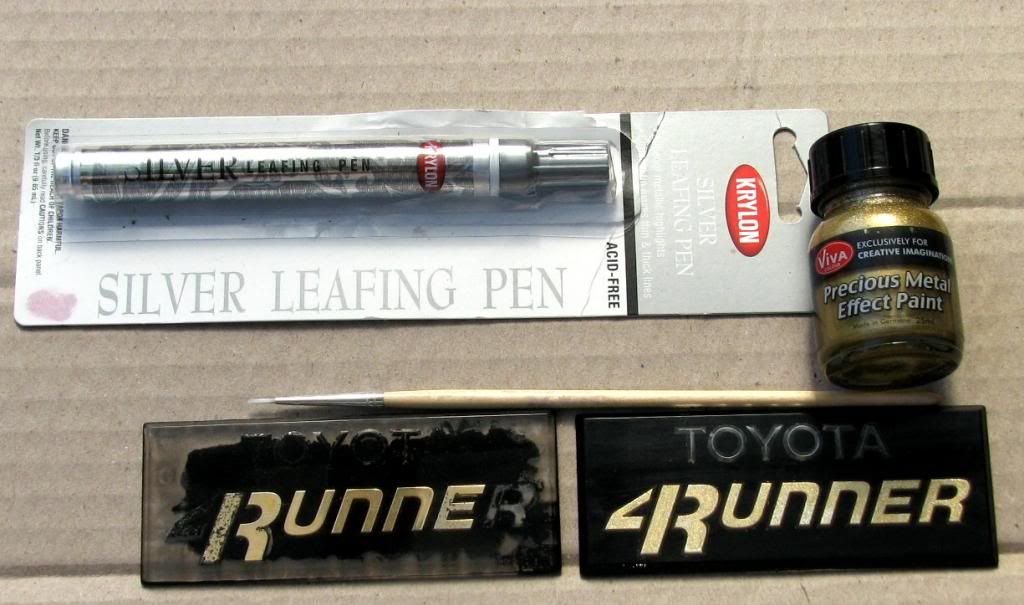
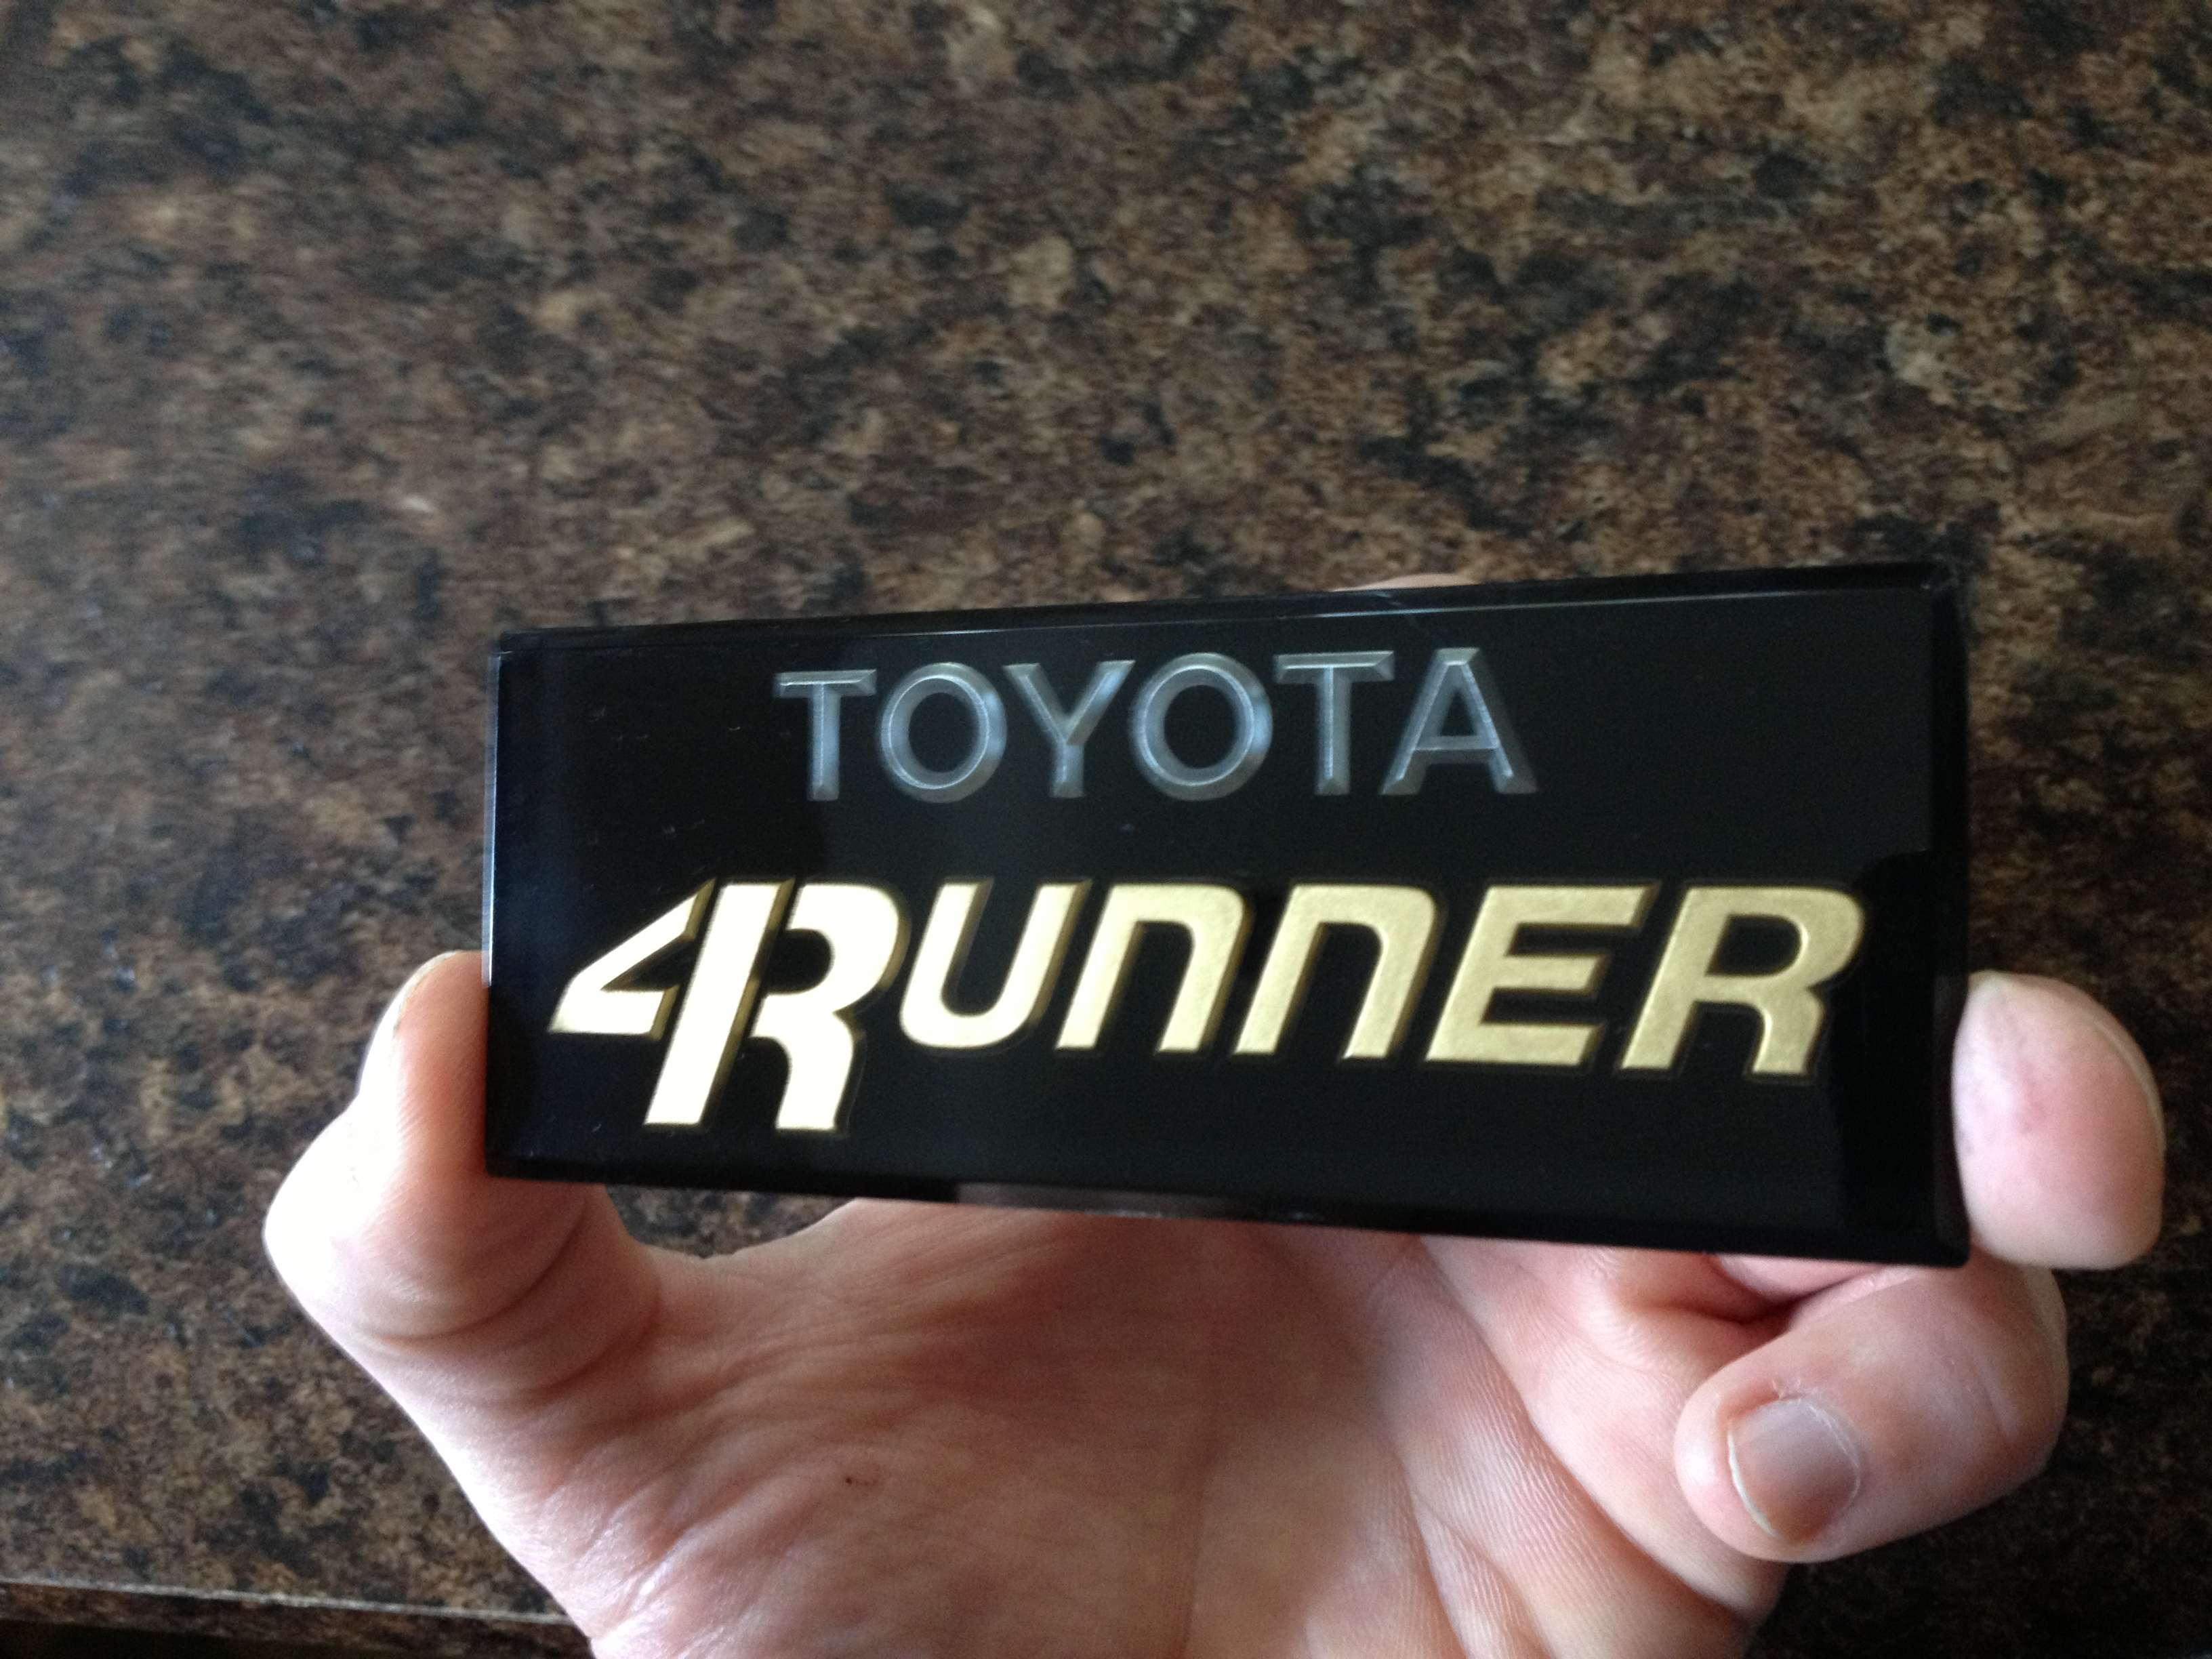
Emblems are taped to protect the front and spray paintedon the back side.
Typical damaged emblems (left) and repaired emblems
VIVA and Testors paint I used
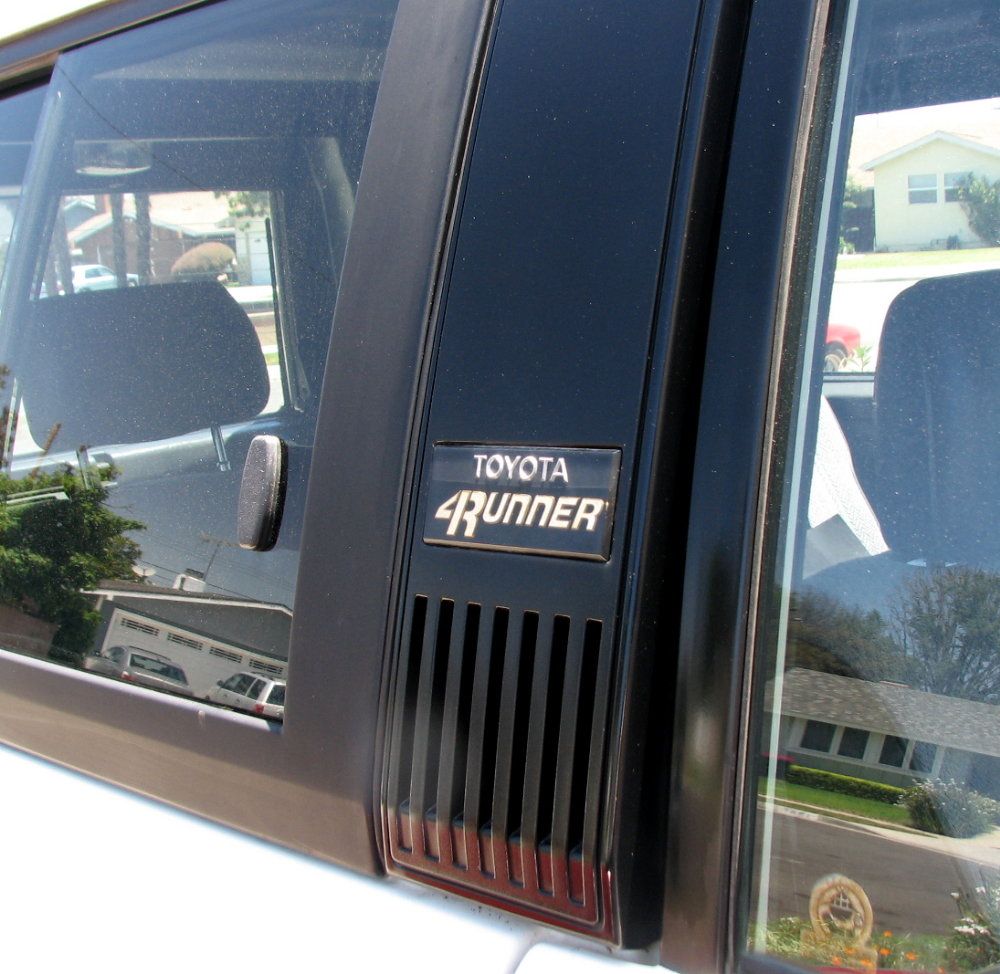
Emblem on the vehicle. The gray band is caused by refracted sunlight passing through the angledplastic on the upper edge of the emblem
Typical damaged emblems (left) and repaired emblems
VIVA and Testors paint I used
Emblem on the vehicle. The gray band is caused by refracted sunlight passing through the angledplastic on the upper edge of the emblem
 That looks fantastic! Where did you get the Viva paint? I've obtained another pair of emblems and I was going to try gold fingernail polish. I still have not put my B pillars back on the 4Runner because I still haven't painted it.
 Those new billet emblems look great! I'm just attached to the 80's look of the gold emblem.
06-20-2013, 08:03 PM
#44
Registered User

Join Date: Jun 2013
Location: SoCal
Posts: 5
Likes: 0
Received 0 Likes
on
0 Posts
I bought the paint at Jo-Ann Fabric and Craft Store
http://www.joann.com
I made a mistake about the paint. The VIVA Colour was produced for Creative Imaginations. I checked the internet and Creative Imagination was acquired by Splash of Color which sells the paint
http://www.splashofcolor.us/products/paint.html?cat=29
There is likely a yellow gold paint out there that closely matches the Toyota gold lettering.
Let us know how the fingernail polish works.
06-27-2013, 03:12 PM
#49
Registered User
Join Date: Nov 2011
Location: Nor-Cal
Posts: 22
Likes: 0
Received 0 Likes
on
0 Posts
I just did mine a few days ago. I didnt take the b-pillar off mine just popped right off with a putty knife. I went to a craft store and bought a silver and a gold leafing paint marker and they both worked really well. One thing i wish i didnt better was clean all of the old paint off of the badge. mine turned out fairly well but now looking at it i could have done a better job cleaning them before i applied paint. but i was inpatient.
07-01-2013, 01:42 PM
#53
Registered User
Join Date: Nov 2011
Location: Nor-Cal
Posts: 22
Likes: 0
Received 0 Likes
on
0 Posts
no they dont pop in they have to be glued or taped. The 3m double sided tape works well but i glued mine with a non liquid form of super glue i think that was made by elmers or something. it was thick and tacky but its working quite well. it doesnt take much to hold them in there. make sure tho you clean and scrape all the old left over glue or paint in the area before you put them back in place. that way they are as flat as they can be so no water or other stuff can go between the badge and the b-pillar. its all and easy process.
 07-05-2013, 05:51 PM
#55
Registered User
What products did you use? Those are the best yet!
07-05-2013, 06:48 PM
#56
Registered User

Join Date: Oct 2011
Posts: 17
Likes: 0
Received 0 Likes
on
0 Posts
Thanks, just trying to be on pace with you guys!
For paint I used krylon gold and silver leafing pens. The black was testors gloss enamel in a small spray can.
I used acetone with a toothpick and toothbrush to remove the old stuff. Finished up with hot water and dish soap with the tooth brush. I felt that cleaning out the old paint was going to be one of the most important things to do here and it took a lot of time to get it down to the bare clear plastic.
After that it was 3 coats of silver, 3 coats of gold, wet sand with 1000 grit then paint with black.
After that I wet sanded the face with 1000 grit then polished by hand with medium and fine 3m compound.
07-05-2013, 06:56 PM
#57
Registered User
When I did mine Michael's Craft Store was out of the gold pens. I did use the silver one. Wow those turned out Purdy.


