1990-91 4Runner Dual Spare Tire Modification
#1
1990-91 4Runner Dual Spare Tire Modification
Just in case some people on here are interested I am going to share my discoveries on installing the under body spare tire carrier on a 4runner that already has the swing out tire carrier. I preformed this modification using ALL Toyota OEM parts, no fabrication is required.
The basics are as follows. You need to source several parts, either new or used. I opted to go with new parts because finding clean parts for a 20 year old vehicle in Michigan is impossible and not worth the time. As you would expect, to get all brand new parts is a little on the pricey side, but Cruiser Dan at American Toyota is definitely the guy to go through.
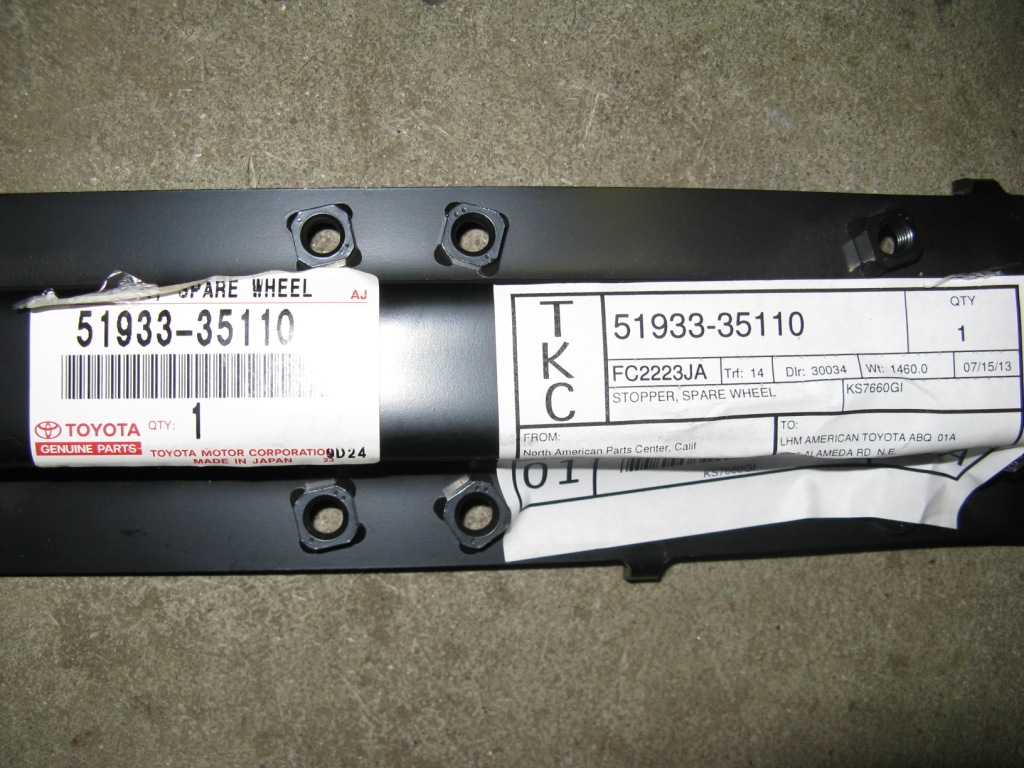
1. (2X) 51933-35110
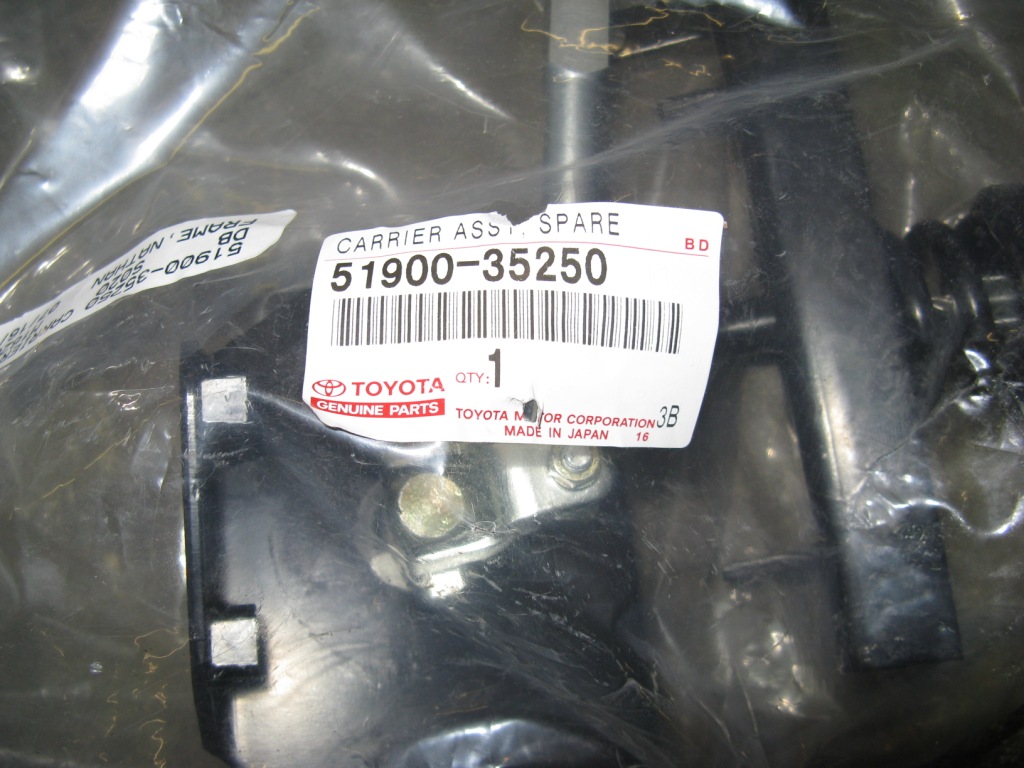
2. (1X) 51900-35250
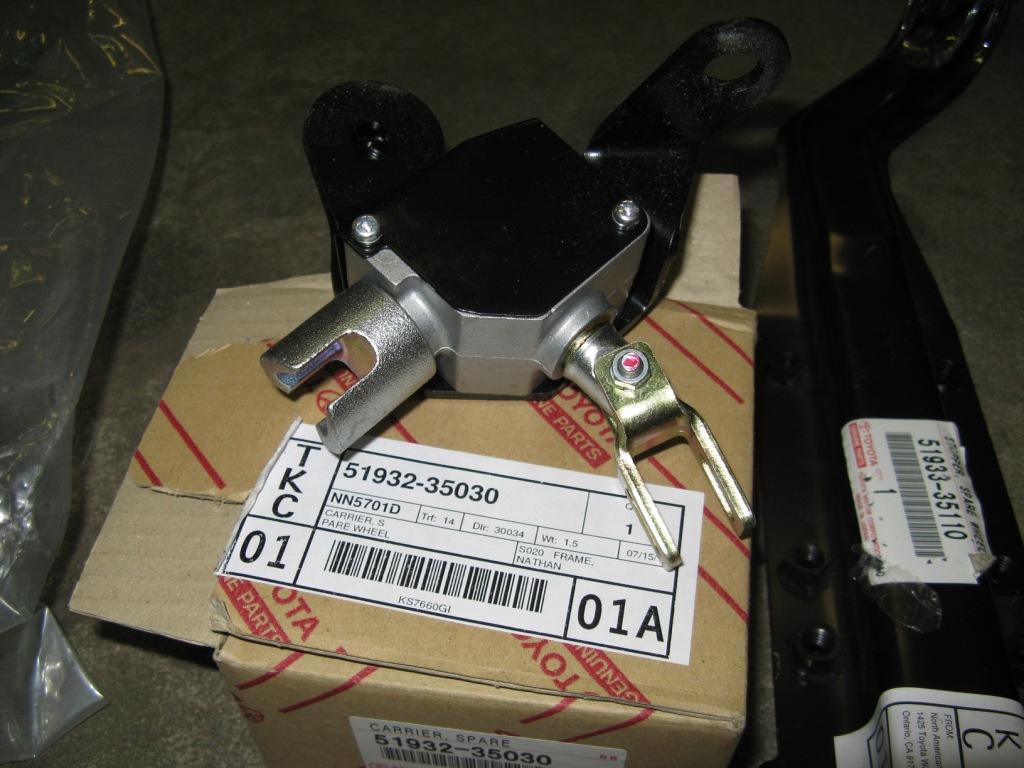
3. (1X) 51932-35030
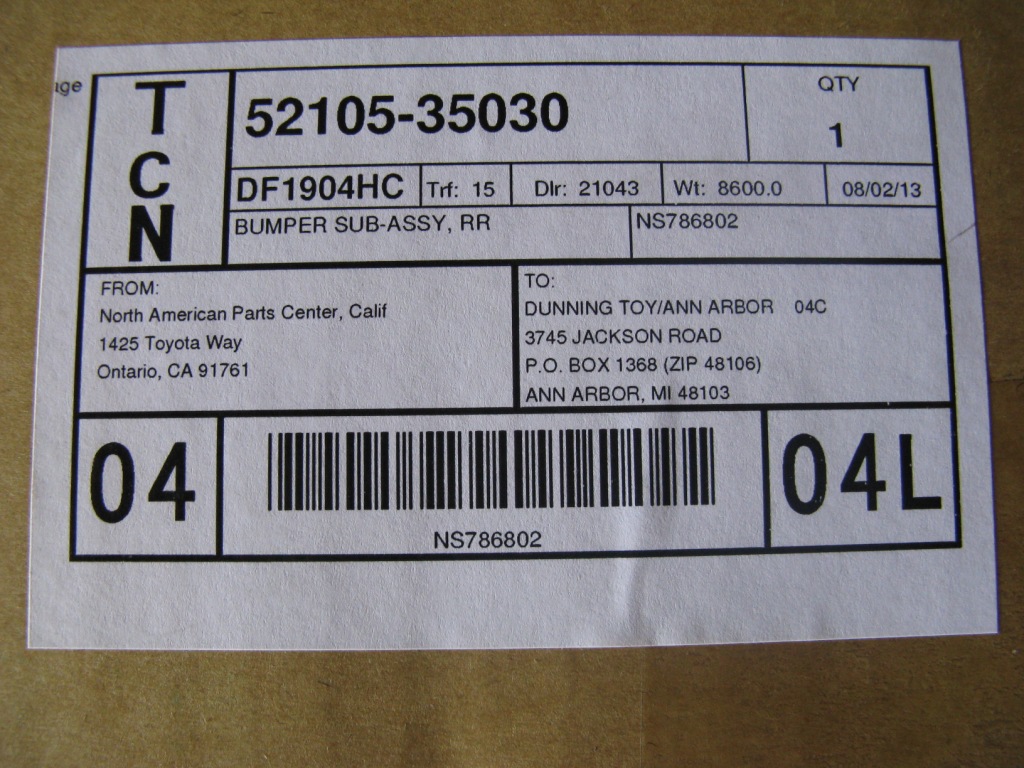
4. (1X) 52105-35030
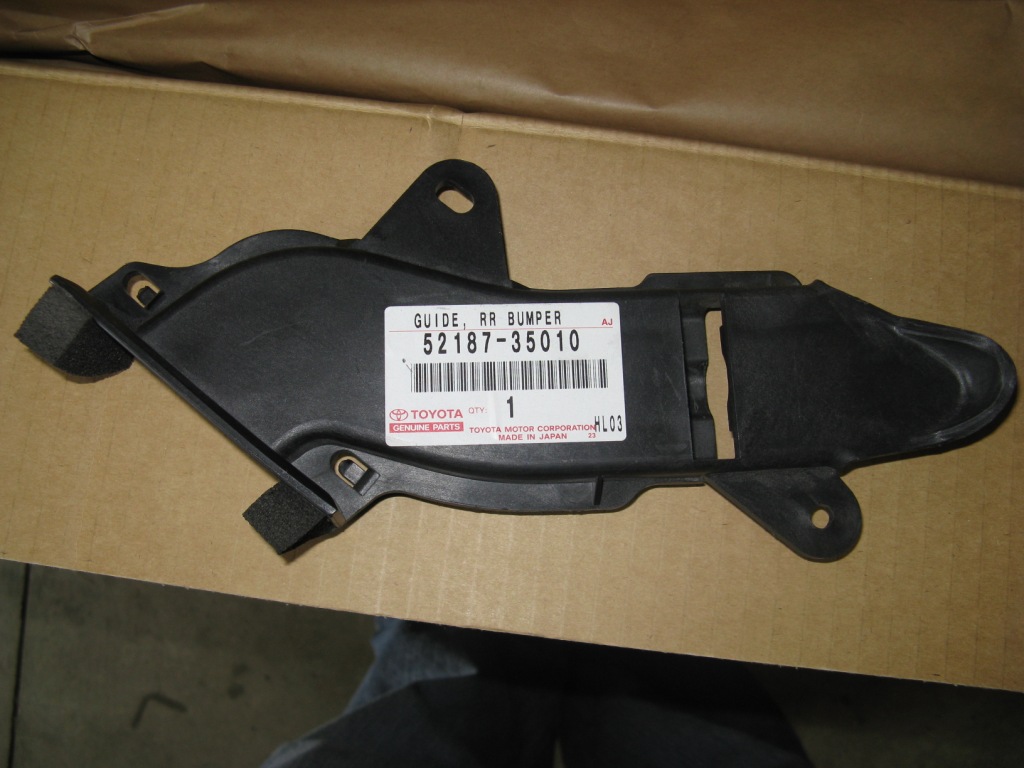
5. (1X) 52187-35010
Don't forget to get a few stainless M6 bolts for this plastic part.
You will also need a few less glamourless parts that dont warrent big flashy pictures. Ofcourse the bolts are not absolutly necessary, but they are cheaper from toyota than my local hardware store.
6. (10X) 91651-40818 Bolt with washer
7. (1X) 51916-35030 Pin
8. (1X) 90468-14011 Clip for the pin
9. Anti-Sieze
Procedure in a nut shell.
1.Remove hitch, mine is in the way of the tire atleast. On vehicles that came with the under body carrier the hitch is different. I believe there are several sources for bolt in hitches. I am living without one for the time being.
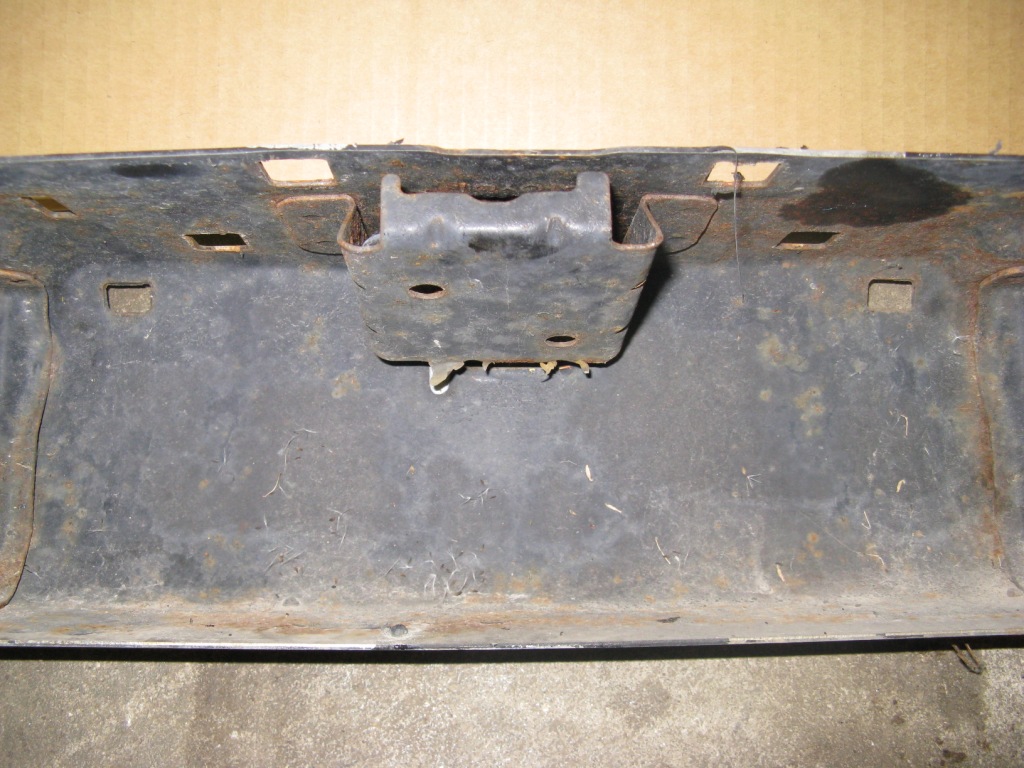
2.Remove the entire rear bumper and swap out the new center section. To see why this is necessary, compare the following pictures.
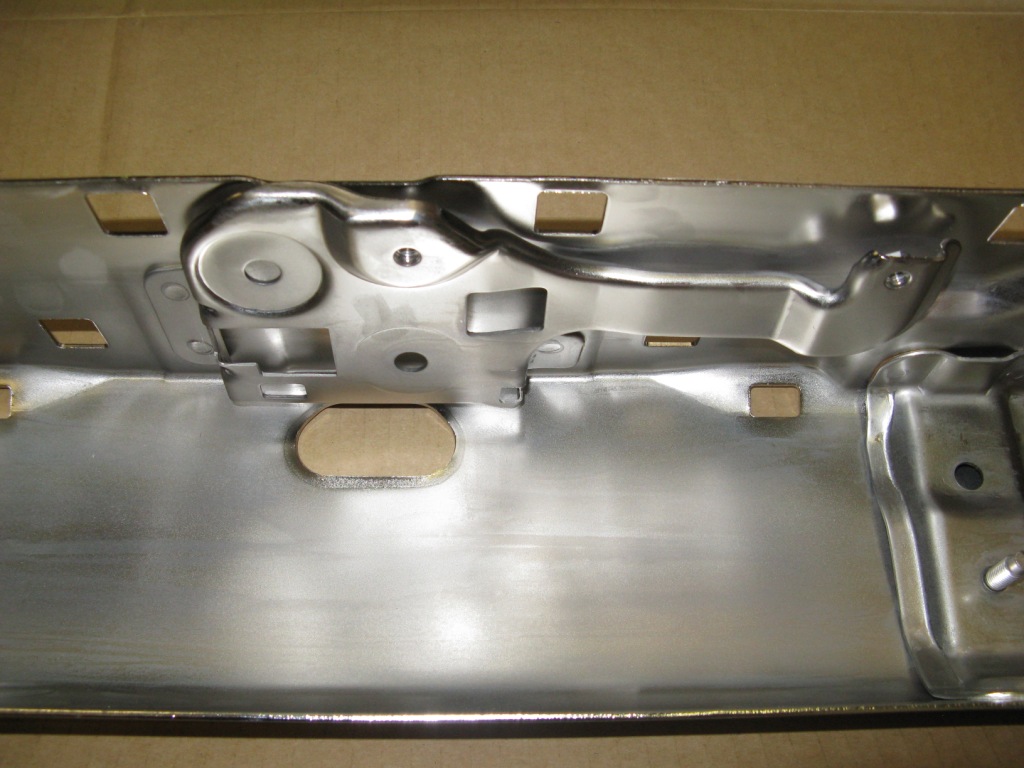
3. Install your new bumper assembly with the plastic guide pictured above, dont forget the anti-sieze!! Hopfully you got a friend or two, its a chore to install by yourself. I also discovered it was easier to install the entire bumper at once than to do it one piece at a time, I had a hard time getting the bumper sections to line up on the car so I took the damn thing off and did it on the floor.
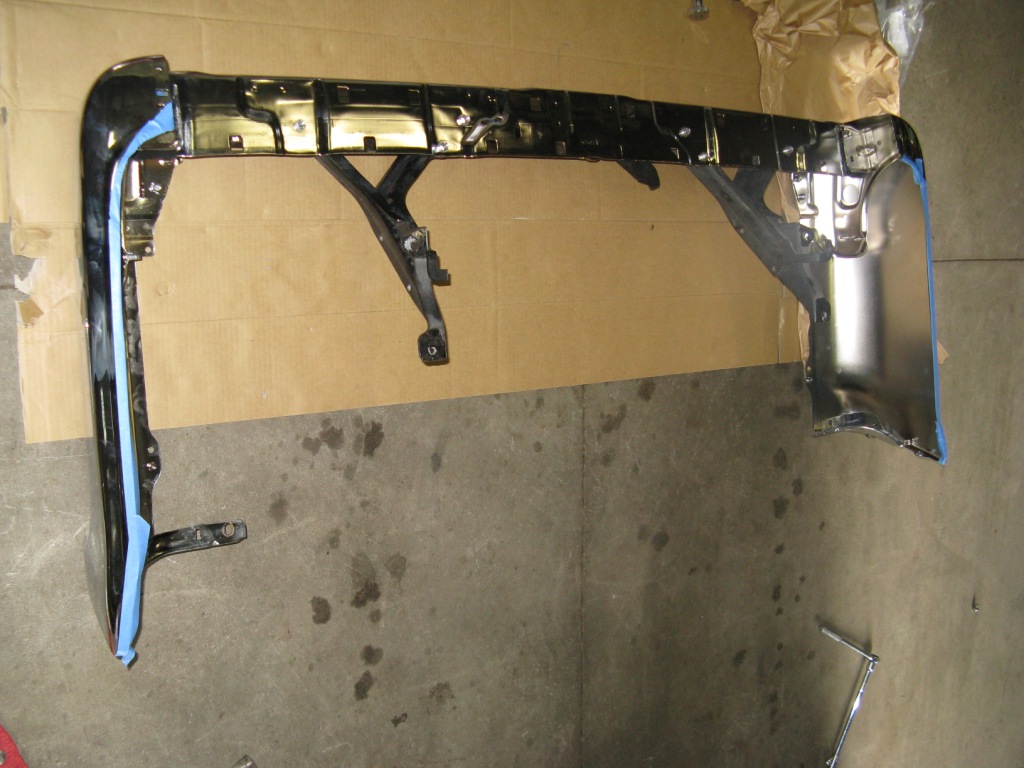
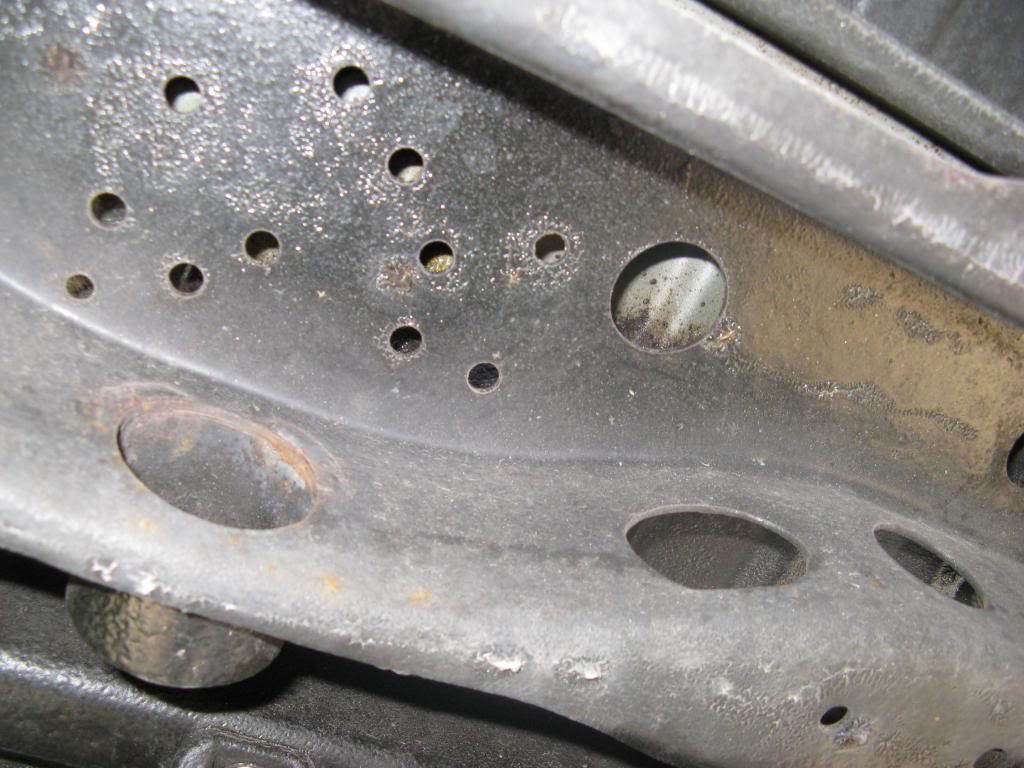
4. Install the carrier assembly. Your chassis should look like this, a bunch of holes, I just found the 4 that matched up with the carrier and put some bolts in. Done!
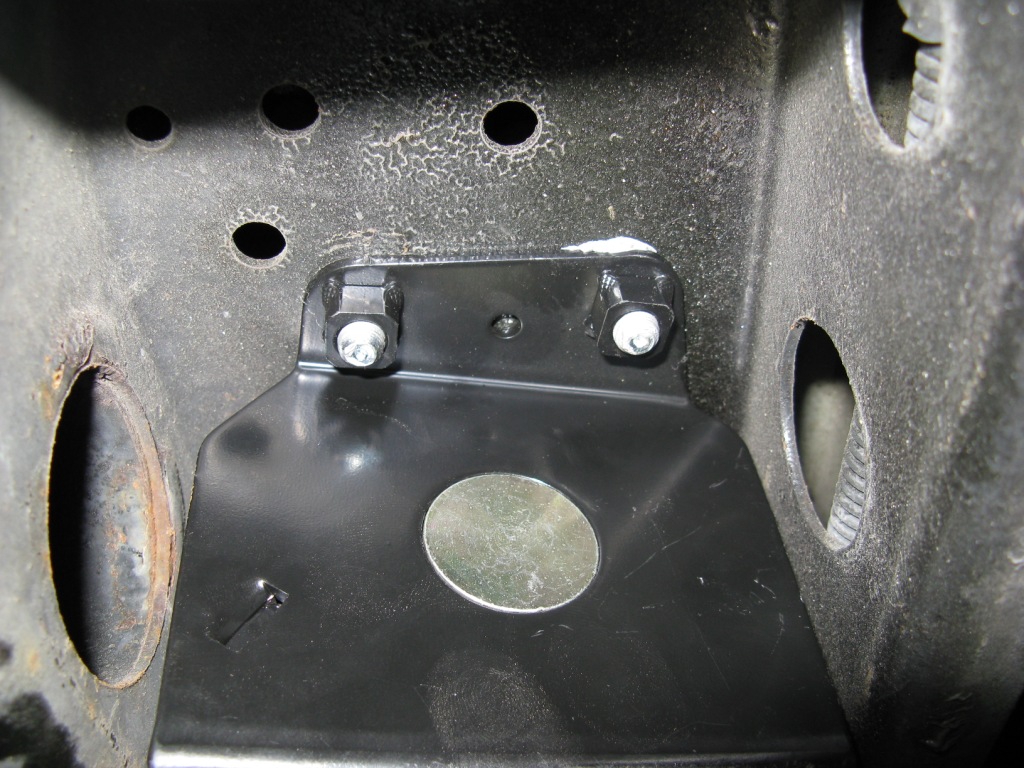
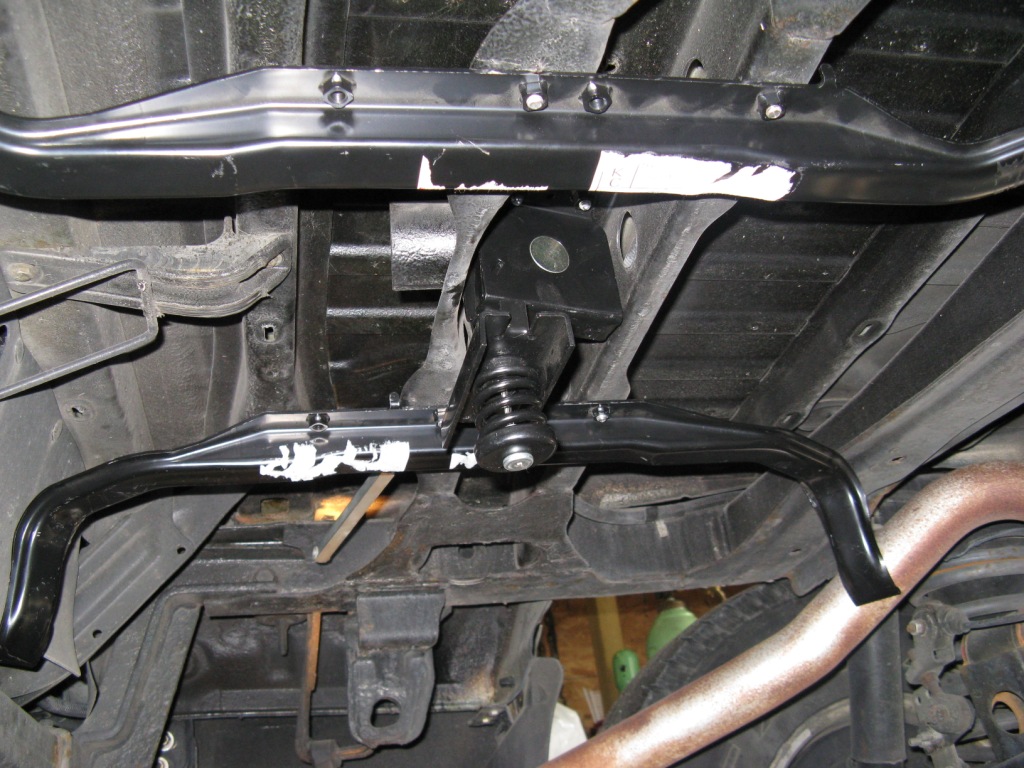
5. Now install your two brackets, they should just bolt right on. You should have something starting to look like this.
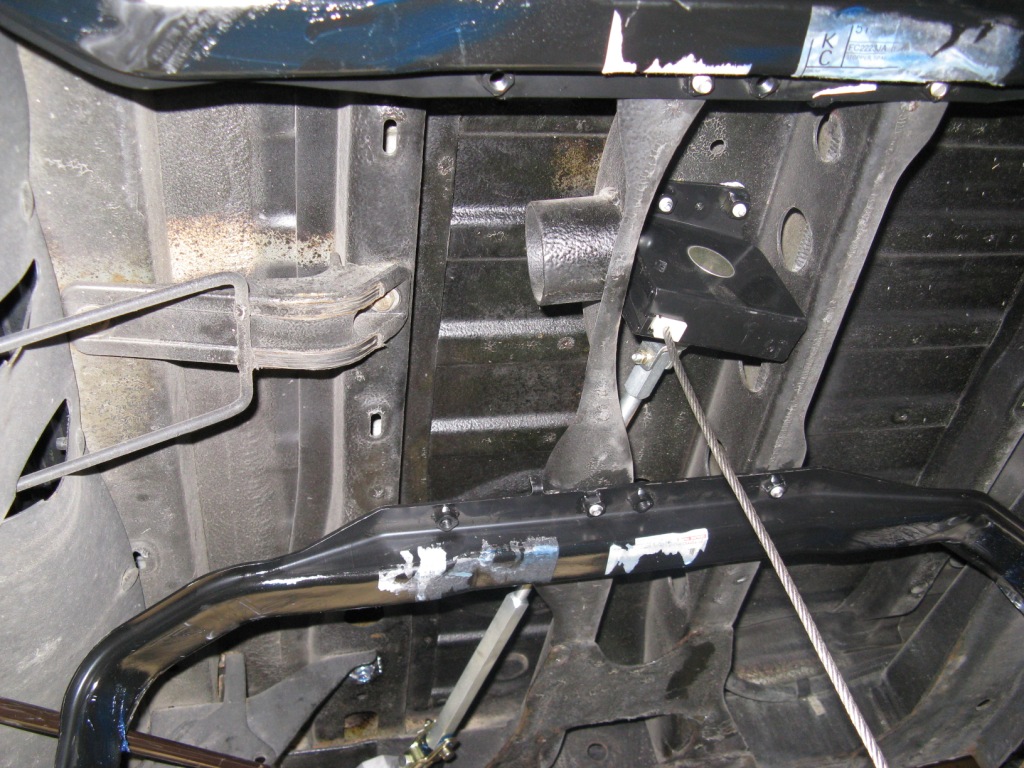
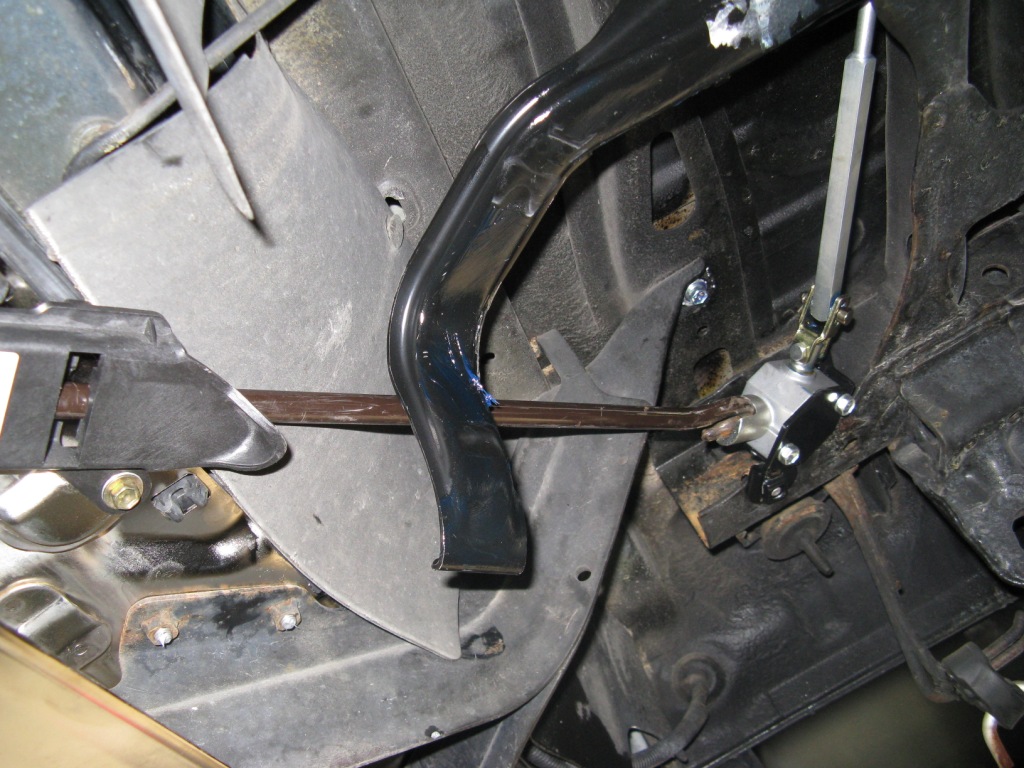
6. Now you need the little gear box, pin, and clip. Depending on your hitch you might have some fitment issues. Another reason I had to ditch the 91 style hitch and will have to get a 92-later style hitch.
This picture sucks, apparently I forgot to snap one of installing the gear box.
7. About done...
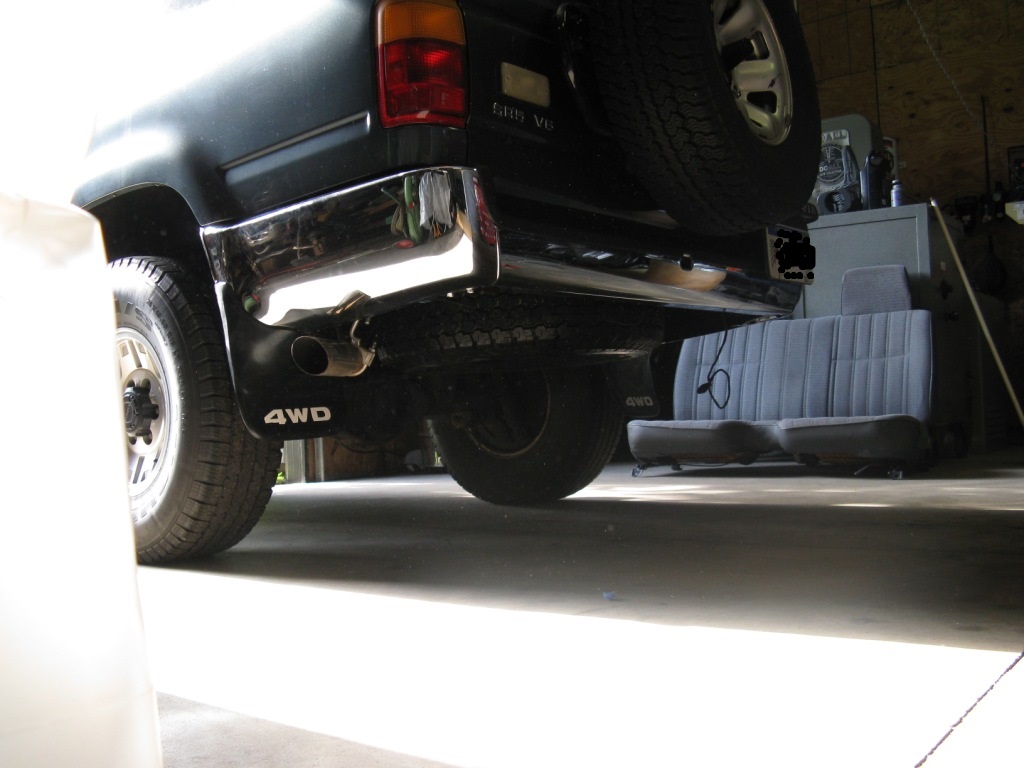
The two spares...
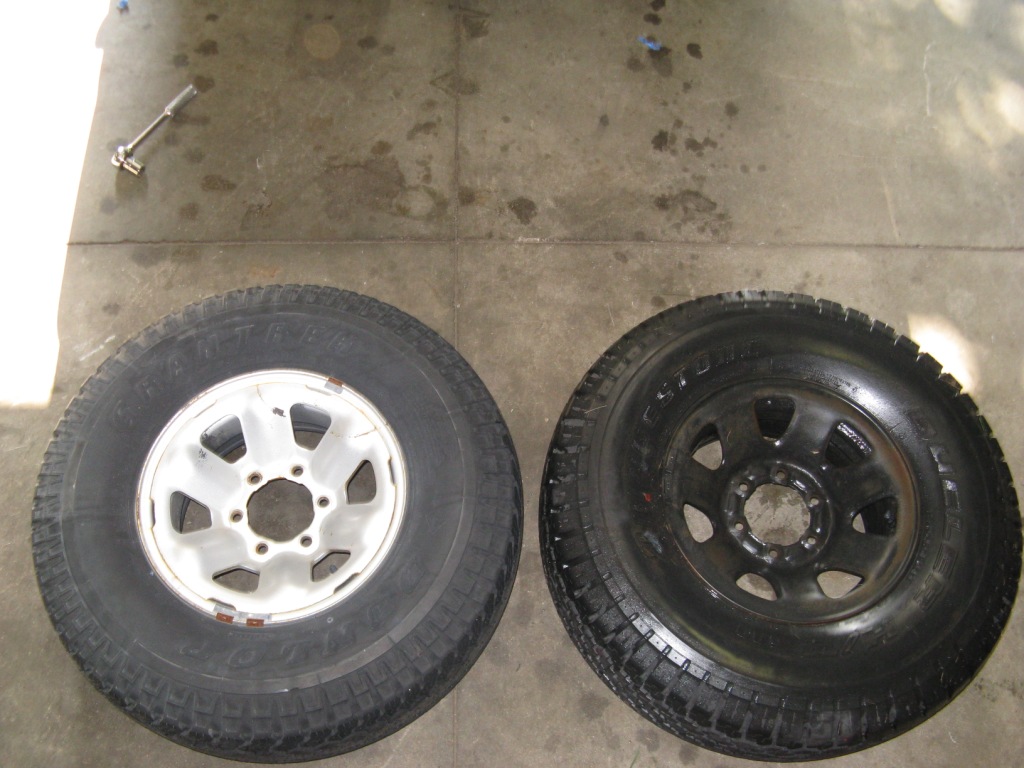
Please check for errors before you decide to order any parts. I find toyomotorparts.com to be useful, lots of diagrams and part numbers. I hope this helps someone out there.
Cheers
The basics are as follows. You need to source several parts, either new or used. I opted to go with new parts because finding clean parts for a 20 year old vehicle in Michigan is impossible and not worth the time. As you would expect, to get all brand new parts is a little on the pricey side, but Cruiser Dan at American Toyota is definitely the guy to go through.
1. (2X) 51933-35110

2. (1X) 51900-35250

3. (1X) 51932-35030

4. (1X) 52105-35030

5. (1X) 52187-35010
Don't forget to get a few stainless M6 bolts for this plastic part.

You will also need a few less glamourless parts that dont warrent big flashy pictures. Ofcourse the bolts are not absolutly necessary, but they are cheaper from toyota than my local hardware store.
6. (10X) 91651-40818 Bolt with washer
7. (1X) 51916-35030 Pin
8. (1X) 90468-14011 Clip for the pin
9. Anti-Sieze
Procedure in a nut shell.
1.Remove hitch, mine is in the way of the tire atleast. On vehicles that came with the under body carrier the hitch is different. I believe there are several sources for bolt in hitches. I am living without one for the time being.
2.Remove the entire rear bumper and swap out the new center section. To see why this is necessary, compare the following pictures.


3. Install your new bumper assembly with the plastic guide pictured above, dont forget the anti-sieze!! Hopfully you got a friend or two, its a chore to install by yourself. I also discovered it was easier to install the entire bumper at once than to do it one piece at a time, I had a hard time getting the bumper sections to line up on the car so I took the damn thing off and did it on the floor.

4. Install the carrier assembly. Your chassis should look like this, a bunch of holes, I just found the 4 that matched up with the carrier and put some bolts in. Done!


5. Now install your two brackets, they should just bolt right on. You should have something starting to look like this.

6. Now you need the little gear box, pin, and clip. Depending on your hitch you might have some fitment issues. Another reason I had to ditch the 91 style hitch and will have to get a 92-later style hitch.
This picture sucks, apparently I forgot to snap one of installing the gear box.

7. About done...


The two spares...

Please check for errors before you decide to order any parts. I find toyomotorparts.com to be useful, lots of diagrams and part numbers. I hope this helps someone out there.
Cheers

Thread
Thread Starter
Forum
Replies
Last Post
RedRunner_87
95.5-2004 Tacomas & 96-2002 4Runners (Build-Up Section)
84
06-01-2021 01:51 PM
MMA_Alex
86-95 Trucks & 4Runners (Build-Up Section)
25
04-18-2017 05:07 AM
skoti89
Offroad Tech
3
07-08-2015 12:05 AM
skoti89
Off Road Trip Planning, Expeditions, Trips, & Events
0
07-06-2015 07:45 PM


