When you click on links to various merchants on this site and make a purchase, this can result in this site earning a commission. Affiliate programs and affiliations include, but are not limited to, the eBay Partner Network.
From reading a bunch today it looks like I need to do two things...
Fully disassemble the wire harness under the intake manifold (which was already recommended - thanks) and check for grounds and connections/wear/corrosion in the engine compartment wires to the injectors...
check the NE and IGF signals that come from the igniter/coil back to the ECU
there were some other connections or signals required for grounding the ignitor pulse loop but I�ll worry about checking those only if 1 and 2 above don�t work...
I found some good write ups on the second and have begun disassembly for the first. I�ll let you all know how it goes. Thanks for the help this far. A lot of good information out there.
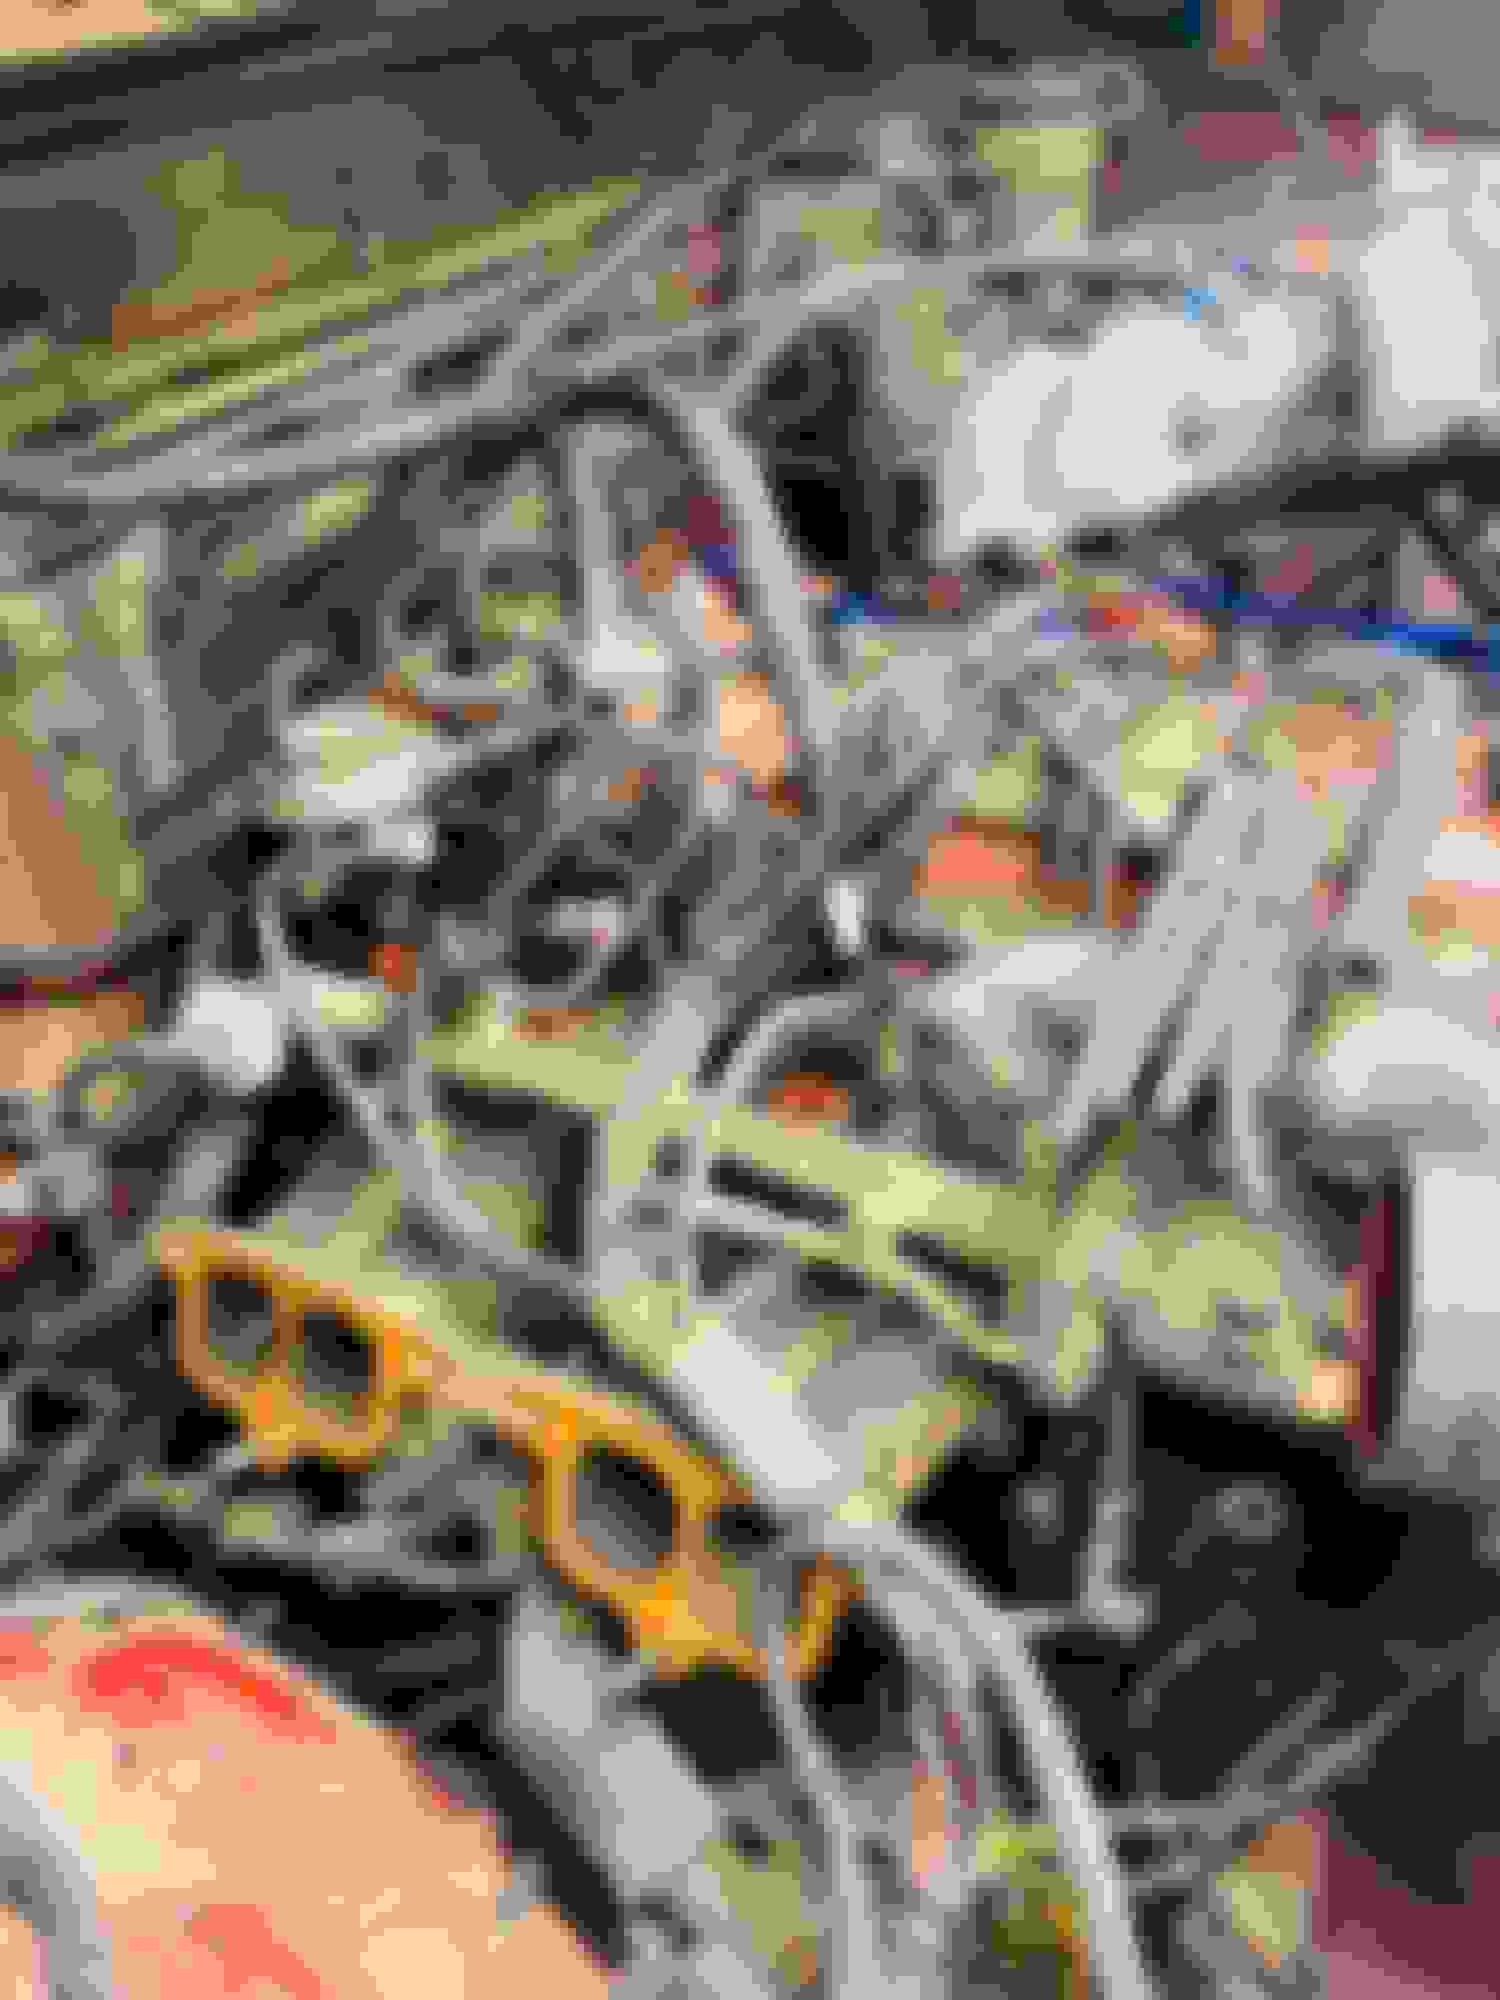
here is one leg with most of this sticky stuff covered by the brown material shown below removed for the brown and blue connectors on top of the engine... pulled off...
this shown the brown stuff around these wire clamps under the intake manifold... what is that stuff and what do I replace it with? White and red wires to the red and blue connector sensors on top of the motor...
Here is another connection... black wire w/ red stripe to injectors 1 and 2 and then both directions through the harness
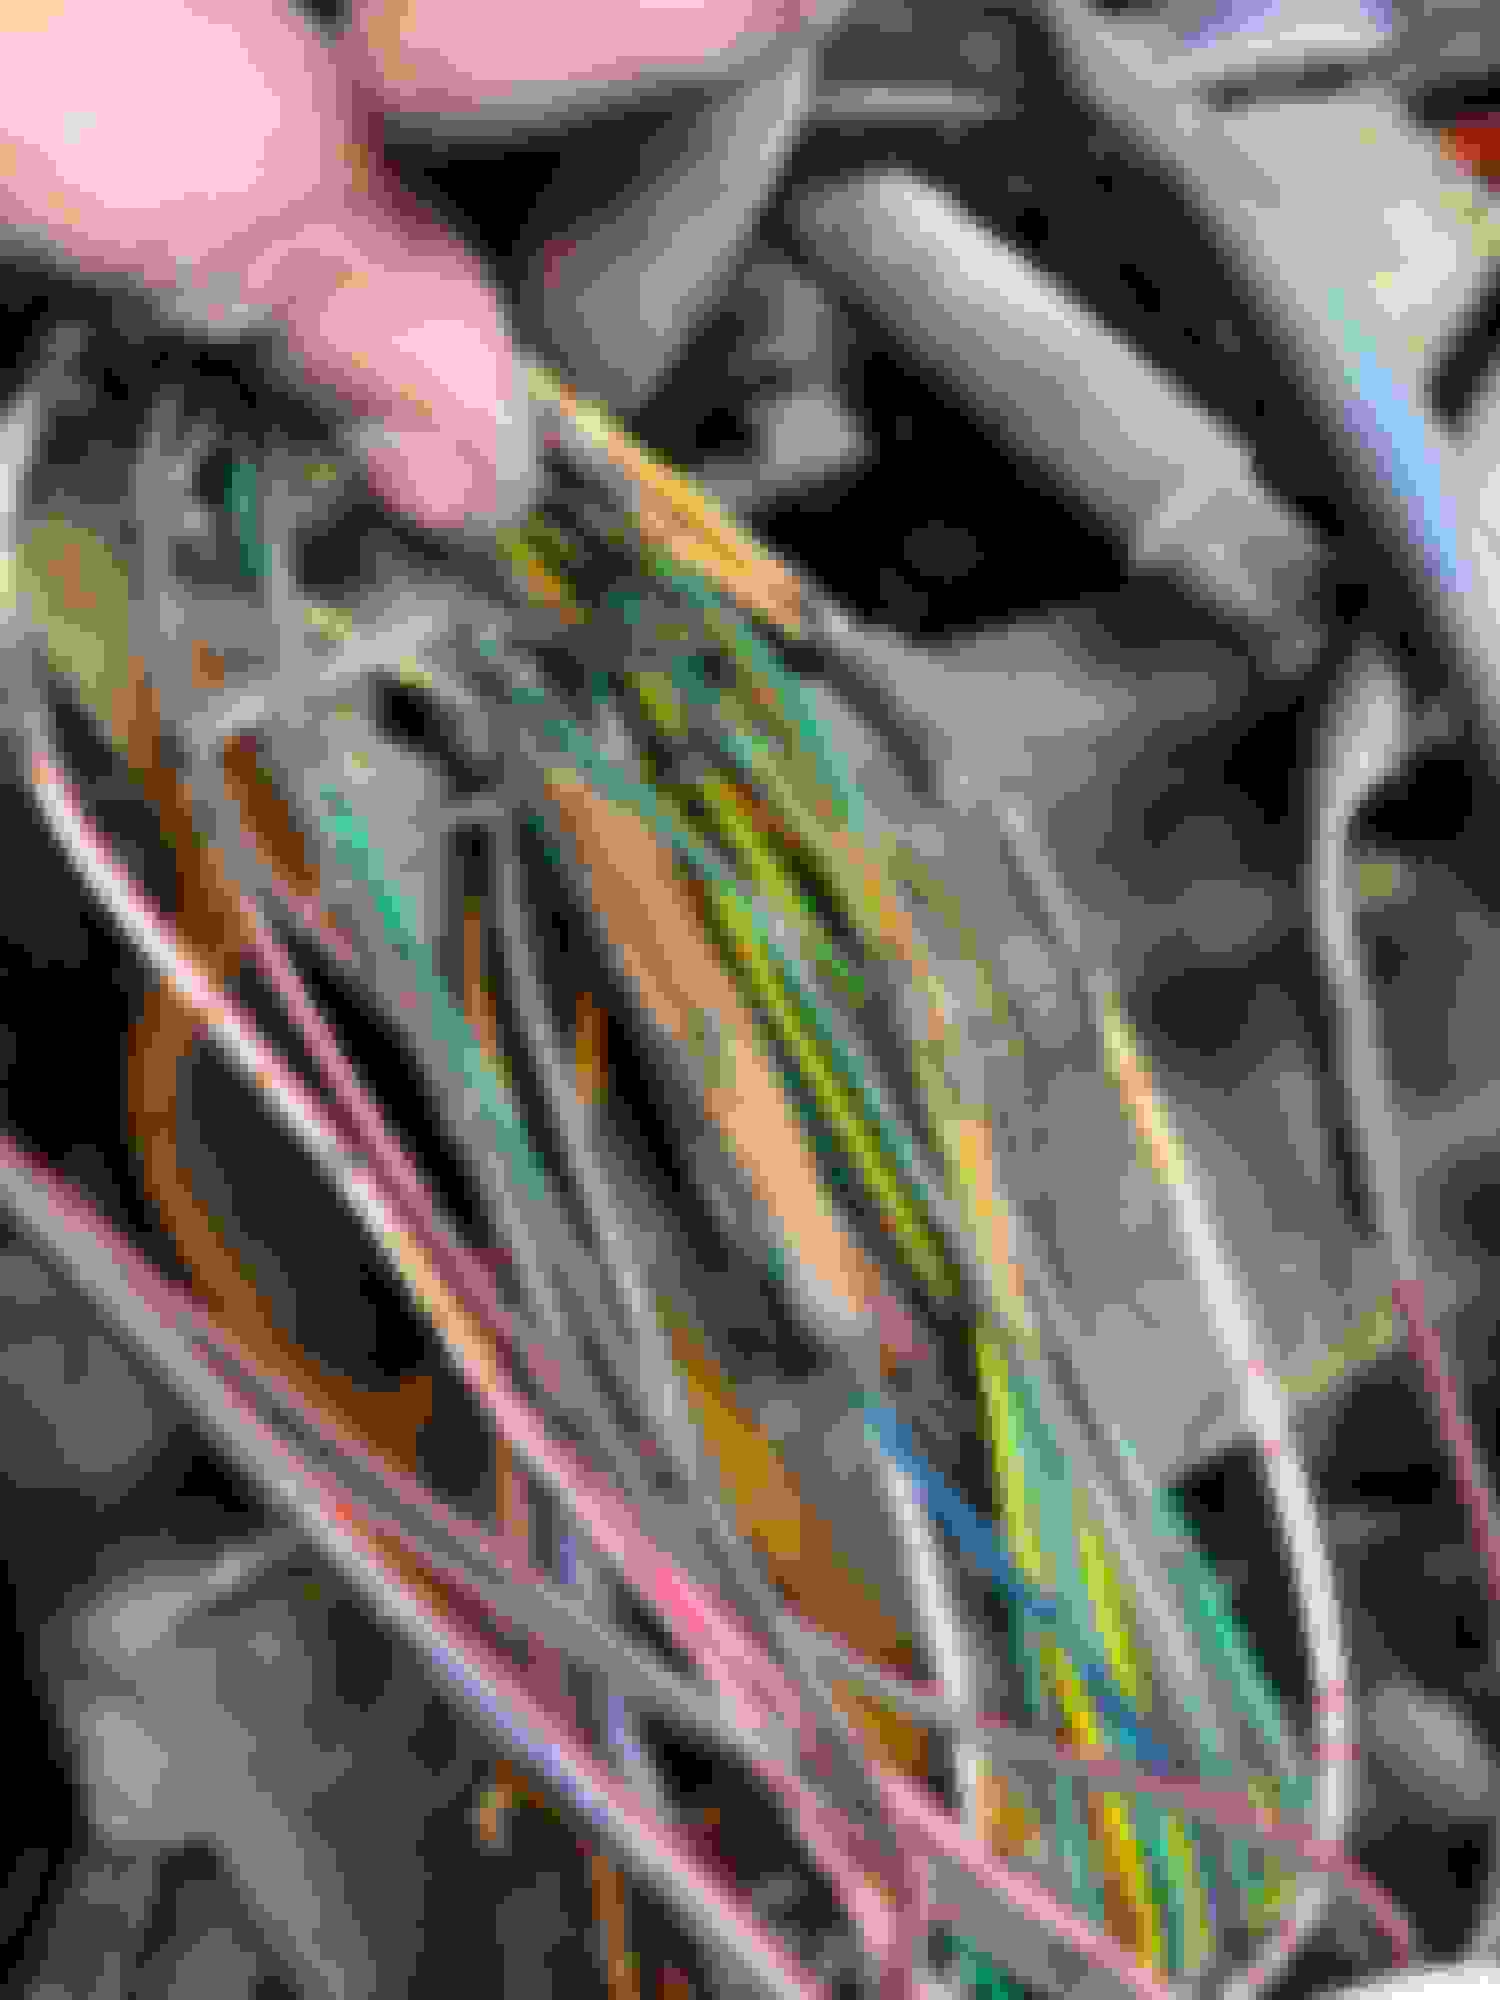
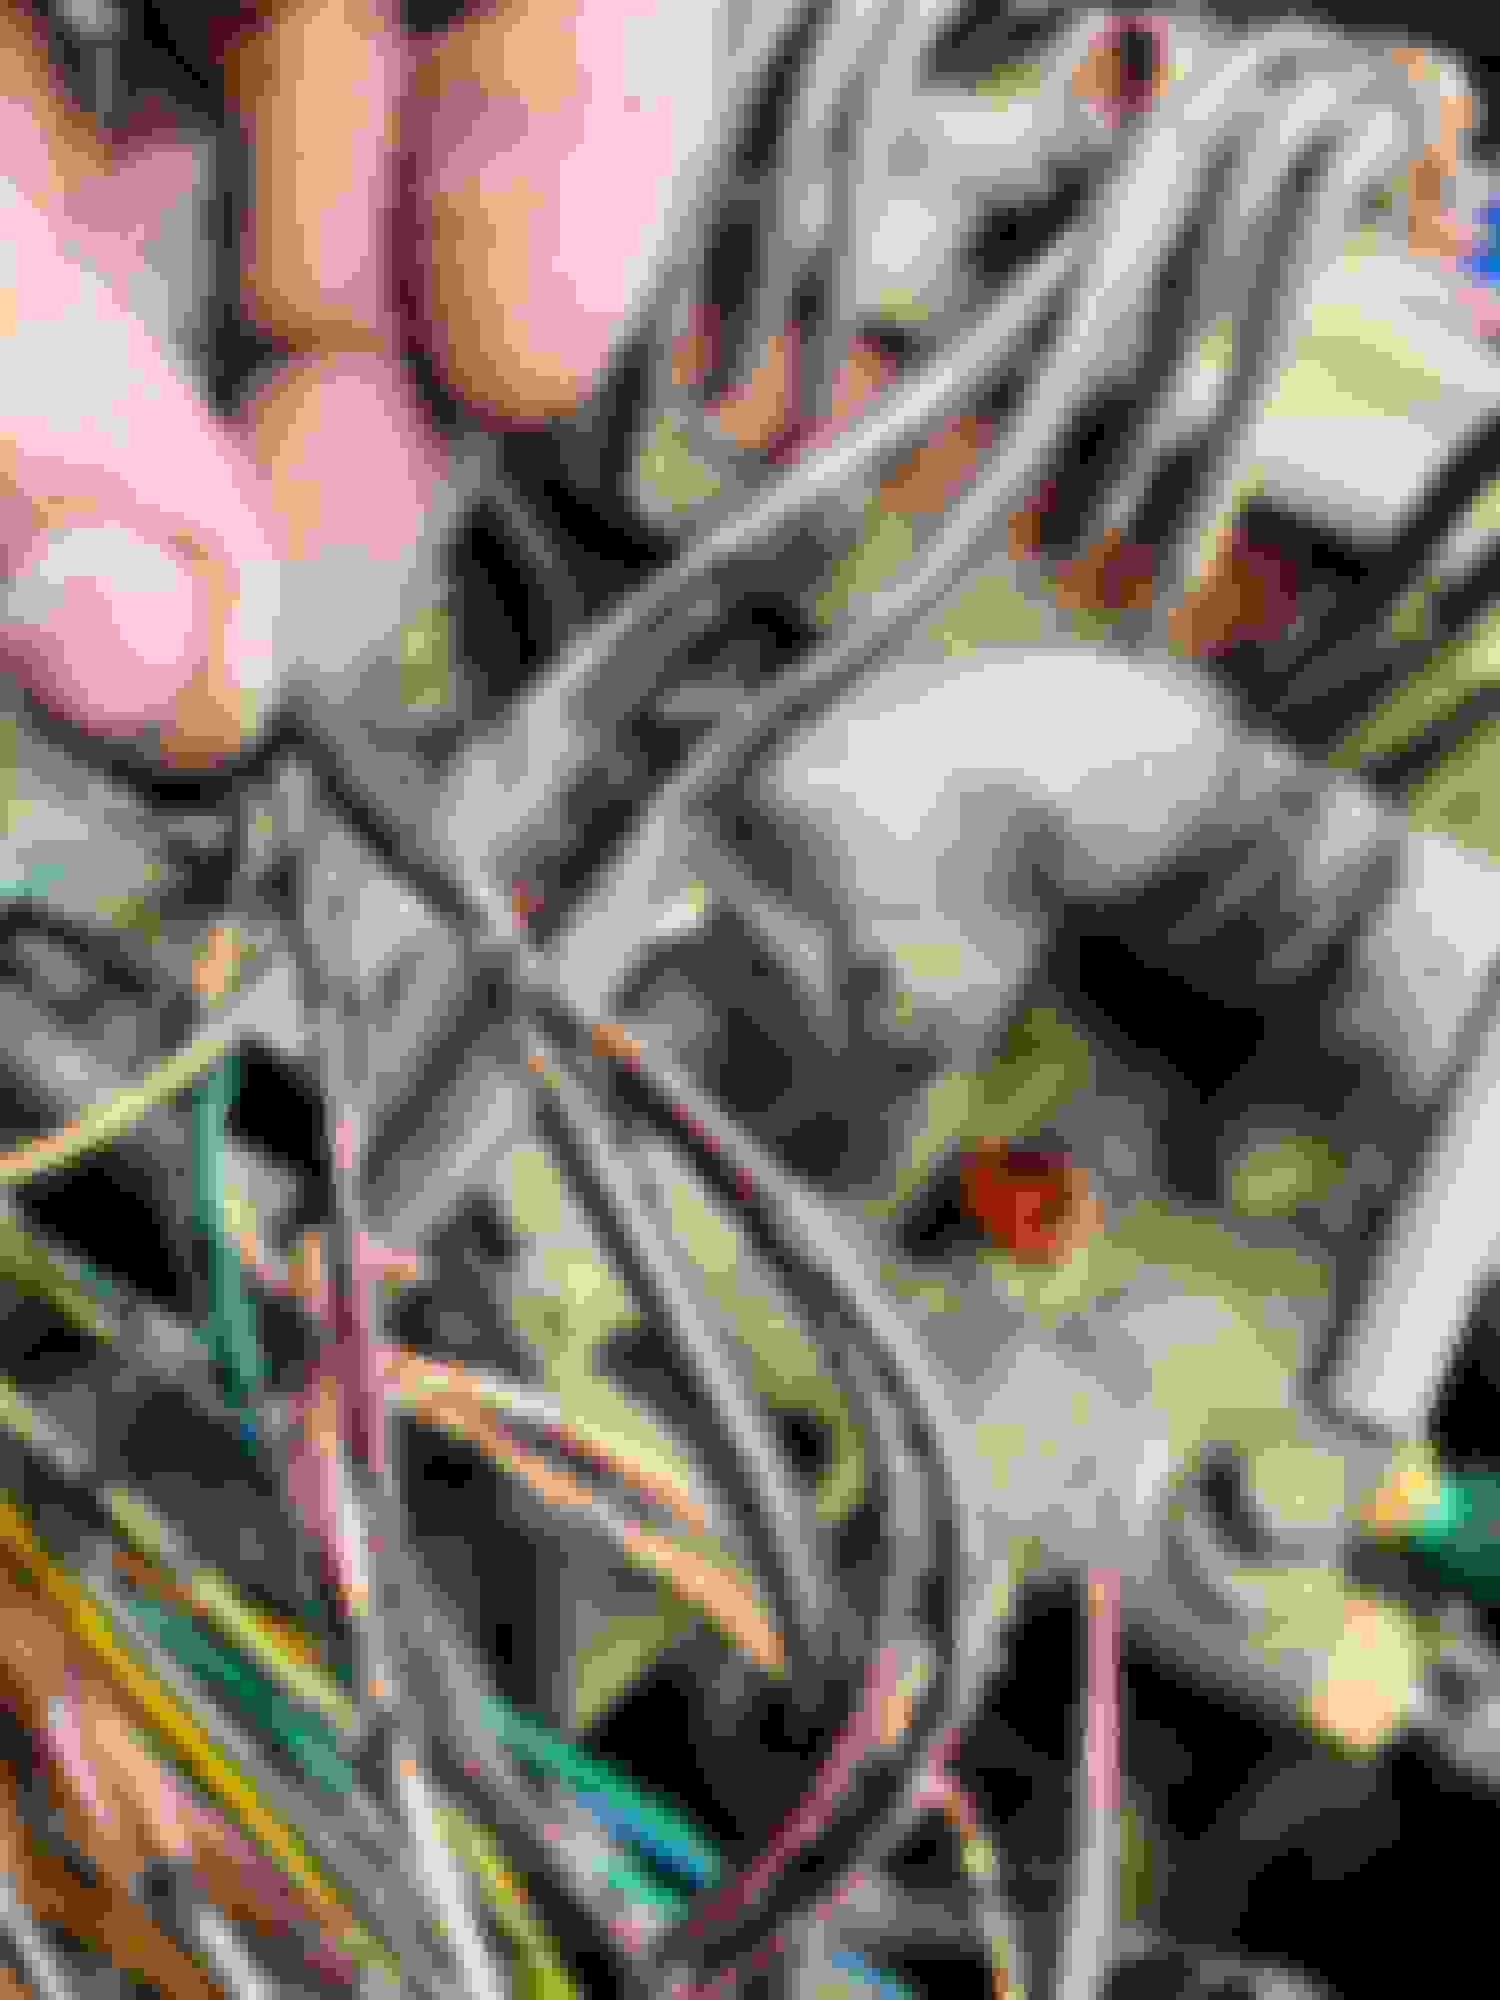
Overall the connections and clamps look ok and I don�t see lots of corrosion
Last edited by kwitcherbeliakin; 06-04-2022 at 06:46 AM.
To give some closure to this thread. I found the issue! 1 wire. When removing the heater core and the heater/ac components there was a jumper wire installed on one of the connectors that ran one of the legs to the o2 sensor, the igniter, and the fuel pressure/vsv components on top of the engine... with that wire in place everything worked.
Following all the wires they spliced into that connector inside the wiring harness. But I'm up and running now. Thanks for everyone's help. Much appreciated.
Hi - I just read the entire thread, as I have the same issue. - Where did your jumper wire splice into the harness before it went to the O2 sensor, then igniter, and fuel pressure / vcv? What color was it??
Thank you
I will get a few photos of how I addressed it and what color the wires are coming into the cab... and then where they went. I have no idea if it was that way from the factory but I doubt it... at least it will give you a visual of where it should go...
If I recall right those sensors are all connected to a white wire with a red stripe down the side of it... and it goes inside the main harness into the cab. Mine was then splice into another wire in the main harness that ran over to the connector to the heater core... and at the heater core two of the wires were jumpered on the back of the heater core connector. As I said I will get some photos tonight when I get home to upload.
Very frustrating issue with many involved components... especially when all the normal checks don't seem to be working.
Yes. These electrical gremlins in my 22REC - are so hard to find. Thank you
Here are some photos of mine... I have not looked to see further where they go beyond that. I just know everything works now... or at least as it did previously. And yes my computer is no longer on the lower kick panel. It is up where the dash used to be now.
I don't mean to disparage the work you did in any way, but wire nuts don't do well in automobiles. Being open where the wire(s) go in, they're vulnerable to the nastiness present in the environment. Also, being screwed onto the wire(s), they vulnerable to the vibrations. They can work loose, and come off, very easily.
They're OK to use for testing purposes, but once the trouble is cured, they should be replaced with either a good, soldered, connection, covered with heat shrink, or a decent crimp connection, again, covered with a good, meltwall heat shrink. They won't get vibrated loose, and the heat shrink protects them from any nastiness floating around in the environment.
Glad you got it going right, though.
Pat☺
Yes totally agree and thanks for the clarification. The wire nuts have all been removed on anything running anything at this point. I am not the best at soldering I have discovered but all the main connections are all soldered and I did use heat shrink tubing over those. I will be rewarding the harness as well with electrical tape. There are still some things that I need to reroute but I haven�t gotten that far yet. and in some areas I�ve been leery to finish it up. And there is quite a bit of rewriting to do long term in this thing.
For some reason I need to adjust my idle now as it idles lower than it used to.
And I did take it out on a 15 mile loop and wheeled a little bit with no issues. Now it�s into fine tuning things.
For example I rehooked up the green wire coming from the circuit opening relay to the MAF and it clicks off and on repeatedly at low speeds... stopped at idle it is off... then as soon as it revs up it clicks on and stays on when moving fast enough. The previous owner had it fully disconnected. I�ll have to read up on those on the forum more to see if it just needs to be replaced or if it�s tied to a MAF problem or something else.
I don't mean to disparage the work you did in any way, but wire nuts don't do well in automobiles. Being open where the wire(s) go in, they're vulnerable to the nastiness present in the environment. Also, being screwed onto the wire(s), they vulnerable to the vibrations. They can work loose, and come off, very easily
what�s the best way to seal off the ends of wires that don�t go anywhere? The ones in the most recent photos are just cut wires that dead end at the moment. It�s really just screws onto the wire casing. Is there some other way to terminate them or cover the ends?
A good way to seal off a wire that doesn't connect to anything is to 1) cut it short enough that it's about 1" long, from the closest plug or connector, then 2) using a pair of needle nose pliers, fold the last 1/4" or so over and crimp it down tight, then 3) slide on a piece of heat shrink, the melt-wall kind, that's only just big enough to fit over the wire, and about as long as the wire is. Leave a short length of heat shrink extending beyond the end of the wire. Shrink it down, and clamp the end of the heatshrink with the needle-nose. Hold it until it cools enough to touch.
This accomplishes 2 things. It leaves enough wire to solder onto, should that become necessary at a later date, and 2, it seals the wire, and protects the wire from shorting to anything. It also makes it fit nicely into a wire bundle, once the outer shell is attached. It's really no bigger than a normal piece of wire, so it fits into a bundle nicely.
Hi all, I have a similar / weird problem with my fuel injectors. Here's what I've got 1985 Celica GT 22 RE C motor, EFI. I followed the thread and did indeed find corroded connections inside the wiring harness. I soldered and heat shrinked all connections. I added new connectors cuz the old ones fell totally apart in my hand. (and checked they're wired correctly) Now. I used the wiring diagram from the Haynes manual so that injector #1 & #2 are blue and white, and Injector #3 and #4 are yellow and white. All 4 injectors are coming in at 2.5 ohms, and click when 12v is applied. Here's the thing. Car runs in perfect timing when ONLY two are hooked up (any two will do, but runs best when 2&3 or 1&4). If I add a third it dies. and four won't start at all. When hooked up individually, car will pop, so they work individually. Resister tests fine, 12v (red and black single wire). Yellow and Blue wires out of it test as well... See the attachment as to how I wired it? New ground from frame to the motor, and while harness was apart, I sanded and checked all grounds attached to the intake. Through all of this no engine light after start up.
Man. Any thing you can add would be so helpful.
Figured it out. The new fuel injectors were drawing too much impedance - 2.7 and the old ones were only drawing 1.5 or so... put the old ones in and runs like a dream... beware of aftermarket junk. (you all already know that)

 06-03-2022, 04:02 PM