
$150 paint job
 08-29-2008, 06:18 PM
#1
Registered User
Thread Starter
Join Date: Oct 2007
Location: Bismarck, ND
Posts: 296
Likes: 0
Received 0 Likes
on
0 Posts
$150 paint job
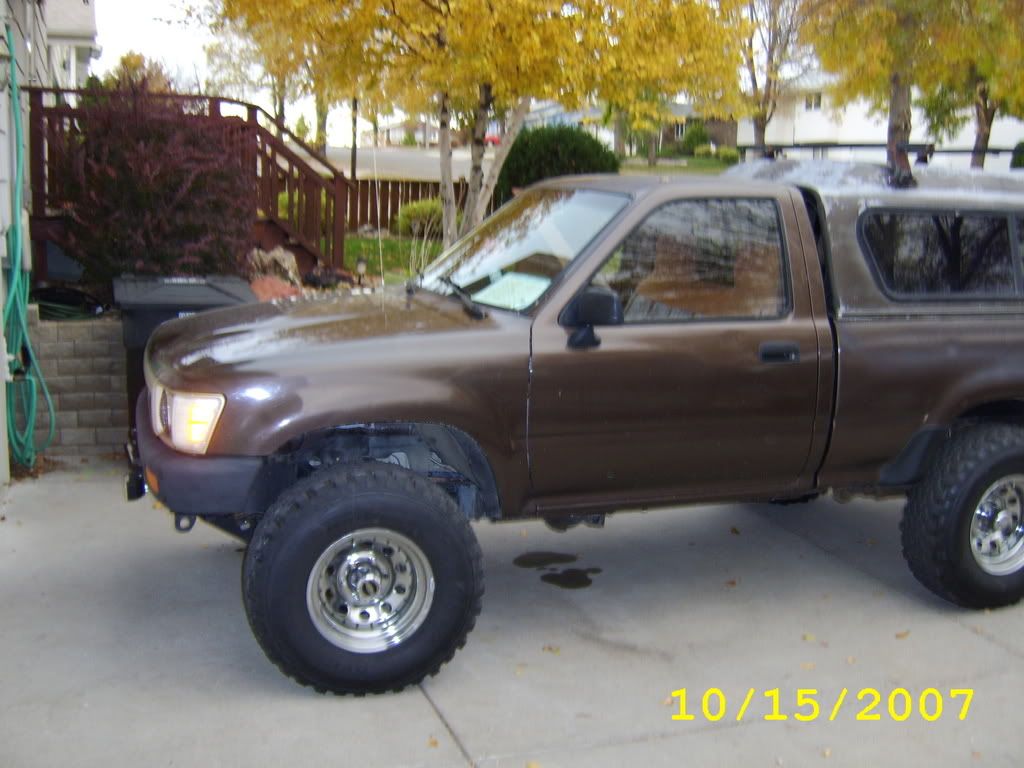
So I have decide to paint my truck.
I am using epifanes monoureathane in dark green, i was going to use interlux brightside like some folks have but it didn't come in a color i liked.
I figured i would take it step by step on here as best I can so everyone can see the progress. I have never painted a vehicle before so bear with me on this one. Any tips would be greatly appreciated.
The paint I ordered from Jamestown Distributors, I got a DA sander at walmart to sand her down and the rest of the supplies I purchased at the local hedals auto body store.
I have access to a paint booth at work so I hope to do as much of it there over the long weekend as I can.
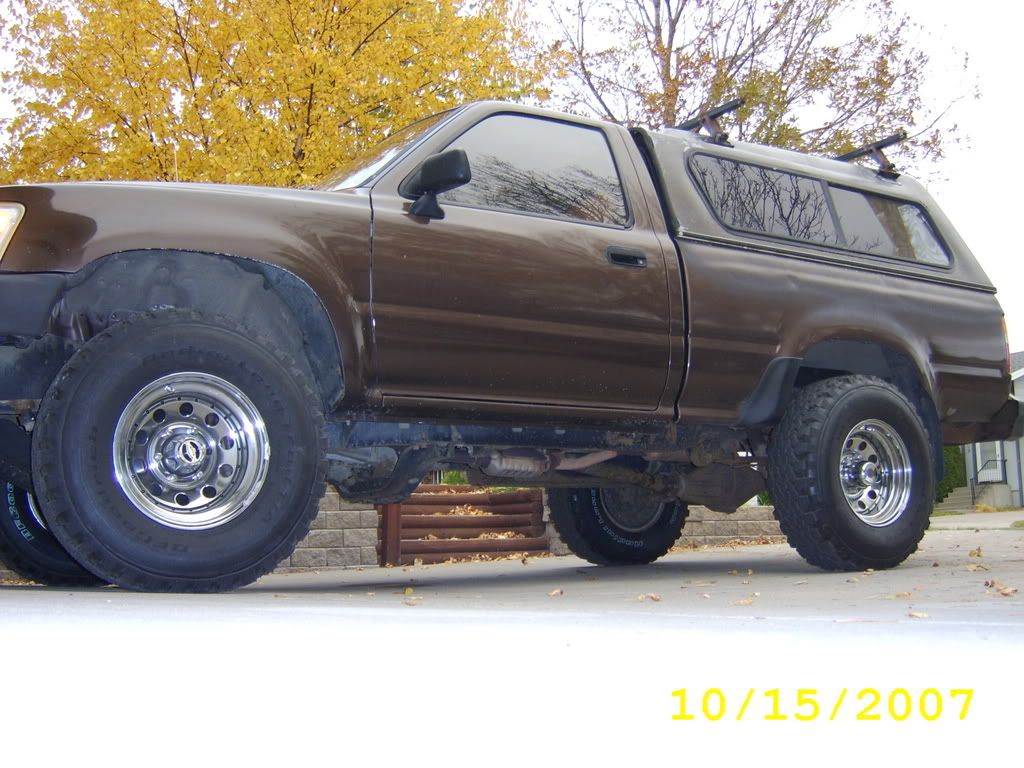
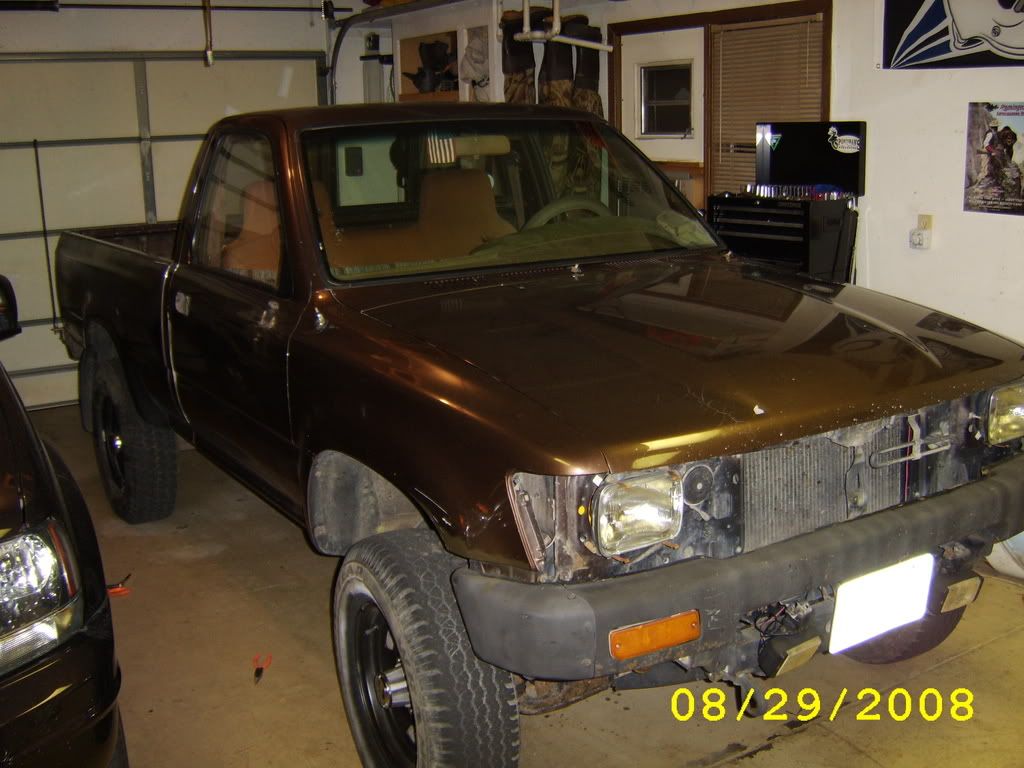
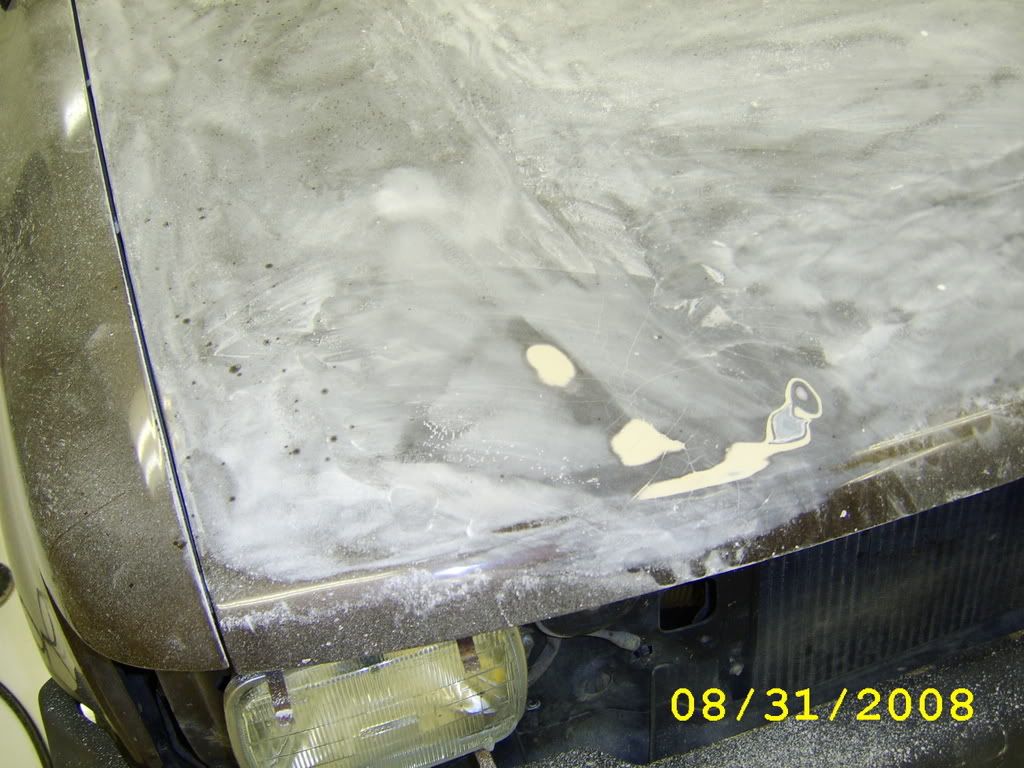
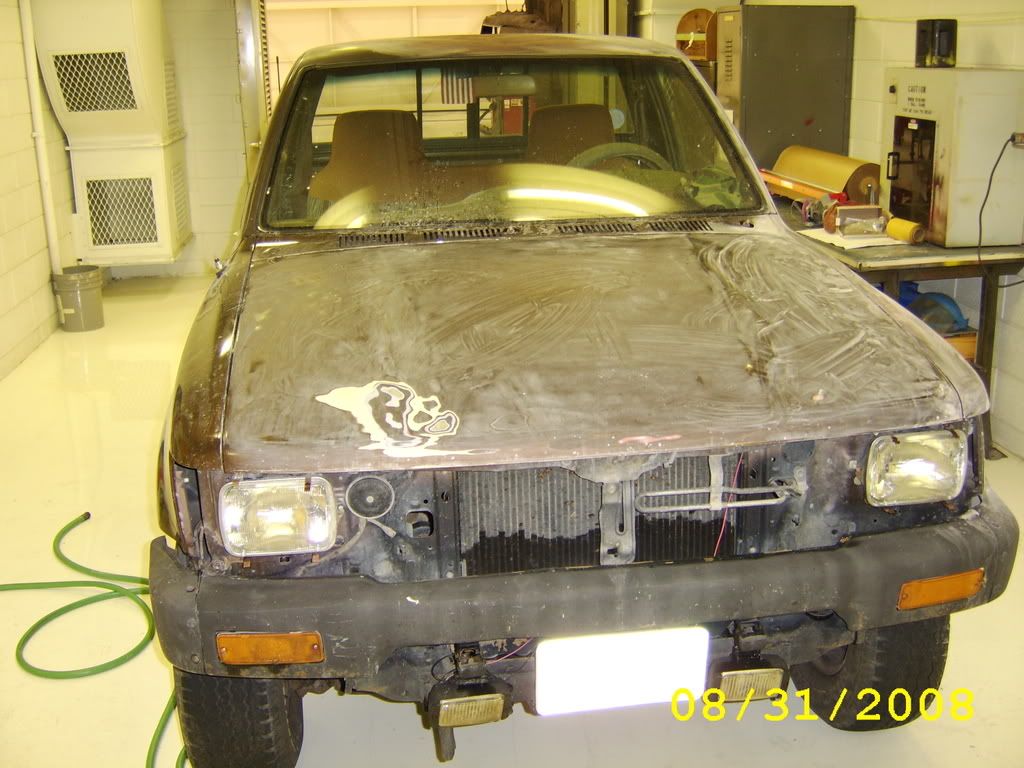
Heres a few before shots. Wish me luck.

I am using epifanes monoureathane in dark green, i was going to use interlux brightside like some folks have but it didn't come in a color i liked.
I figured i would take it step by step on here as best I can so everyone can see the progress. I have never painted a vehicle before so bear with me on this one. Any tips would be greatly appreciated.
The paint I ordered from Jamestown Distributors, I got a DA sander at walmart to sand her down and the rest of the supplies I purchased at the local hedals auto body store.
I have access to a paint booth at work so I hope to do as much of it there over the long weekend as I can.
Heres a few before shots. Wish me luck.
Last edited by toy89yota; 06-20-2009 at 01:00 PM.
 08-29-2008, 06:27 PM
#3
Registered User
Thread Starter
Join Date: Oct 2007
Location: Bismarck, ND
Posts: 296
Likes: 0
Received 0 Likes
on
0 Posts
Its starting to get surface rust spots and it lost paint in a few spots due to cracking. I want to fix the dents too.
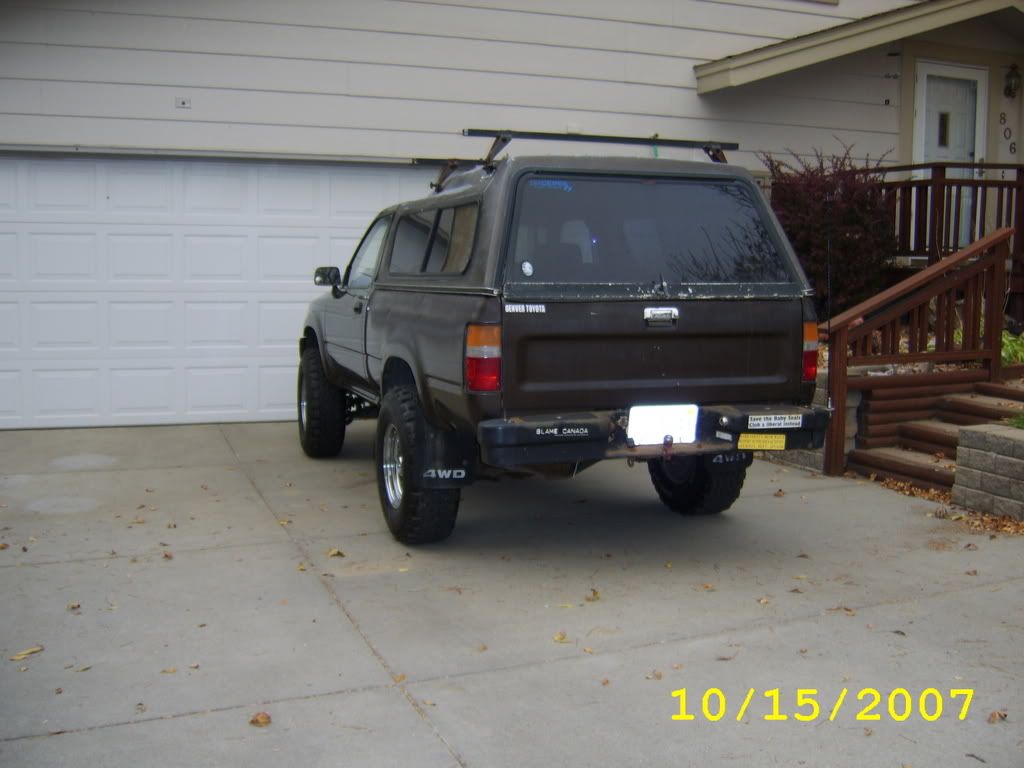
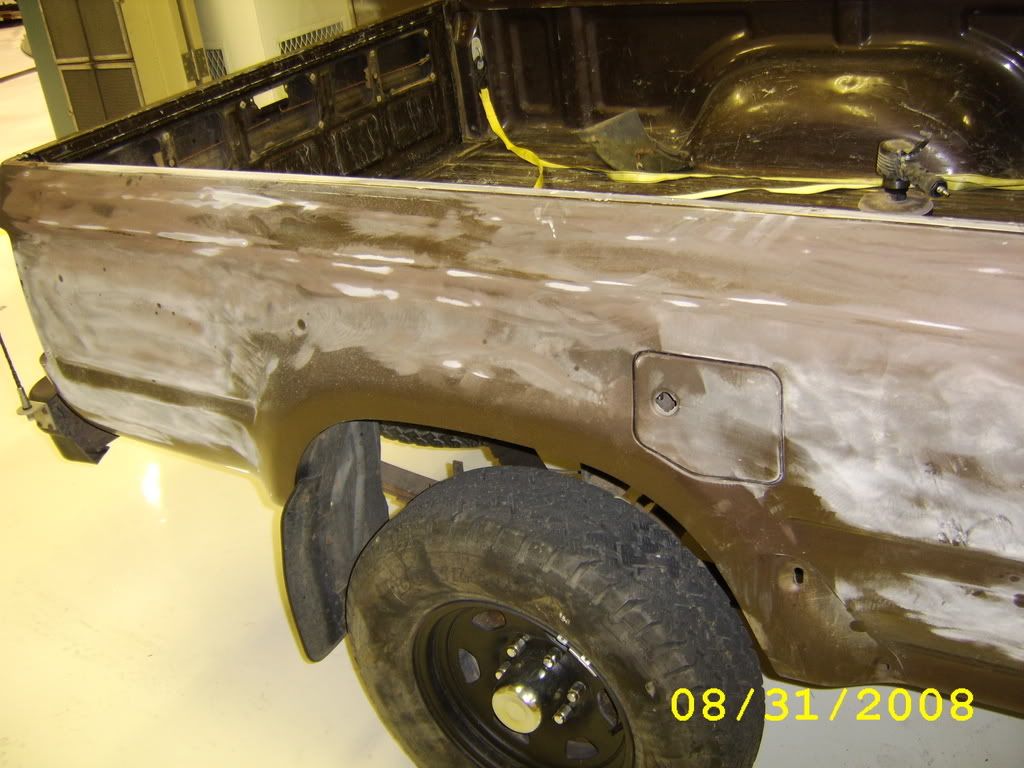
Look at the second to last picture above right behind the rear tire, my exhaust pipe fell off duck hunting last year, and after a whole day driving to decoying spots with the hot exhaust hitting the inside of the bed the paint fell of leaving the factory primer behind.
Look at the second to last picture above right behind the rear tire, my exhaust pipe fell off duck hunting last year, and after a whole day driving to decoying spots with the hot exhaust hitting the inside of the bed the paint fell of leaving the factory primer behind.
Last edited by toy89yota; 08-29-2008 at 06:30 PM.
08-29-2008, 07:06 PM
#5
Registered User
Join Date: Feb 2008
Location: Gainesville Texas
Posts: 743
Likes: 0
Received 0 Likes
on
0 Posts
My first tip is stick with that color, I have never seen it on a Yota and I dig it. If you do much wheeling i would advise a single stage paint, cheaper and easier to spray. The paint job is only as good as the prep job, so spend the time. Use a big compressor, a 220 v is better than the 110 v because of the cfm to paint. An inline dryer is a must, and have fun doing it, cause thats what its all about!
08-29-2008, 07:06 PM
#6
Registered User
Trending Topics
 08-29-2008, 08:58 PM
#9
Registered User
Thread Starter
Join Date: Oct 2007
Location: Bismarck, ND
Posts: 296
Likes: 0
Received 0 Likes
on
0 Posts
some day maybe in like 5 years ill repaint it original paint code but for now i just need it done. if i dont like the green oh well repaint i guess. i have only seen one other toy with paint like mine a 93 4runner but in mint condition.
08-29-2008, 10:49 PM
#10
Registered User
Thread Starter
Join Date: Oct 2007
Location: Bismarck, ND
Posts: 296
Likes: 0
Received 0 Likes
on
0 Posts
heres some pics before sanding, just got done stripping her down. Tomorrow Im gonna start sanding and bondoing the few small dents I have.
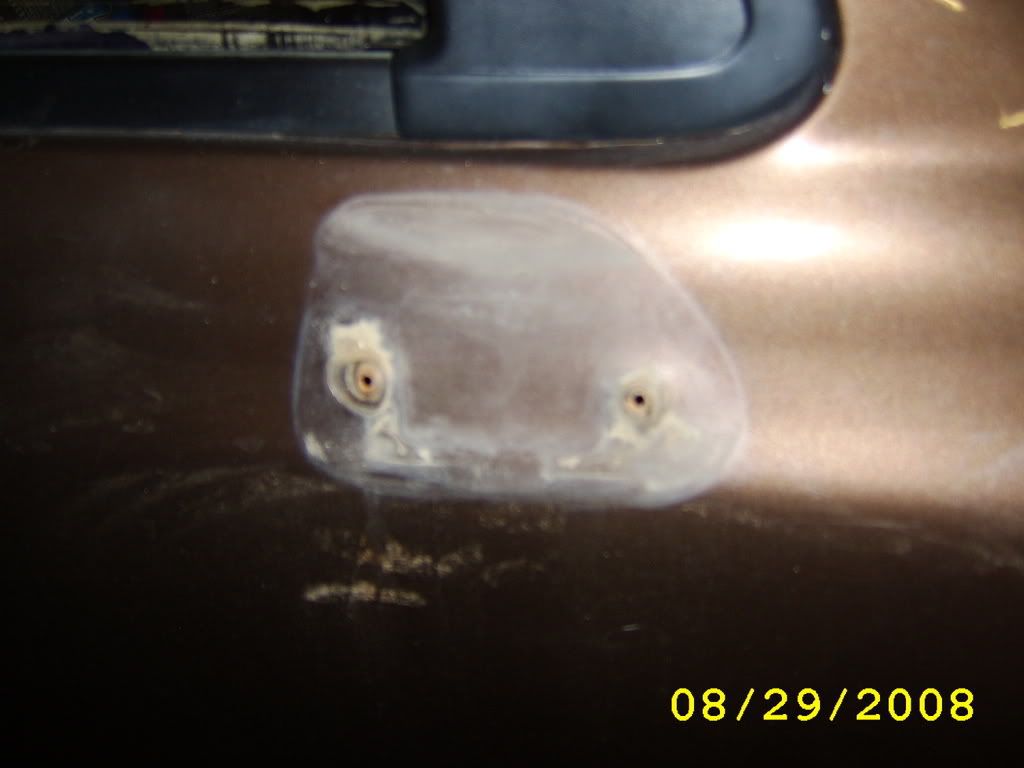
Found something interesting on the passenger side mirror, there were no nut plates holding it on like the driver side. It was held on with wood screws that had rusted, something else to fix I guess. I don't know if this truck came from the factory with out a passenger mirror and someone just screwed on on or what, any of you guys ever run into anything like this?
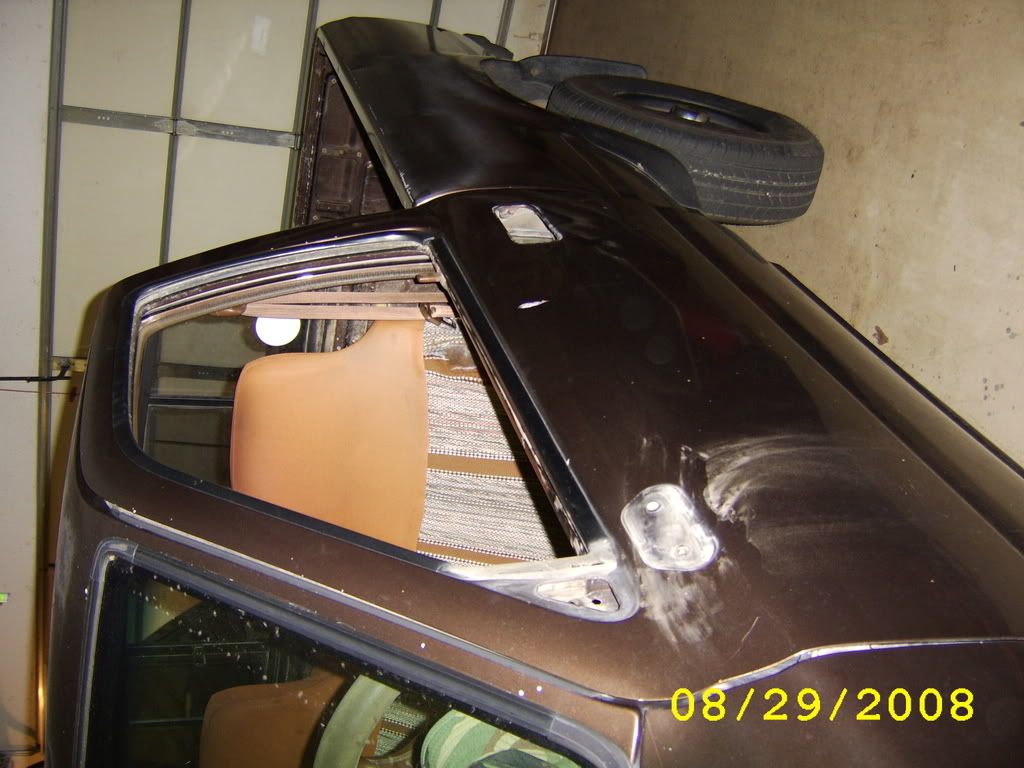
stripped and ready for sanding. Any last advice before i really tear into this thing?
Found something interesting on the passenger side mirror, there were no nut plates holding it on like the driver side. It was held on with wood screws that had rusted, something else to fix I guess. I don't know if this truck came from the factory with out a passenger mirror and someone just screwed on on or what, any of you guys ever run into anything like this?
stripped and ready for sanding. Any last advice before i really tear into this thing?
08-30-2008, 12:52 AM
#11
Registered User

Join Date: Jan 2008
Posts: 276
Likes: 0
Received 0 Likes
on
0 Posts
I would also take the antenna base, the rear bumper, rear turn signals (can't see if they are done), mud flaps and the CB antenna base off.
Sand outside, spray inside. Most people just hand up plastic sheets. I personally like to build a paint booth with PVC, plastic sheet, duct tape and bunch of cheap air filters. I think supplies cost me 200 at home depot, but I've used it a couple of times. It does a great job keeping dust and crap out of the paint. It also allows me to vent fumes well away from the house.
Finally make sure you have a really good respirator. Aerosol paint is really bad for the lungs. If you can smell paint either your filter is wrong, or the respirator does not fit. Get a good one your health is not something to go cheap on.
Last edited by gte718p; 08-30-2008 at 12:54 AM.
08-30-2008, 08:40 PM
#12
Registered User
Thread Starter
Join Date: Oct 2007
Location: Bismarck, ND
Posts: 296
Likes: 0
Received 0 Likes
on
0 Posts
I have access to a paint booth at work where I'm gonna spray maybe. I'm also gonna sand there too, they issued me a respirator so I dont kill my self by breathing chemicals.
08-30-2008, 09:02 PM
#13
Registered User
Thread Starter
Join Date: Oct 2007
Location: Bismarck, ND
Posts: 296
Likes: 0
Received 0 Likes
on
0 Posts
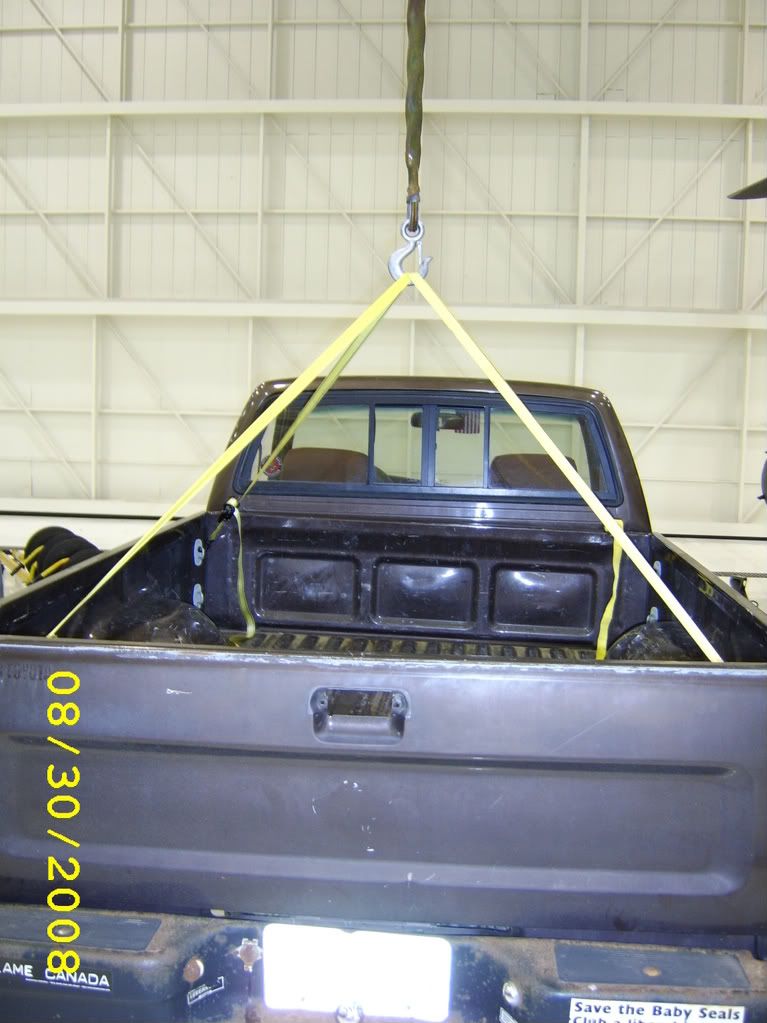
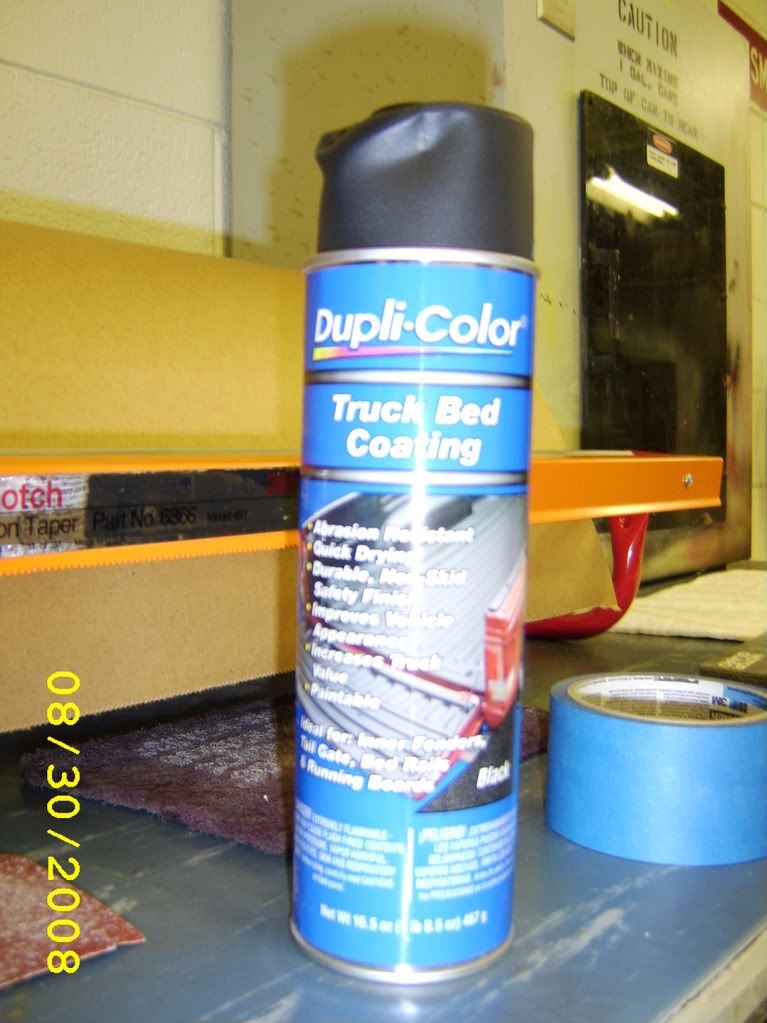
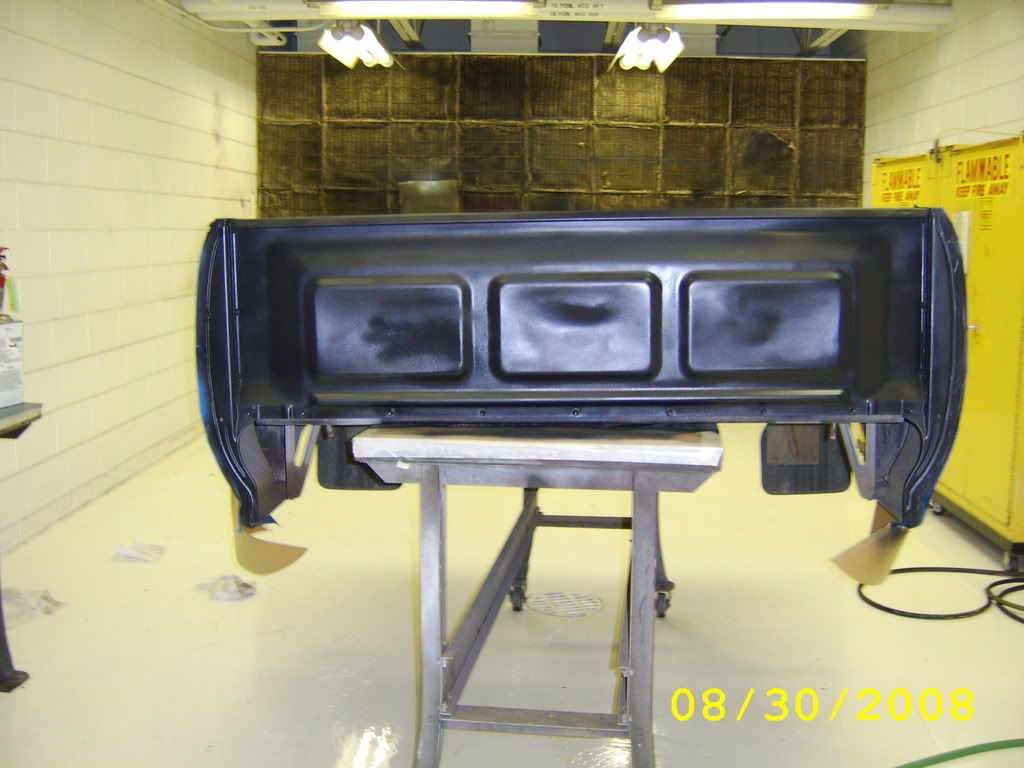
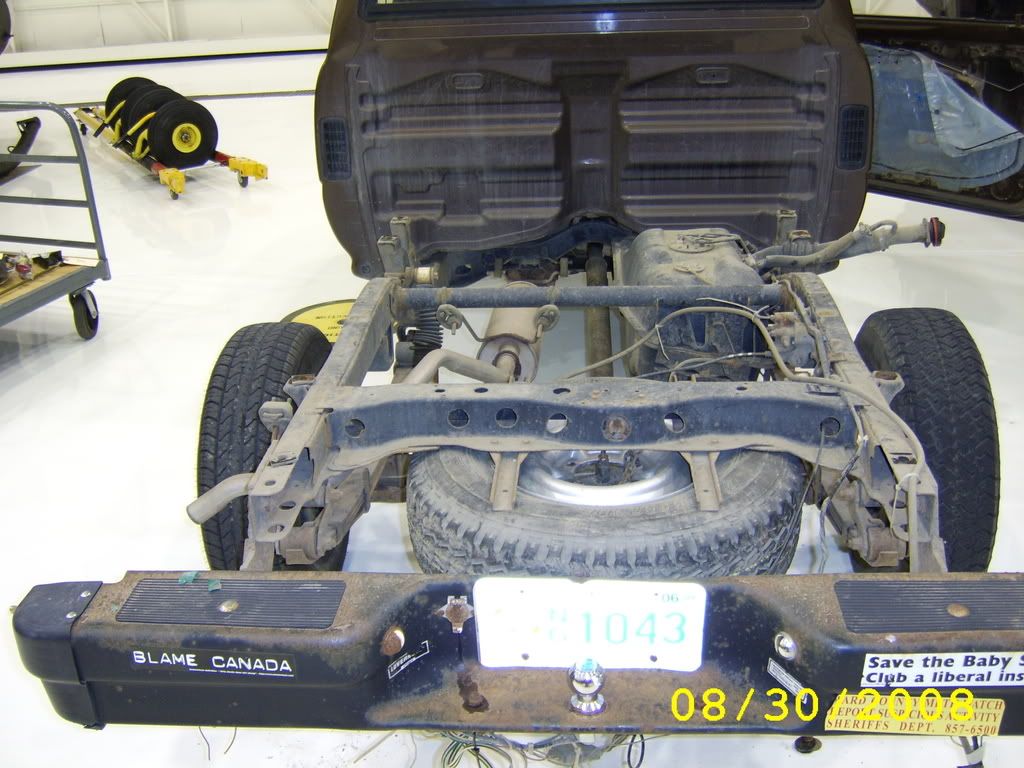
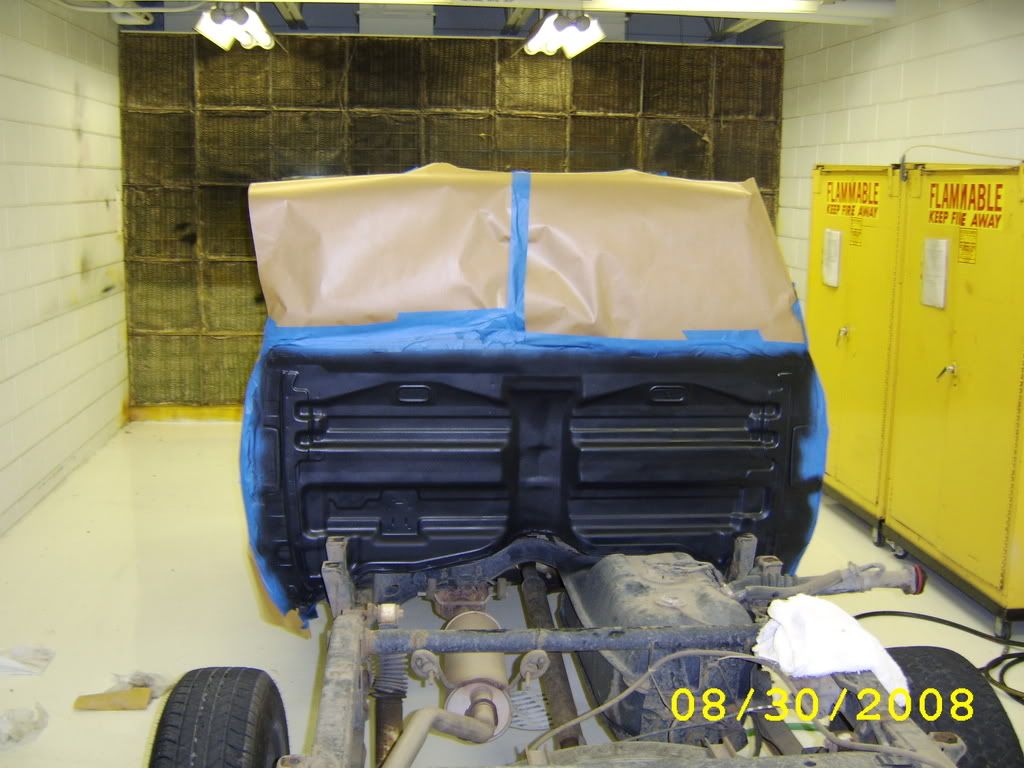
well my paint that I order will not be here till Thursday now. I have been tossing around the idea of spraying bedliner between the bed and cab because I drive alot of gravel while hunting and i noticed that that area was starting to get chipped up. So tonight I just got done putting the bed back on and i will start sanding the body tomorrow.
Pulled the bed off with the hoist at work.
sanded and taped before spraying
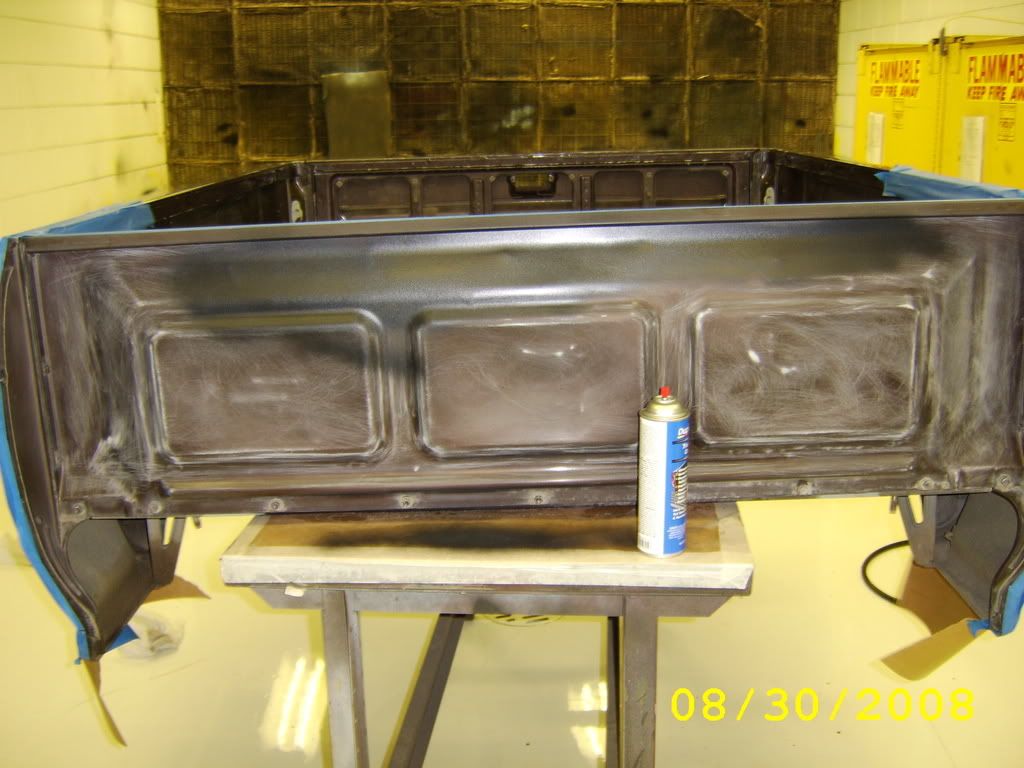
I used cheap dupli-color from walmart
turned out ok I guess.
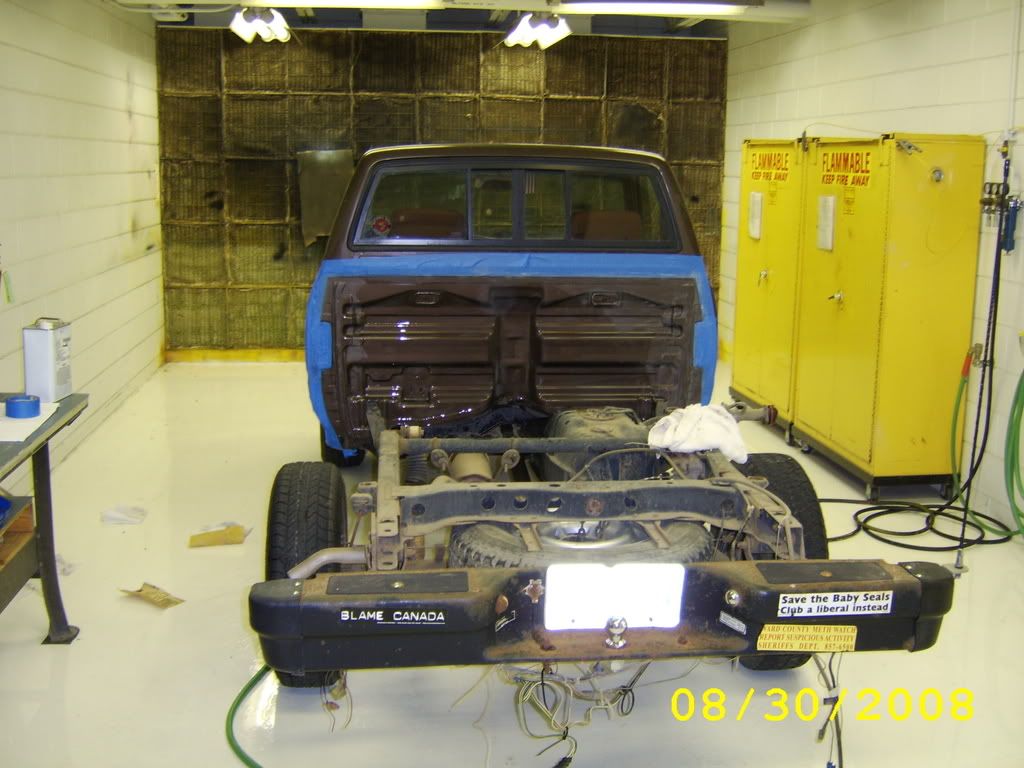
Pulled the bed off with the hoist at work.
sanded and taped before spraying
I used cheap dupli-color from walmart
turned out ok I guess.
Last edited by toy89yota; 08-30-2008 at 09:05 PM.
08-31-2008, 12:34 AM
#14
Registered User
Join Date: Jan 2008
Posts: 276
Likes: 0
Received 0 Likes
on
0 Posts
It is always nice to have a paint booth laying around. I have not been real happy with how the dupi color stuff held up. I would go with a Herculiner or something like that. Also turns out to be really good in the bed. Surprise. Its held up to a ton of abuse in the back of my 4runner.
Looks like your off to a good start, have fun and keep up the pictures.
Looks like your off to a good start, have fun and keep up the pictures.
 08-31-2008, 12:00 PM
#16
Registered User
Thread Starter
Join Date: Oct 2007
Location: Bismarck, ND
Posts: 296
Likes: 0
Received 0 Likes
on
0 Posts
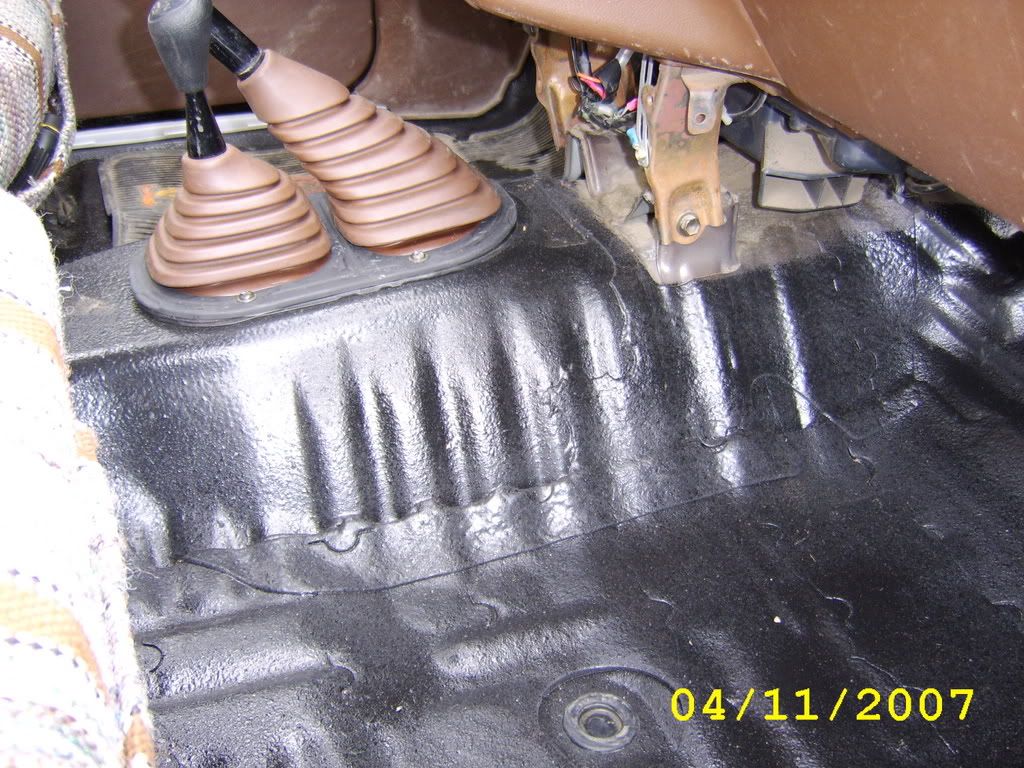
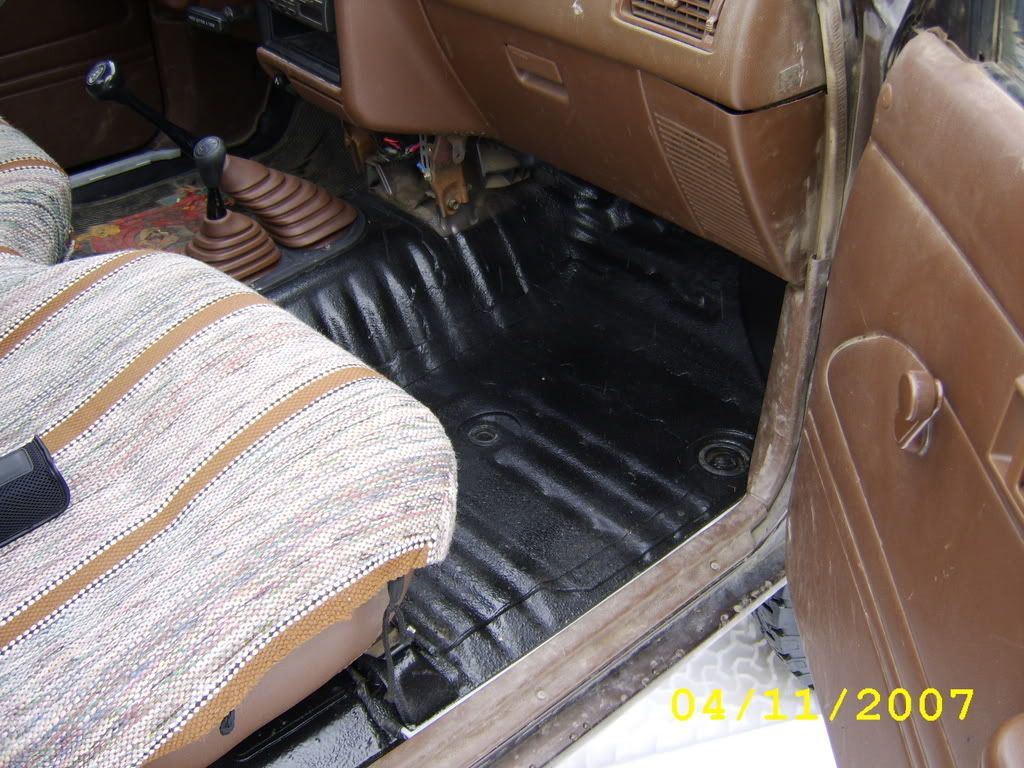
I sprayed the cab floor with dupli-color last spring and it has really seemed to hold up nicely, but there i prepped the out of it and sprayed it on with a body shutz gun. turned out really nice and keeps the noise down on the highway. I wanted to do durabak but that stuff is $120 a gallon
08-31-2008, 12:06 PM
#17
Registered User
Thread Starter
Join Date: Oct 2007
Location: Bismarck, ND
Posts: 296
Likes: 0
Received 0 Likes
on
0 Posts
Taking the bed off was a lot easier that i thought it would be. all 8 bolts holding the bed on loosened easily. the hardest part was probably trying to get all the wire clips off the bottom of the bed without breaking them, it only took about 4 hours for me to get the bed off, spray the cab and bed, then put it back together. It would have been nice to have two people but hey its labor day weekend who wants to work on someone else's truck right.
08-31-2008, 11:08 PM
#18
Registered User
Thread Starter
Join Date: Oct 2007
Location: Bismarck, ND
Posts: 296
Likes: 0
Received 0 Likes
on
0 Posts
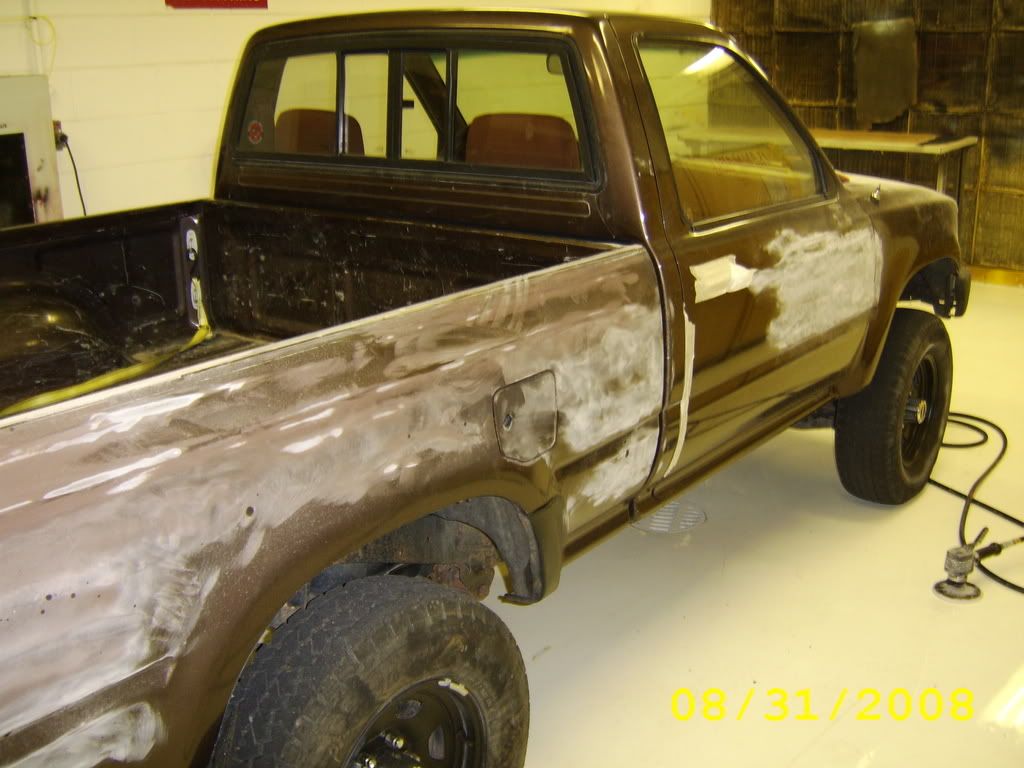
I had a few hours free this evening so i started sanding my truck. I used a DA sander with 320 grit and a flexible sanding block with 320 grit as well. I have never done any body work like this before so if im messing up someone please tell me. I had a big crack in the paint which I sanded down a was and i dont know if thats bondo or what but it looked different then the rest of the spots i sanded. I got it about 1/3 sanded.

09-01-2008, 07:13 AM
#19
WOW . You got a TON of work done since the other day. It looks good so far. I really want to take the bed off of my new truck and take care of all the problematic areas before they become a problem. I have done bodywork before but never painting. I can't wait to see how it turns out for you. Good luck and keep posting your progress. If there is anything I can help you with let me know. I have a whole 90 pickup sitting with alot of good parts still left on it.
09-01-2008, 12:13 PM
#20
Registered User
Thread Starter
Join Date: Oct 2007
Location: Bismarck, ND
Posts: 296
Likes: 0
Received 0 Likes
on
0 Posts
WOW . You got a TON of work done since the other day. It looks good so far. I really want to take the bed off of my new truck and take care of all the problematic areas before they become a problem. I have done bodywork before but never painting. I can't wait to see how it turns out for you. Good luck and keep posting your progress. If there is anything I can help you with let me know. I have a whole 90 pickup sitting with alot of good parts still left on it.


