When you click on links to various merchants on this site and make a purchase, this can result in this site earning a commission. Affiliate programs and affiliations include, but are not limited to, the eBay Partner Network.
Not much to report. Still not happy with the brakes. I ordered a Toyota brake booster, Cardone 532776. I already had the FJZ80 master cylinder and a Wilwood proportioning valve. I made up a couple of short lines to connect the two last night. I’m happy with the way they turned out. The booster comes in today sometime. I’ll snap some pics along the way.
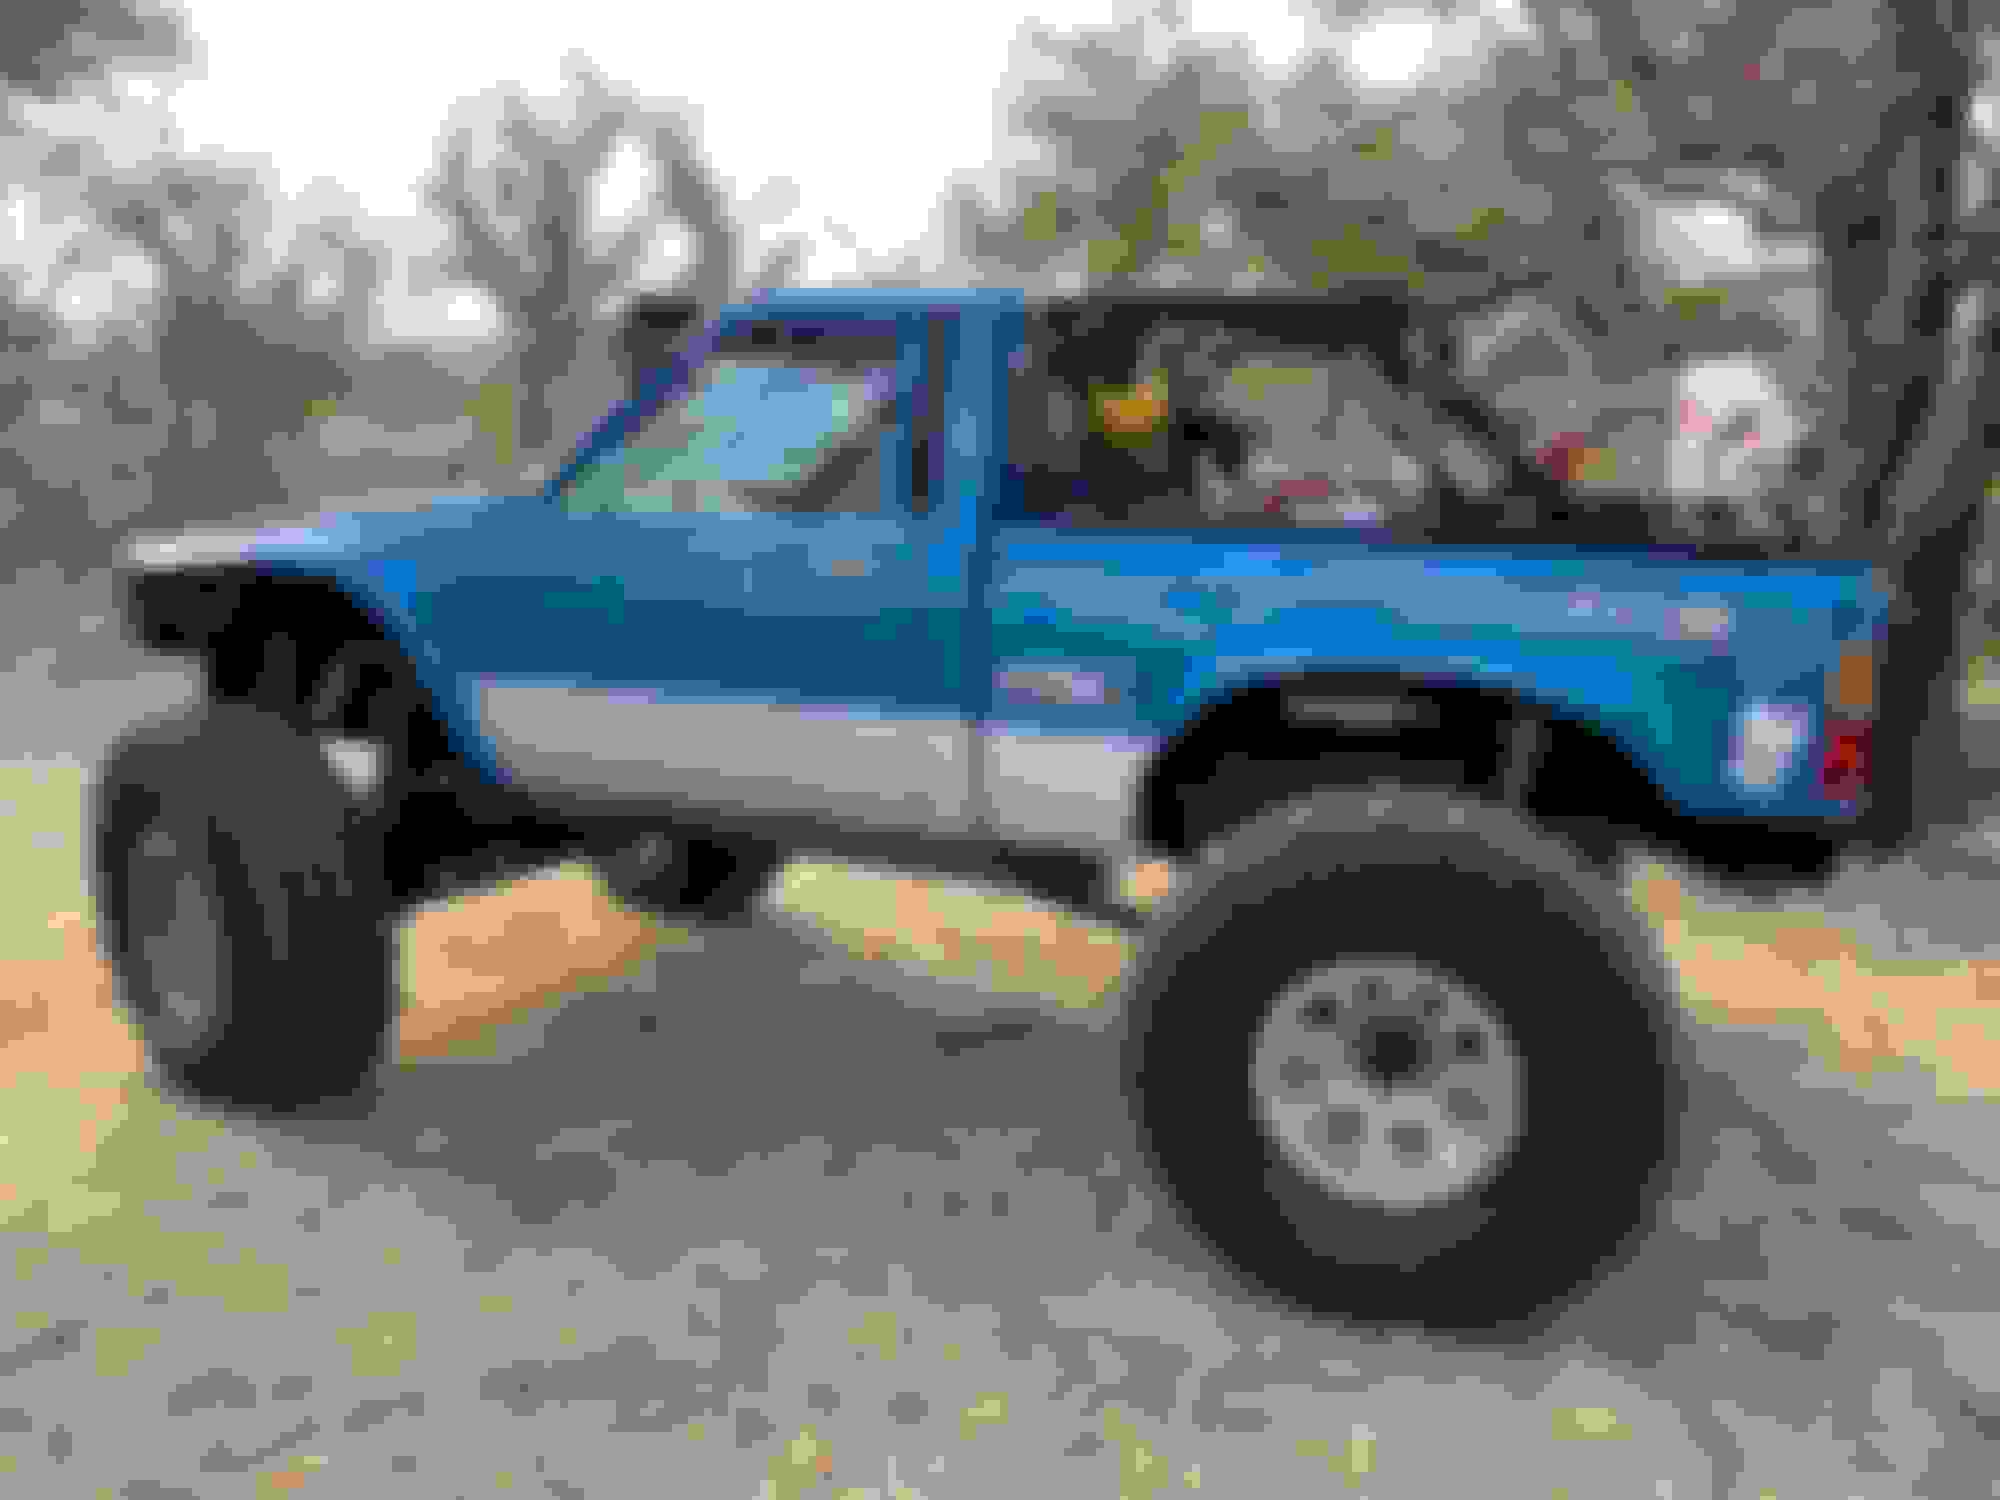
I went to pick up some wood they other day for my fence and had to get on the highway. I was cruising at 60-65mph when a semi passed me going about 75mph. The wind shear coming off the truck pushed me around pretty good. These trucks are so light! Tires were at 32psi. I aired down to 25psi. Jury is still out on the difference as I only drove home from work about 3 miles.
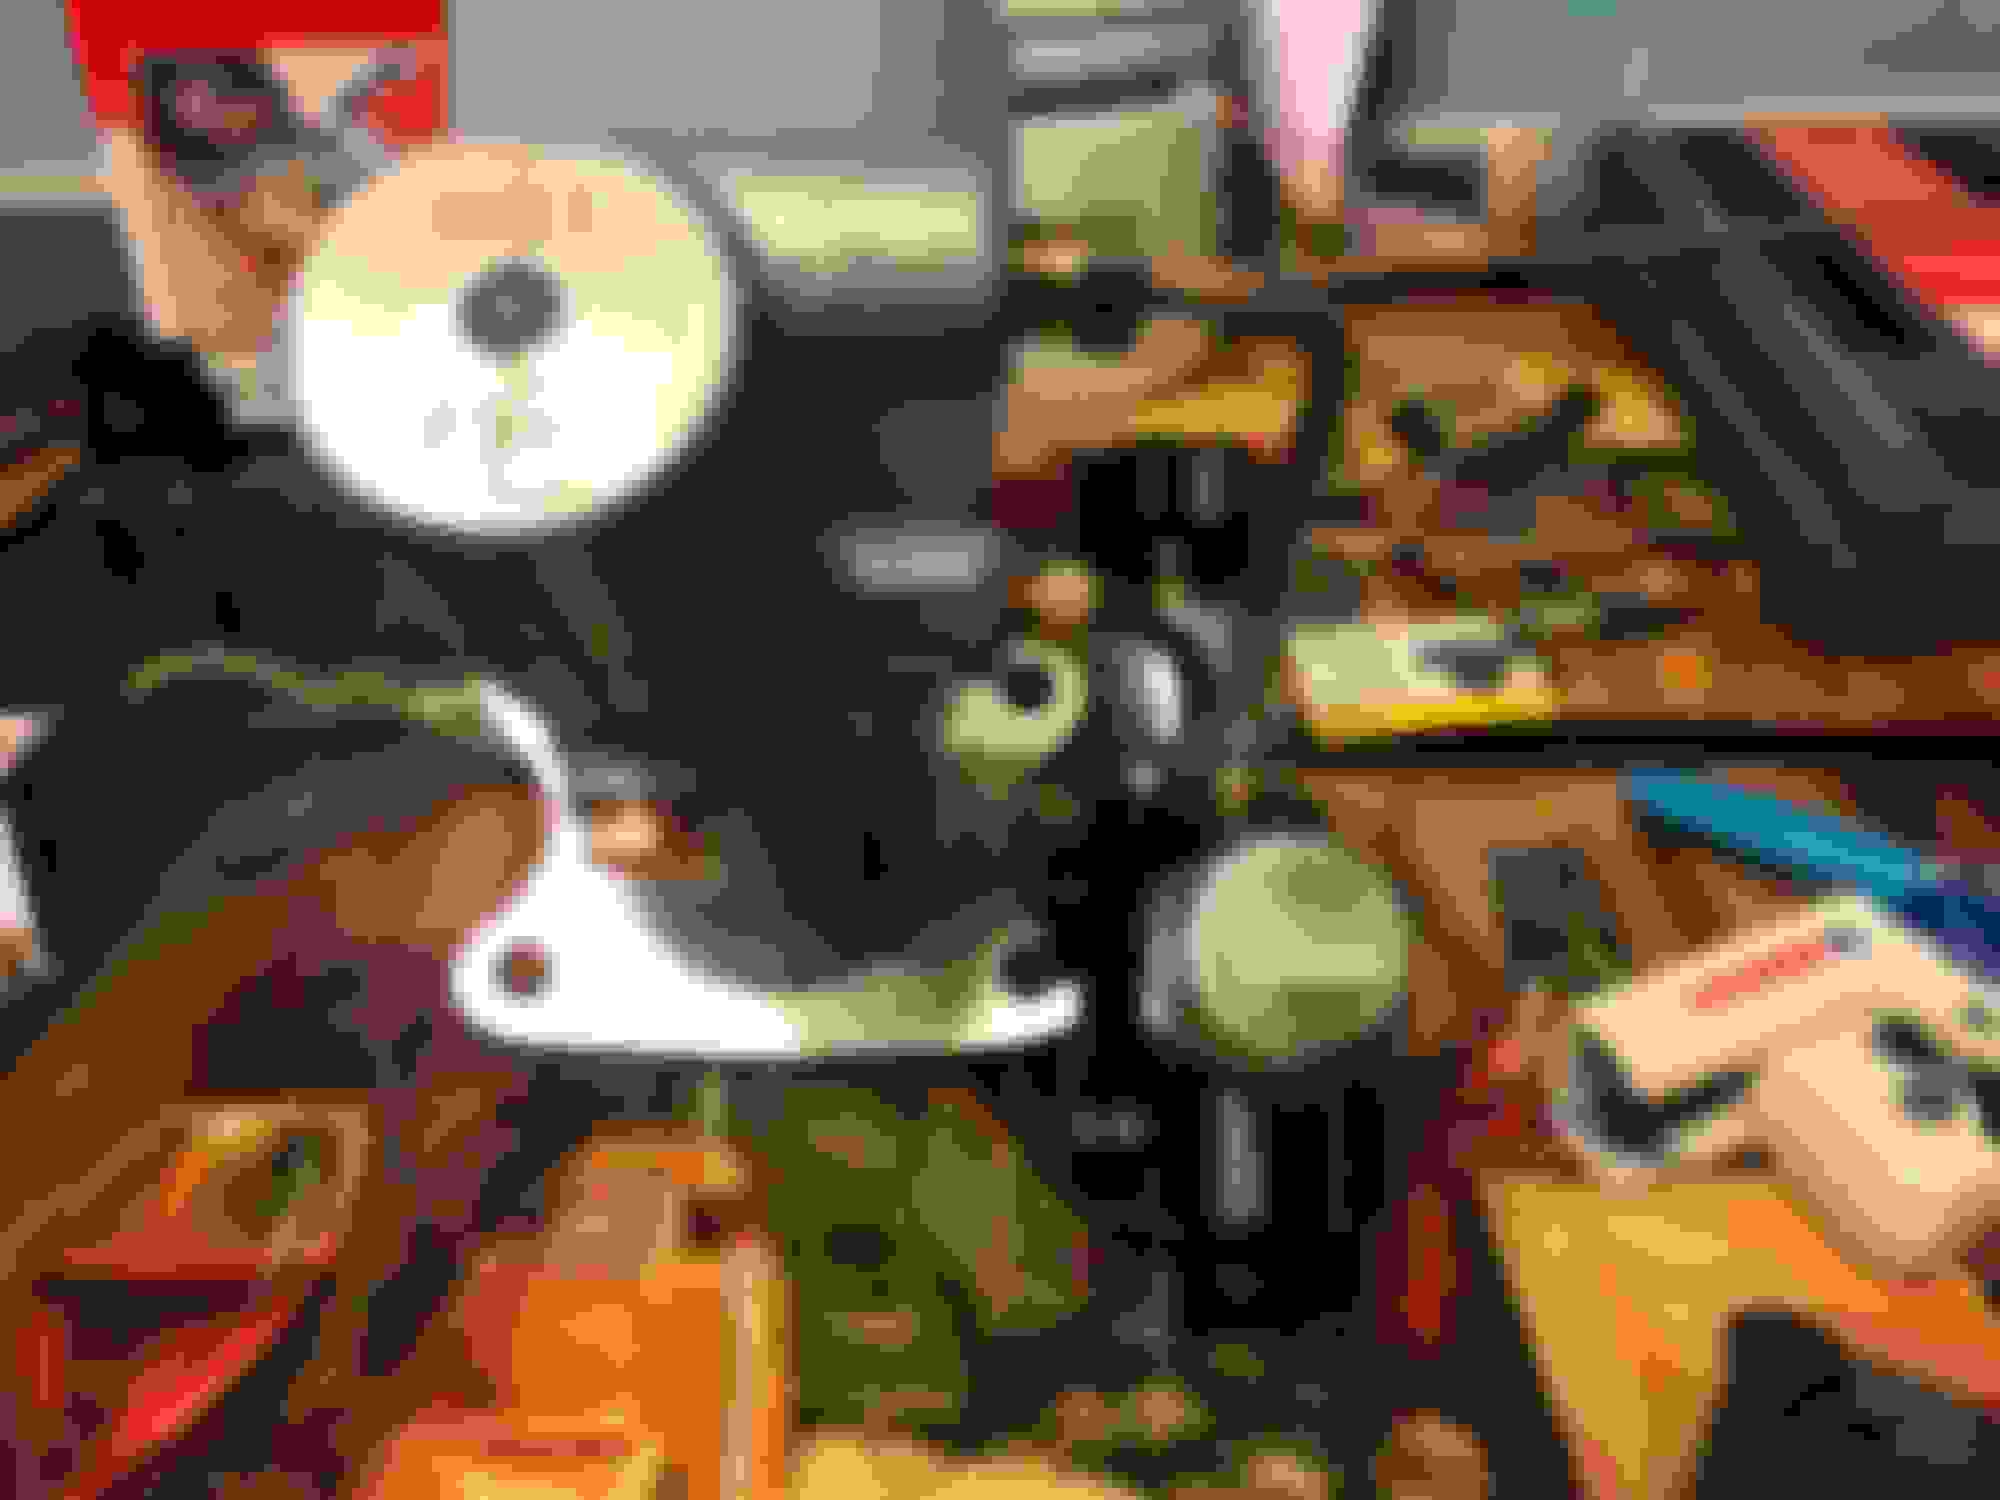
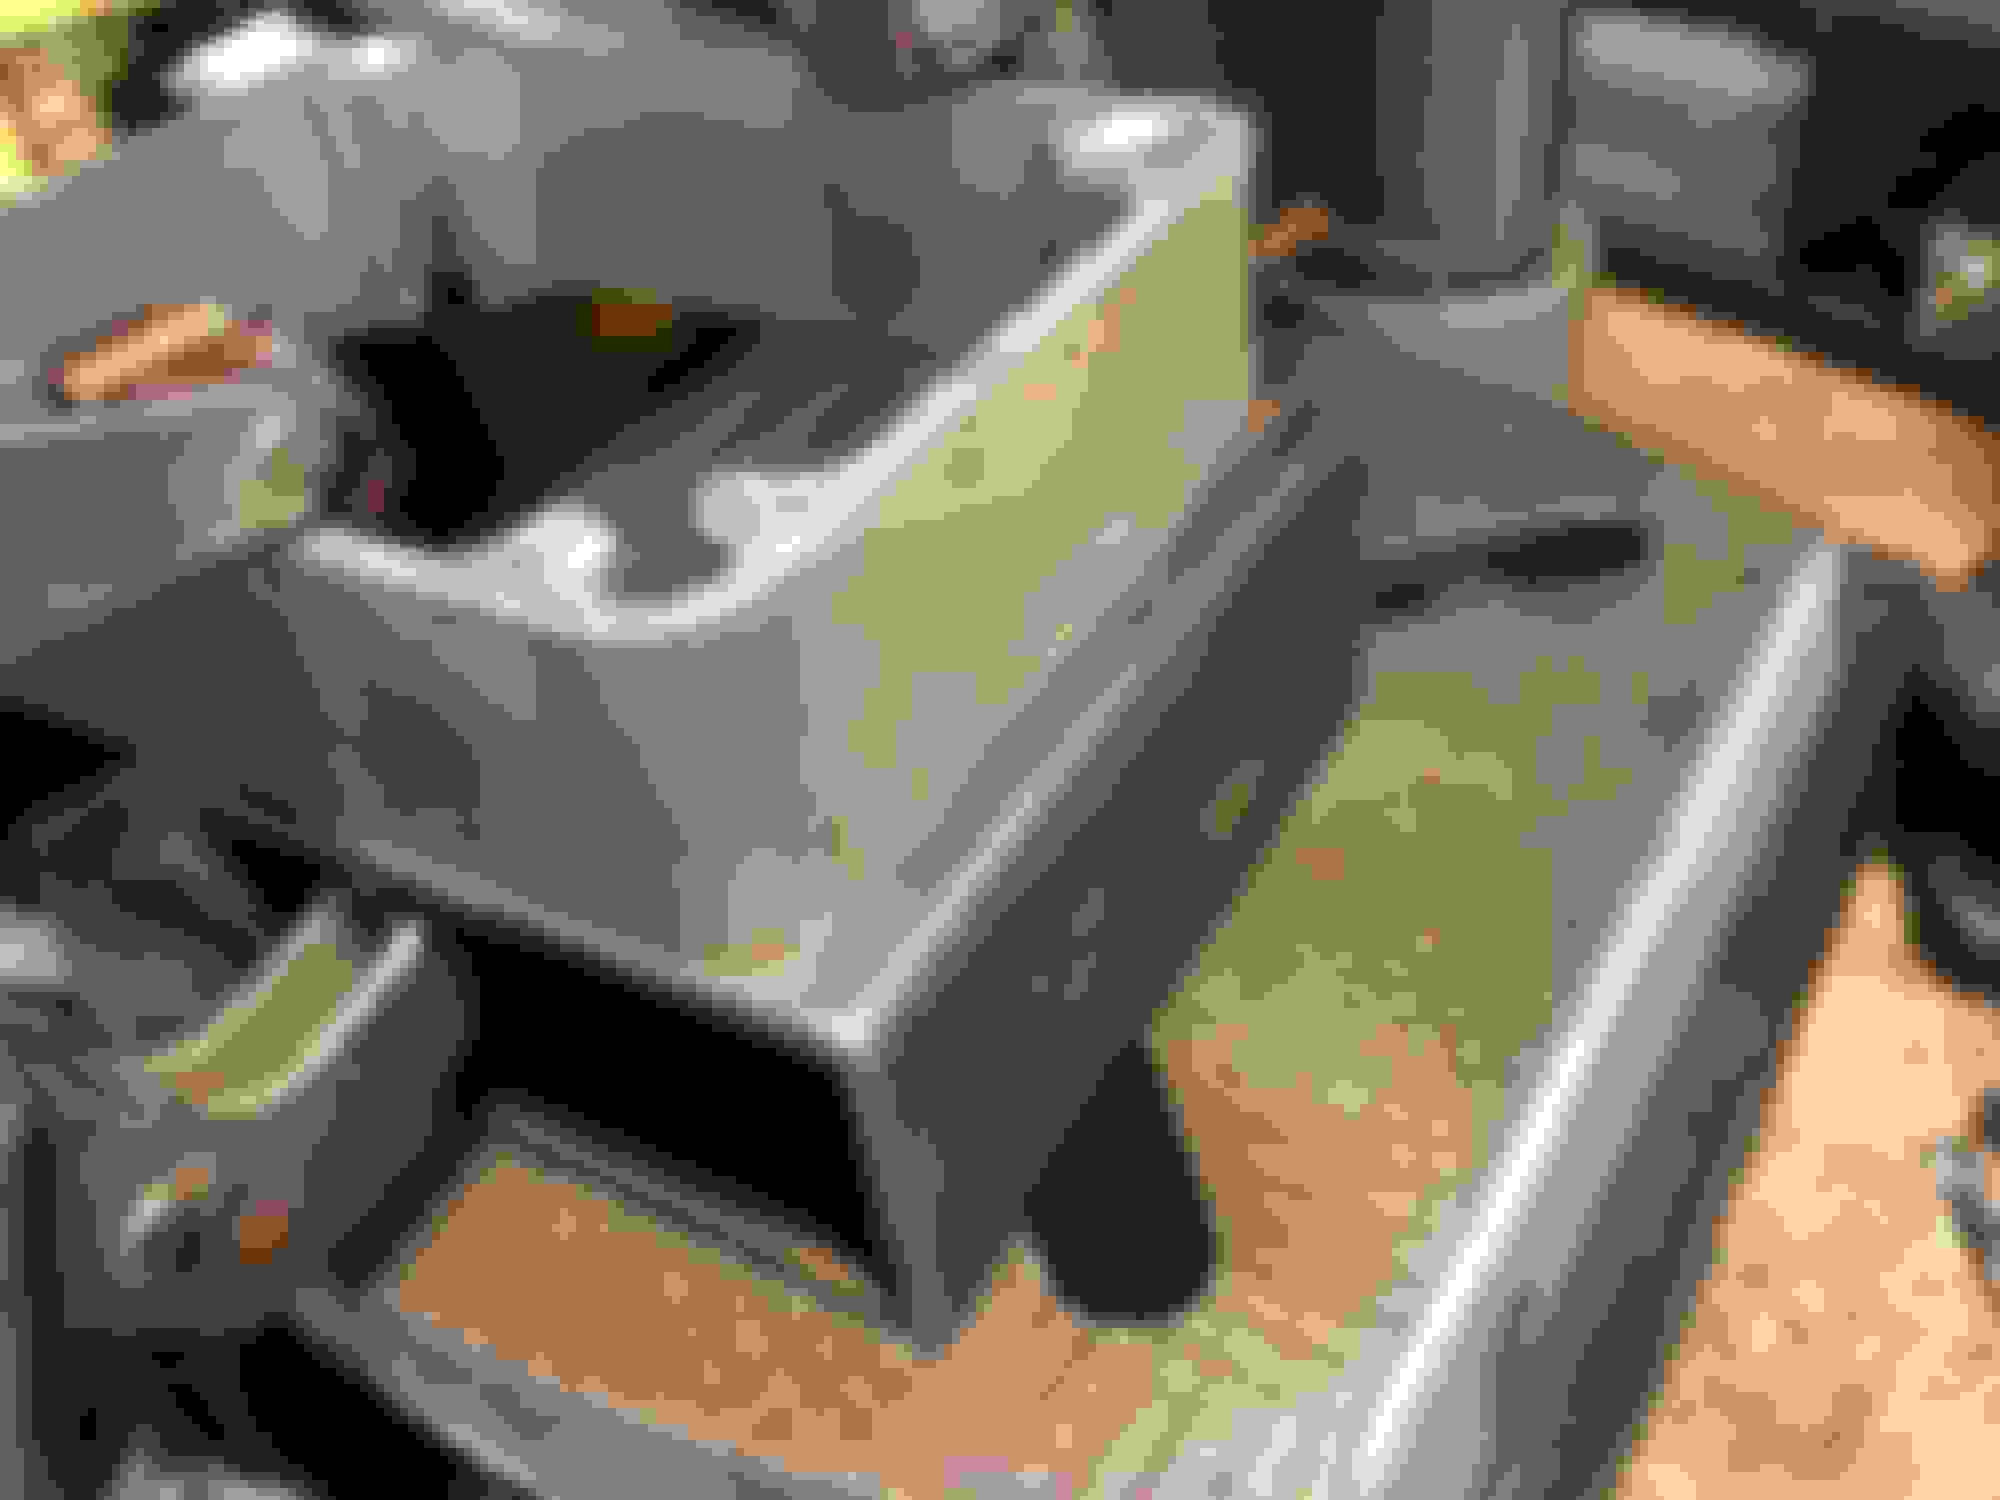
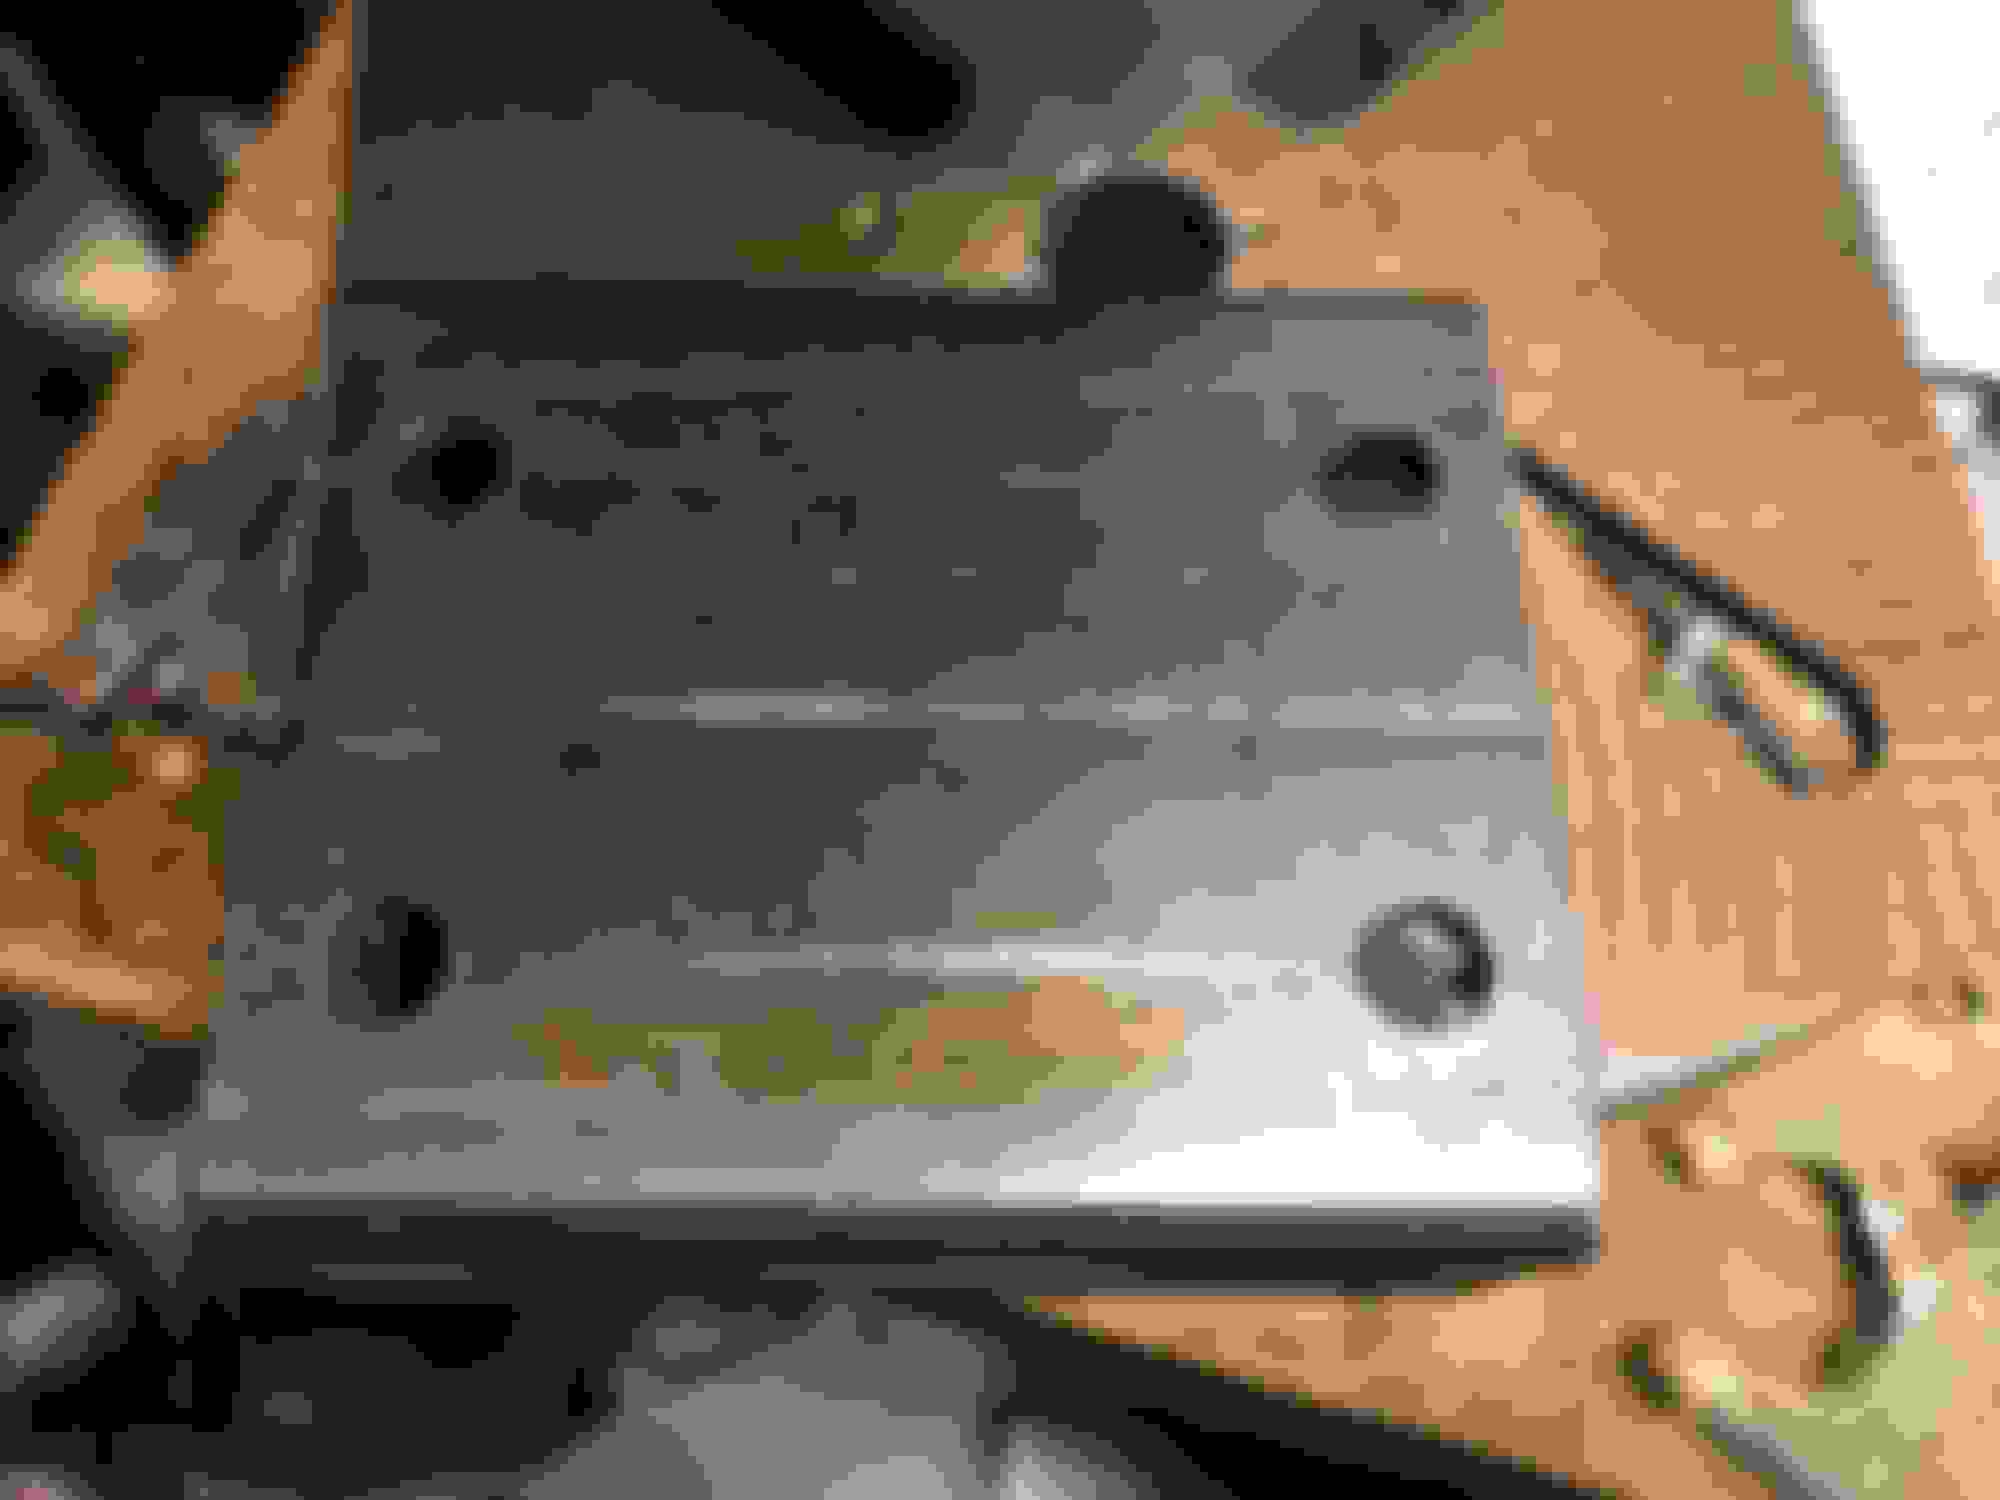
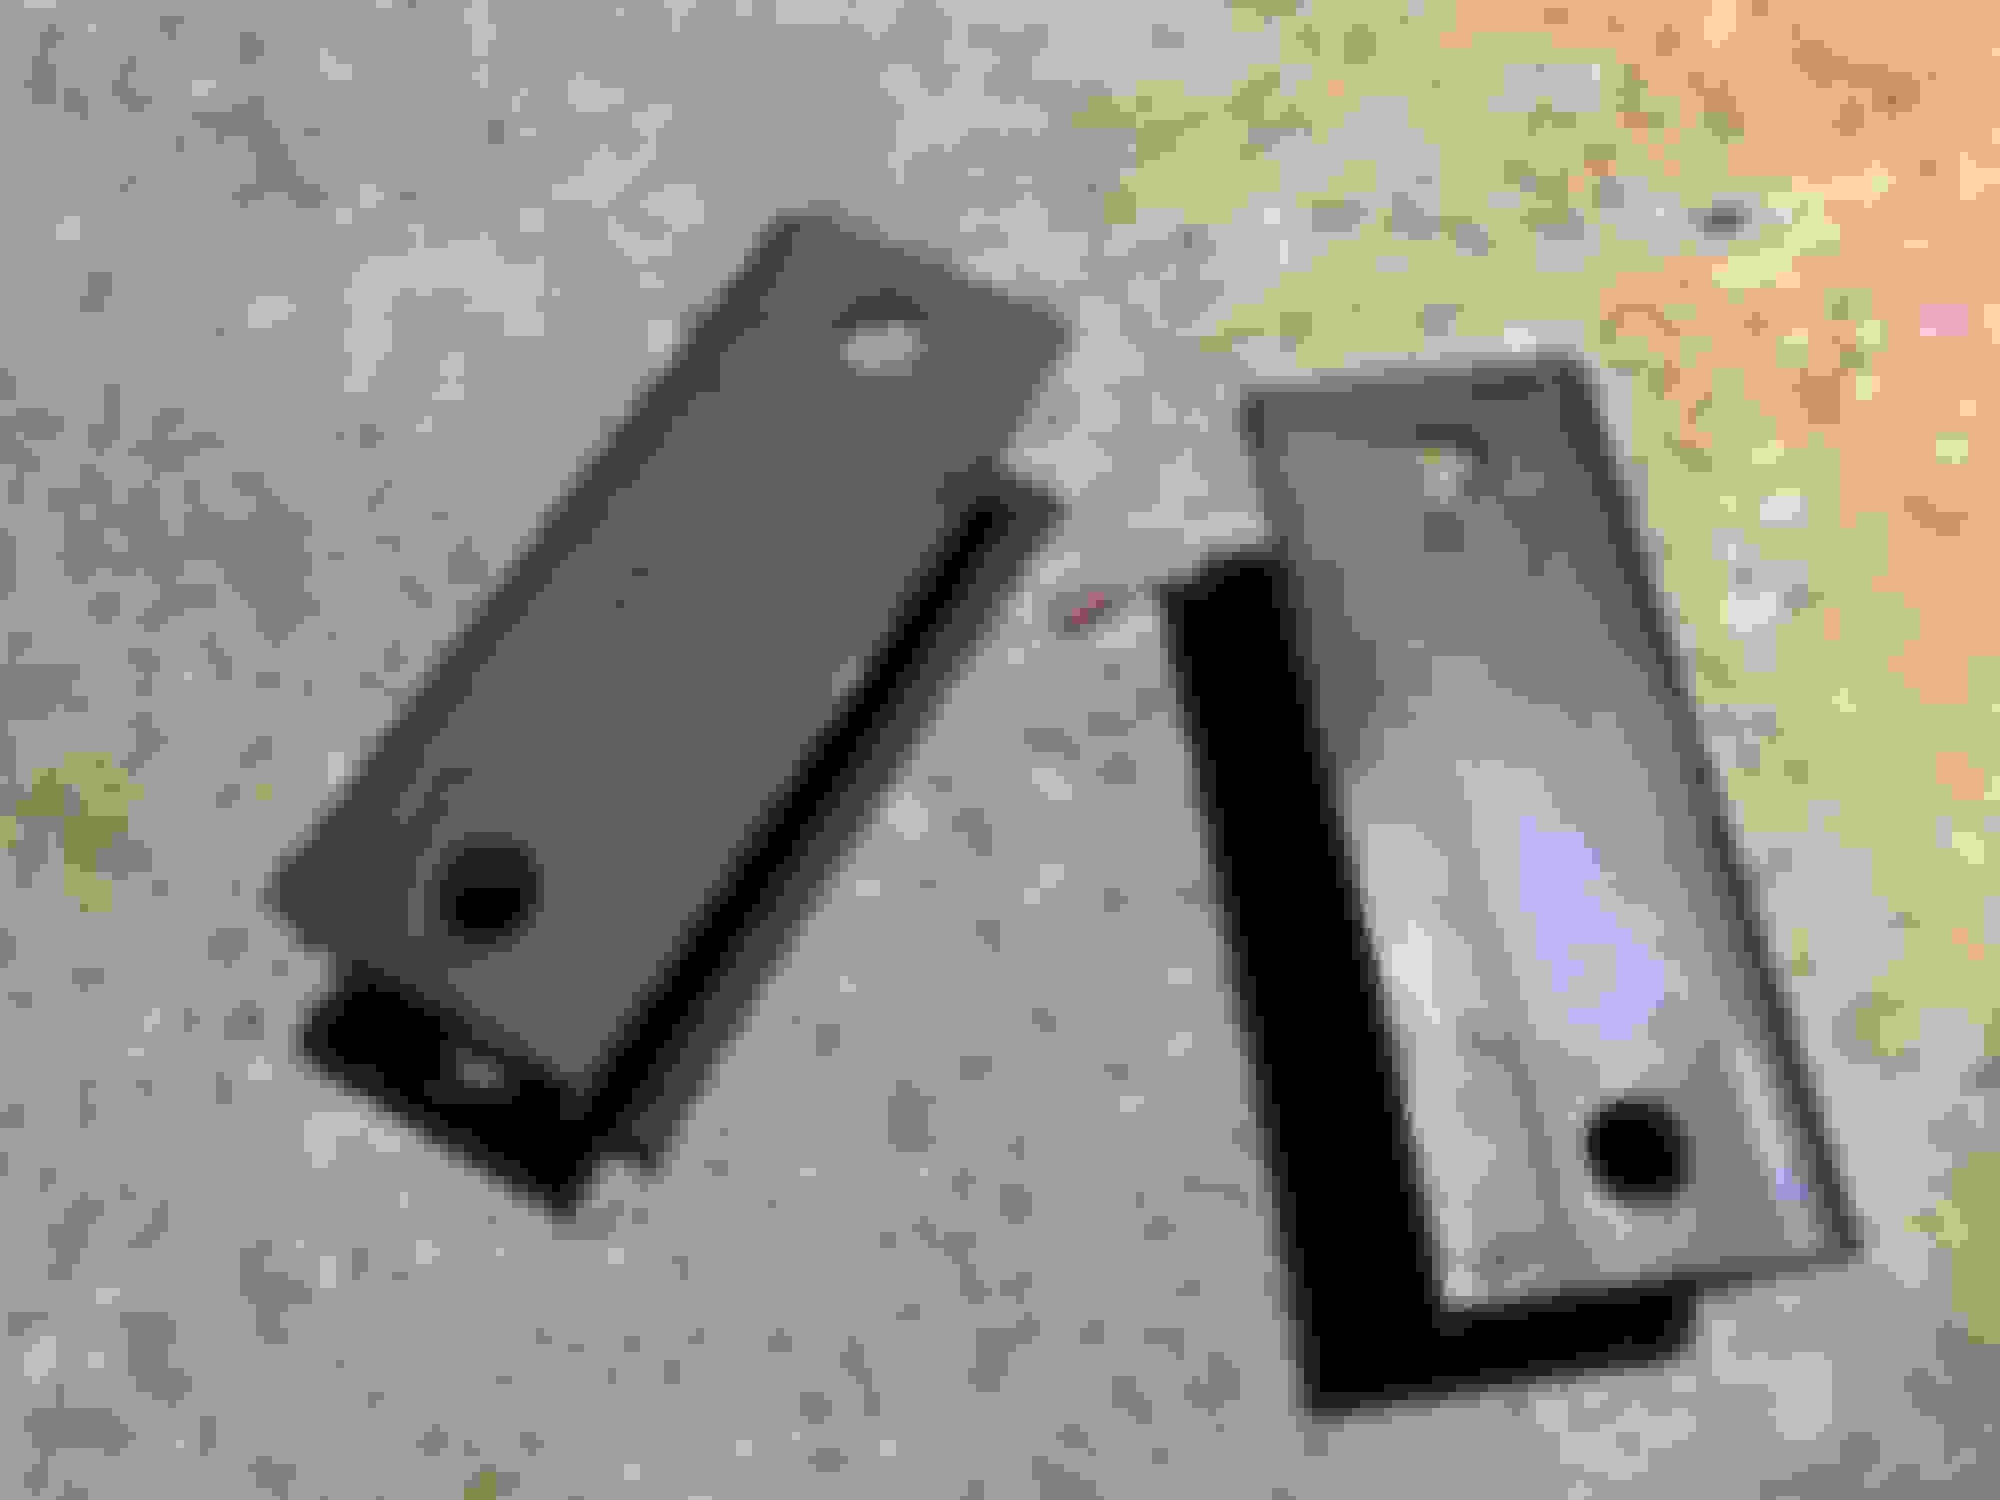
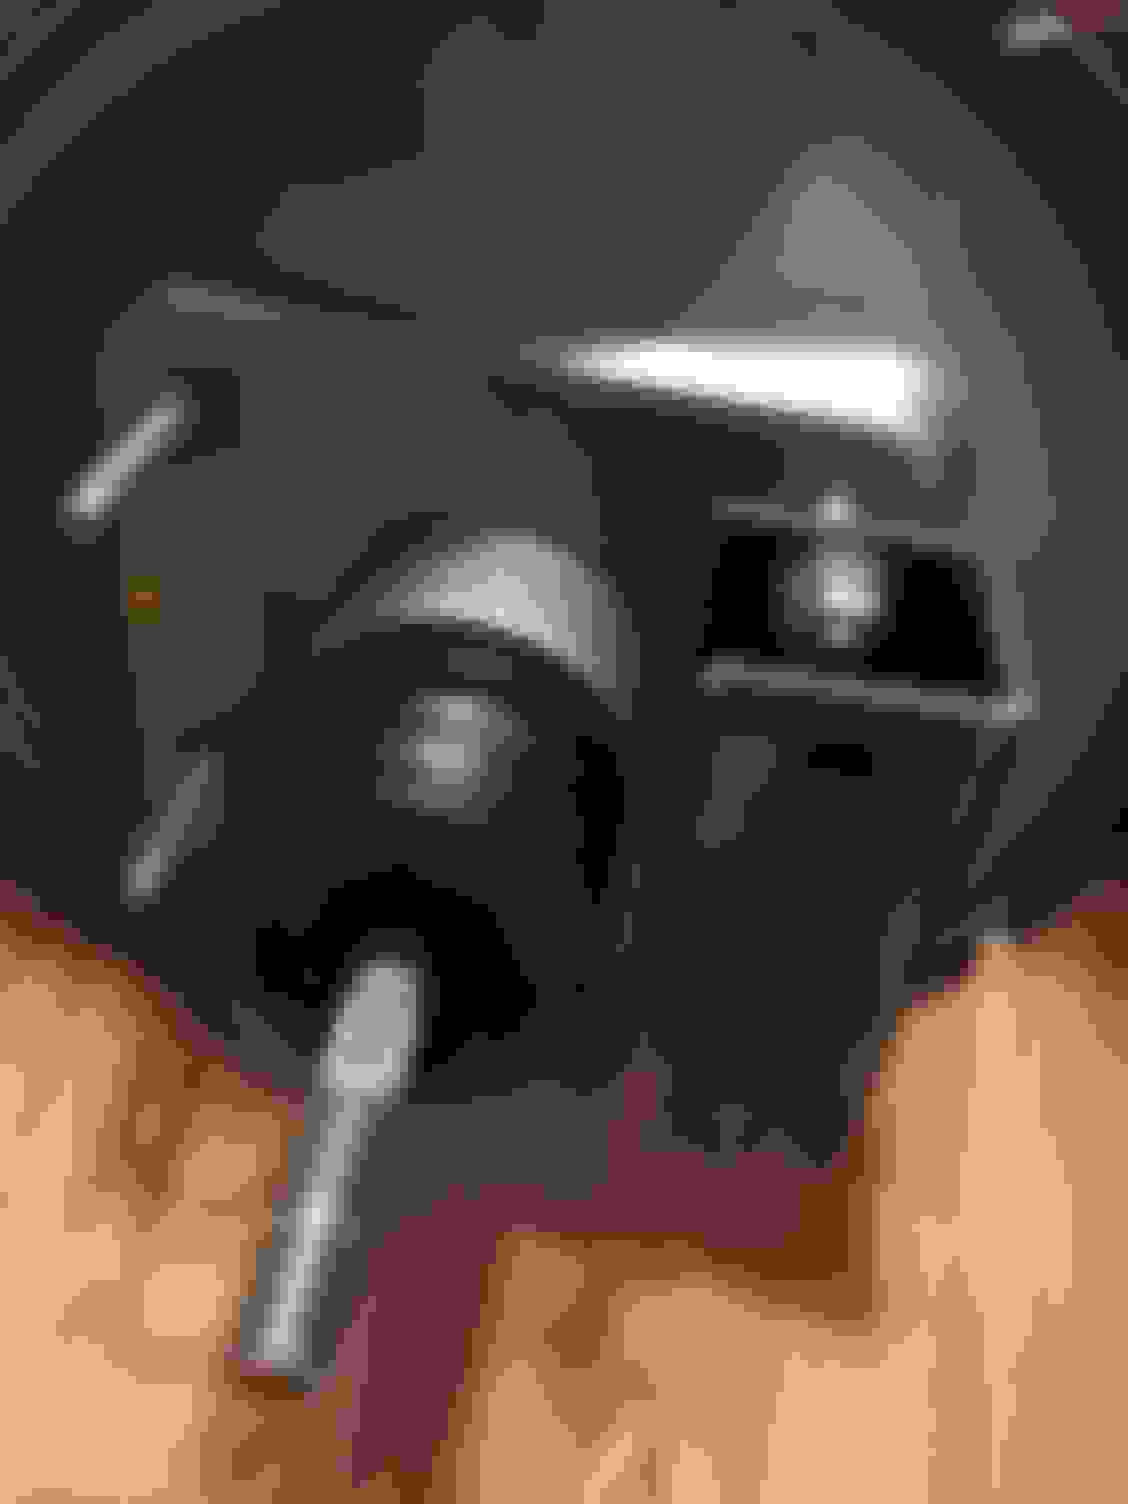
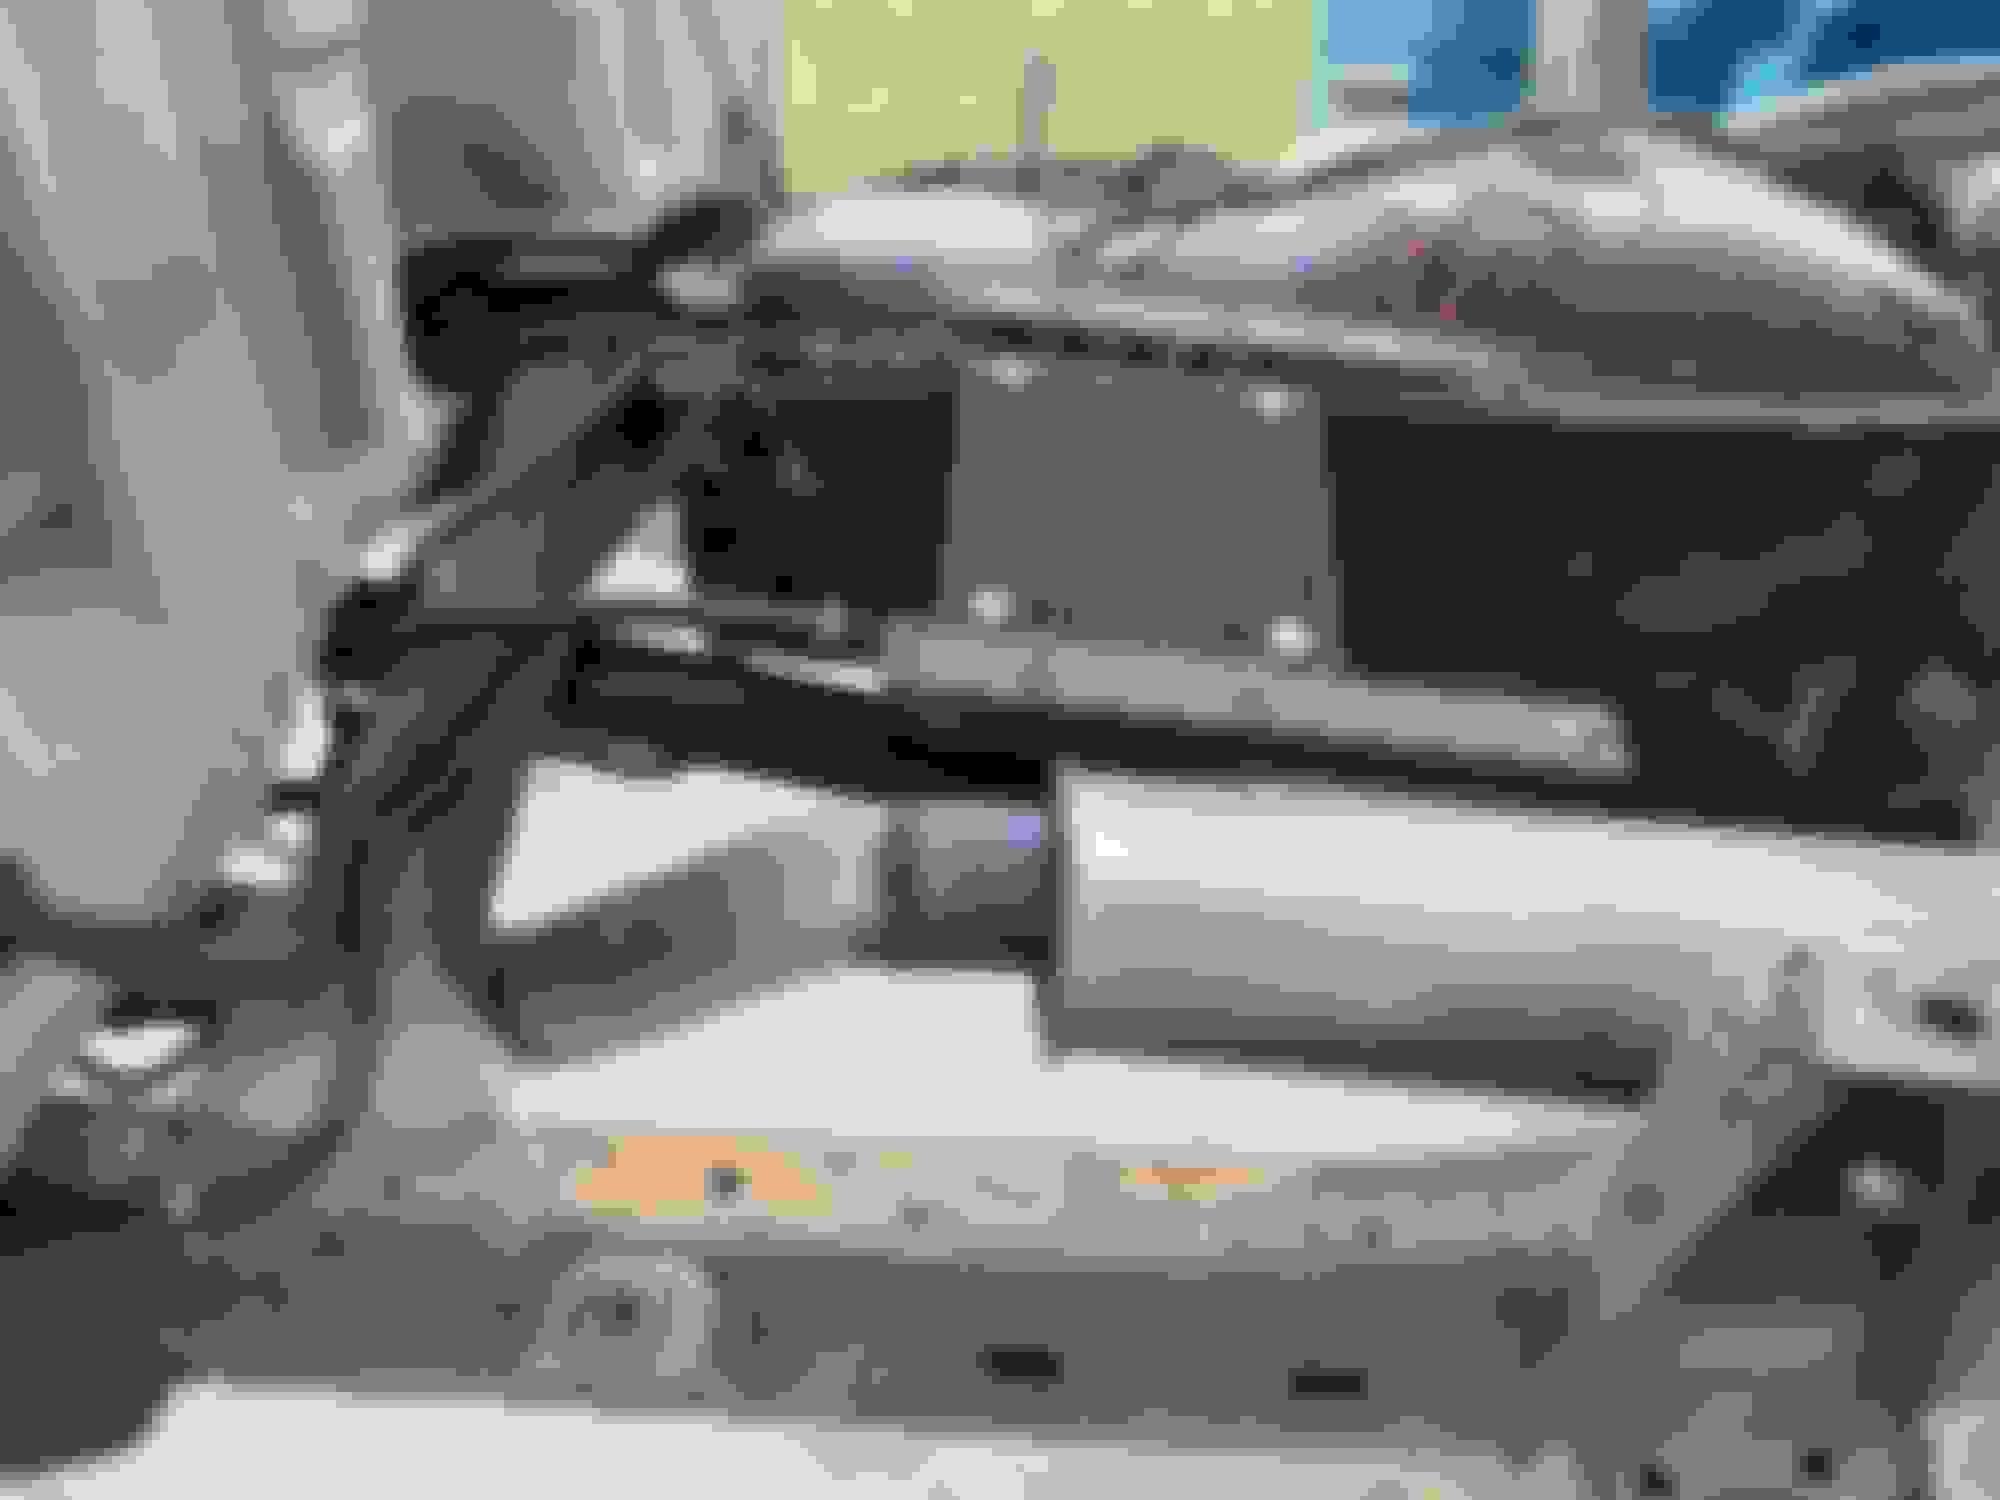
I received the booster today and started fabricating some brackets to offset it from the firewall to clear any obstacles. I think I came up with a solution. I haven’t read about this but I bet someone has tried it. I took a piece of 1.5”x3” rectangular tubing and used the old spaced to use as a guide to drill holes for the studs. I then cut the tubing down the long side to make two “U” shaped pieces. These are my brackets. To offset the booster I screwed on a nut then a washer and then added the bracket. With the bracket on I put another washer and then another nut to clamp the bracket to the booster. It’s now an adjustable bracket. I could tilt it up slightly if I still need clear the steering shaft. I’ll let the pics show this.
Wholly Molley I'm doing the same LV3 swap in my 87 4x4. I just bought the engine and tranny from a 2014 Silverado with 44k miles last week. I just found your swap just now. You have done a fantastic job and all of your info will help me. My 87 Toy pickup came with the turbo 22RTE and I pulled it out years ago and swapped in a 2004 LU3 4.3 V6 which is a gen 1 engine from a Blazer with the 4l60e tranny. I also have a Atlas twin stick but not the extra reduction unit you have. I have IFS but I changed out the torsion bars for King coilovers. I also have a Windjammer supercharger on mine but the LV3 I think will make more power. Ill post some pictures of my rig when the weather clears up i'm in Colorado at 8300' altitude and right now it"s snowing and 9 degrees.
Well thanks dc and I'm glad this thread will help. I think you'll have a little more clearance in that '87. It's not a cheap swap, but its the latest and greatest tech out there. I was weary of all the computer stuff but once I learned how the system operated it seems quite simple to me. I'm still working out some bugs and checking things out on mine. Making a rear bumper right now and then on to some sliders so the Mrs will have something to step on to get in the damn thing.
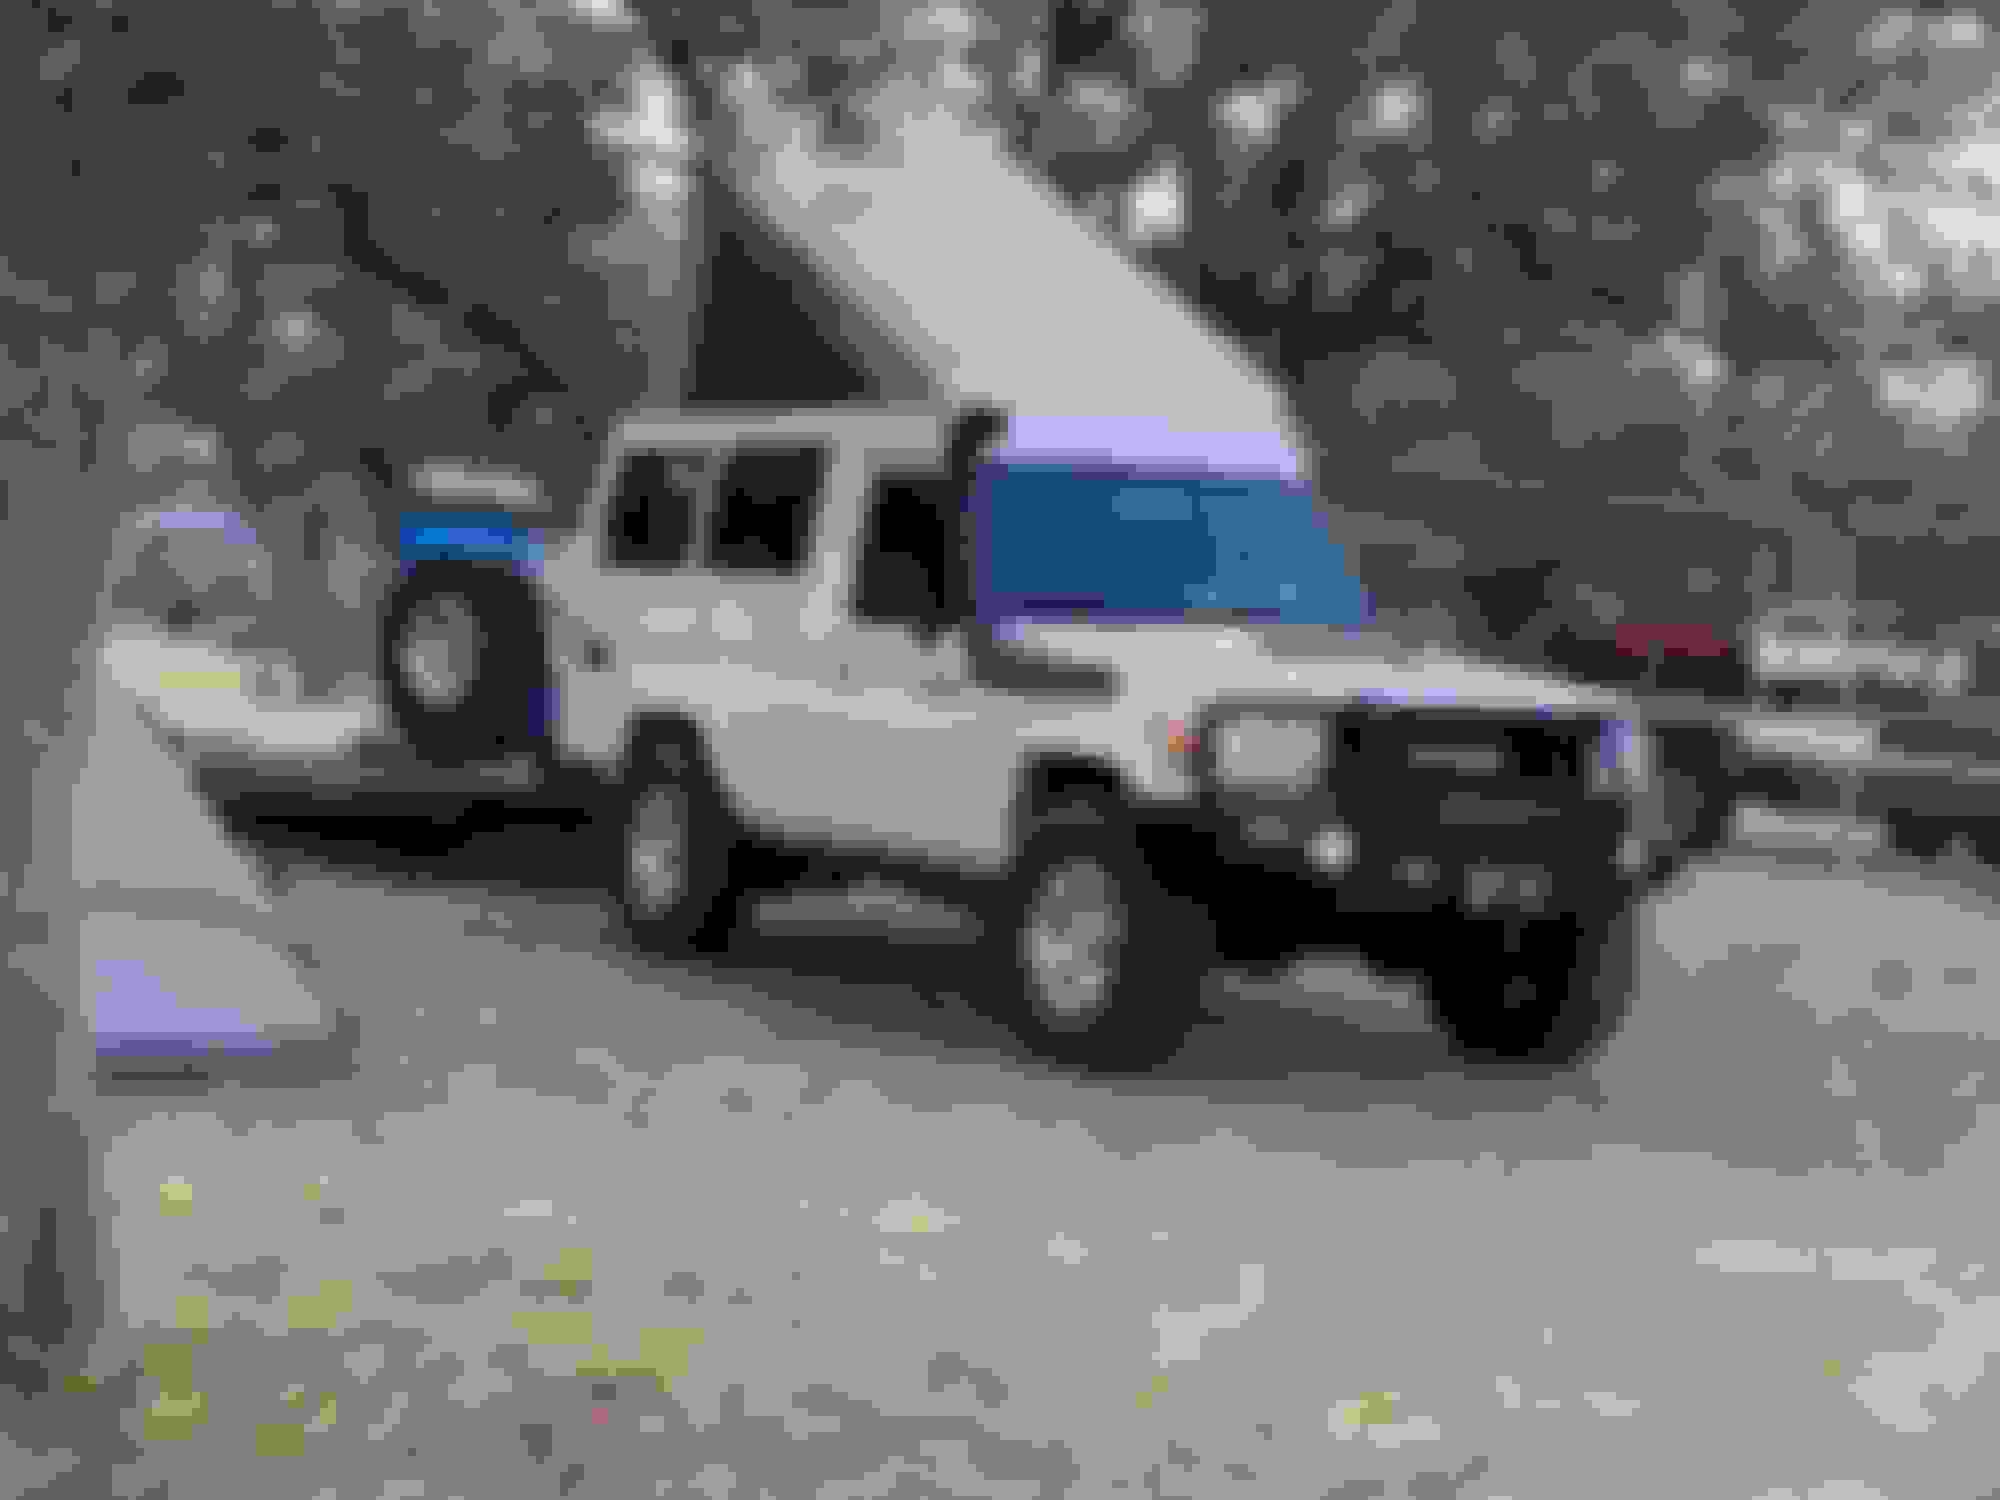
Been a while since an update. I have still been tracking down the root of a braking problem. It pulls hard to the right under hard breaking at higher speeds. I replaced the left caliper with no change. I readjusted the rear drum brakes. That seemed to help a bit. I added a really heavy bumper to the rear and got the rooftop tent back in the bed. It rides pretty smooth with all of that in there. I had to take a break from the brakes so I decided to wire in the tap shift module I bought from Speartech. If you are going to add this to your 5th gen gm motor you will need HPTuners for sure, or you could pay them to program it for you. If anyone wants to know how I did it I can elaborate or send me a private message. If you don't have HPTuners you won't know what I'm saying anyway. In a nutshell, the Transmission Control Module is just looking for a signal, high or low, to change the gear. Push a momentary switch up and it will upshift. Push the switch down and it will downshift. The transmission will stay in whatever gear you have selected, once in Tap Up/Tap Down Mode (TUTD Mode). I haven't mounted the switch yet because I had other engagements this evening. I'll try to get some pictures of the bumper, truck, and switch posted tomorrow.
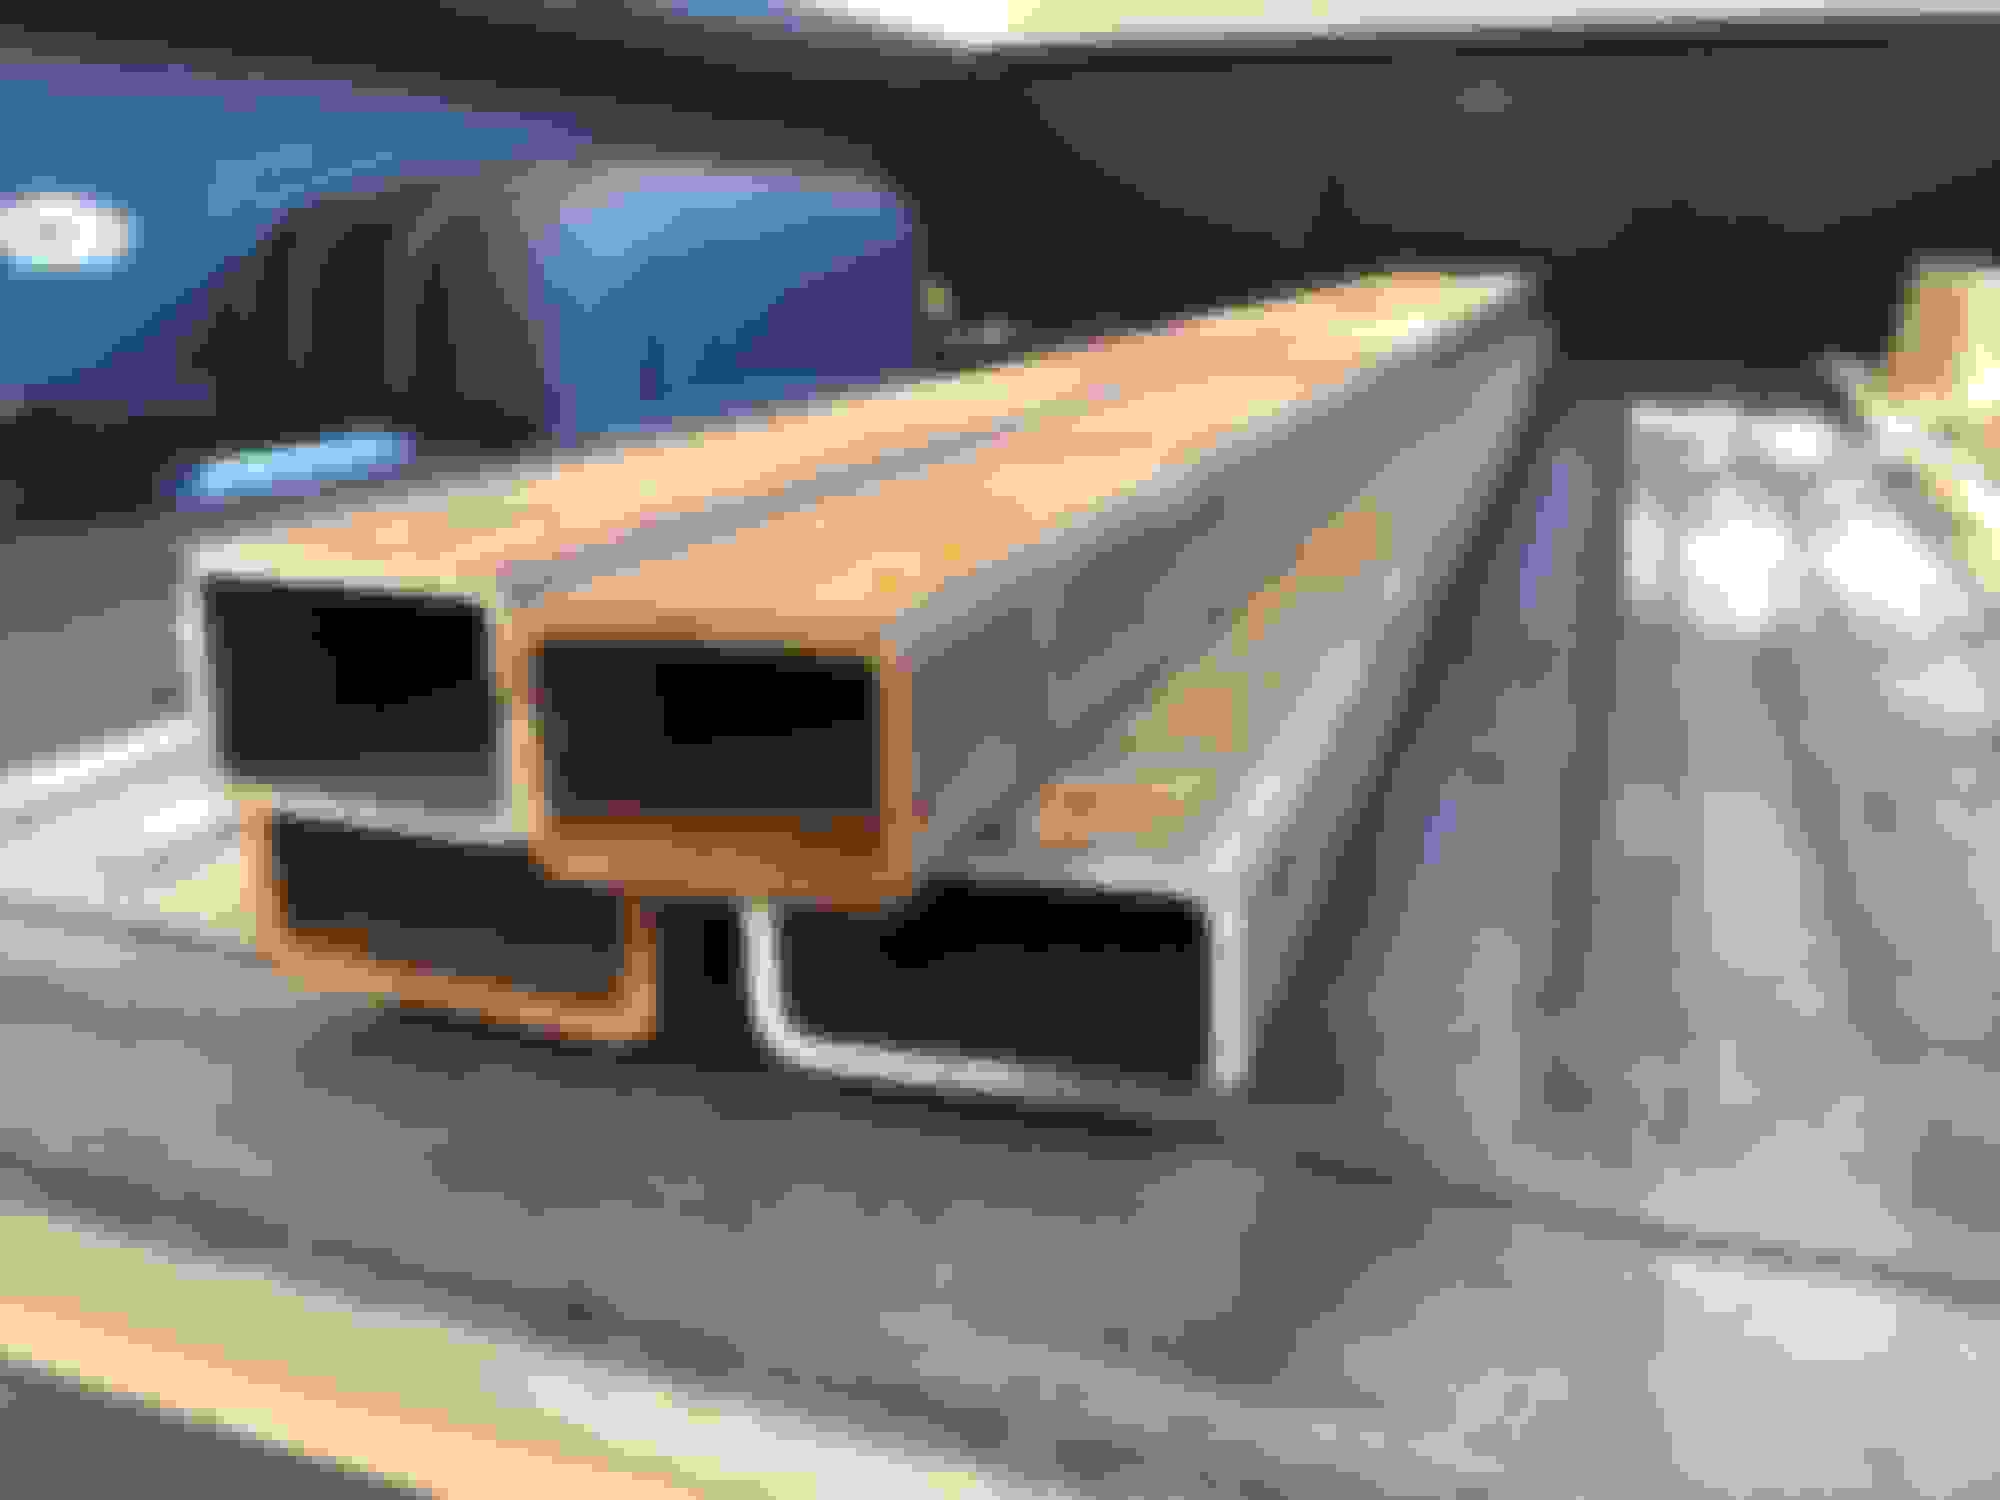
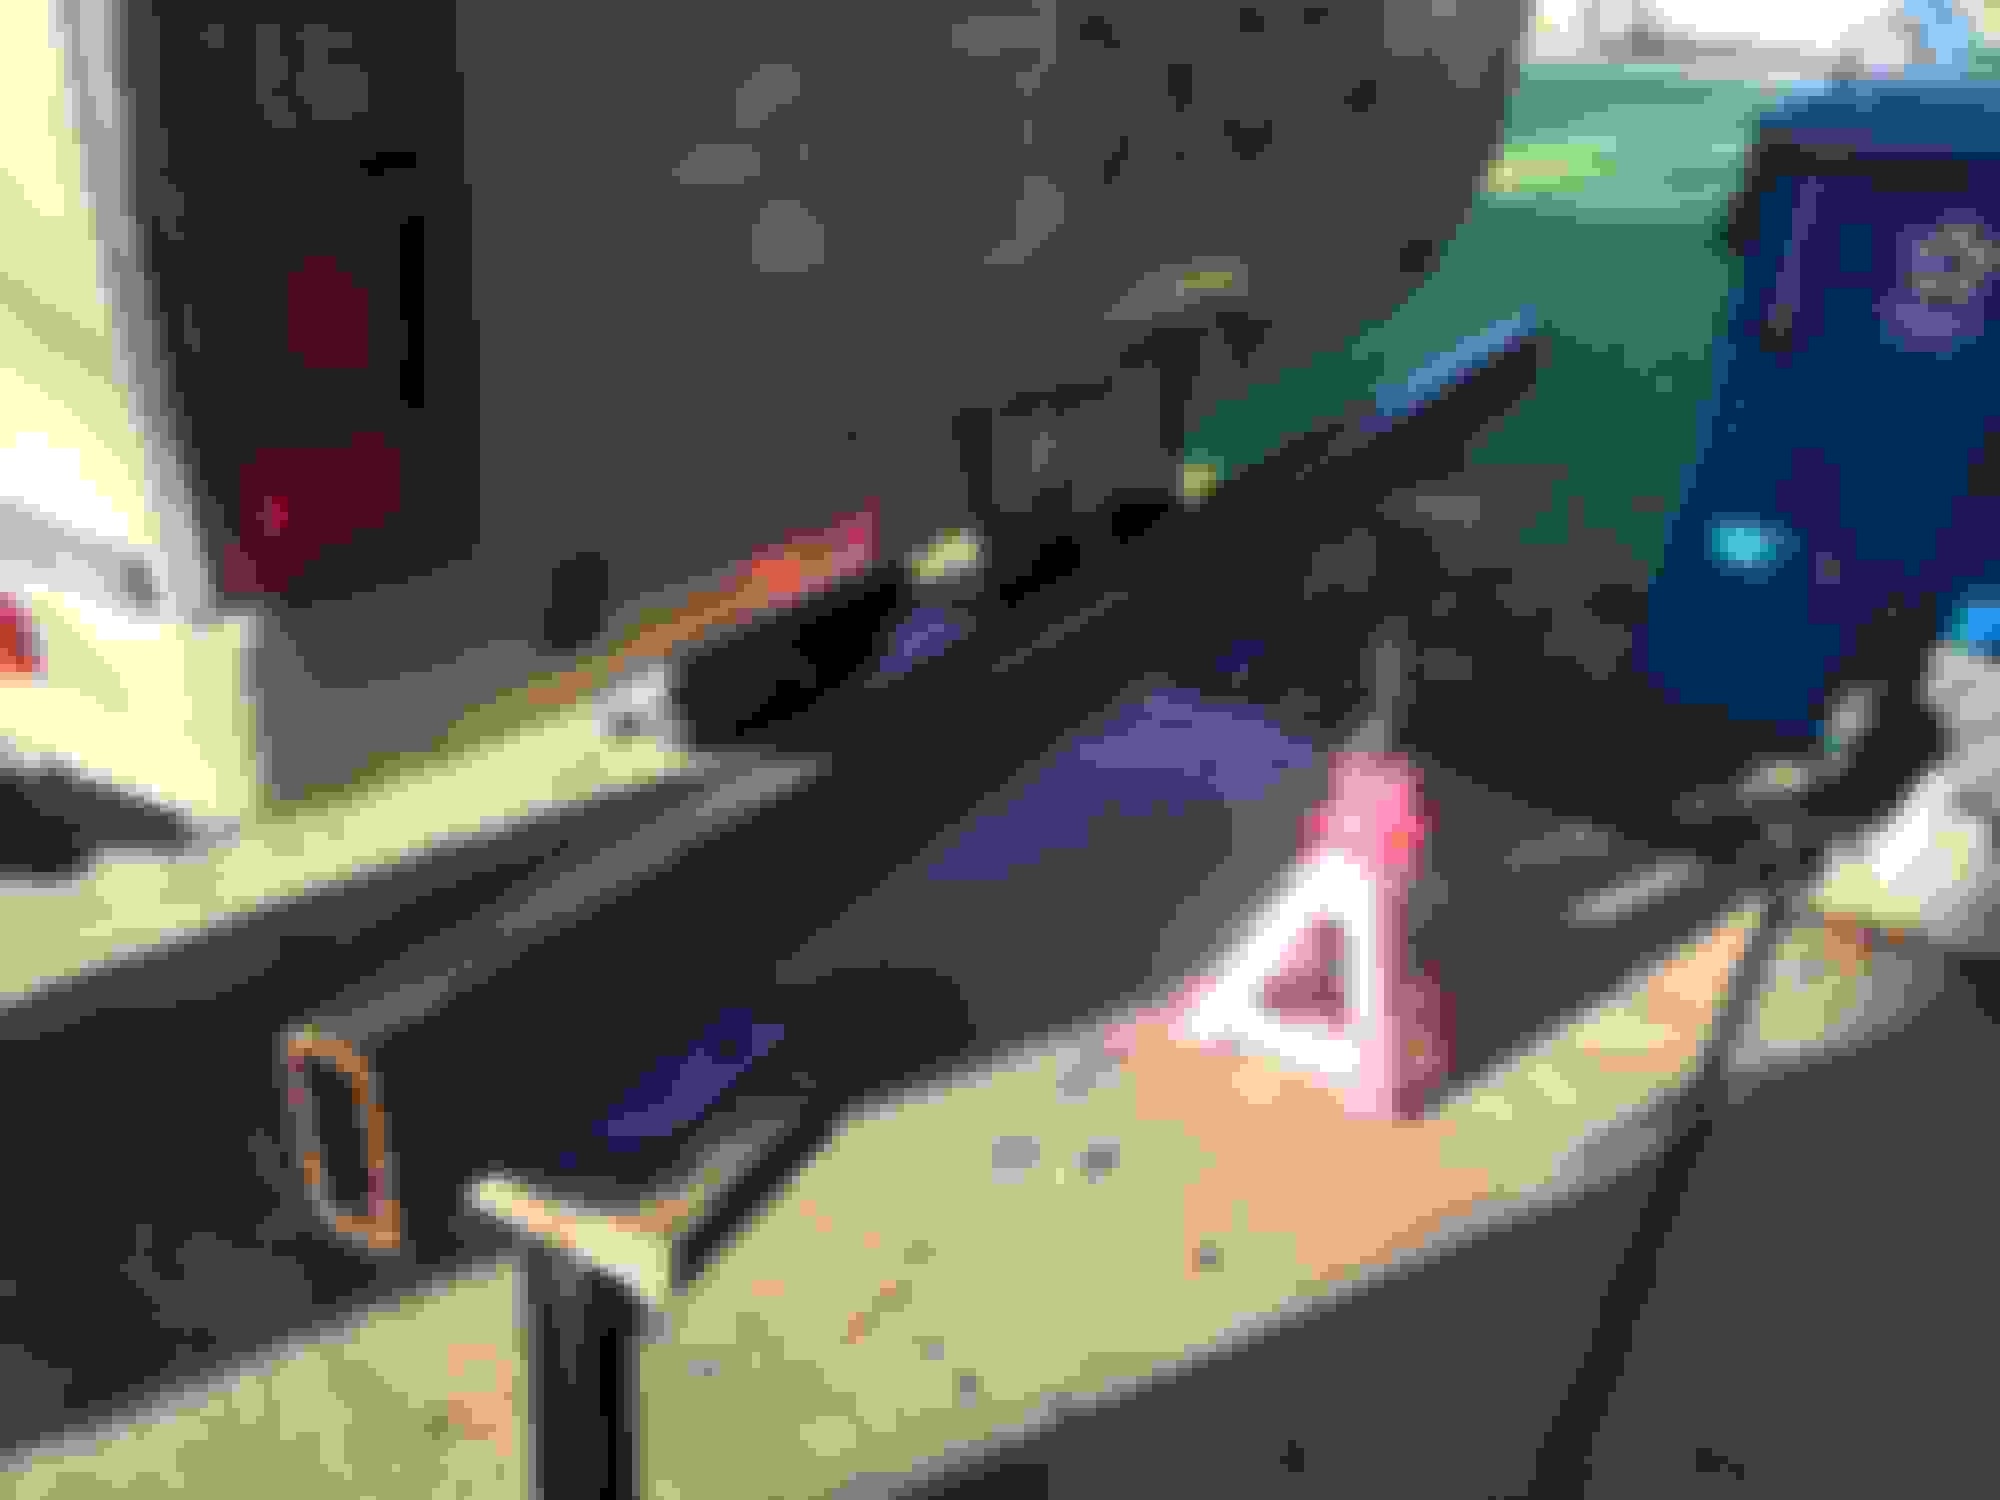
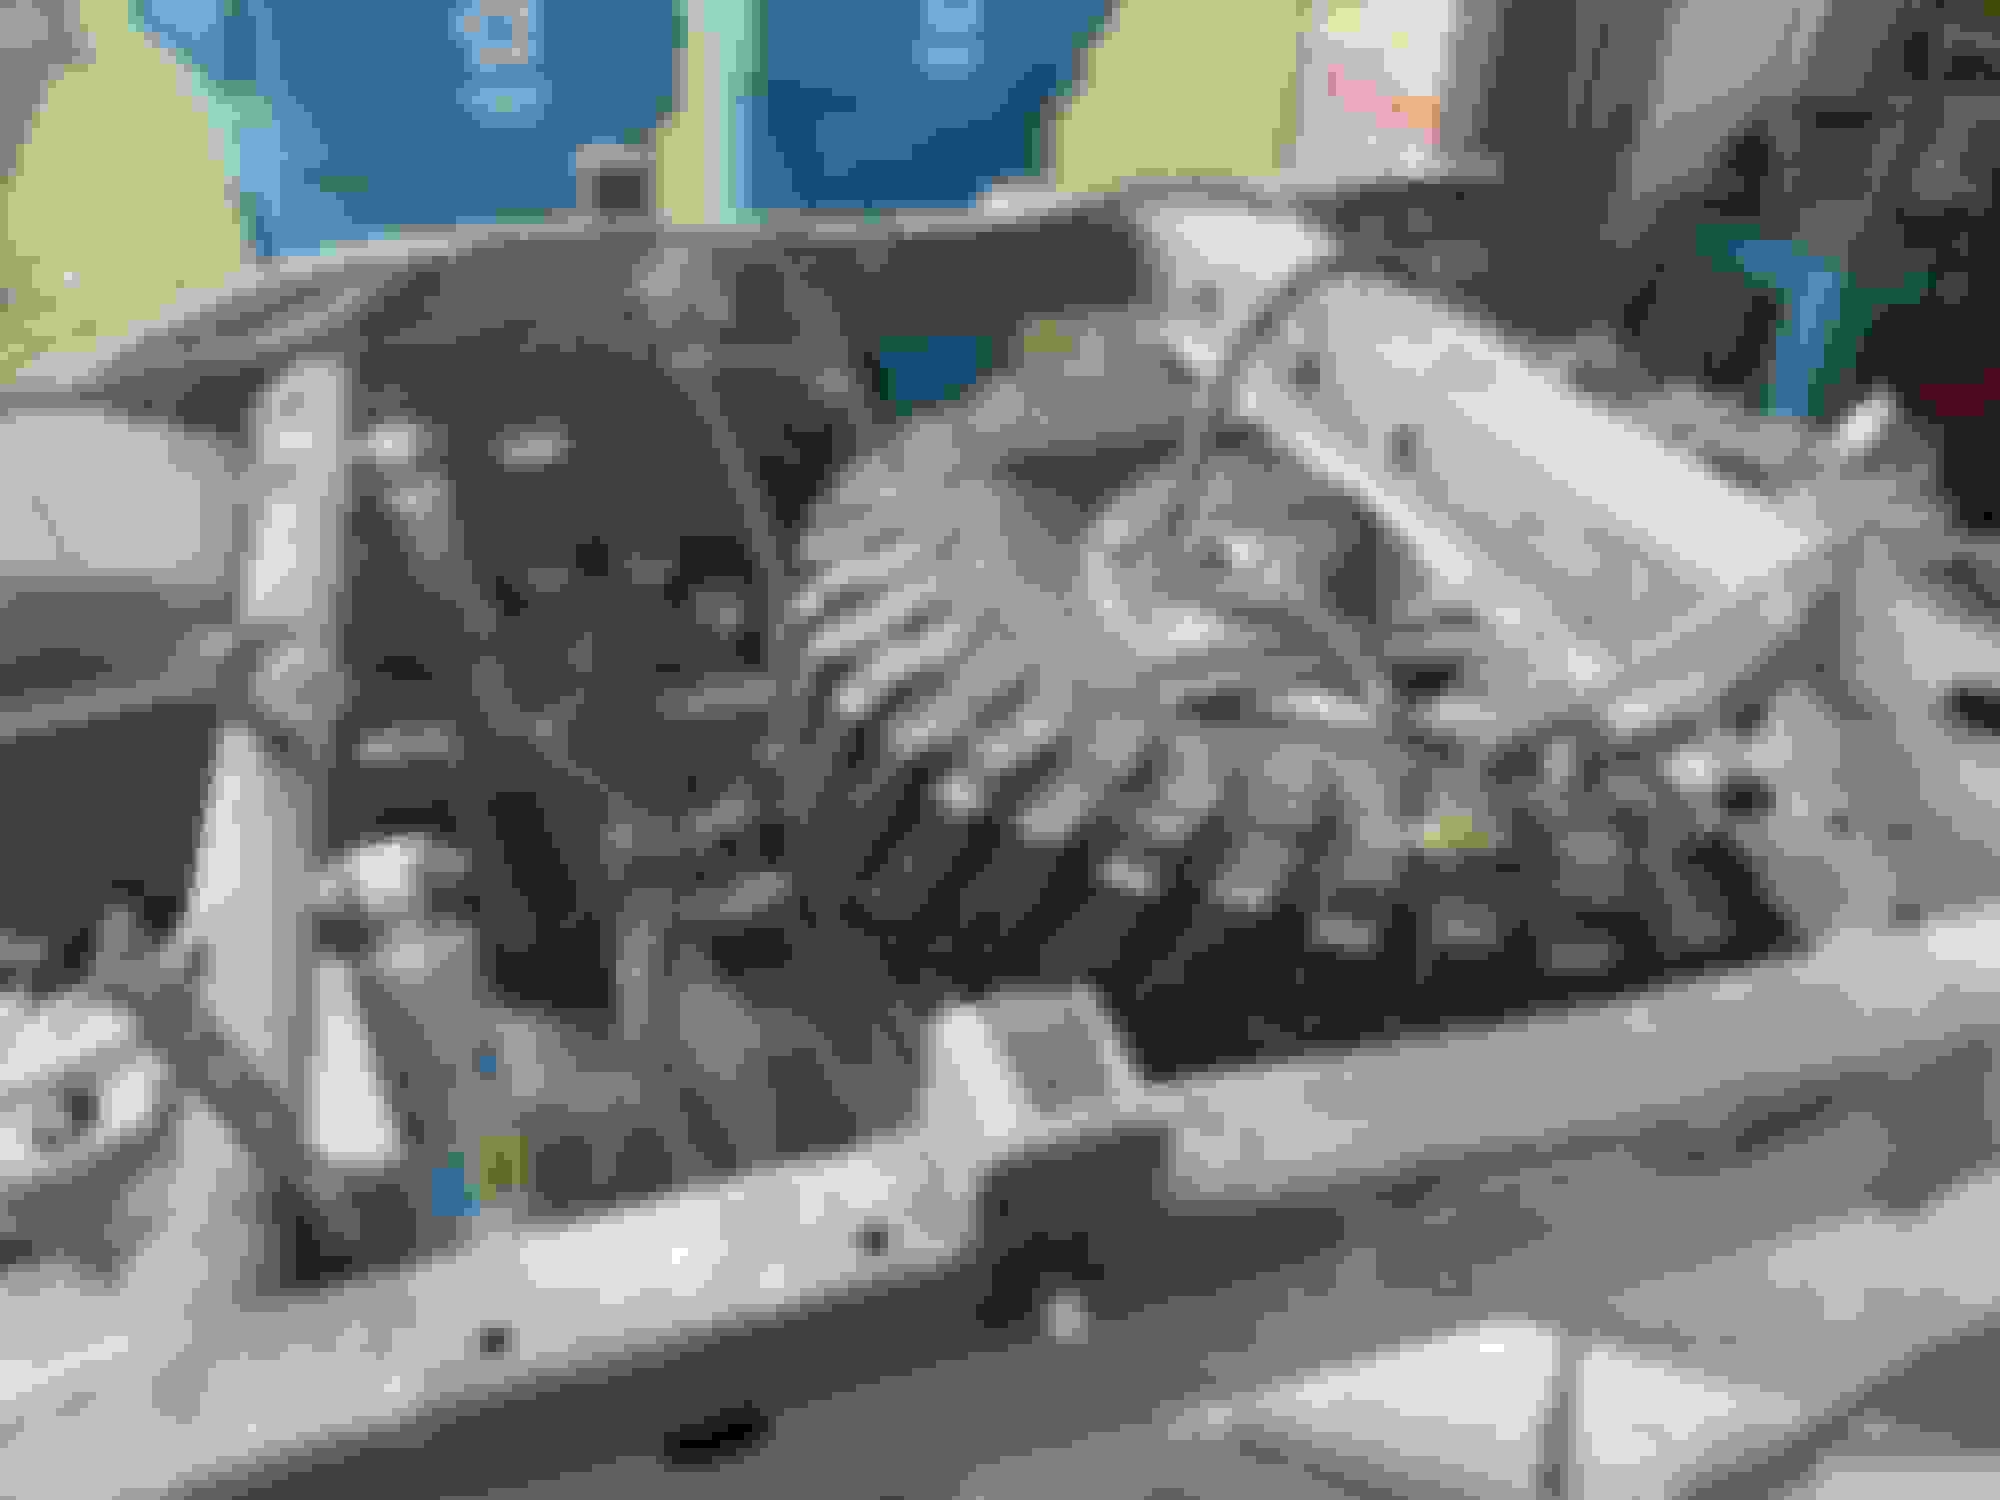
Here is what I started with: 2" x 3" x .25" and 2" x 4" x .25" rectanglular tube. The 2x3 fits very well inside the rear of the frame.
I haven't looked at the thread in many months. It's kind of mind boggling looking back on everything. I ended up scrapping the A/C system I put in. That thing was a hunk of junk. I put in a Restomod A/C system and have been very happy with that.
84 yota dude----the work never really ends with a project like this. I'm always thinking what I could have done better or how I can improve the next thing. However, everything has been working very well. I'll have to go back and read the last couple of pages to figure out what I've changed. The electric vacuum pump is gone. I figured out a way to get a vacuum from the intake manifold. I got rid of the remote A/C condenser, bought a bigger unit and mounted it in front of the radiator, so that freed up some more space and I was able to get rid of the electric fan that had to go onto the remote condenser. Just little changes here and there to improve things.
I have decided to Raptor Line the whole truck in Hot Rod Red. I'll be starting that after the 2020 Lonestar Cruiser Roundup in November. The bumpers and grill will be shot in black Raptor Liner. I ordered a new grill from eBay the other day. That will save me a lot of cleaning time on the old one. I thought it was for the $40.
I found the donor engine on eBay. At the time, I was open to just about anything to put in there. I was looking for a good deal. There was a train load or semi load of new Silverado's being delivered to a dealership that had got into a wreck. All of the trucks on the trailer were totaled. My engine had 2 miles on the odometer when it was pulled. I got the motor, transmission, engine harness, engine computer, and all of the front accessories for $3800. (dont quote me on that). Lol, I ended up paying more money on my transfer case that the rest of the drivetrain! If I had to do it over again? I'd be more patient and wait to find the 4.0l V-8 Toyota had built for awhile. That lilies 2.8l diesel Cummins makes looks fantastic on paper, but there seams to be reliability problems with it. Theres a Mercedes diesel that people like a lot. I am happy with my current motor, I just didn't realize how complicated it would be to complete. It has lots of power and excellent street manners for a lifted solid axle 4x4. My Dakota Digital gauges have a built in 0-60 timer (I just found out recently). With a lot of tools and revcovery stuff in the back and the wifey in the passenger seat I was able to pull a 7.1 second 0-60. I had lots of wheel spin and got a but sideways at one point. I suppose I could get much closer to a 6 second time if was actually working on that scenario but I'm dont care about going fast. I love the acceleration though! About your 4runner, that's always the question, right? To cut or not to cut, that is the question! I'll try to document the Raptor Lining and post it here.
So I went to the Lonestar Landcruiser Roundup this past weekend at Ketemcy Rocks. What a great event put on by some awesome people. Here are a few of my favorite pics from the event.
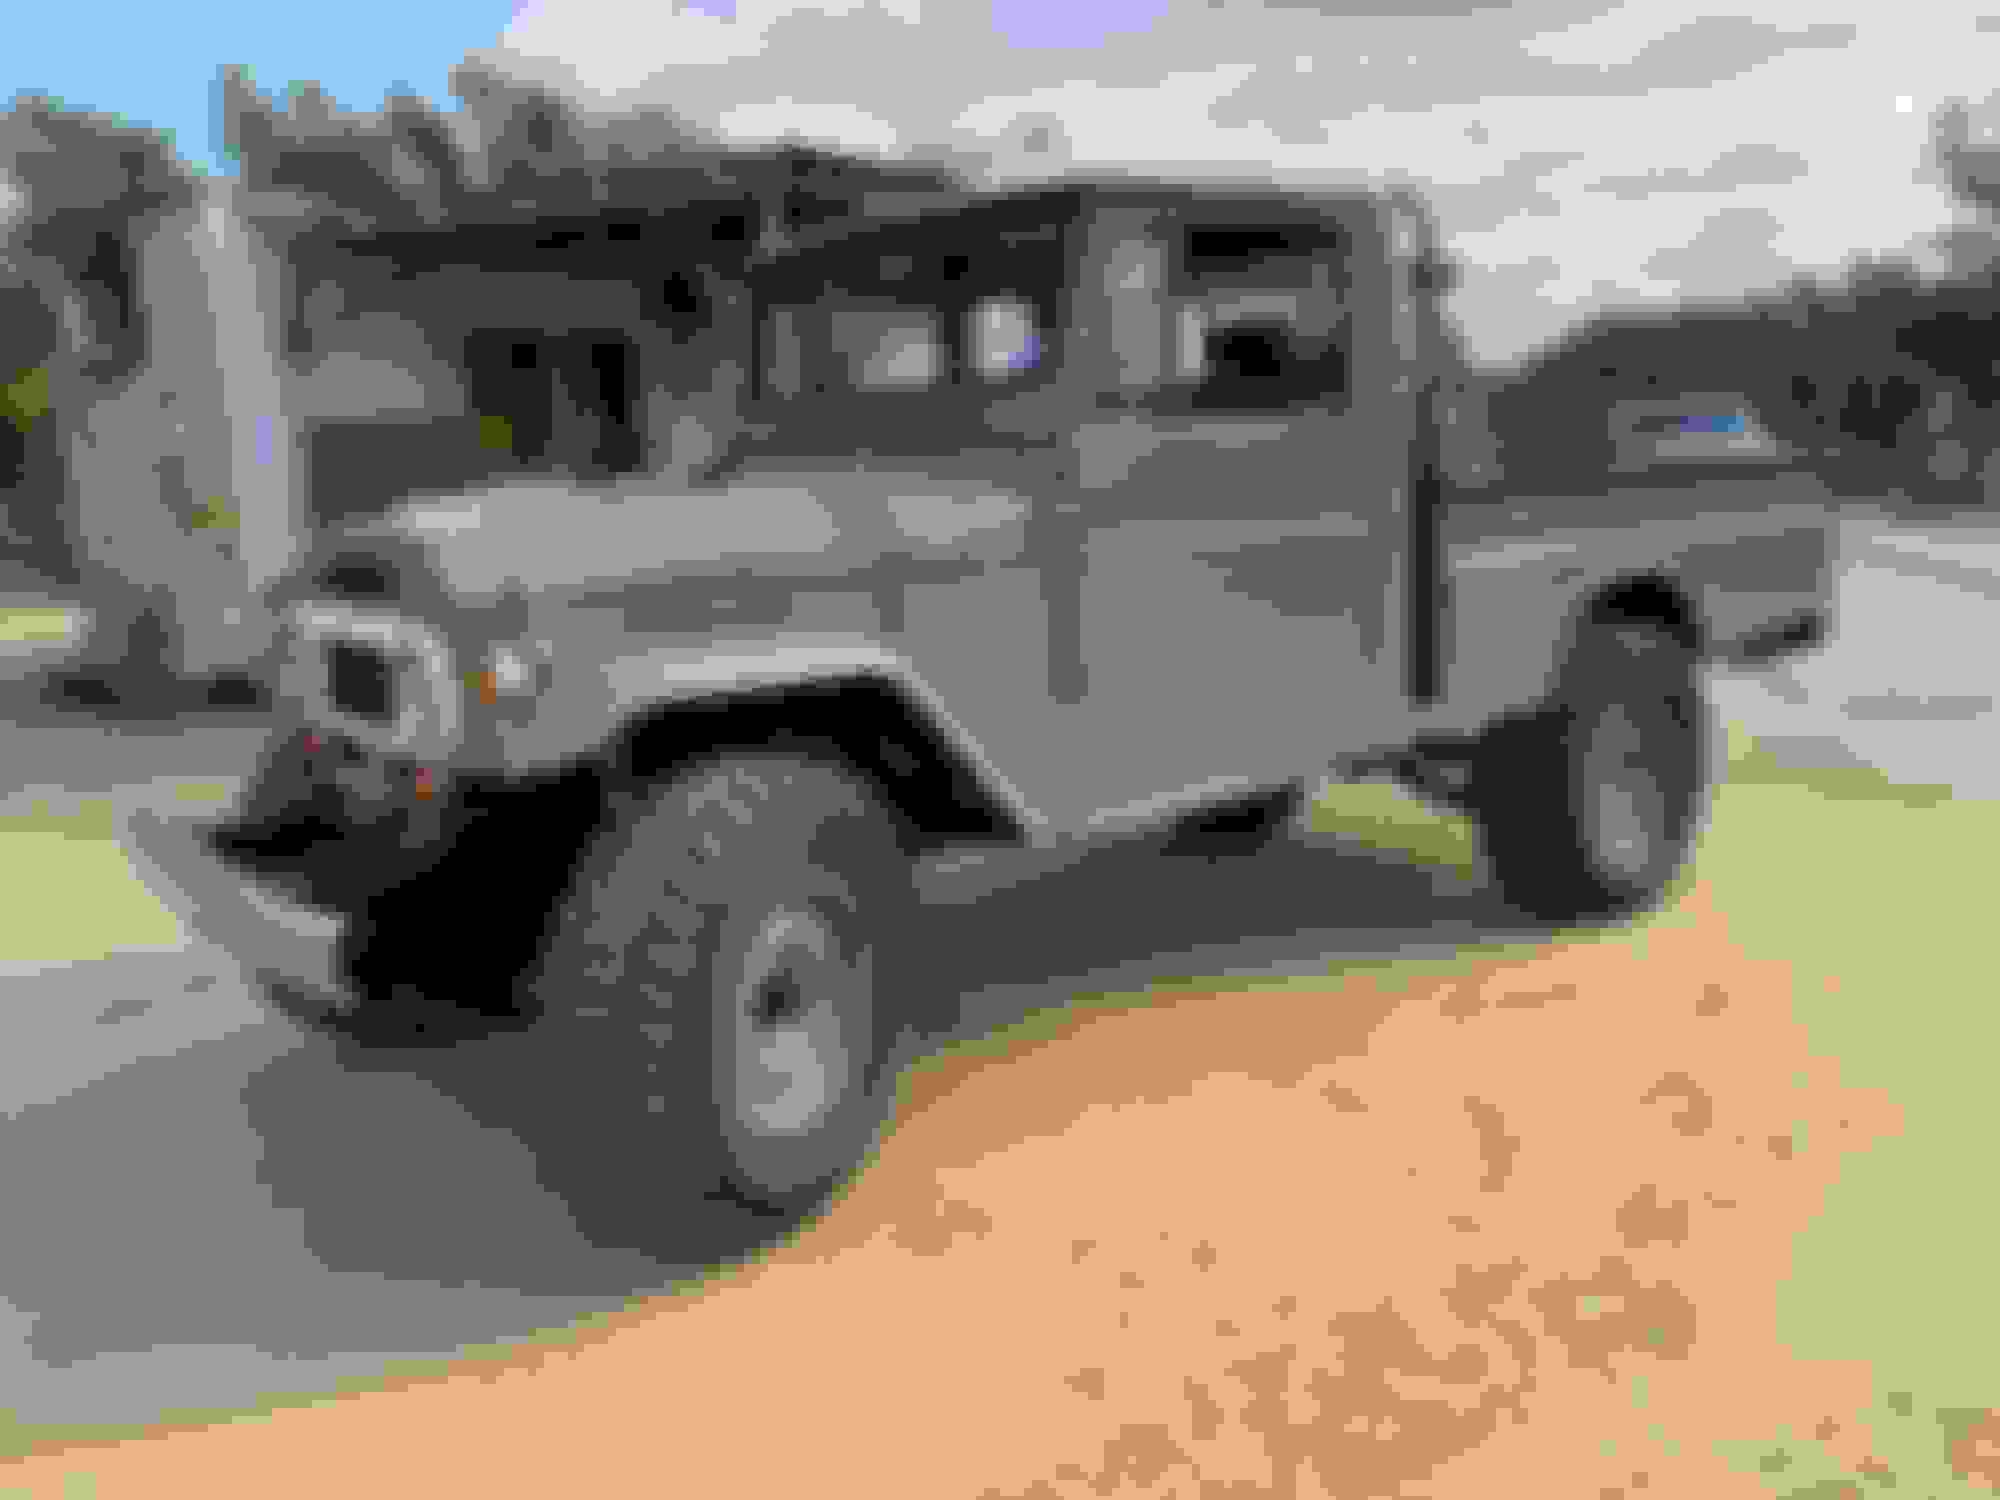
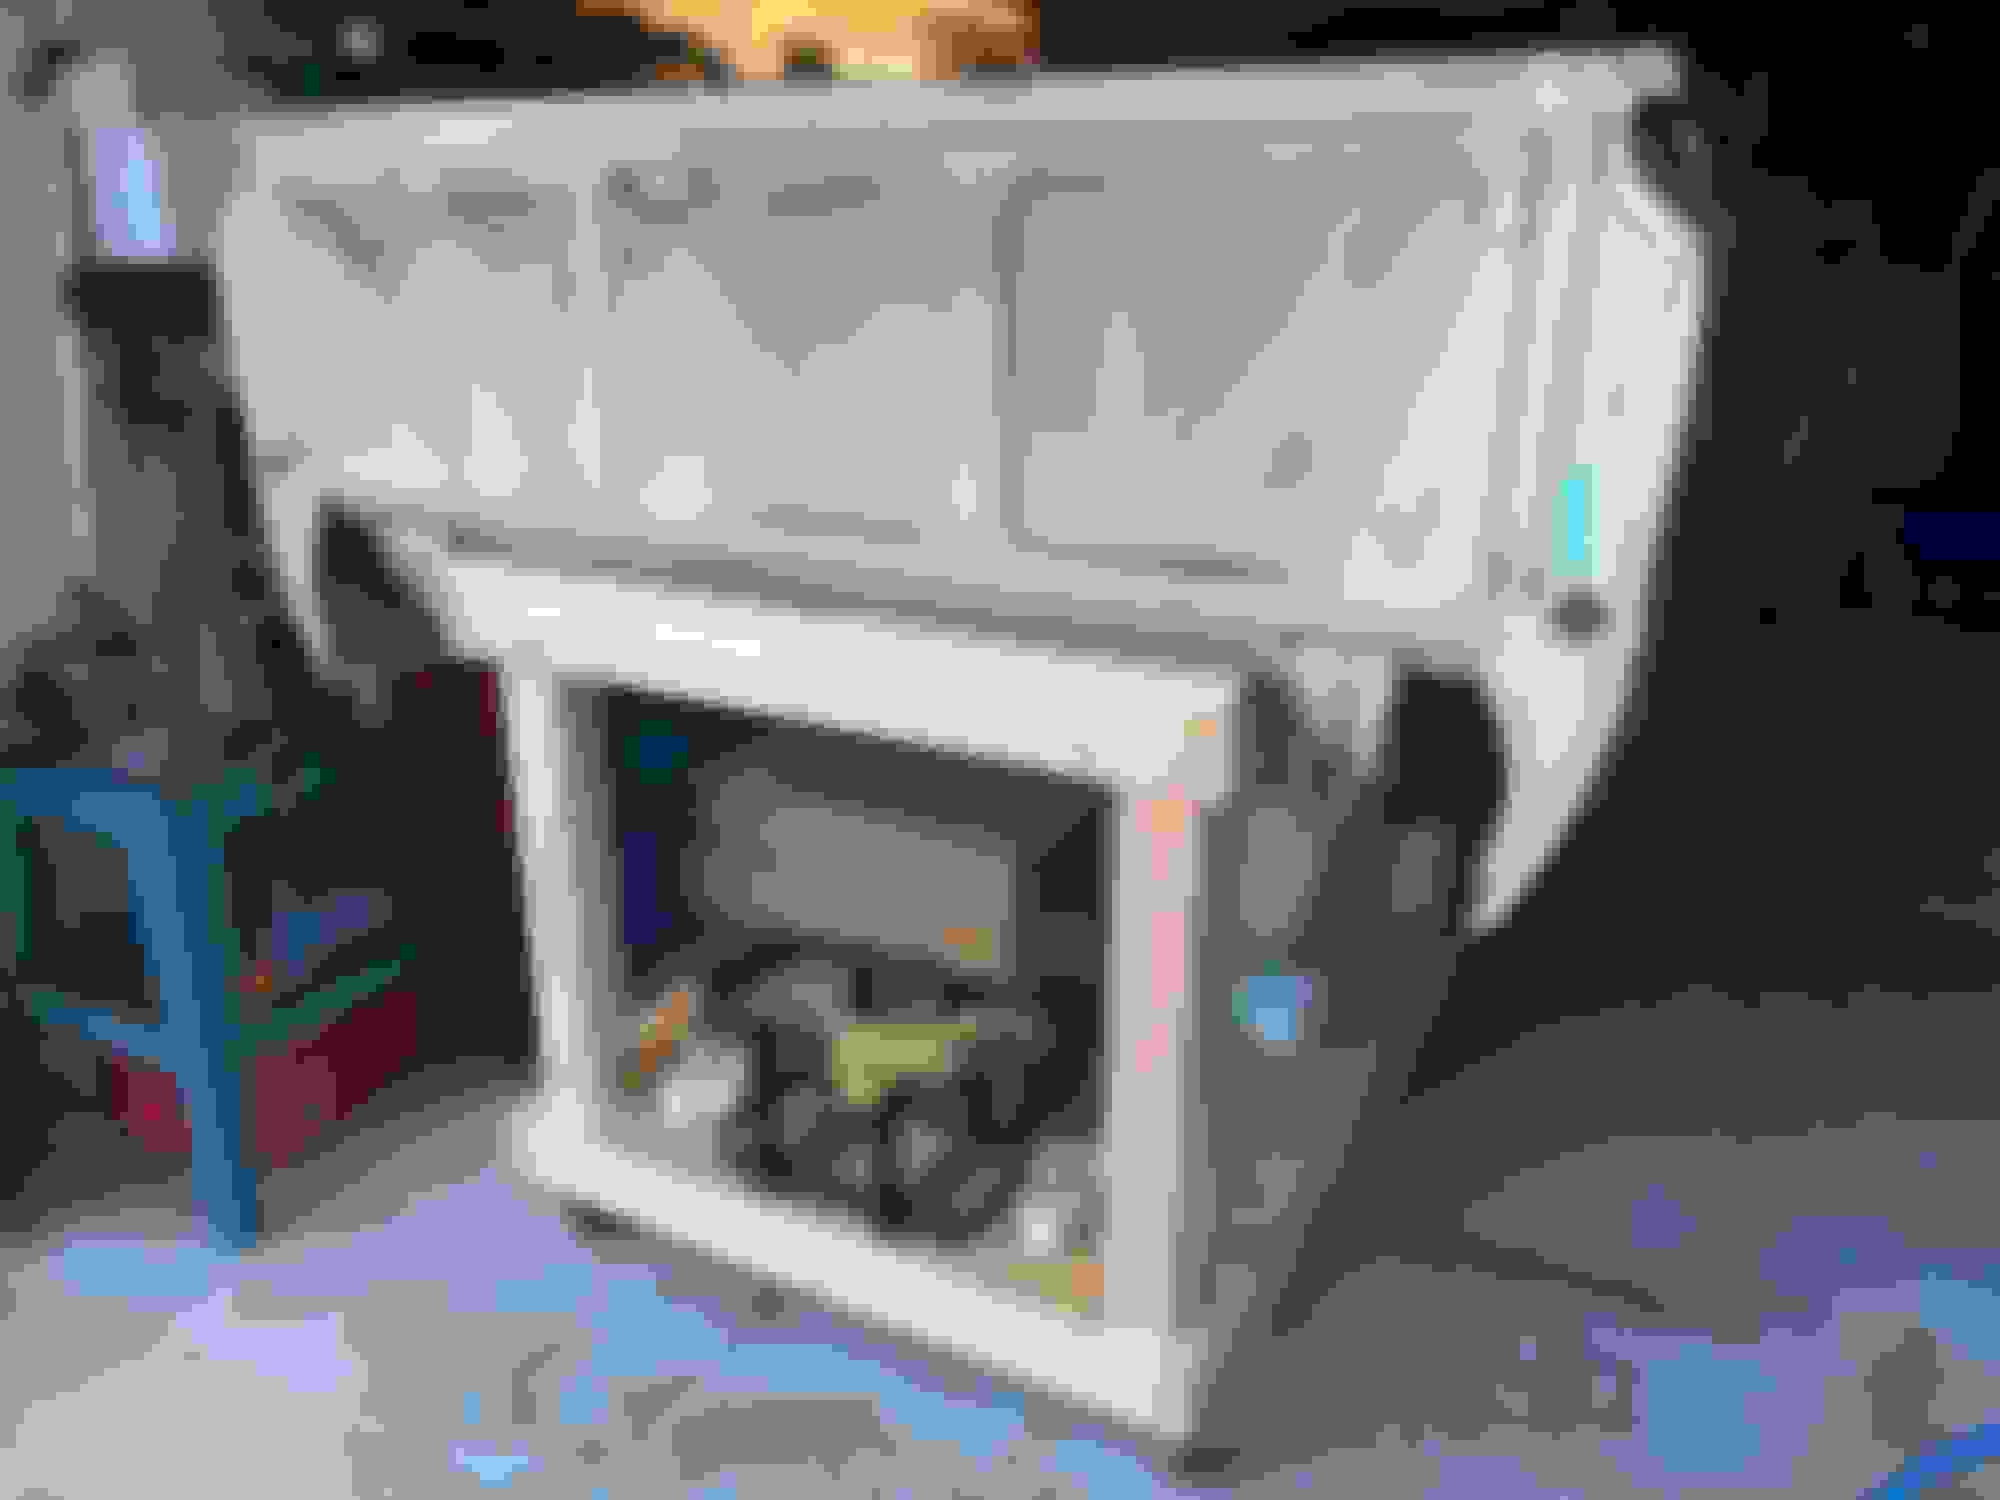
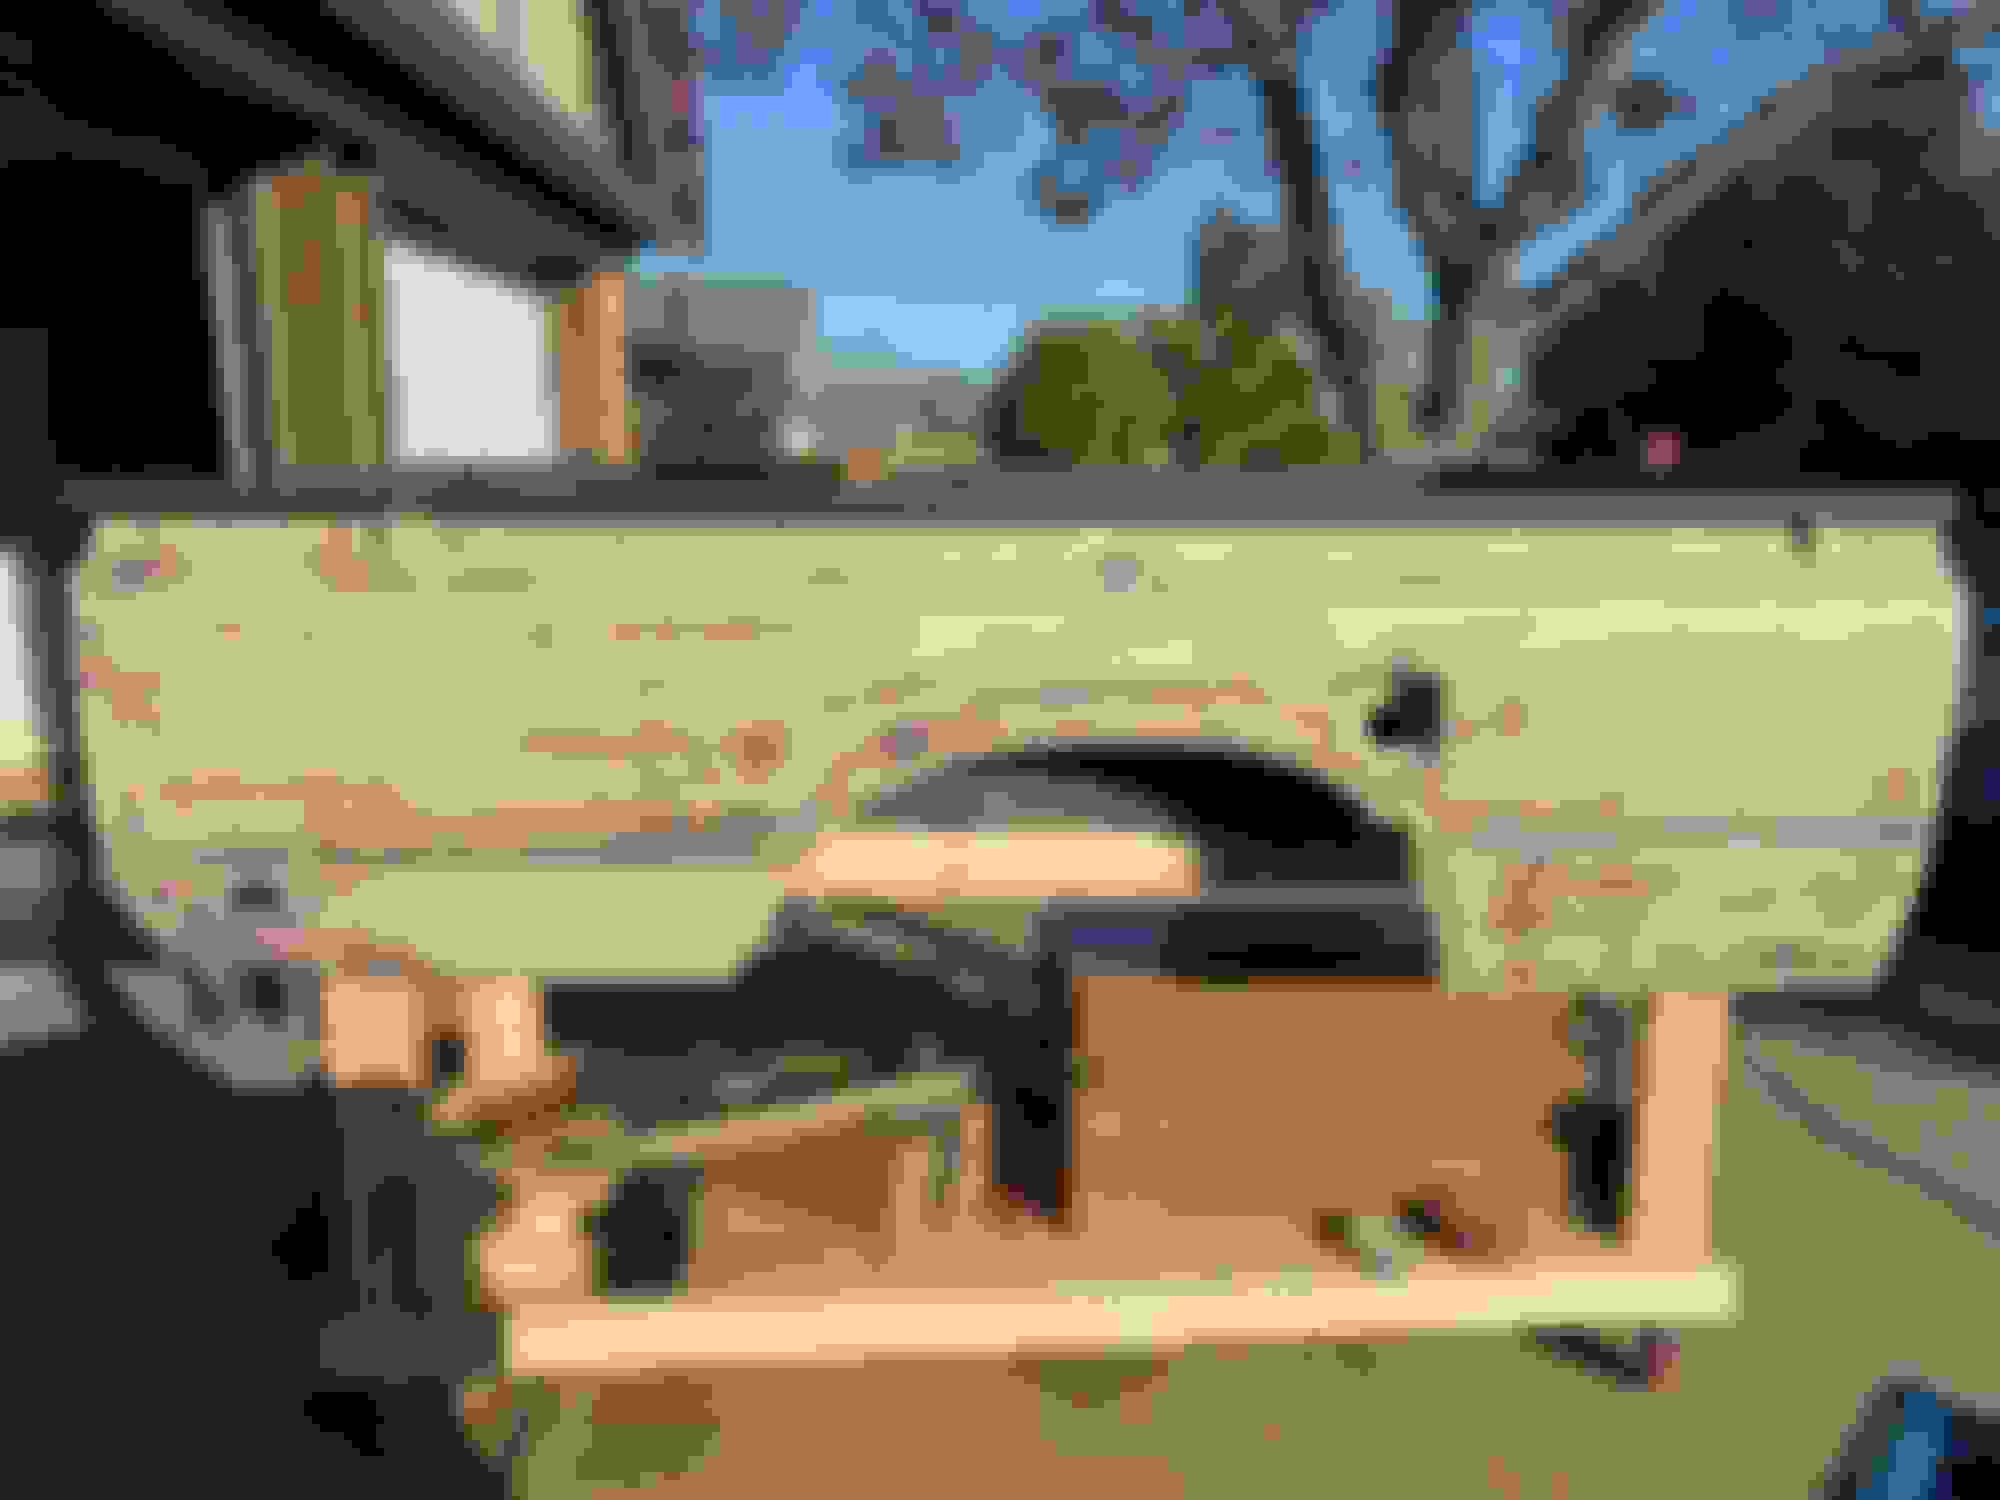
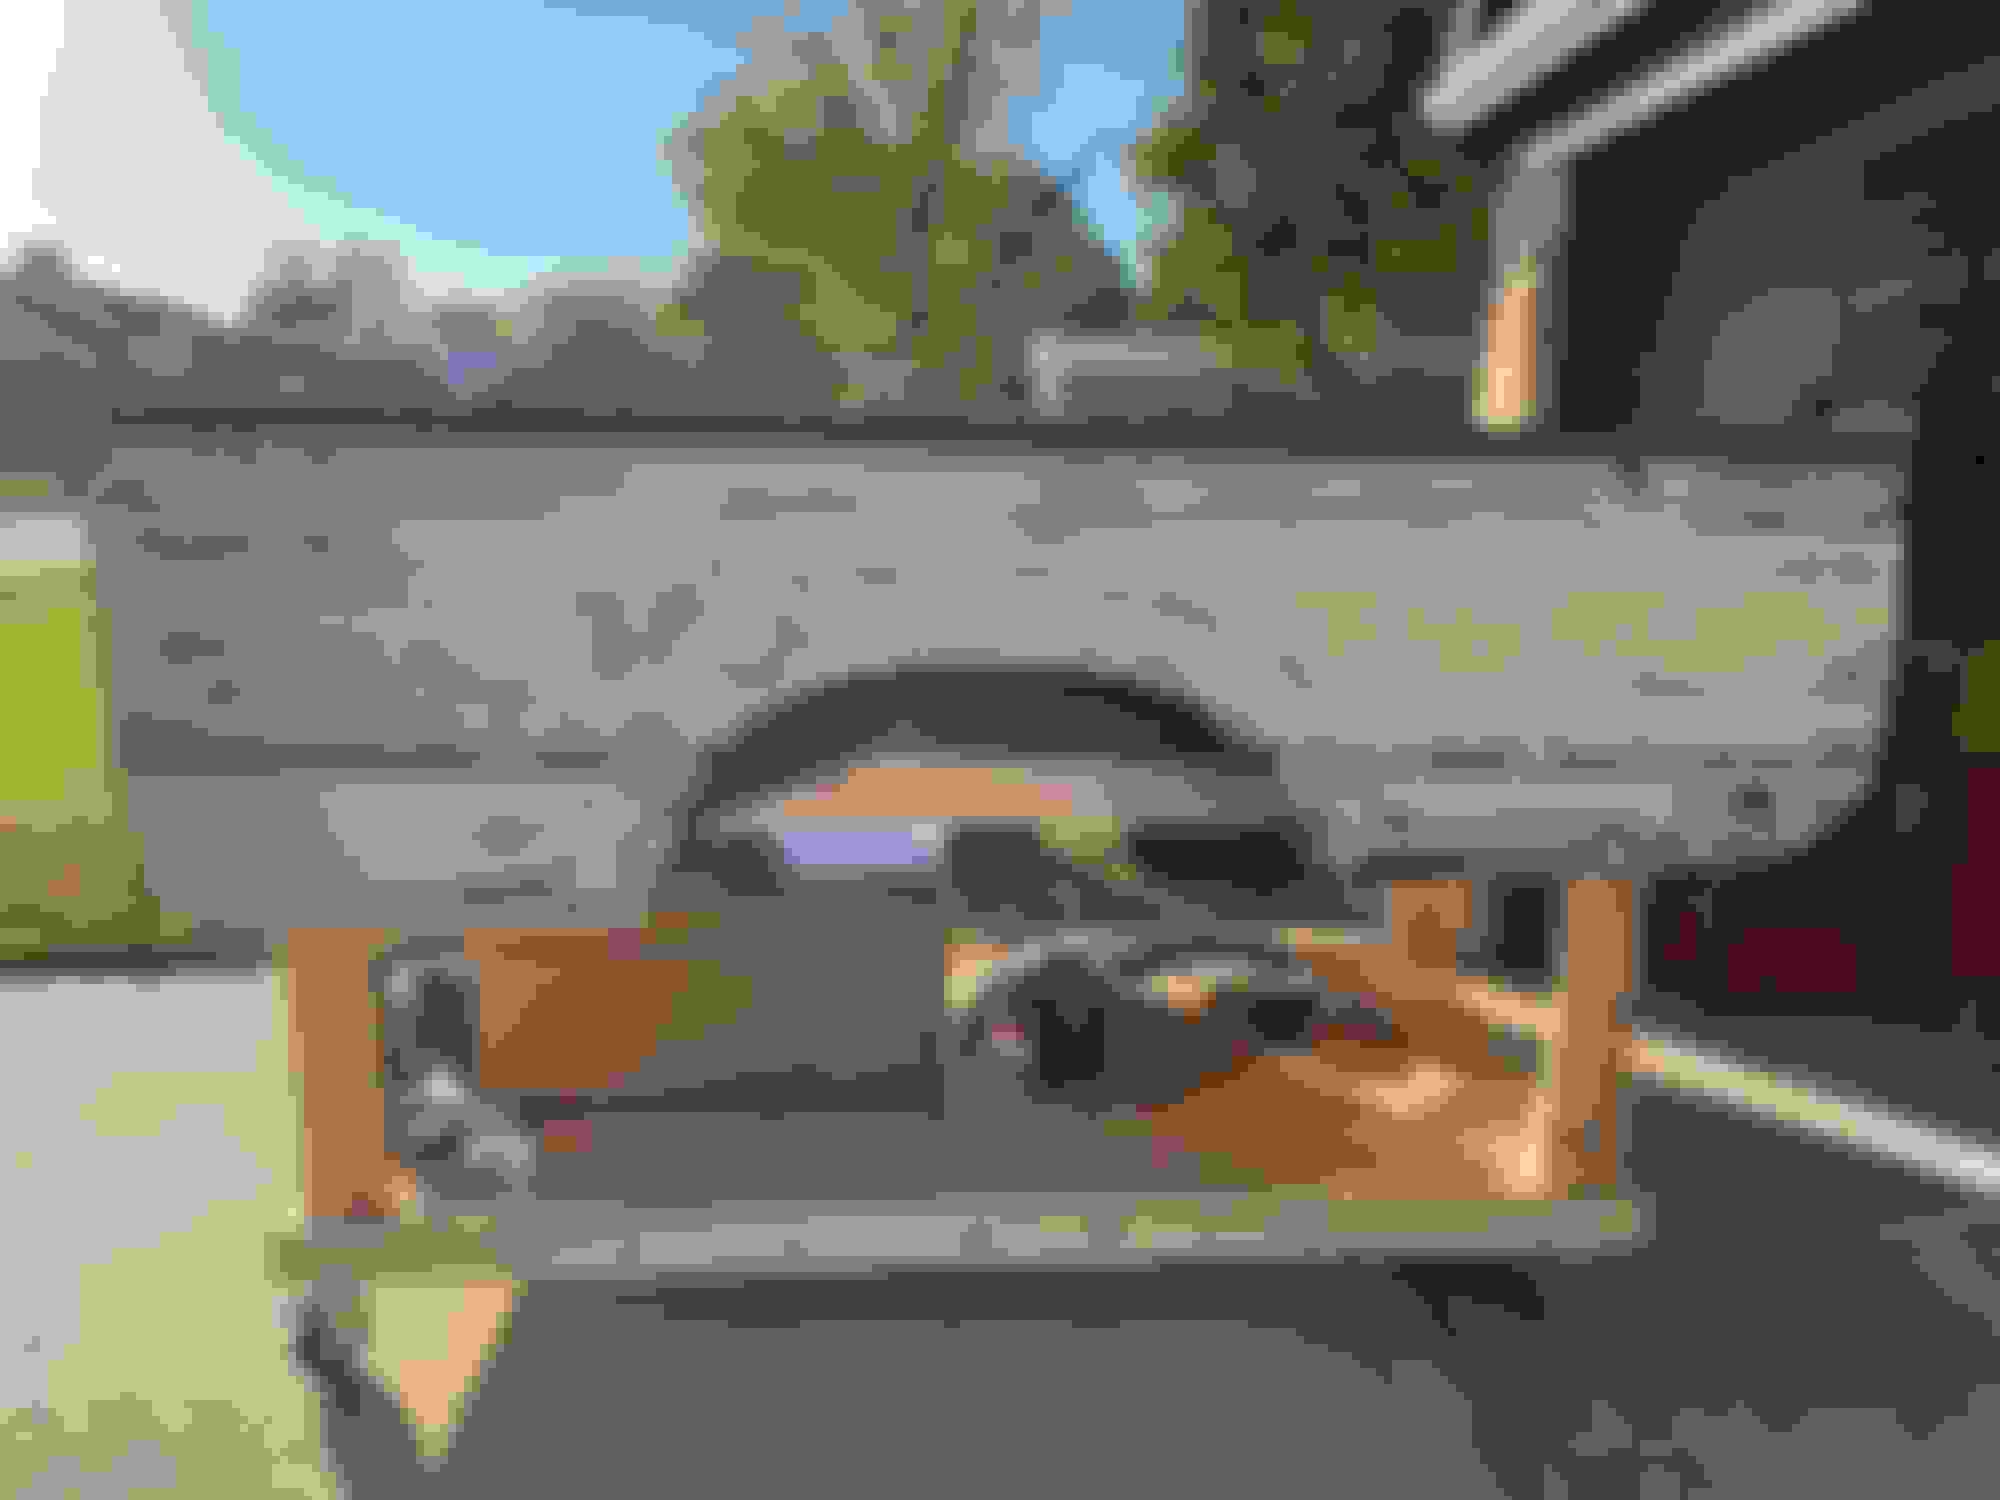
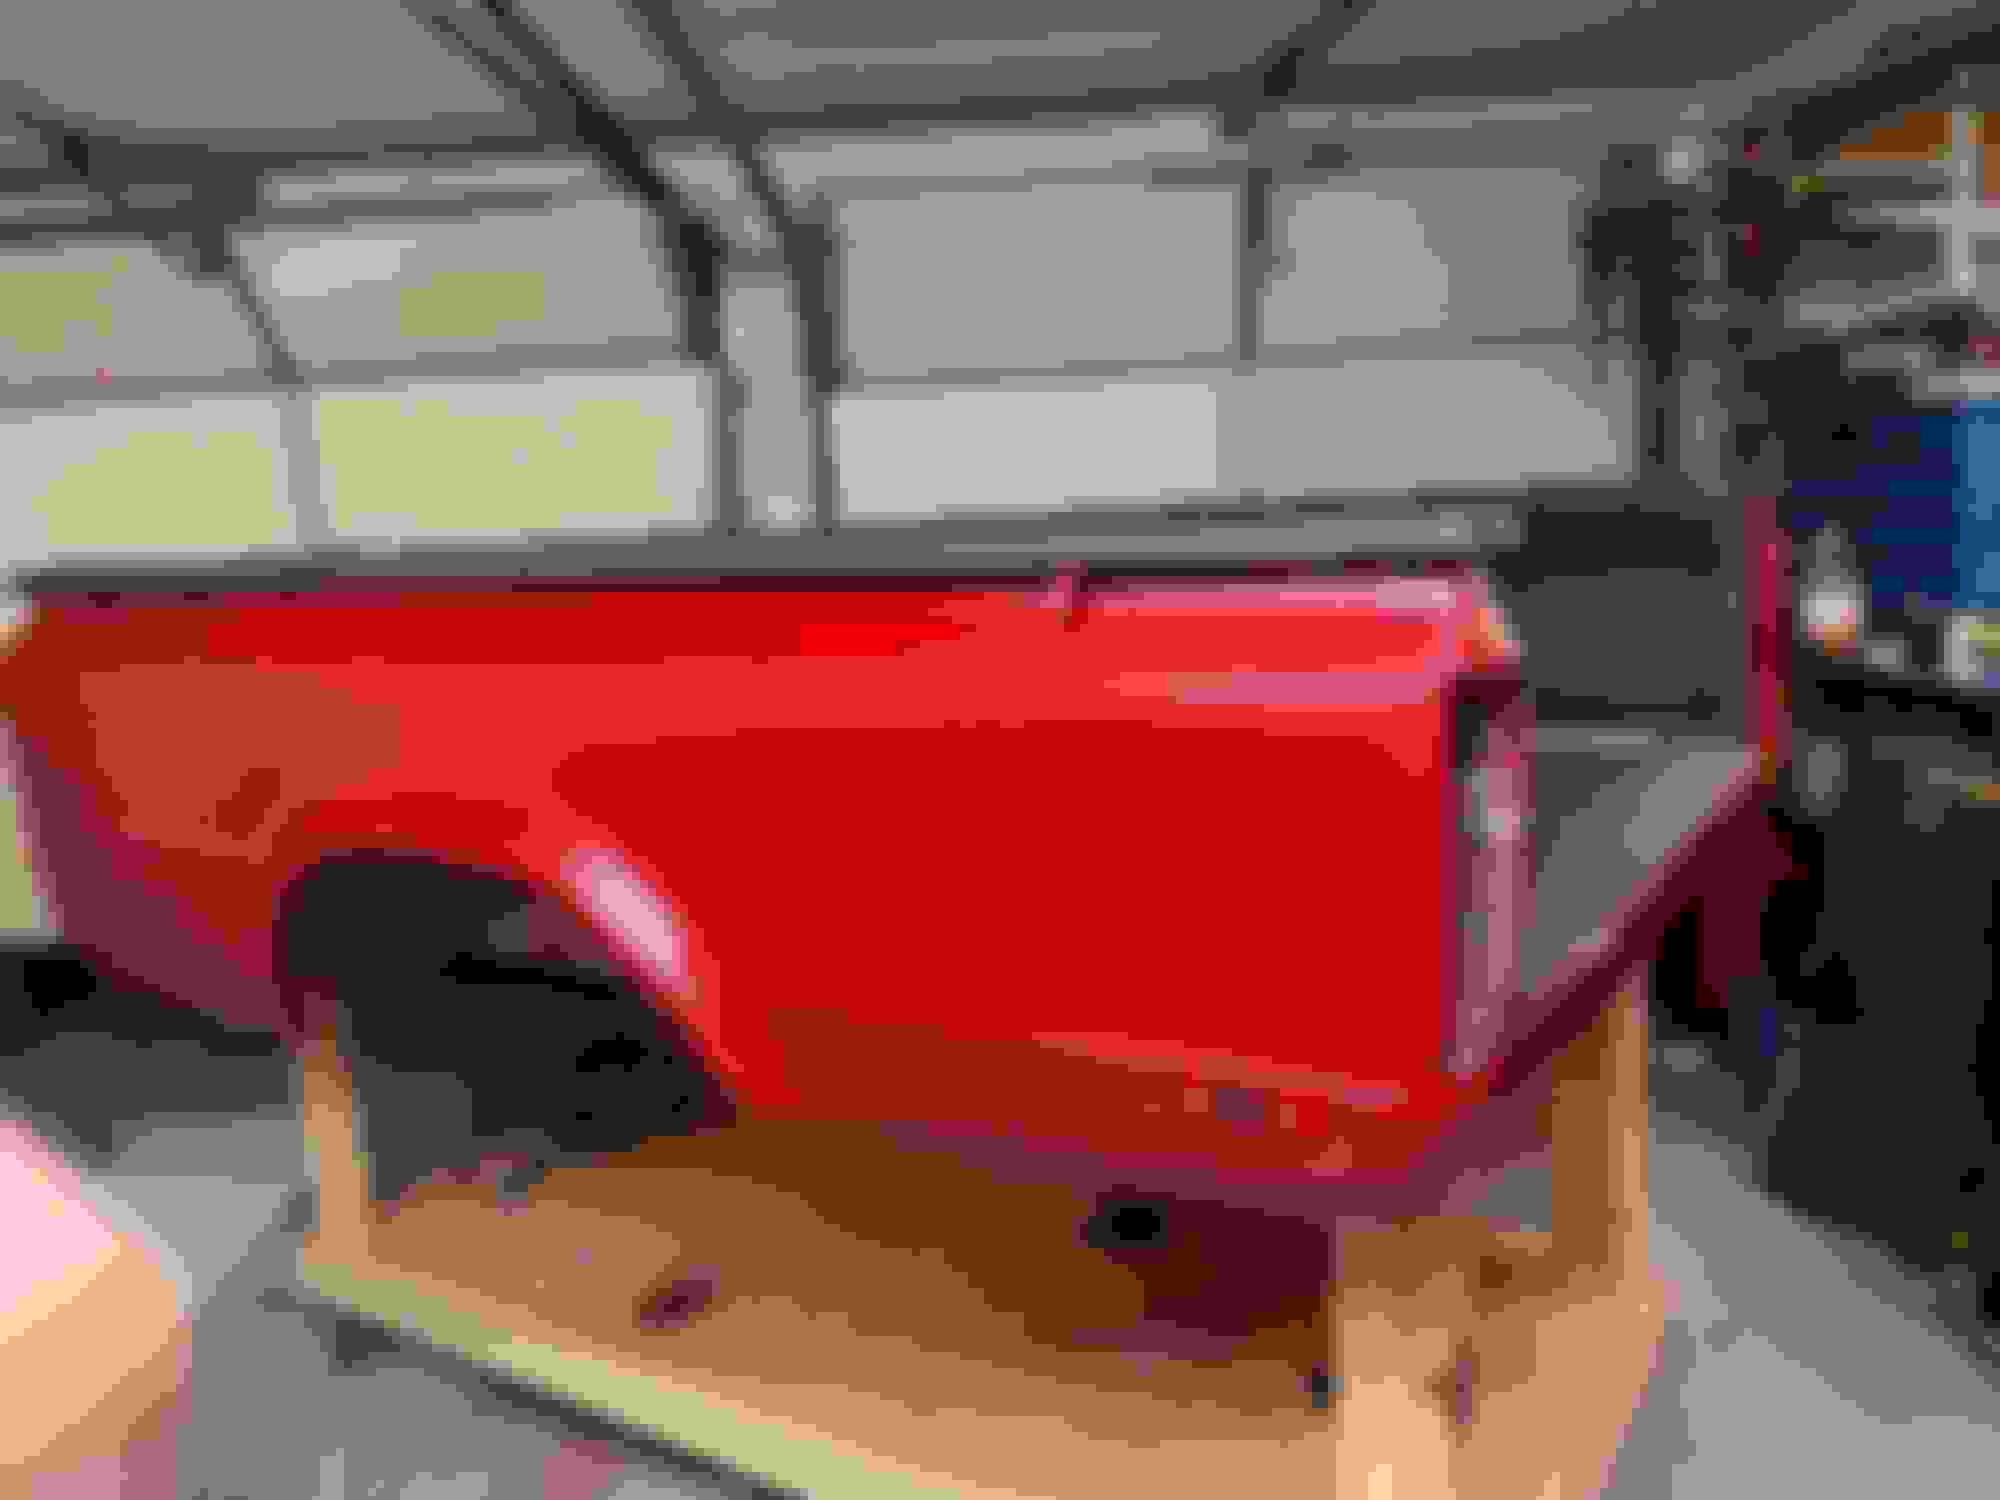
So now that I'm back I started taking the bed off of the truck to get it ready for Raptor Liner.
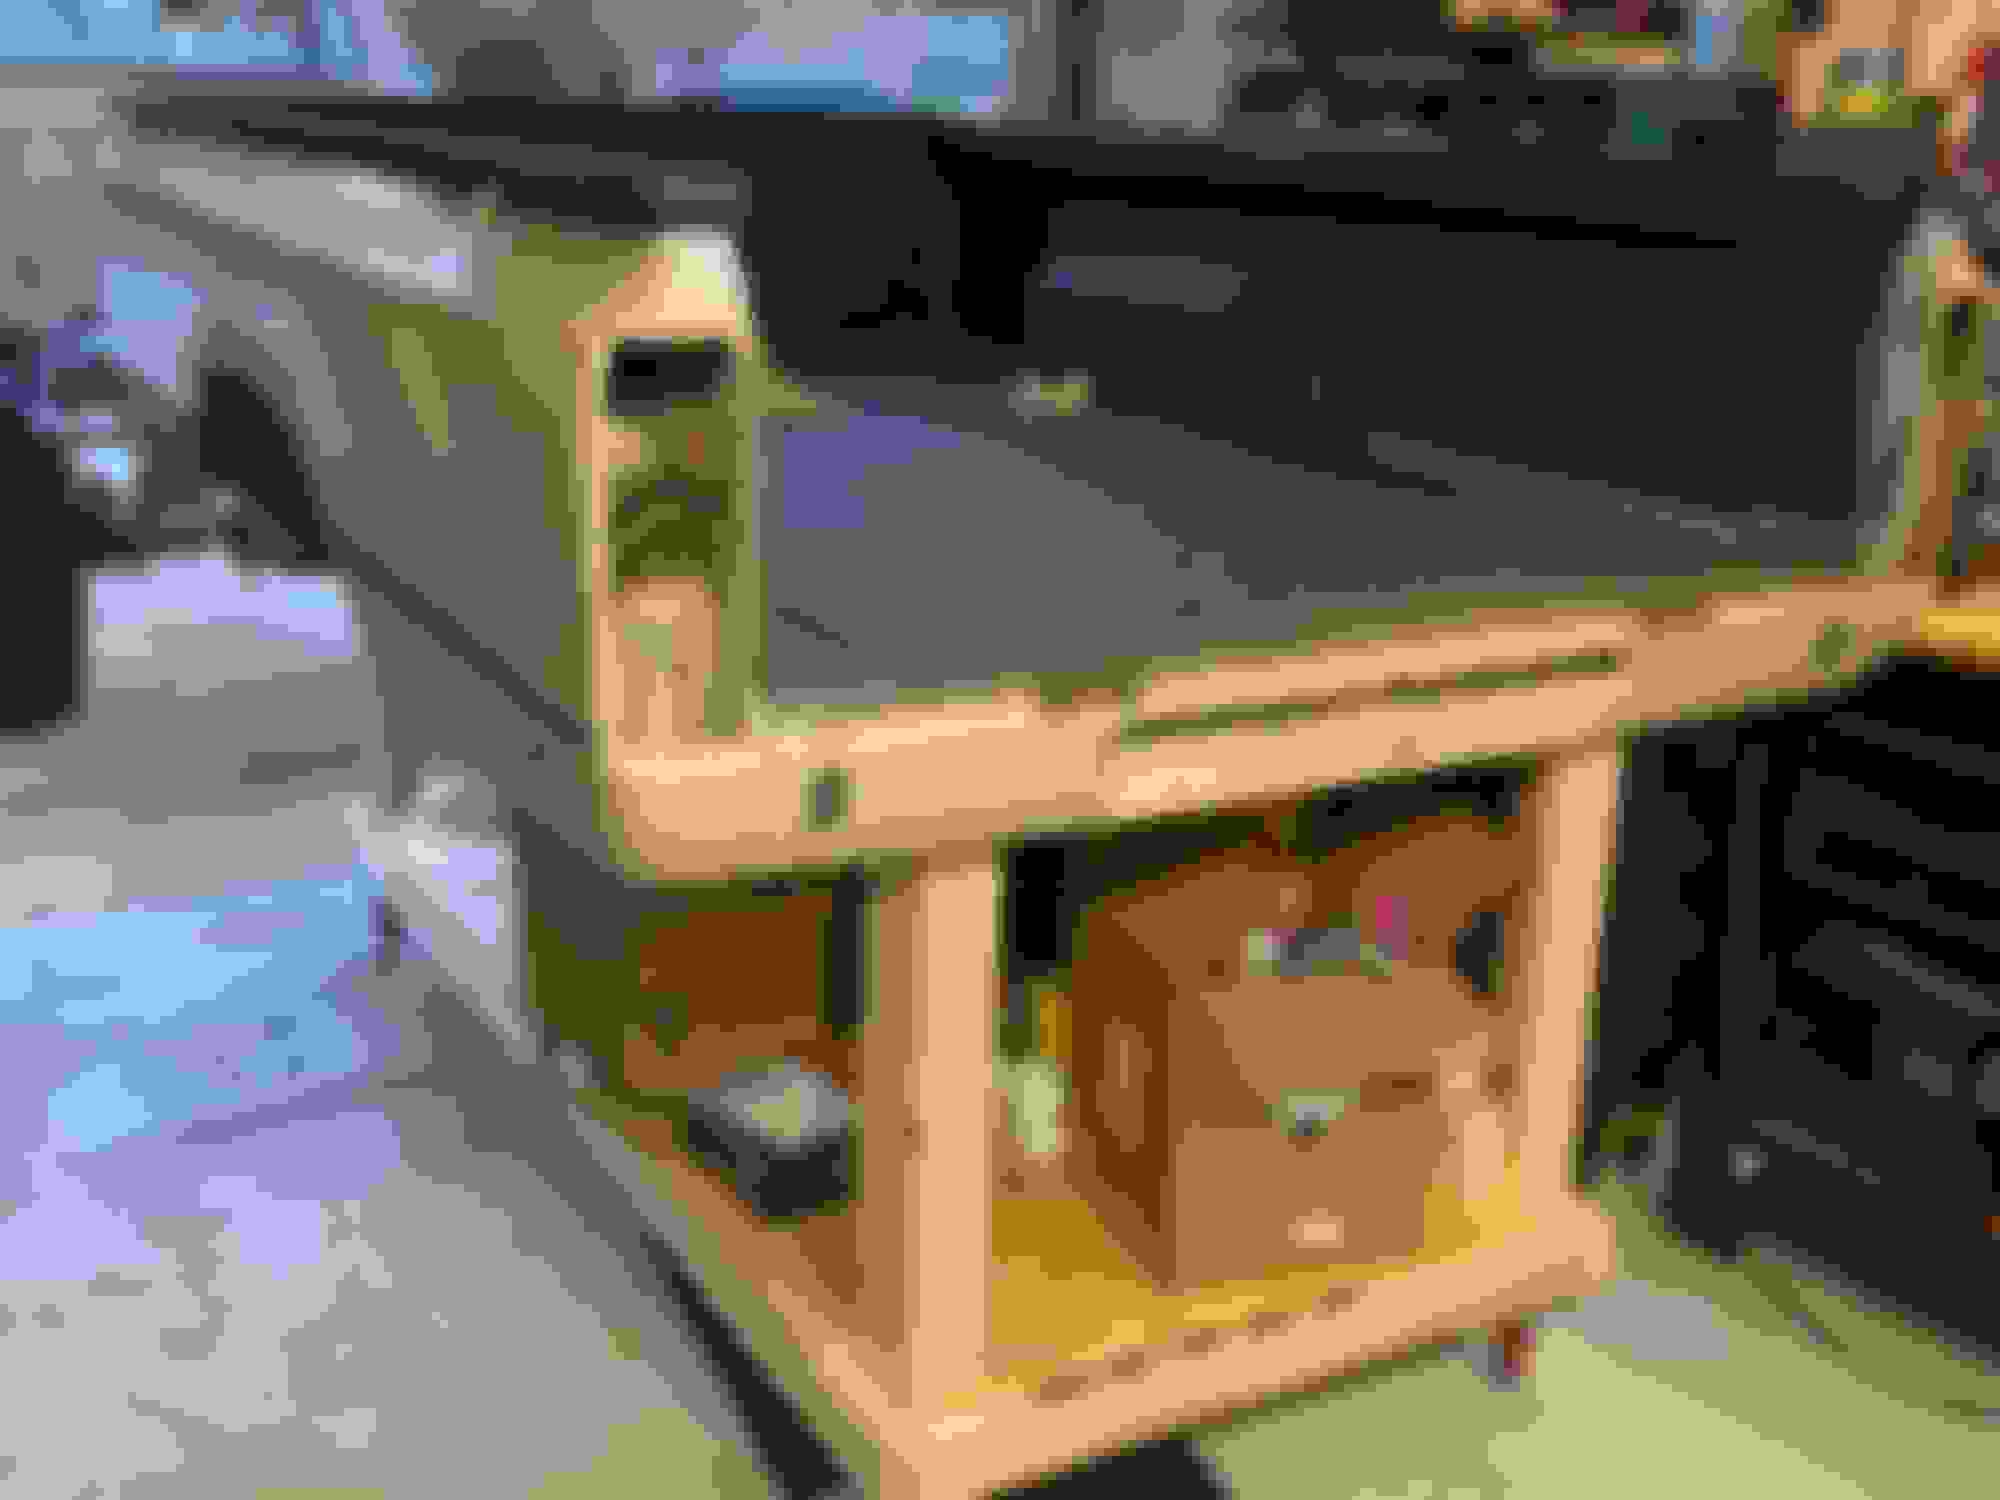
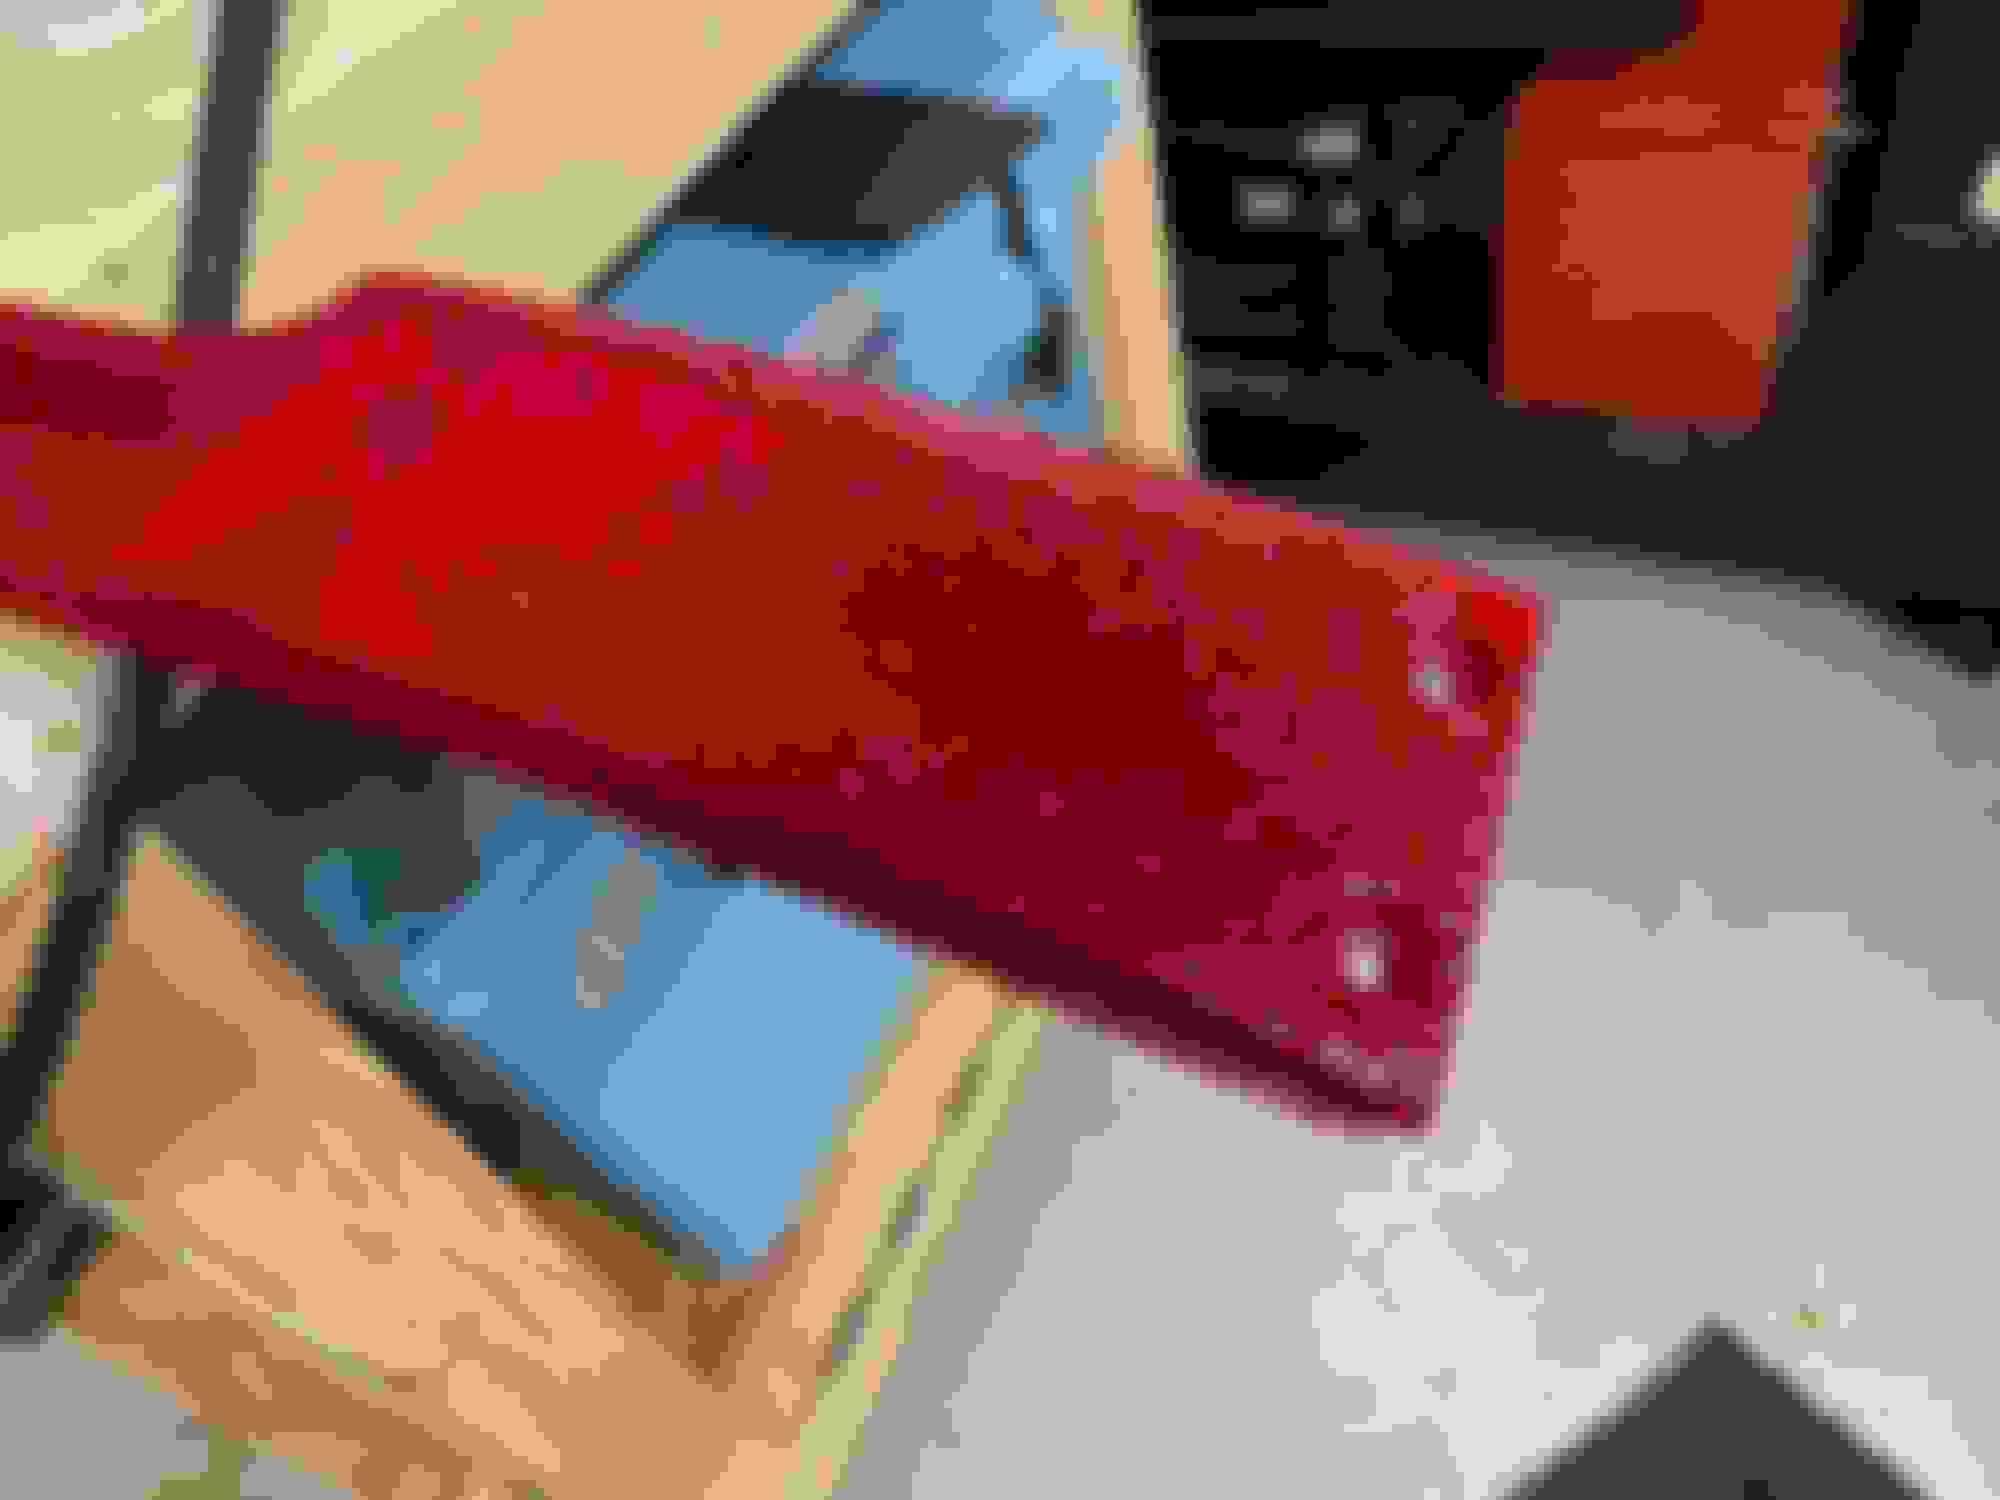
The frame is in great condition as is the bed. It's going to be Blood Red with the 1980-1981 stripes. Thursday I'll start washing everything and start sanding the exterior. I shot a test piece on the bumper valance and I am very satisfied with the color. I've ordered the three stripe colors and those should be here by next week. Since I'm using the tintable Raptor, I can make it any color I want but I'm choosing their premixed colors from Custom Coat to make it easier for future touch ups. Picture below for example.
I thought about using decals. I saw a guy put “Rubicon” on his Jeep that he had raptor lined. It looked really good. The only decal set I could find we’re about 300 bucks or more, I can’t quite remember now. I’m going to use raptor liner with those colors. So I’m gonna shoot the whole thing in red and then tape off where the stripes go and shoot those in the three different gray colors. $20 per color.
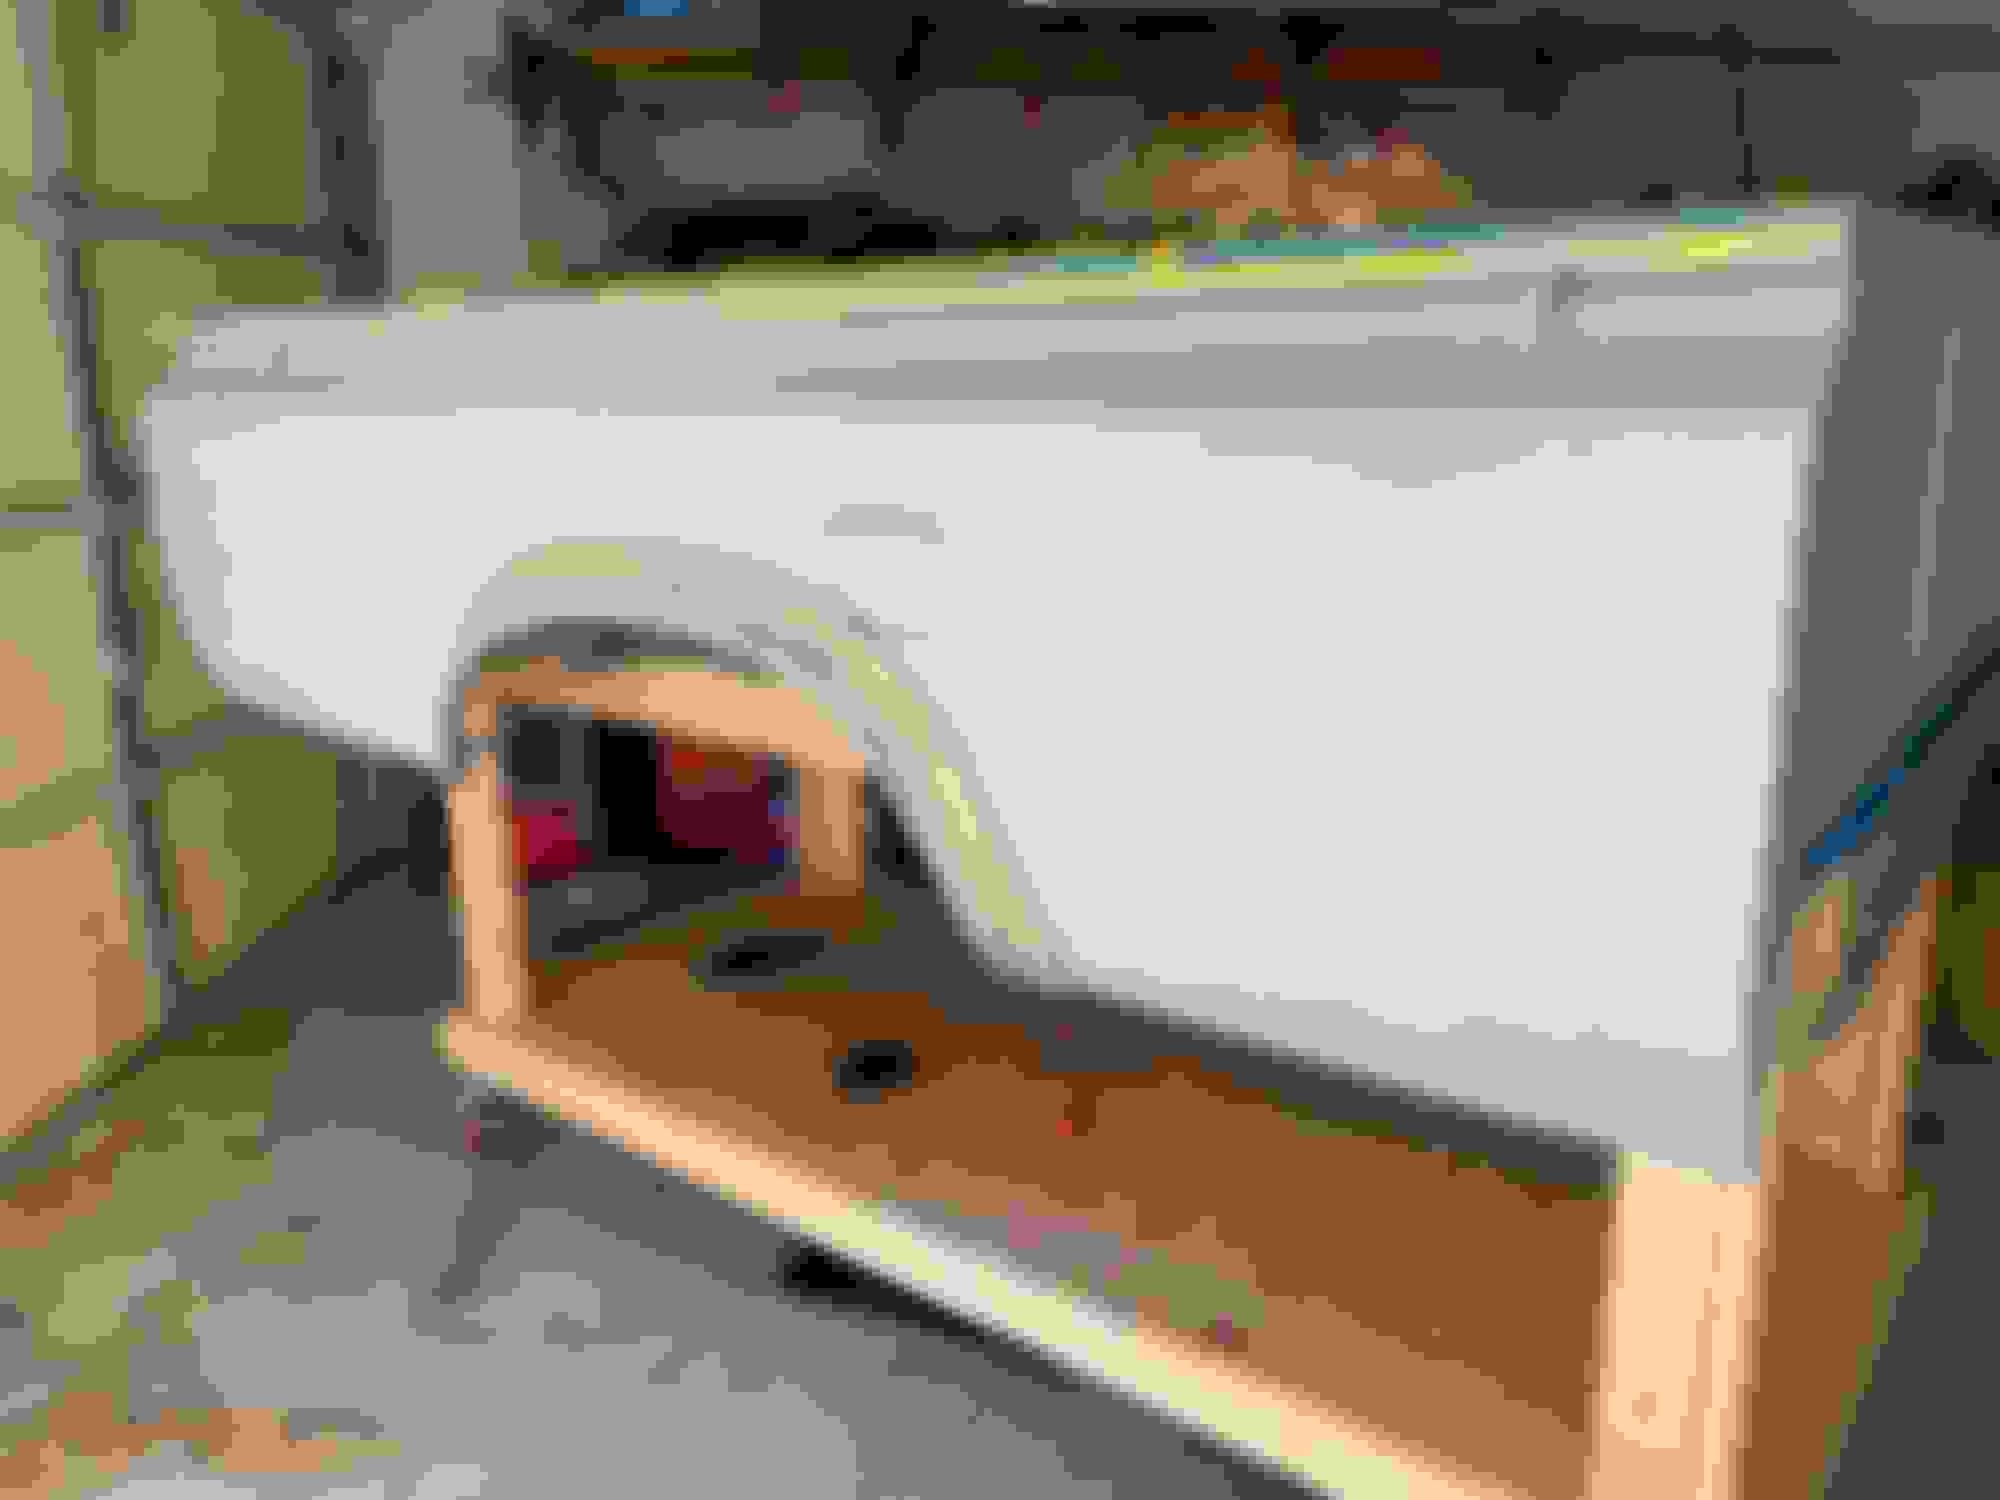
I think I made a lot of progress today. I got the whole bed washed, degreased, sanded down, degreased again, and some self etching primer sprayed on. Next up will be the tailgate and wheel well flares.
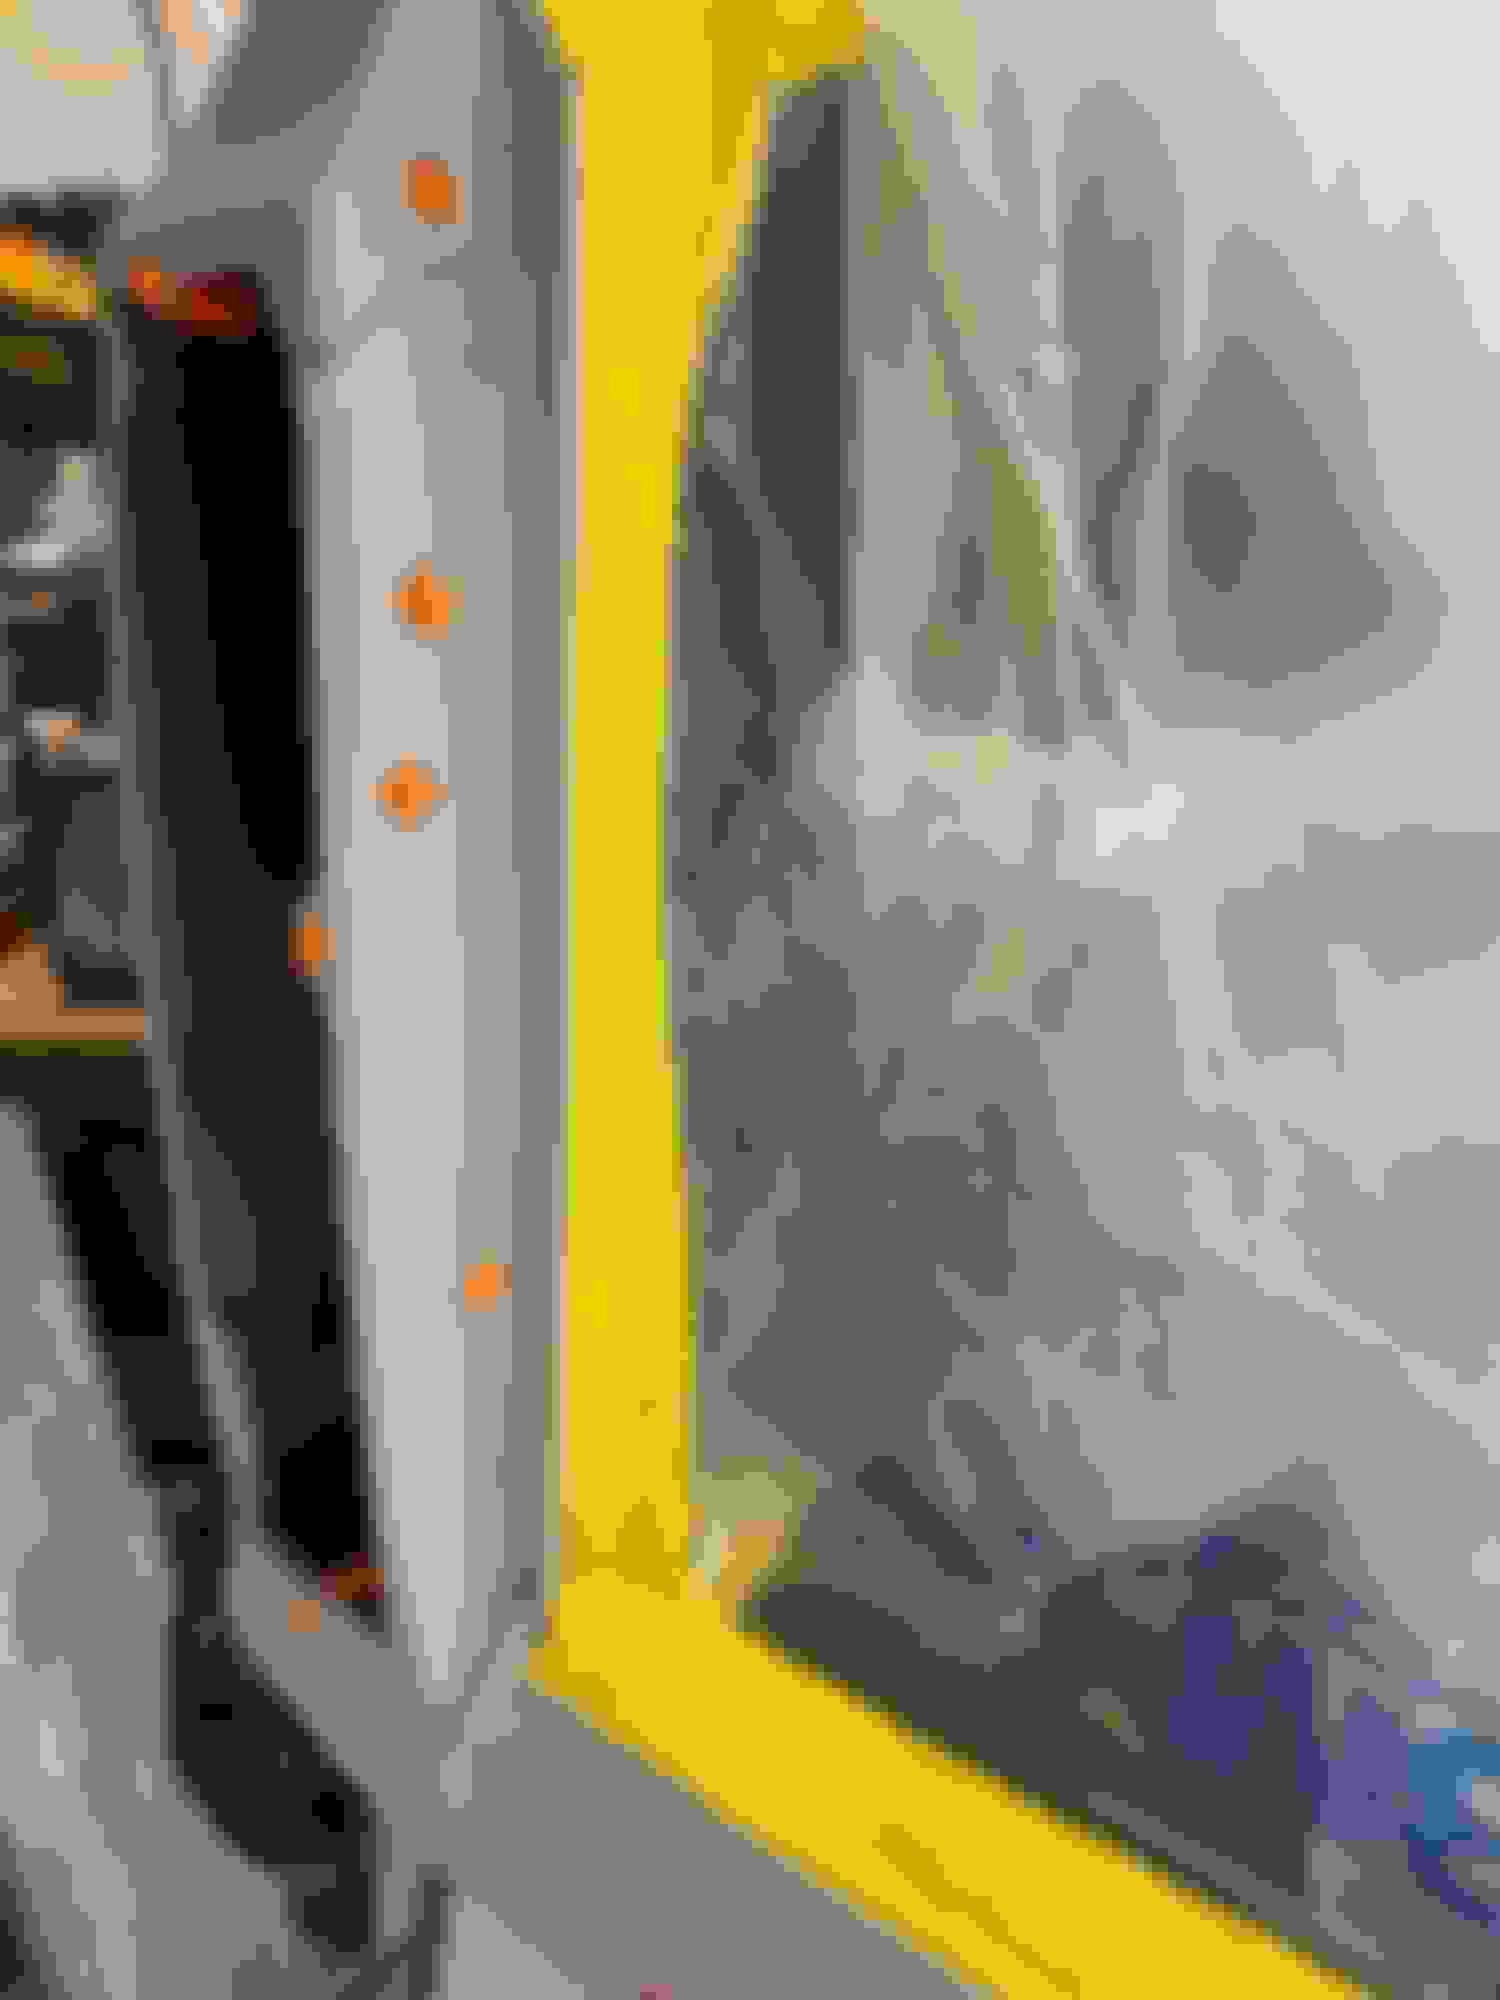
I was able to shoot the bed yesterday. It took 3 tintable bottles of Raptor. I might have had enough in the last bottle to shoot the tailgate but I didn't have any where to set it up properly. Anyway, here are some pics. Foam earplugs make nice hole plugs.

 10-17-2019, 04:21 AM