
The $60 Rustoleum Paintjob has begun...

 01-17-2011, 05:22 PM
#22
Registered User
Thread Starter
Join Date: Jun 2006
Location: Teays Valley, WV
Posts: 296
Likes: 0
Received 0 Likes
on
0 Posts
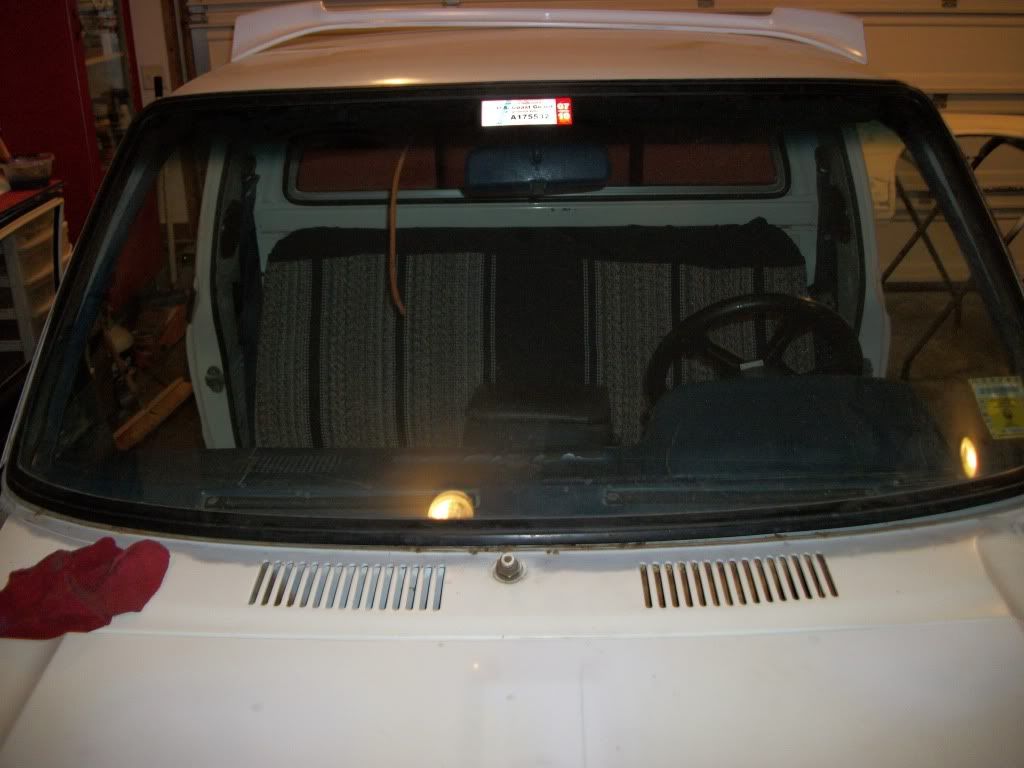
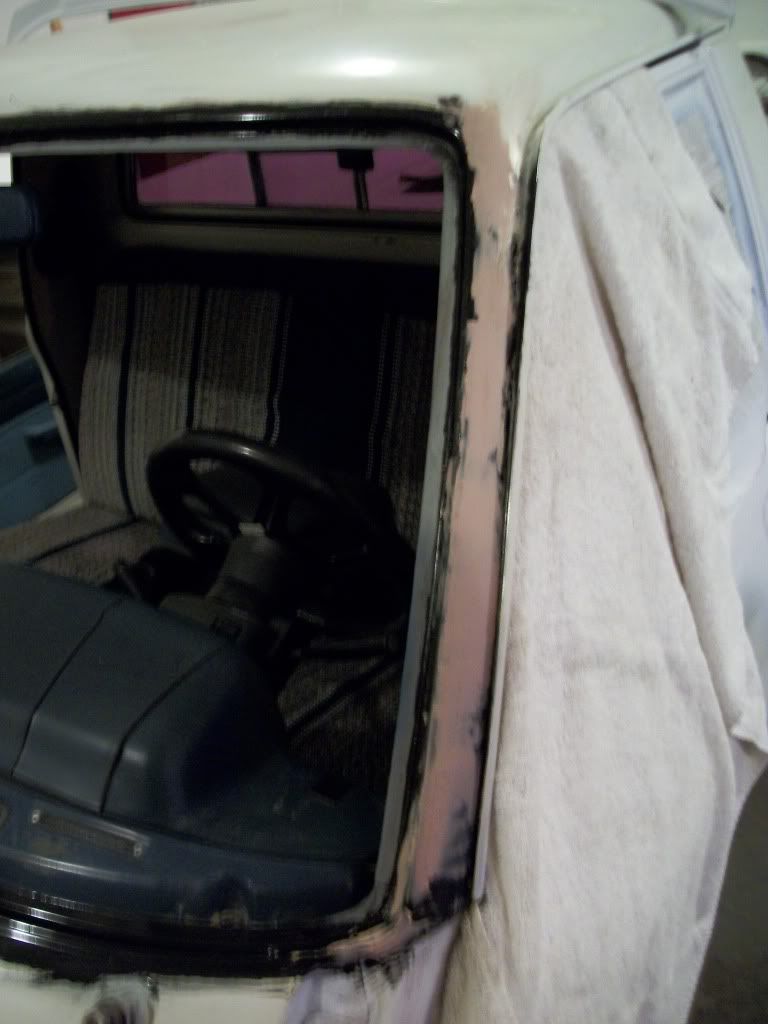
Well, the windshield is OUT and in ONE piece...woohoo!
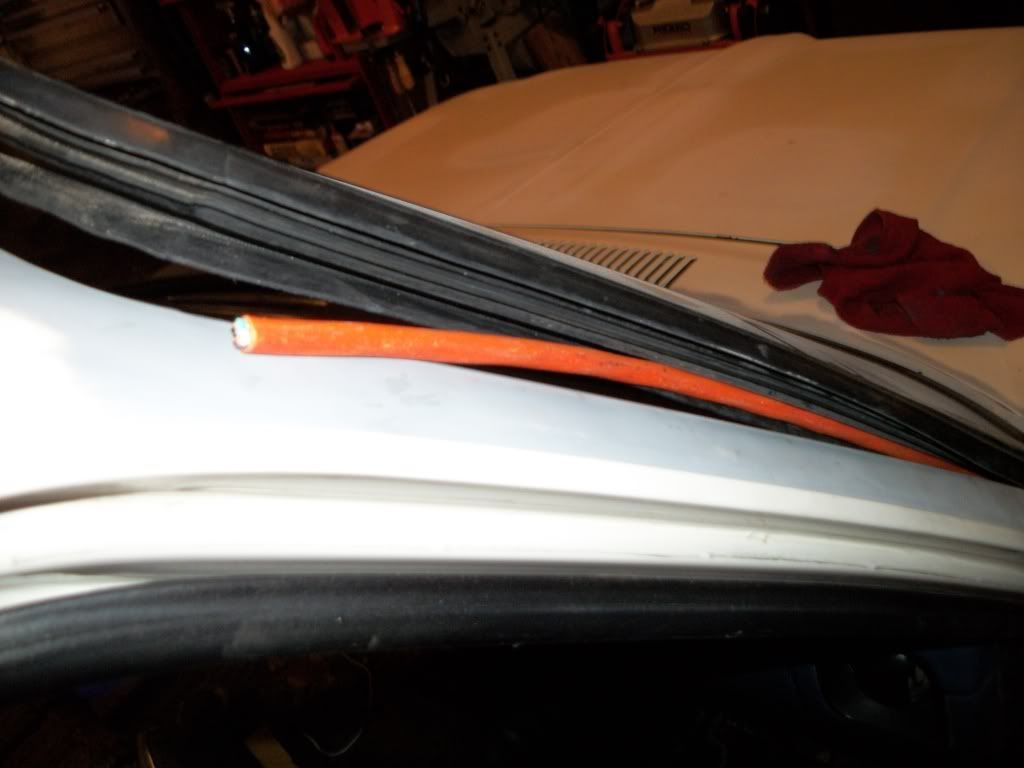
I took an old 5/16" diameter electrical cord that I found in the dumpster at work and I cut about a 4' long piece to go across the top of the glass and a couple 18" long pieces to go down the sides.
I began pulling back the lip of the gasket on the inside of the cab and stuffing these pieces of cord between the lip of the gasket and the cab body around the windshield.
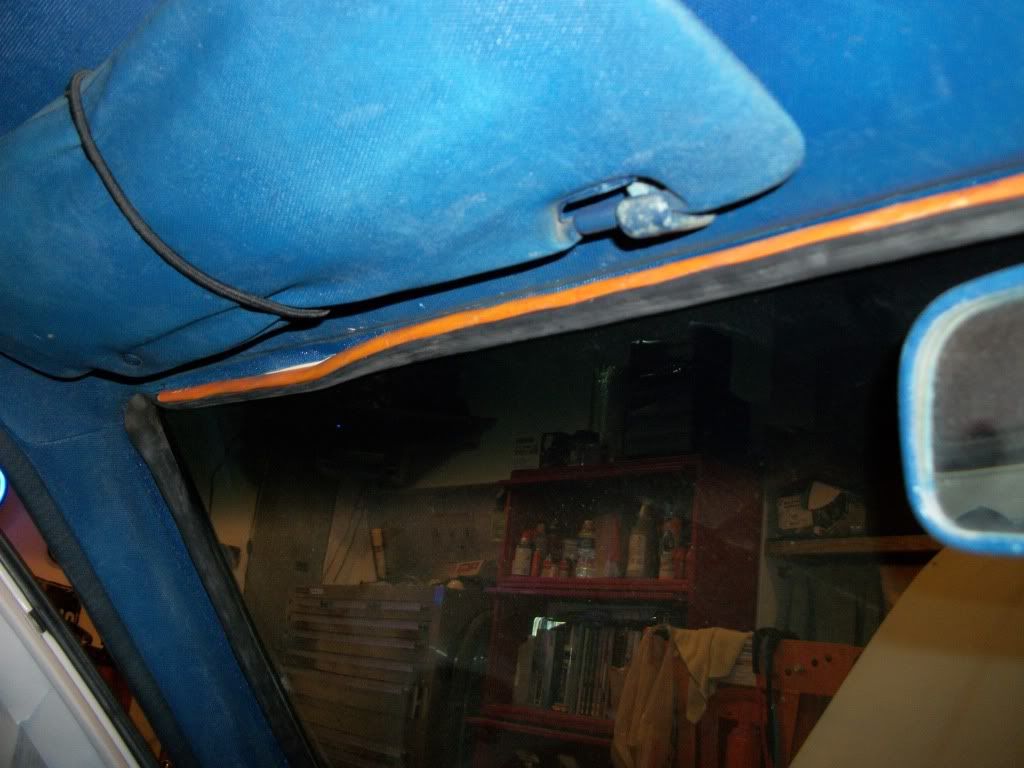
At this point, I took a small plastic putty knife and made sure the gasket wasn't stuck to the exterior of the cab body. (both sides and top)
Once I did this, I went back to the inside and began slowly and gently (now is not the time to be a bull moose in a china shop) pushing out along the top and top corners while at the same time making sure that the inside gasket lip was staying pulled out by the cord.
The corners began to pop out away from the cab body.
Then some more gentle pushing along the top of the windshield and it slowly came out away from the body as well. (BTW....the "pucker factor" was very high at this point...lol)
And viola, out it came...
Easier than I thought it would be...hope it goes back in without incident. haha
I took an old 5/16" diameter electrical cord that I found in the dumpster at work and I cut about a 4' long piece to go across the top of the glass and a couple 18" long pieces to go down the sides.
I began pulling back the lip of the gasket on the inside of the cab and stuffing these pieces of cord between the lip of the gasket and the cab body around the windshield.
At this point, I took a small plastic putty knife and made sure the gasket wasn't stuck to the exterior of the cab body. (both sides and top)
Once I did this, I went back to the inside and began slowly and gently (now is not the time to be a bull moose in a china shop) pushing out along the top and top corners while at the same time making sure that the inside gasket lip was staying pulled out by the cord.
The corners began to pop out away from the cab body.
Then some more gentle pushing along the top of the windshield and it slowly came out away from the body as well. (BTW....the "pucker factor" was very high at this point...lol)
And viola, out it came...
Easier than I thought it would be...hope it goes back in without incident. haha
01-19-2011, 02:57 PM
#25
Registered User
Thread Starter
Join Date: Jun 2006
Location: Teays Valley, WV
Posts: 296
Likes: 0
Received 0 Likes
on
0 Posts
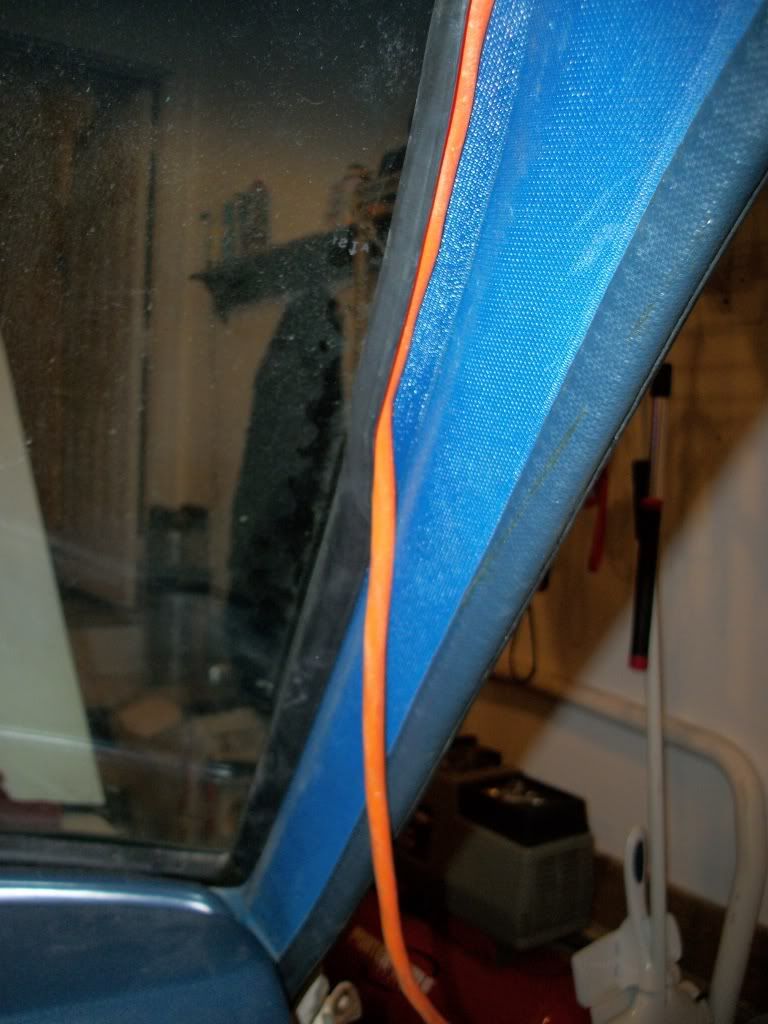
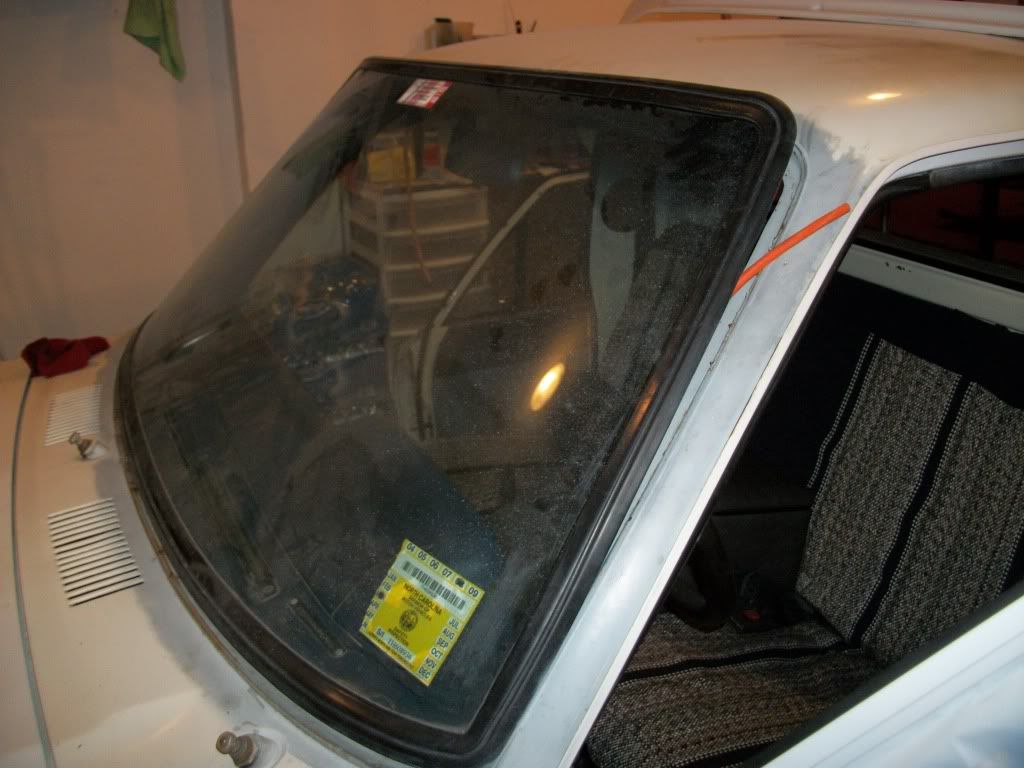
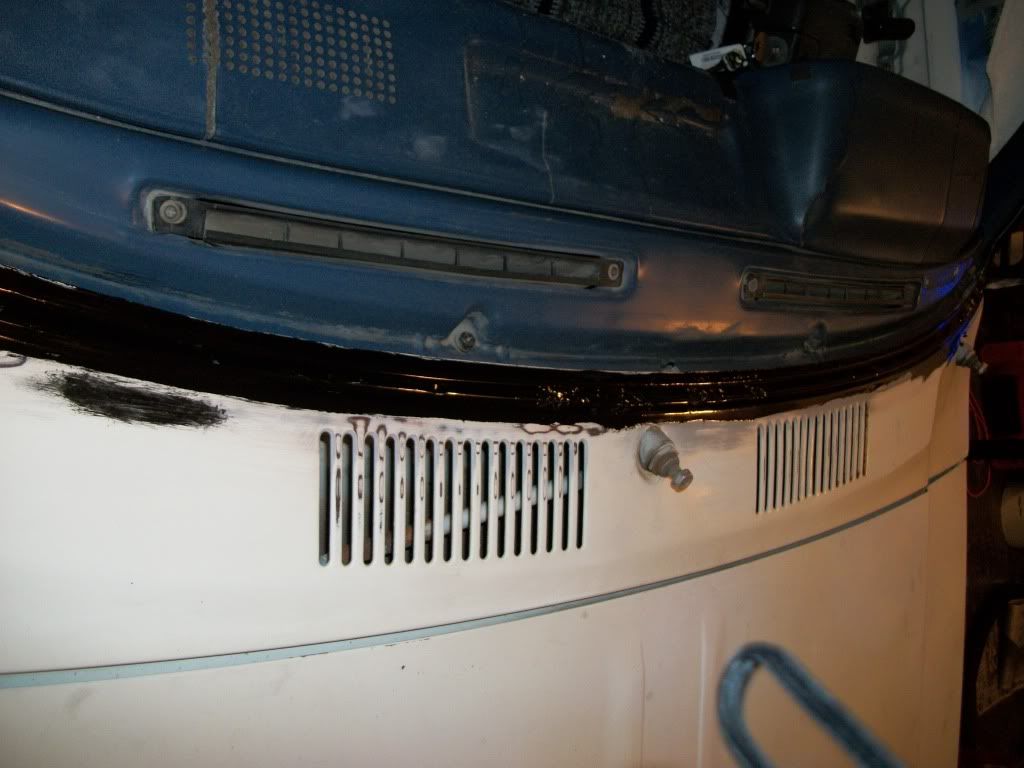
Had to do some repair around the windshield because moisture had caused some rust and pitting underneath the windshield gasket. There were actually four places along the bottom where the rust had eaten completely thru causing small holes. I think I found out why there was always a small puddle in my drivers side floorboard if I left the truck out in the rain.
Anyway, I sanded and wire wheeled all around the windshield and then used POR-15 to lay down a nice protective coat for future moisture. On a side note, that POR-15 is the SHIZZLE...I LOVE that stuff! Too bad Toyota didn't use that stuff back in '82 when this truck was built!
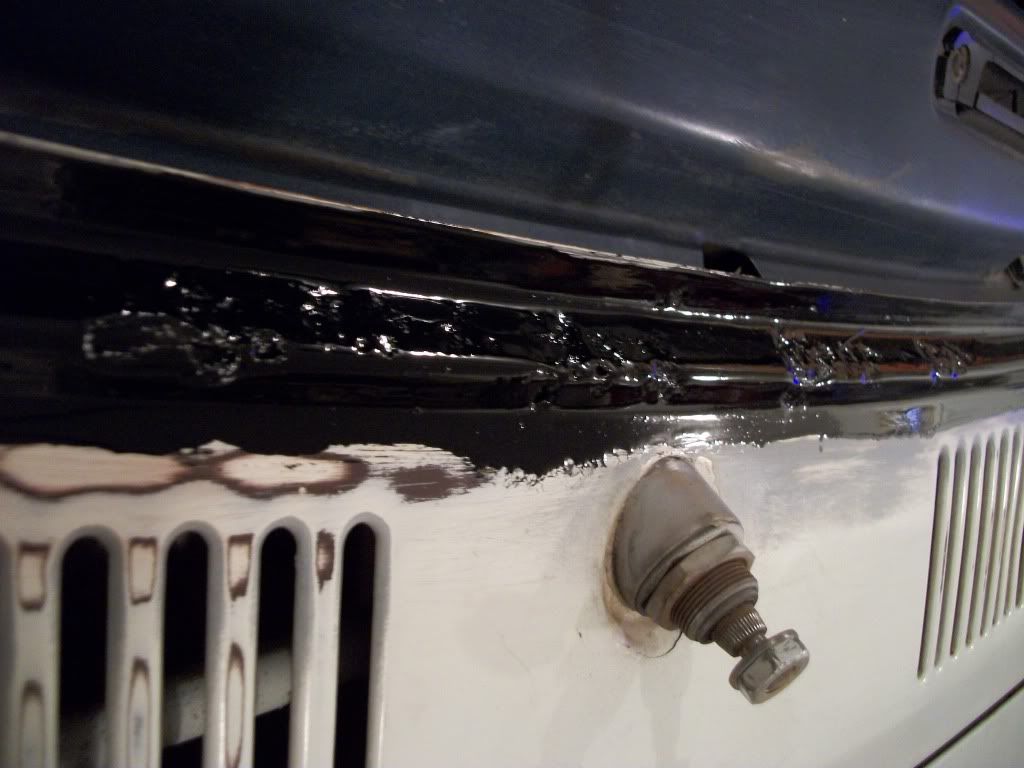
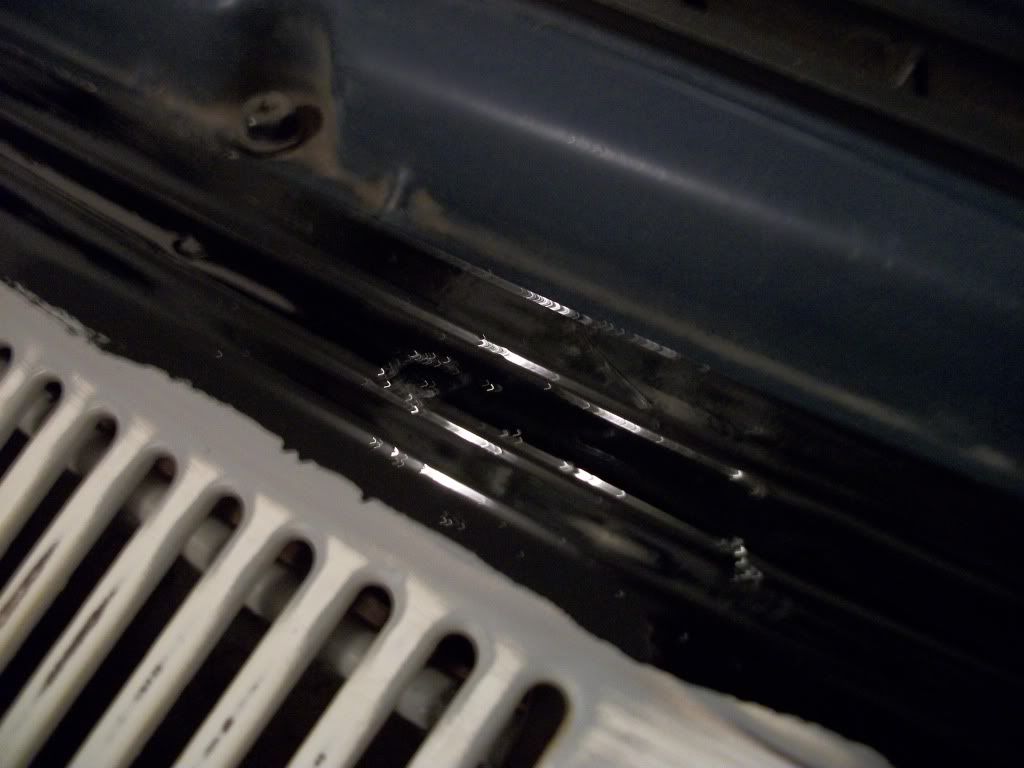
Today, after the POR-15 was cured, I mixed up a little filler and filled the holes and smoothed out the pitting.
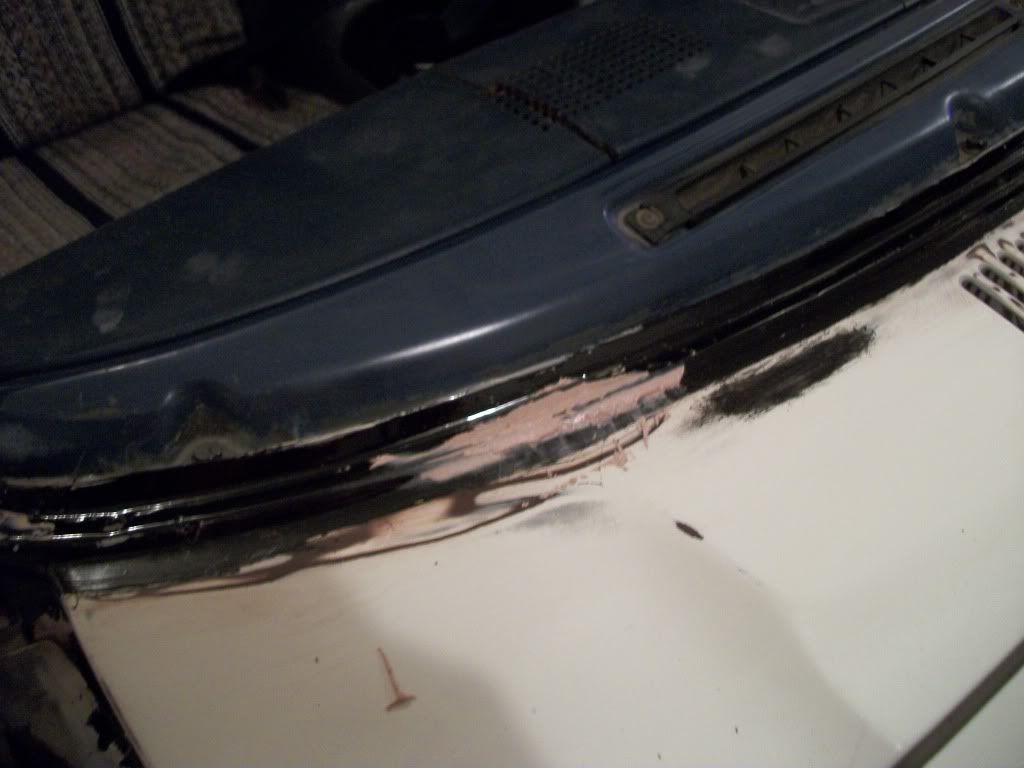
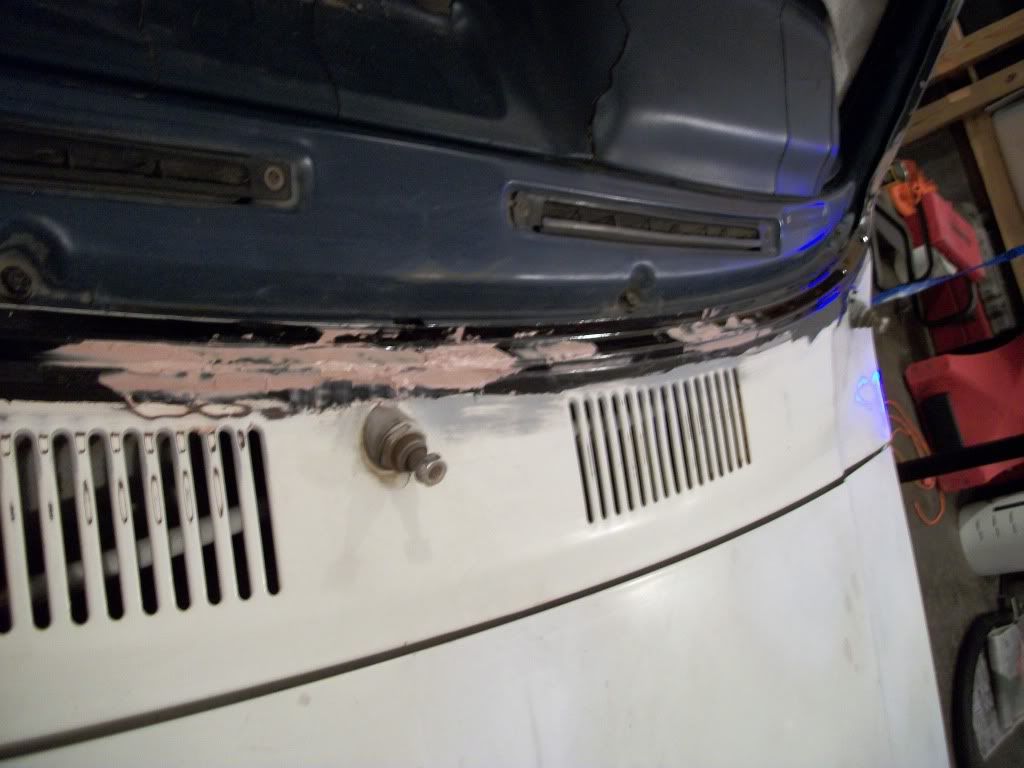
Tomorrow I will sand to shape and then apply another coat of POR-15. After that cures, I'll prime and prep for paint. Lots of work but definitely some much needed TLC.

Anyway, I sanded and wire wheeled all around the windshield and then used POR-15 to lay down a nice protective coat for future moisture. On a side note, that POR-15 is the SHIZZLE...I LOVE that stuff! Too bad Toyota didn't use that stuff back in '82 when this truck was built!
Today, after the POR-15 was cured, I mixed up a little filler and filled the holes and smoothed out the pitting.
Tomorrow I will sand to shape and then apply another coat of POR-15. After that cures, I'll prime and prep for paint. Lots of work but definitely some much needed TLC.
 nice job. cant wait to try the windshield trick. im gonna practice on my broken on first.
01-19-2011, 04:53 PM
nice job. cant wait to try the windshield trick. im gonna practice on my broken on first.
01-19-2011, 04:53 PM
#29
Registered User
Thread Starter
Join Date: Jun 2006
Location: Teays Valley, WV
Posts: 296
Likes: 0
Received 0 Likes
on
0 Posts
Corey, the Trekker is definitely NEXT in line. I have ALOT planned for the Sherpa this spring/summer. I'm gonna concentrate on the interior mostly but I also need to swap out the dented oil pan with a good one I have on the shelf and I may also try to do a rebuild/regear of the transfer case. I've also considered twin sticking it if I can find another TC for a good price. And I'll probably rattle can it in an olive green until I can paint it for real later.
Next fall I'm gonna start fabbing some tube bumpers and sliders for it.
The 2WD has "seniority" in my house...I've had it longer than I've had anything else....including the wife!
Next fall I'm gonna start fabbing some tube bumpers and sliders for it.
The 2WD has "seniority" in my house...I've had it longer than I've had anything else....including the wife!
Last edited by Gov't Mule; 01-19-2011 at 04:55 PM.
 01-22-2011, 02:17 PM
#32
Registered User
Thread Starter
Join Date: Jun 2006
Location: Teays Valley, WV
Posts: 296
Likes: 0
Received 0 Likes
on
0 Posts
Thanks...I will say that so far it's alot of work, but that's because I am being pretty thorough with prep work and paying attention to detail. Painting kick panels and inside of doors as well as door jams too.
02-01-2011, 05:16 PM
#33
Registered User
Thread Starter
Join Date: Jun 2006
Location: Teays Valley, WV
Posts: 296
Likes: 0
Received 0 Likes
on
0 Posts
An update on progress:
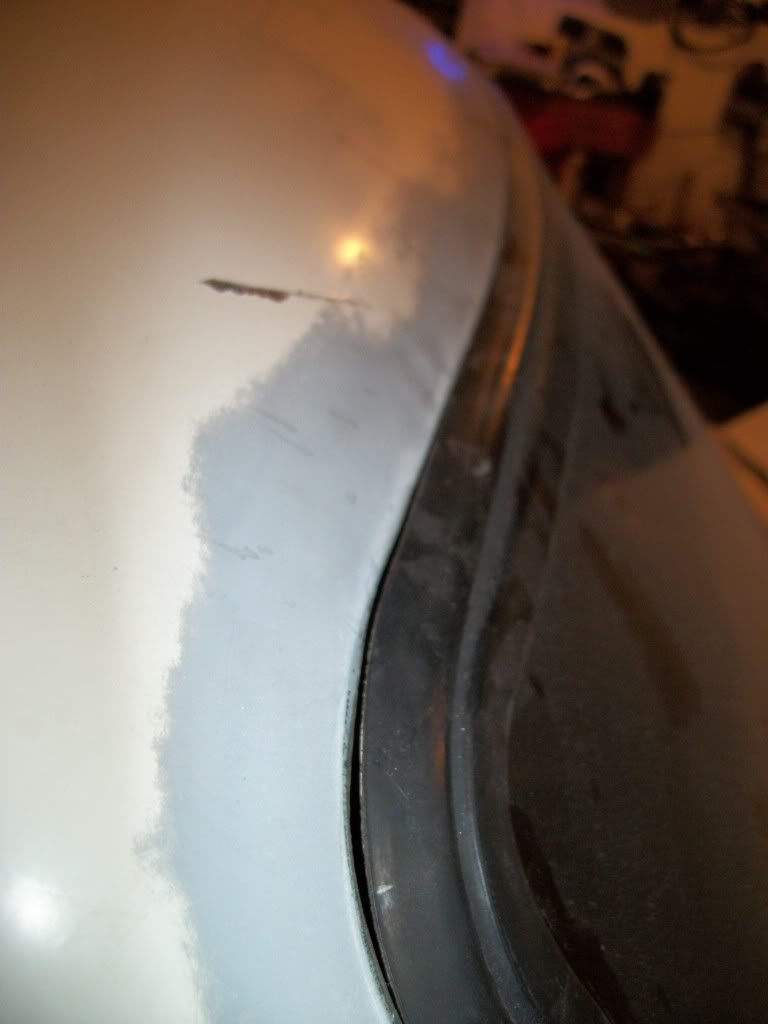
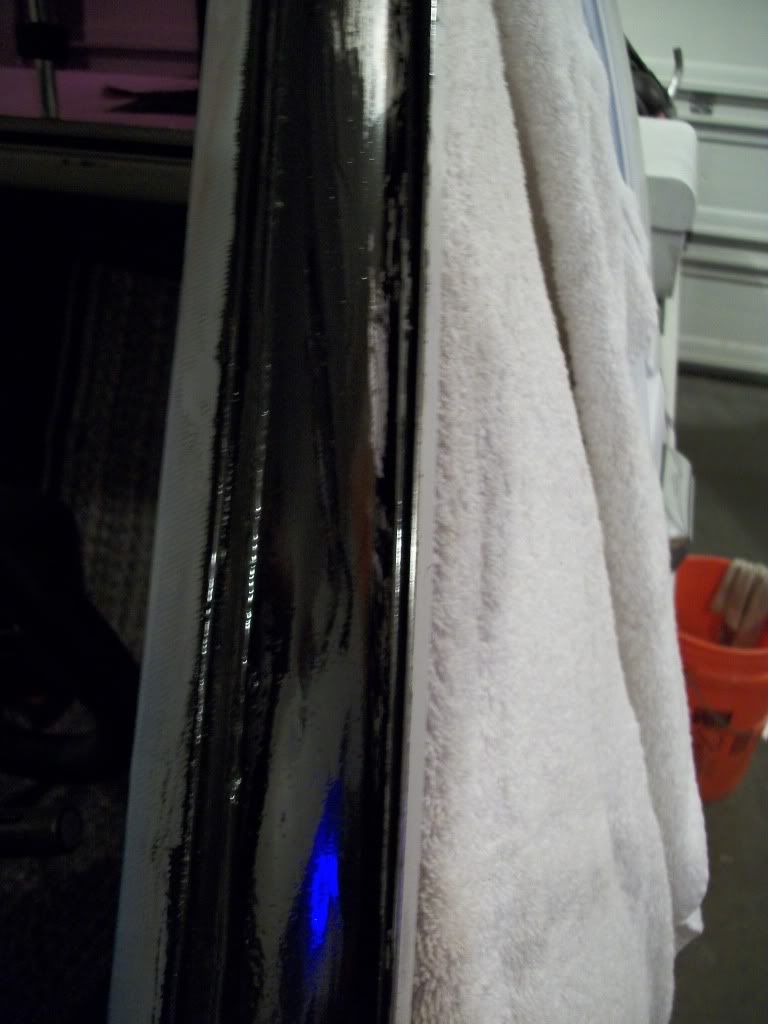
So far I have laid down 3 coats. I wet-sanded with 600 between coat #2 and #3. I'm workin in 50 to 60 degree temps with varying humidity. I've played with my paint mixture a little bit and have settled with a 2parts mineral spirit to 3parts Rustoleum oil based enamel. Using a 4" high density foam roller and a 1" foam brush in the tight corners and to feather out any runs that start. So far so good...the self leveling of the paint is working well and there is virtually no orange peel. Here's a few pics...
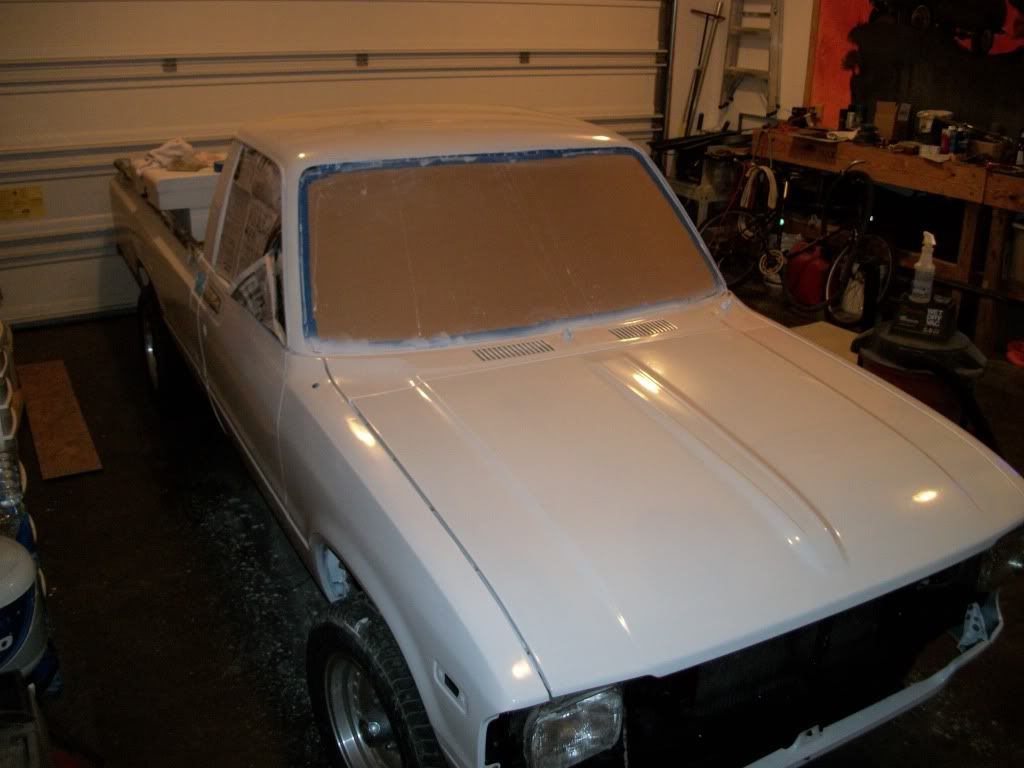
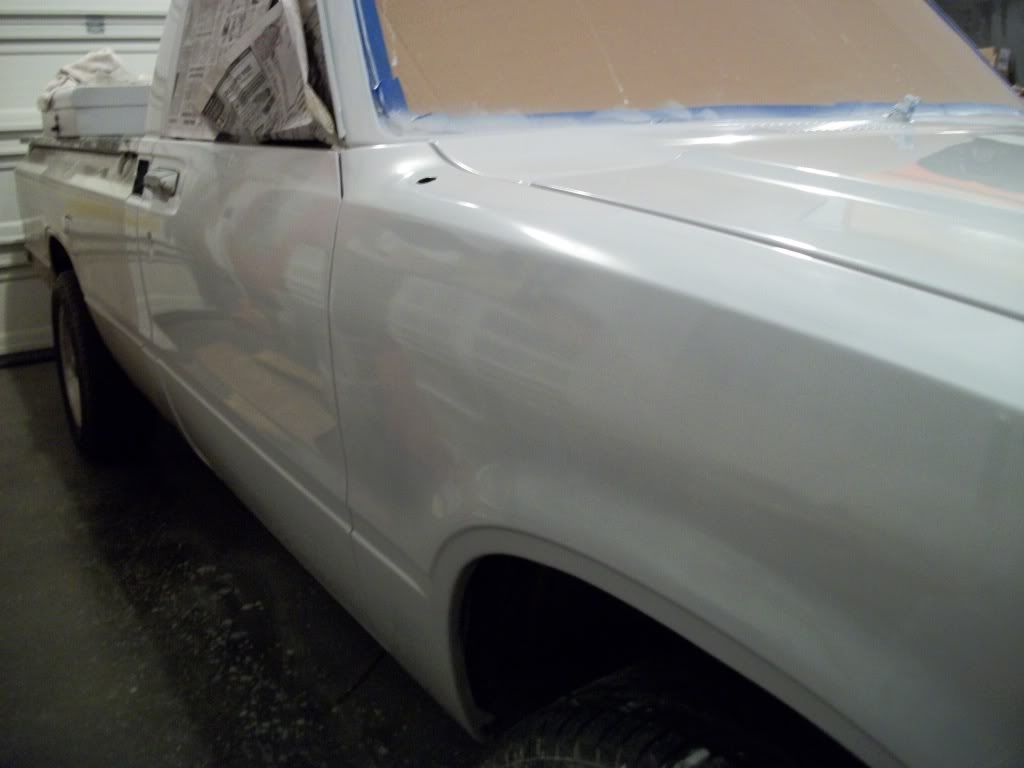
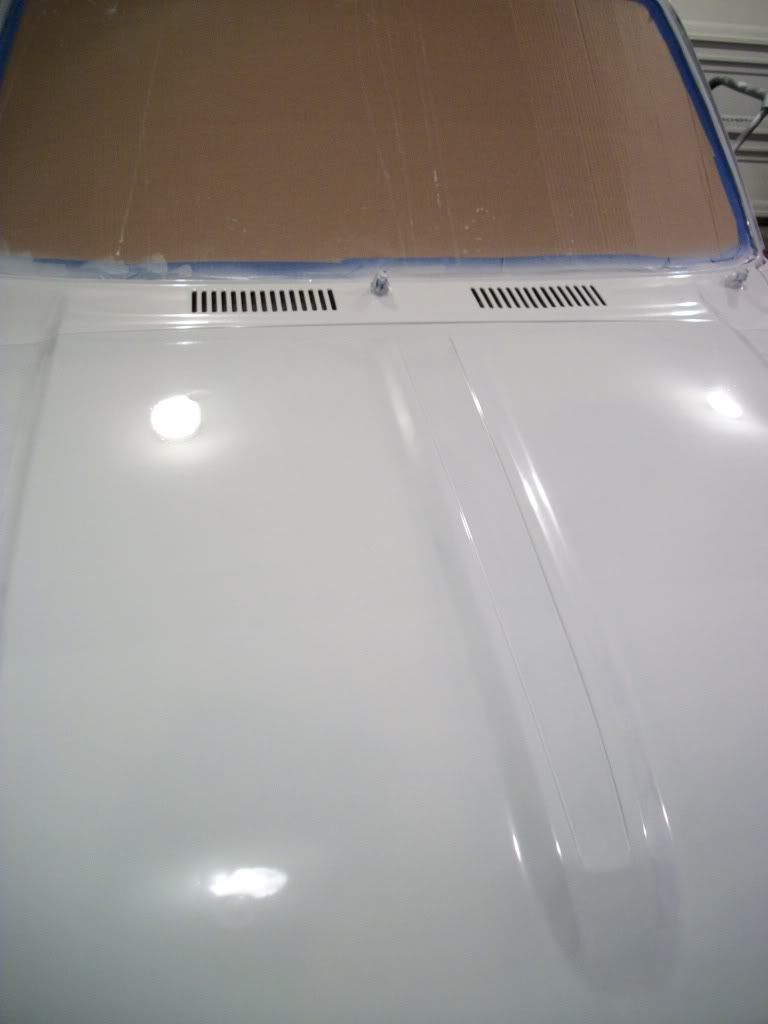
I figure about 5 more coats and I'll be golden.
I figure about 5 more coats and I'll be golden.
 02-09-2011, 12:58 PM
#38
Registered User
Subscribed/ BTT
02-12-2011, 02:43 PM
#40
Registered User
Thread Starter
Join Date: Jun 2006
Location: Teays Valley, WV
Posts: 296
Likes: 0
Received 0 Likes
on
0 Posts
Update:
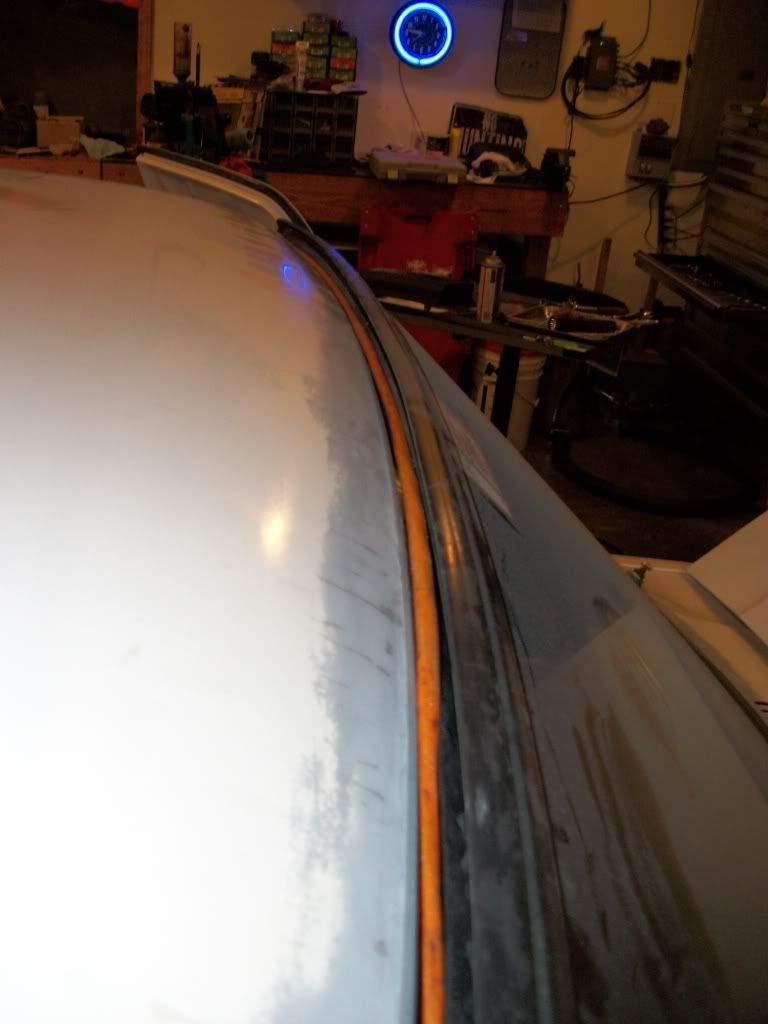
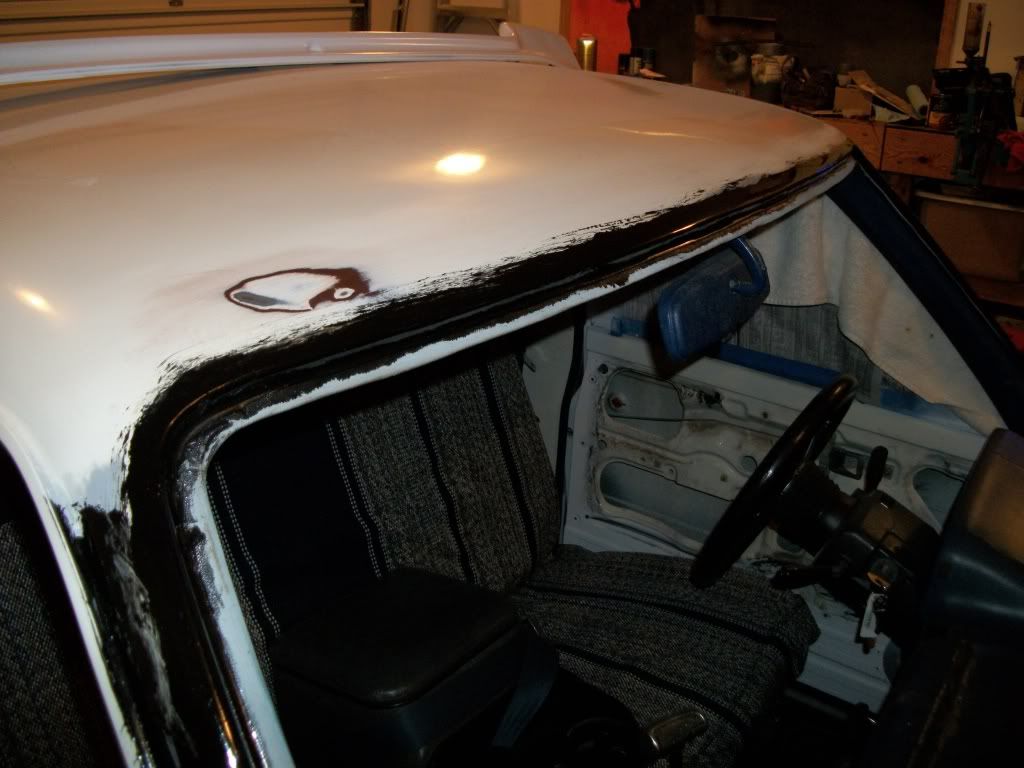
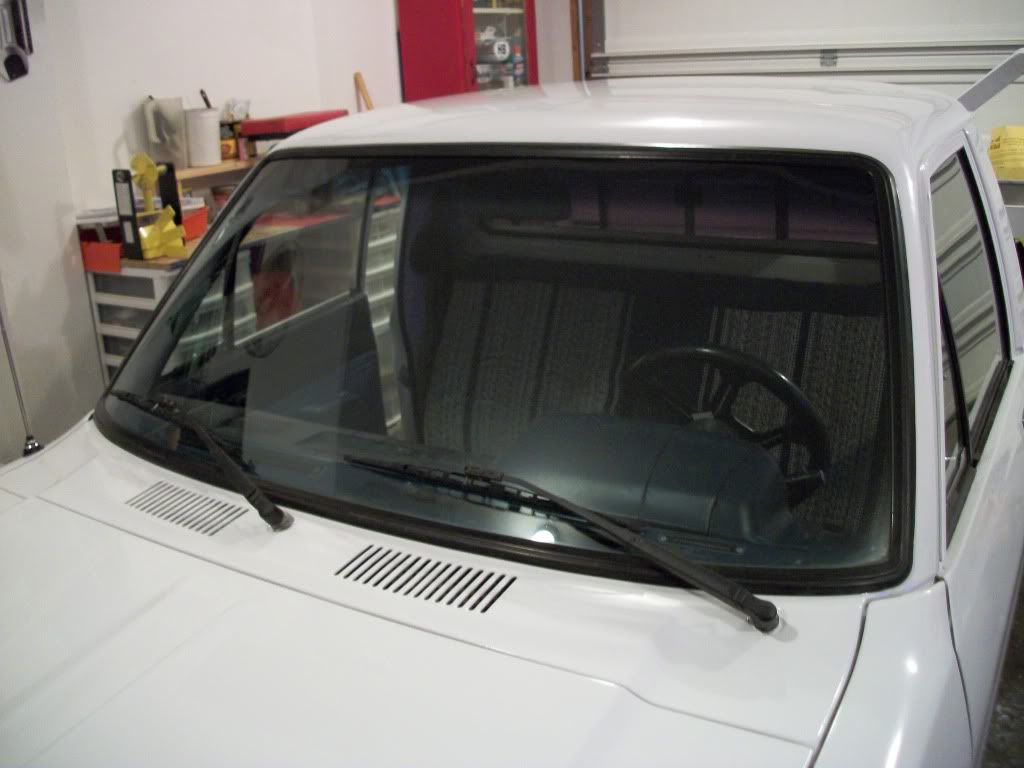
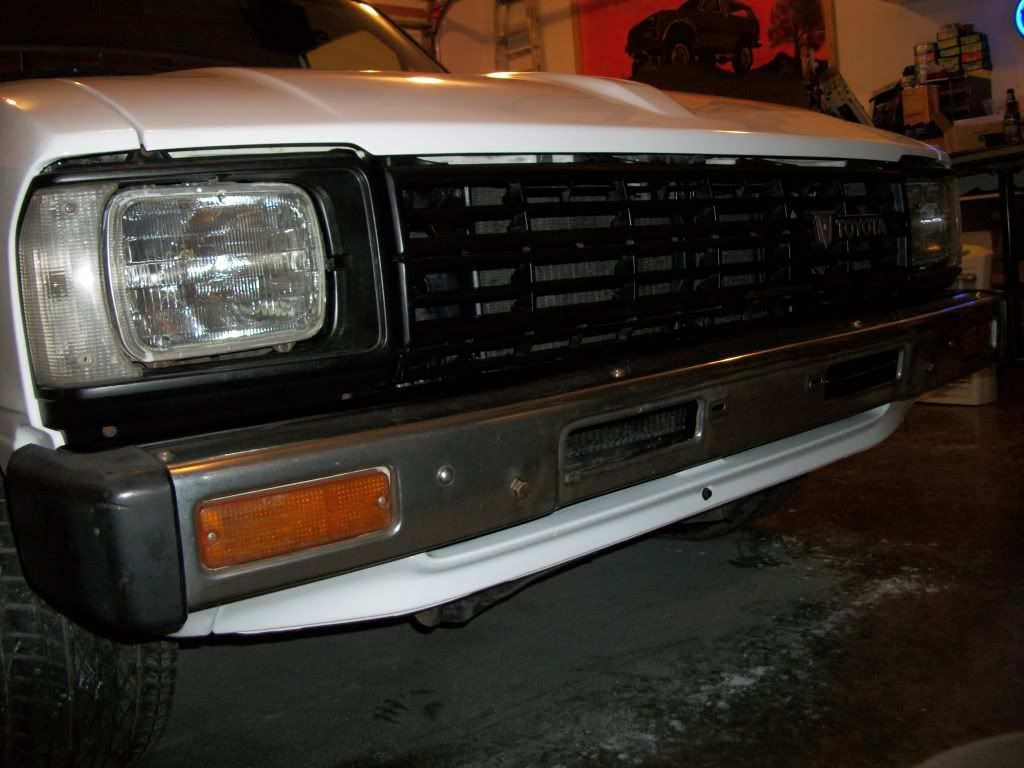
Cab and doghouse are done. Need some warm sunny days so it can sit and bake a while to help cure the paint. I figure I'll give it about a month before I do the final wetsand with 1500 grit then buff it out. I'm not 100% satisfied with the hood, my prep work wasnt what it should have been, so I'll be redoing it this summer sometime. But for now, I'm ready to move on to the bed and get this awesome lil truck back on the road.
The windshield went back in fairly easy. Once again, the pucker factor was pretty high for awhile but I had the wife helping (she seems to be good luck) in the event that I broke it I could blame her.
Here's a few pics:
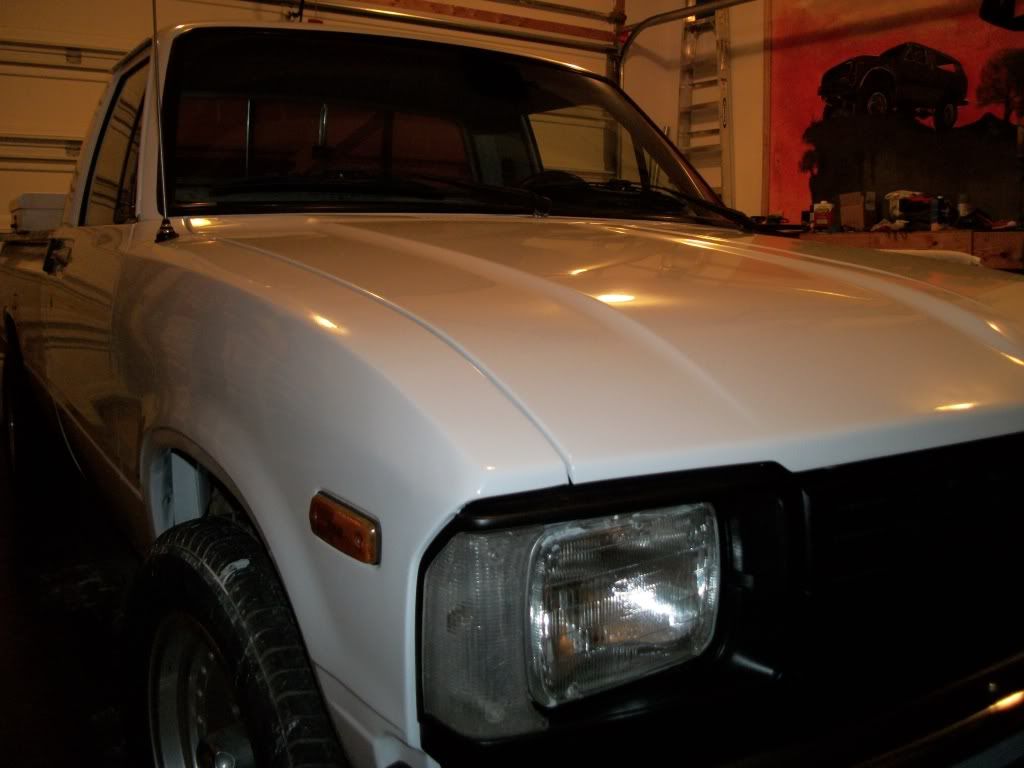
The windshield went back in fairly easy. Once again, the pucker factor was pretty high for awhile but I had the wife helping (she seems to be good luck) in the event that I broke it I could blame her.
Here's a few pics:


