YotaTech DIY: 3rd Gen Quick-release Door Hinges

Forum member posts pic-heavy, step-by-step guide for newbies on how to take the doors off of a Toyota truck.
We’ve been seeing a lot of great threads in the YotaTech forums lately, and it has made keeping up with the expected maintenance on our Toyota trucks a helluva lot easier — and cheaper. The secret seems to be the wide variety of content, including an entire section of “How-tos,” which means you can usually find a DIY thread that matches your personal comfort level in the garage and your level of mechanical know-how.
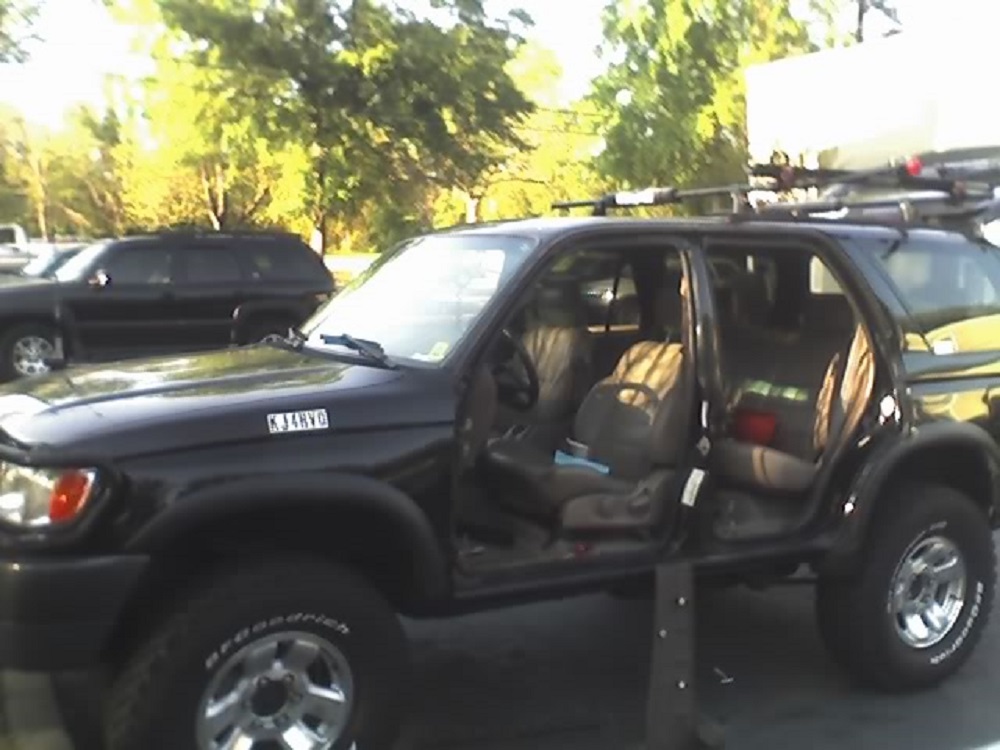
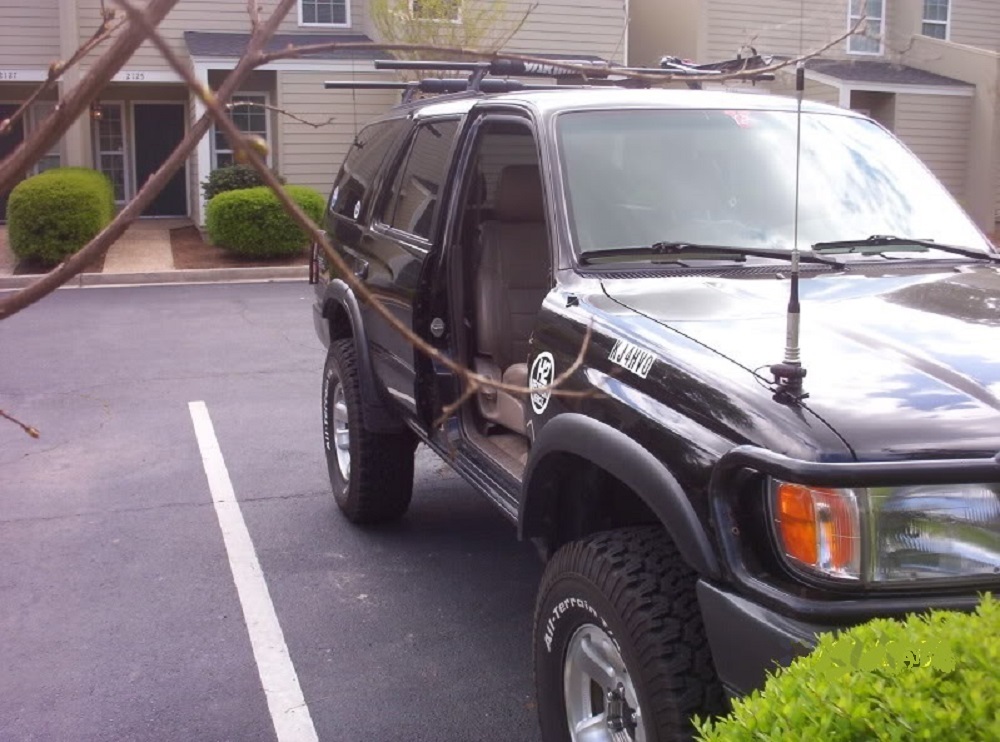
Recently, we came across this awesome “how-to” thread in the YotaTech forums, posted by Valdosta, Ga-based forum member VSU_4runnin, and it is aimed at those who are looking to easily remove or modify the doors on their Toyota truck. The 1998 Toyota 4Runner owner says it was “written kind-of for newbies, and he dropped lots of great photos to make the process even easier. Check out VSU_4runnin‘s guide below, and then see the full thread for all the details and extra tips from tk. Then, join the forums and start your own thread today!

Badass Thread of the Week: DIY: 3rd gen Quick Release Door Hinges
Forum Member: VSU_4runnin
Project: DIY: 3rd gen quick release door hinges
Project Truck Used: 1998 Toyota 4Runner
Notes from VSU_4runnin: “Alright I get asked all the time about how I take my doors off, various questions about the hinges, etc. So, this [post] is very pic-heavy and written kind-of for newbies, but it’s got some meat as well.”
Tools: Dremel with metal cutting disc, or other small maneuverable metal-cutting tool, Phillips-head screwdriver, 4 7/16ths pins, 10mm socket
Vital Note: Check your local laws and ordinances regarding doors, and mirrors.
Step 1
First things first, before unbolting or unhooking anything, if you wish to have your rear window down, do it now. Also take whichever doors you plan on taking off and roll those windows down as well. It will make them easier to handle and pick up.
Step 2
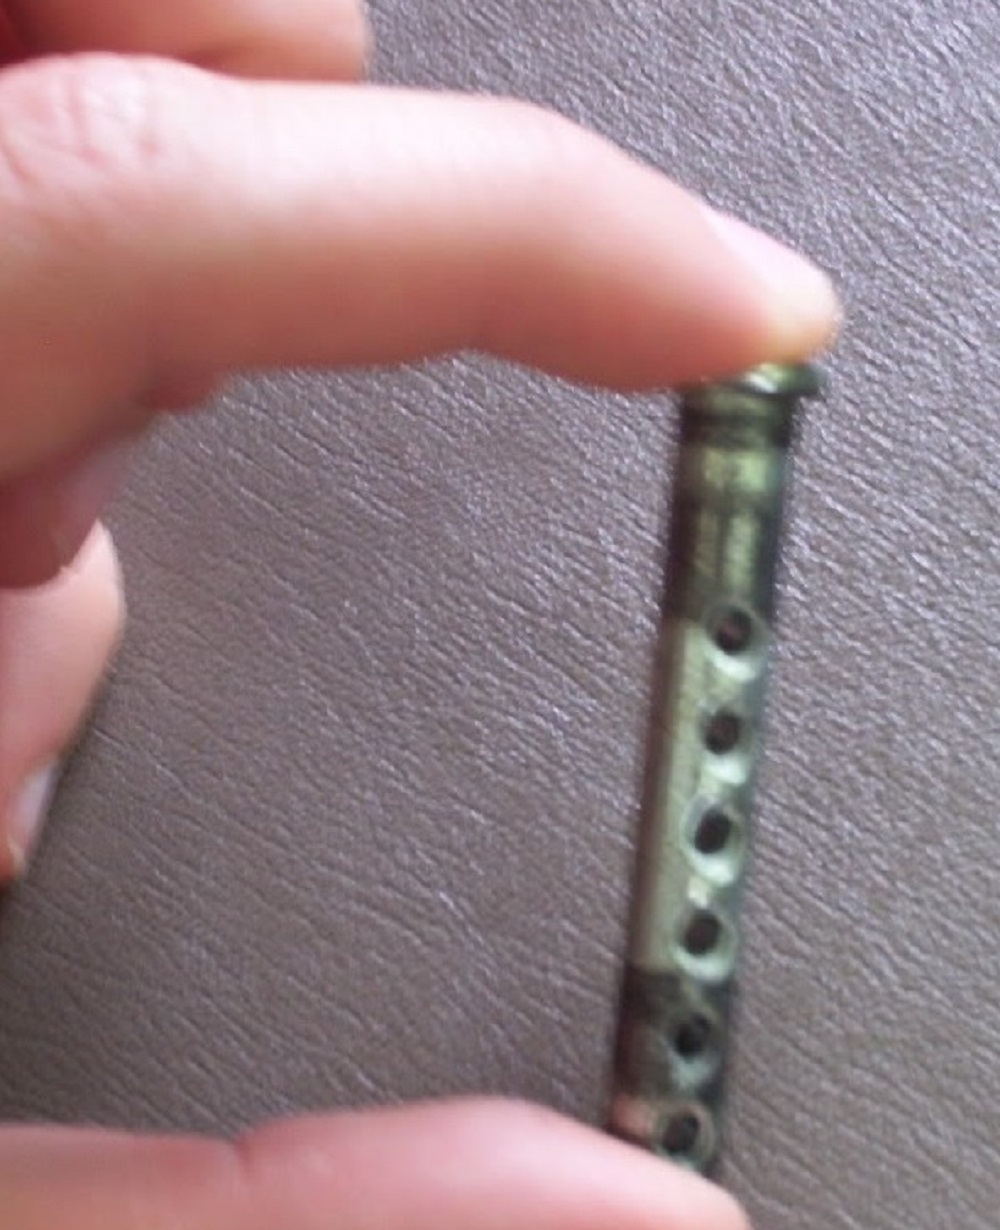
Next, to avoid unbolting 4 bolts per door then having to align each small bolt into its respective home while holding the heavy door, I made “quick release” hinges.

Step 3
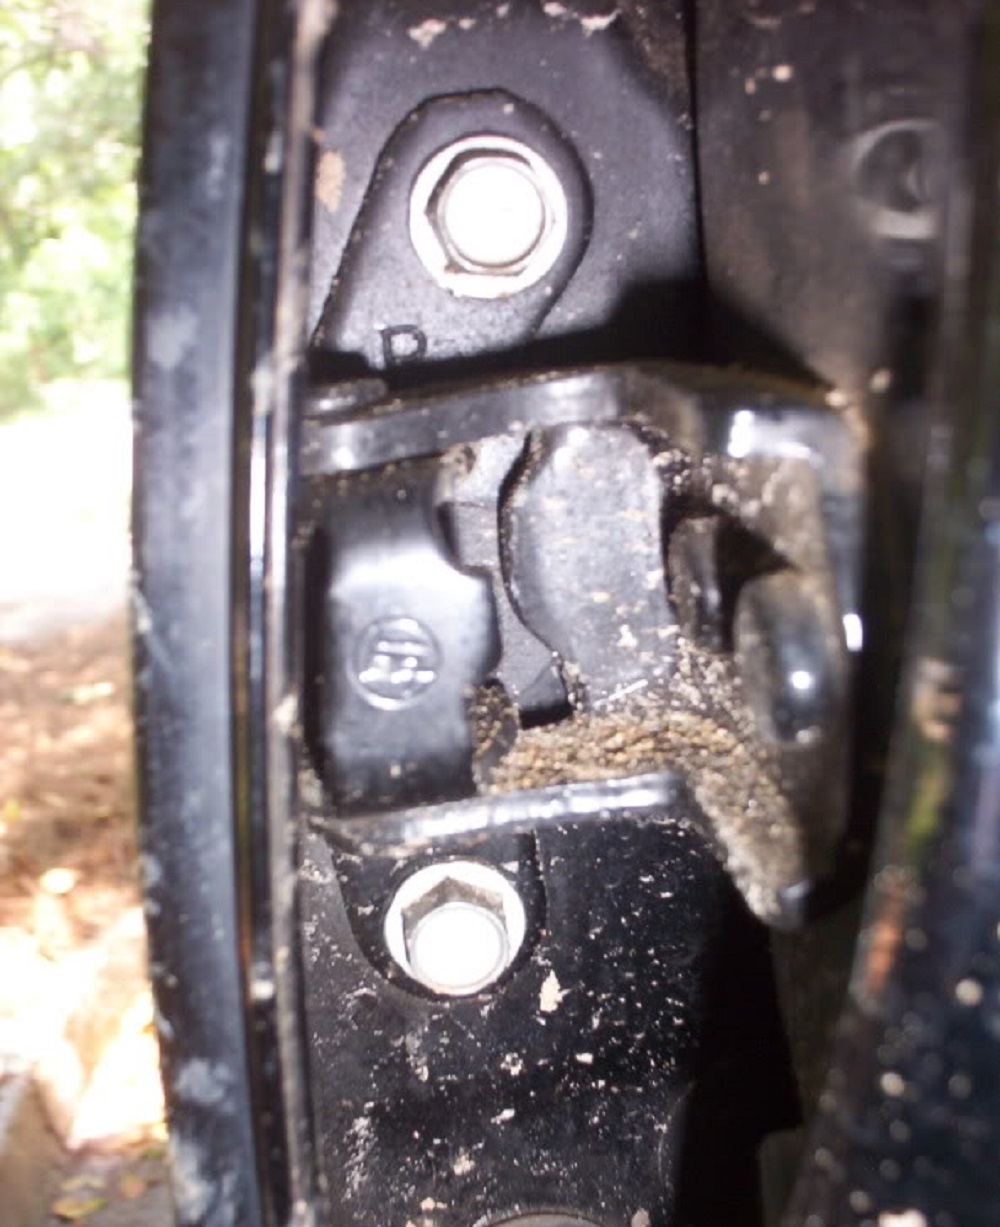
Cut the stock pins using the dremel or other tool. Only do one at a time to make it easier to put the pins in, and to allow for stability.
Step 4
Jiggle the door up and down while forcing the factory pins out. Once they are out, you can let the door down slowly and softly. Then get the 7/16ths pin. I used standard instead of metric to allow it to be a little bit smaller so it will be easier to fit the pin into the hole. I also used a table grinder to make the tip of the pin into a semi-rounded point, so once again it will make it easier to align.

Step 5
Once you have all the pins replaced, now you can take off the doors! First, as mentioned, make sure the windows are down on the doors you are taking off. Now, remove the kick panel on the floor and the panel just below the dash.
Step 6
Unplug the two wires leading into the door: the blue and black ones on the passenger’s side, and the blue and white ones on the driver’s side. (On the driver’s side, I unplugged it before the foam connector to make it easier to fit through the door jamb panel.)

Step 7
Pull the rubber connector out of the car door panel and feed the wires through. (To avoid having the dome light on and have to deal with the nagging door-ajar signals, unplug the door sensor by pulling the cover off the center beam post and unplug the little wire.)
Step 8
Next, reassemble all the kick panels and such. Then, using the 10mm socket, disconnect the little black thing that holds the door open from the body. While lifting up and down on the door, pull the pins out. I start with the bottom, then on reassembly I start with the top to allow for a small break, because the door can be heavy, Then, you’re done!!!
