2018 Toyota Tacoma Off-Road Bumper Install DIY
Adding a heavy-duty front bumper, a winch and an LED light bar to a new Tacoma is surprisingly simple.
The video above comes to us from the ZacksJerryRig YouTube channel and it walks us through the process of installing a rugged off-road bumper on a 2018 Toyota Tacoma. Host Zack Nelson from Jerry Rig Everything walks us through every key step, from preparing the new parts to modifying the factory components, this DIY video explains everything that you need to know to install your own off-road bumper with a winch and an LED light bar.
The Introduction
The video begins with Nelson explaining what he has done to his 2018 Toyota Tacoma thus far and what he plans to do in the video. Current mods include a lift kit with Icon adjustable suspension bits, a roof rack and a TRD grille while this video introduces a C4Fab off-road bumper with an integrated winch and LED lightbar.
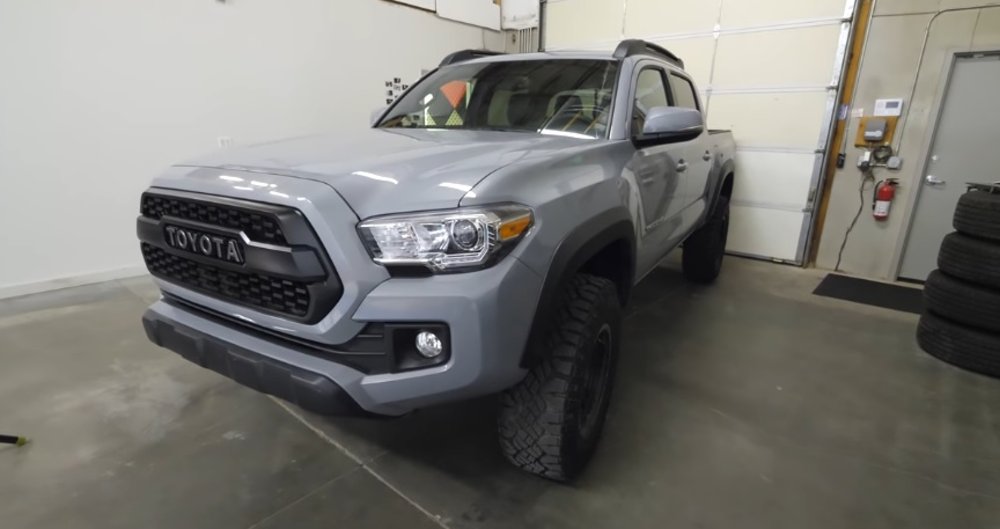
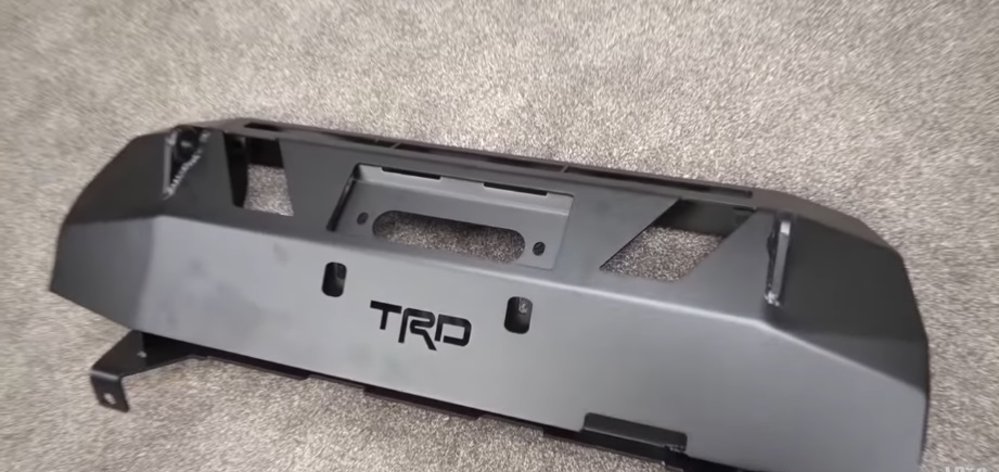
When he got the new off-road bumper, it was bare metal, so he had it powder coated black, giving it a bedliner look that matches all of the other matte black around the exterior of the rugged mid-sized pickup. After it was powder coated, Nelson installed the winch and the light bed, meaning that the unit was ready to be bolted to the truck, but there is quite a bit of prep work required before the new piece could be bolted up.
Step One: Removing the Stock Face
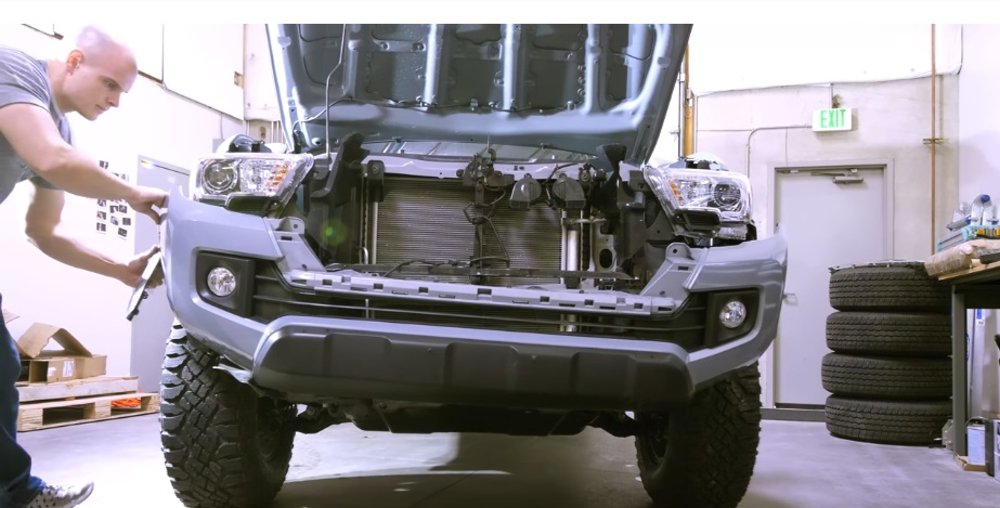
While the new bumper works with the stock front fascia of the 2018 Tacoma, you will need to remove the fascia and the grille. Nelson starts in the wheelwells, removing the 10-millimeter bolts that hold the fascia in along with the clips that hold the flares in place. There are also a bunch of these bolts under the front end of the truck, but before removing the fascia, you will need to remove the grille. This is done by removing the two bolts on the radiator support and wire harnesses running to the stock body bits. Once the bolts are out and the wires have been disconnected, the body parts will pull away from the truck.
Step Two: Making Room
Once the factory front fascia is off, you need to remove the “crash bar” that is behind the bodywork by unbolting it. This does not go back on, as it is replaced by the new metal off-road bumper.
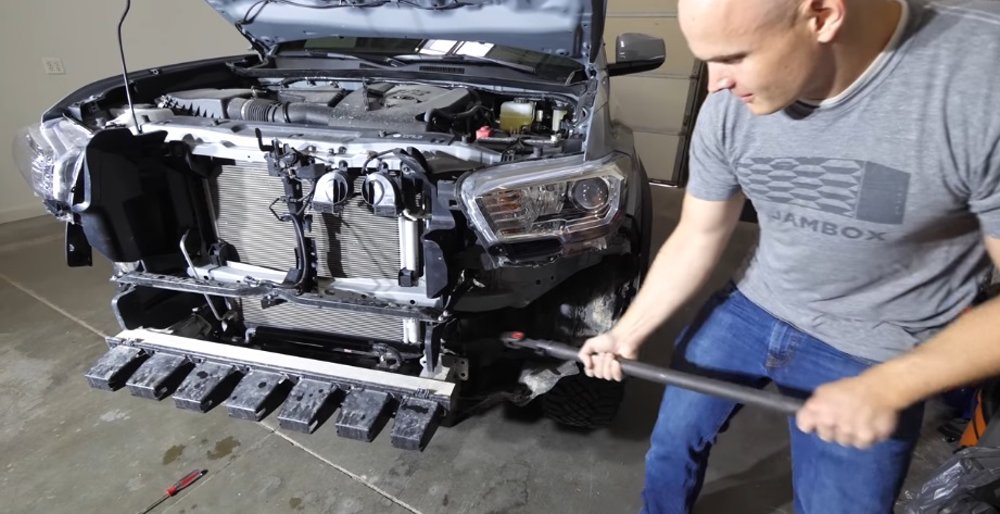
Once that is out of the way, you will have to relocate the power steering cooler, being careful not to damage the crash sensors located around the radiator.
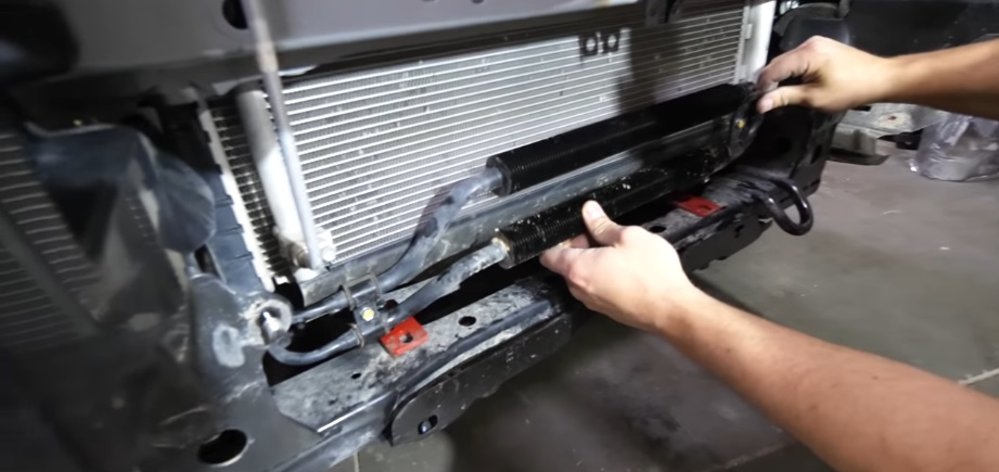
Step Three: Cutting the Stock Fascia
The C4Fabrication off-road bumper bolts to the frame and extends through the stock front fascia so you have to cut away a considerable amount of that stock front bumper cover. The lower, central black portion of the front fascia clips in place, so it is easy to remove.
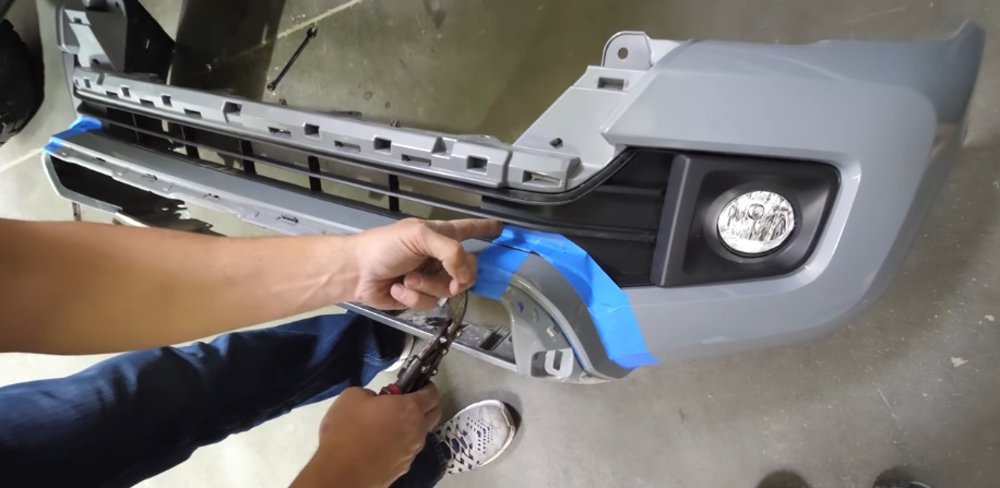
Next, you have you to trim away the area around that black piece while also cutting away a portion of the middle grille area. Nelson uses tin snips, a box cutter and a dremel tool to remove the portions of the stock fascia that are in the way, followed by adding weather-stripping to fill the gap between the fascia and the new metal bumper.
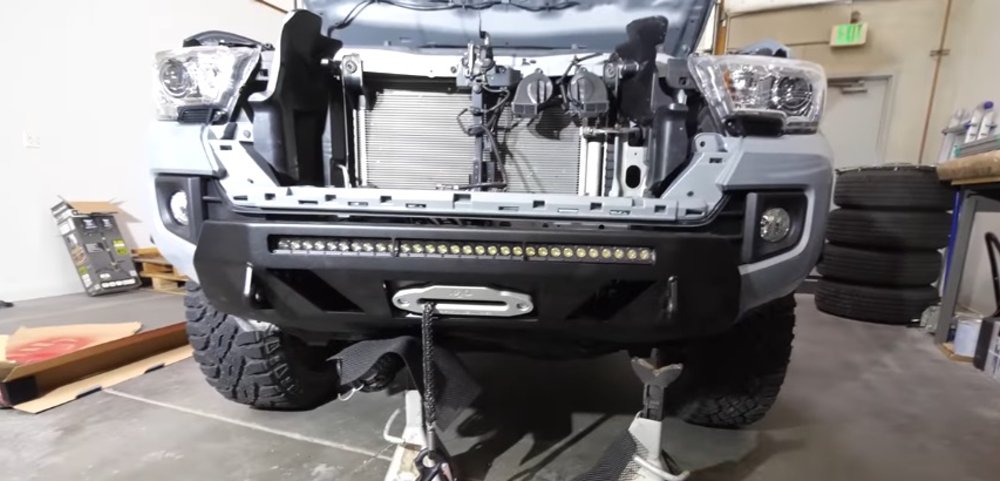
Step Four: Bolting it All Up
With the front fascia trimmed to make room for the new off-road bumper, you reinstall the factory fascia, bolt in the new off-road bumper, run the wires for the LED light bar and the winch, reinstall the grille and flares and you are done!
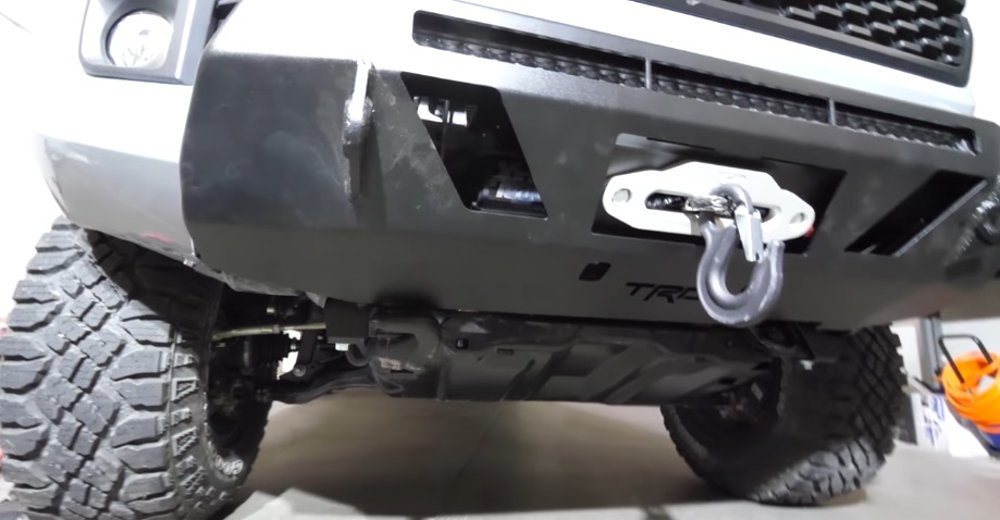
While it sounds like a ton of work, the video above shows how easily you can install a heavy-duty off-road bumper on a 2018 Toyota Tacoma.
