1990 Toyota Pickup Engine Rebuild Became a Restoration Project
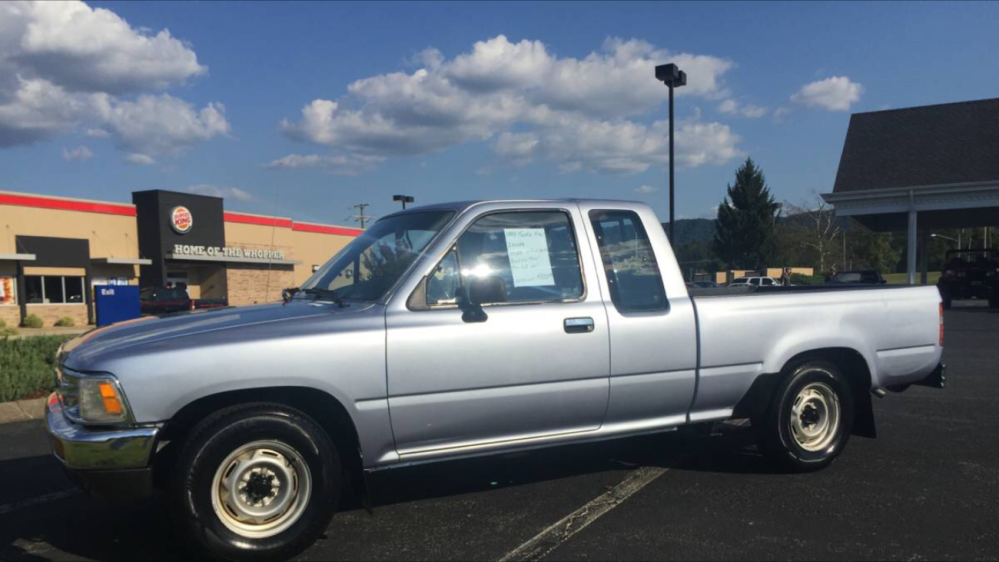
Toyota truck was ripped apart to rebuild the engine, but while it was down, the owner began addressing other issues.
While many people who don’t have much mechanical experience would avoid something like a full engine rebuild, working on something like the 22R-E in a 1990 Toyota pickup is easier you might expect. With a little patience, the willingness to buy the proper tools, a good machine shop, a repair manual and the help of a reliable group of enthusiasts, someone who has never built an engine can remove, tear down and rebuild the 22R-E, helping their Toyota vehicle run like new.
That is exactly what Yota Tech forum member MasterOfNone is doing. After tearing the engine down, he joined the forum for some pointers and to share his progress. The process went so well at first that while waiting for the engine block to return from the machine shop, what started as an engine project transformed into a restoration project.
The Introduction
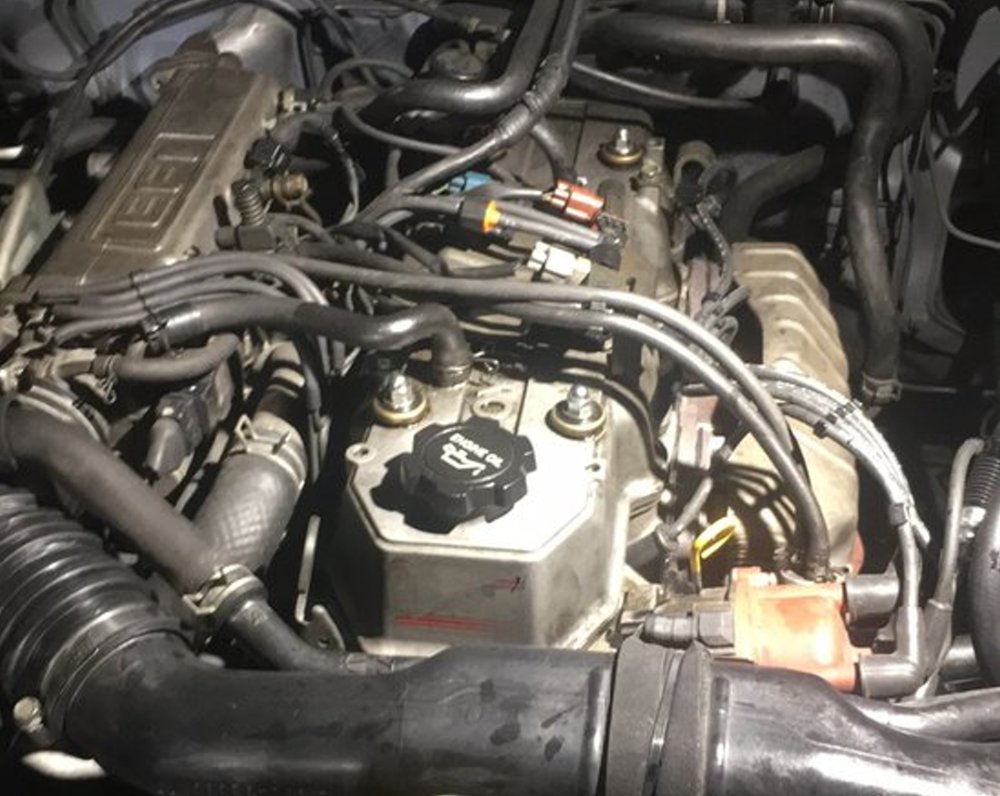
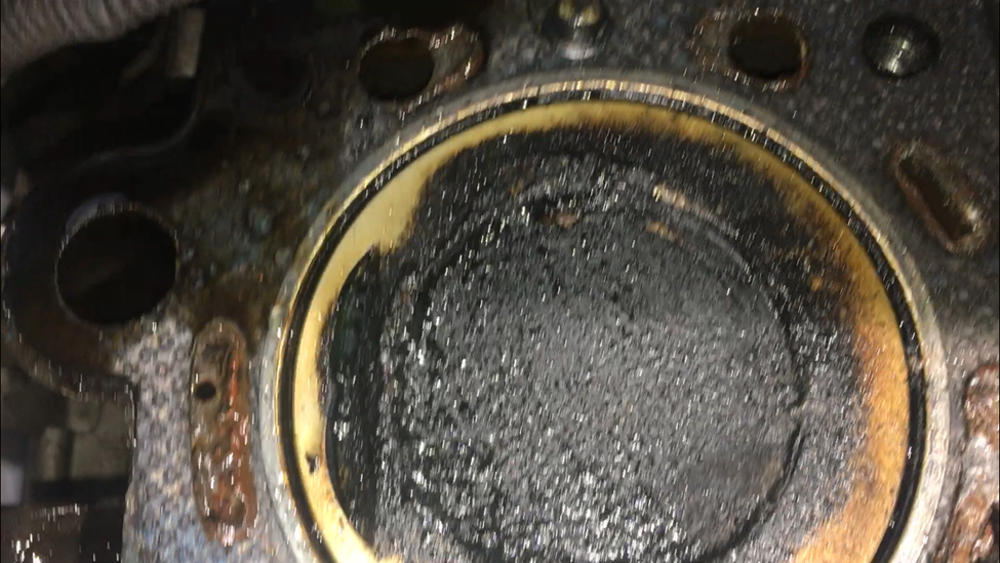
When the OP first posted his thread, he did so with a ton of pictures showing the 22R-E engine from his 1990 Toyota pickup prior to the rebuild. The cylinder head looks terrible, the pistons look terrible and the cylinder walls look terrible, leaving little question as to why this engine needed to be rebuilt. Overall, the engine is a complete mess, looking like something that has been run hard for nearly 30 years.
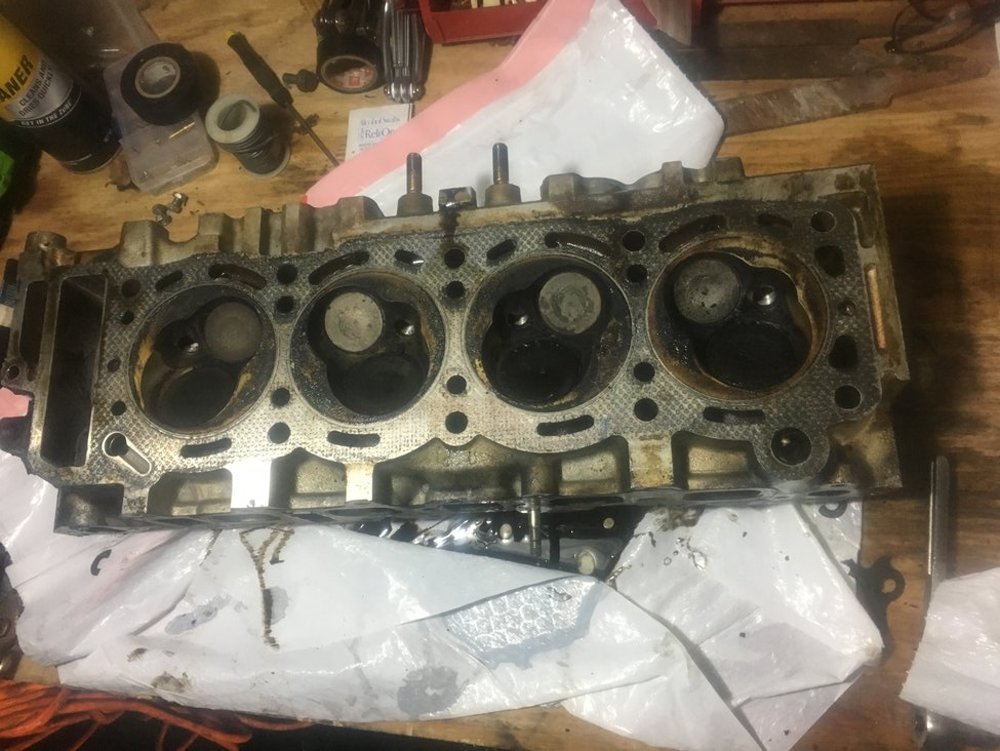
Rebuilding the 22re in my truck currently. Will post the process as I go along. Am already down to the bare block so have skipped some, but there’s plenty left to show.
The truck odometer says 115k miles. Pics show the wear along the sides of the cylinders. I started tearing it down due to the broken timing chain, leaking water pump and bad valve seals. But as I got into it, decided to go all the way. (A problem I have lol)
Having trouble. Attaching videos, any tips?
Any input, tips, tricks and things you wish you knew before your first build, please share. Thanks! Liking this forum a lot so far.
Community Input
Not surprisingly, members of the forum were quick to chime in with their support along with complementing the OP on his surprisingly clean 1990 Toyota pickup. In most cases, members advised the OP to take his time and to avoid buying cheap replacement parts.
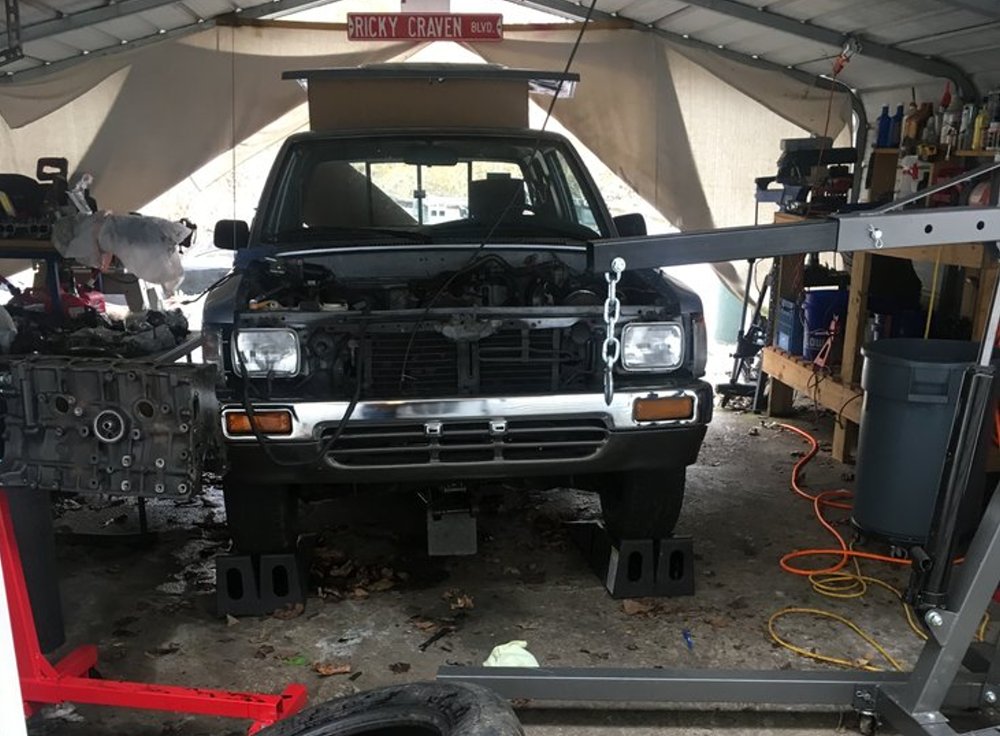
“TrafficTechII” was the first person to reply:
Best tip I can give you it to take your time and pay attention to the little things, read the build up’s others have posted.
Maybe I missed it but what year is the engine?
After the OP showed off the whole truck and stated that it was a 1990, “old87yota” shared his enthusiasm for the project:
That is a clean truck!
The advice above about taking your time and paying attention to the details is good. High quality parts are a must.
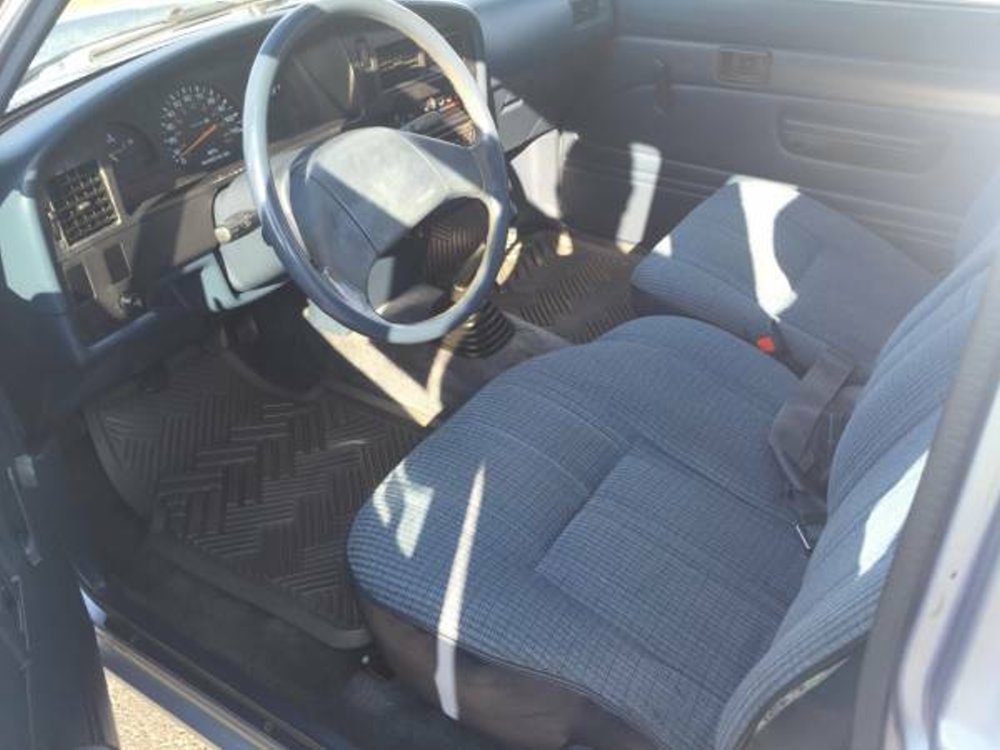
And the OP replied by assuring everyone that he is only using the best parts.
Thanks! I’ve been using all OEM parts so far and will continue to do so.
Just dropped off the block/crank/Head/camshaft/Pistons & rods at the machine shop yesterday.
They didn’t seem too happy that I only wanted them to do the machining and I’d be using my own parts(from LCE).. but are going to do it for me still.
Gave them LCE’s tech line phone # and spoke with lce to have them make contact with the shop as well.
Hoping all goes well with the shop and communication stays good.
Having the shop bore as little as possible for what the cylinders need to “clean up”. Also waiting to hear if the crank needs machining or just polishing.
the cam looks okay besides a small rust spot or 2 but waiting to hear what they say about it.
Its been difficult setting up things with the machine shop as I’m a motor newbie and they are country folk(don’t seem to like my approach).
Ive let them know I’m just ocd and am spending a lot of $ and want to keep communication completely open in order to have it go right the first time.
Will keep updating this thread as i hear more. In the meantime here are some things I’ll be working on…*Cleaning up & painting the oil pan
*Taking apart and replacing the seals on the leaky power steering pump
*Taking apart, cleaning up and rebuilding the alternator(probably just brushes)
*Removing driveshaft and sliding the trans back to make dropping the engine in easier (some of the bolt hoes were a bit shot from the last time I replaced the clutch(may need to drill and re-tap some
*Degreasing and cleaning up the engine bay
*Touching up minor rust spots under the radiator and anywhere else I see
*Rebuilding the idler arm
*Sending injectors out to witchhunter
*Removing broken slave cyl mounting bolt and replacing both with new ones
*Cleaning up & painting random parts/brackets
*Ordering lots of parts from LCE after hearing back from machine shop
Engine Build Prep
Once the engine was out of the truck and completely torn down, the OP sent the block off to a machine shop while he worked on other components of the 22R-E. He sanded and painted the valve cover, he cleaned up the oil pan in the dishwasher and he freshened-up the rocker arm assembly and oil pump.
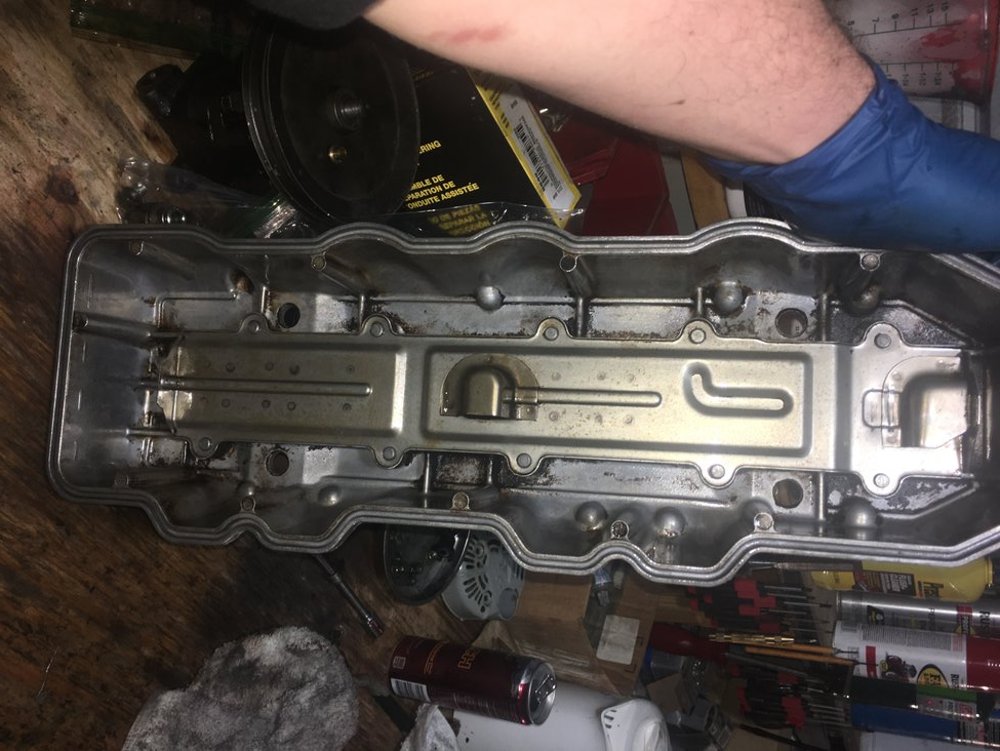
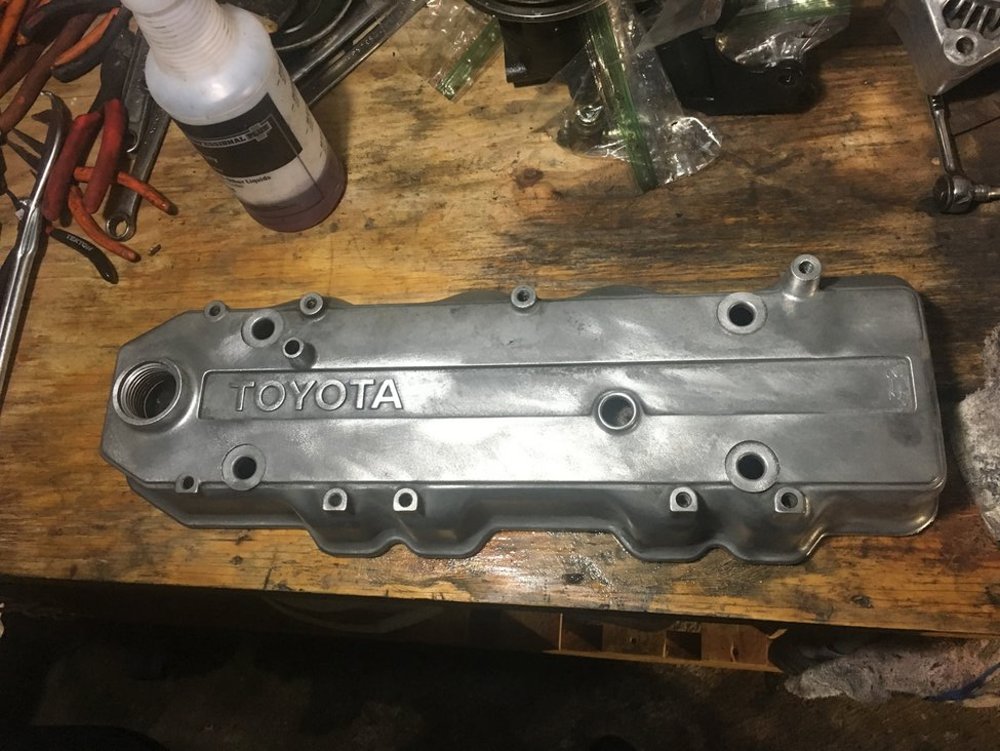
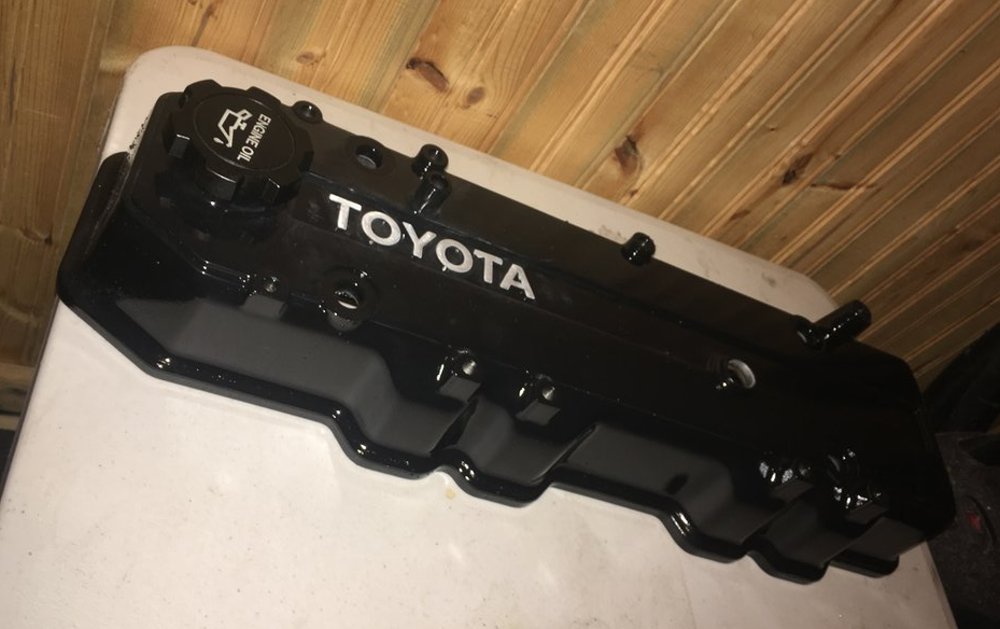
As you can see in the pictures here, his efforts made a huge difference in the appearance of the valve cover and the oil pan, while the oil pump pickup and rocker arm assembly both look like-new when he is done with them.
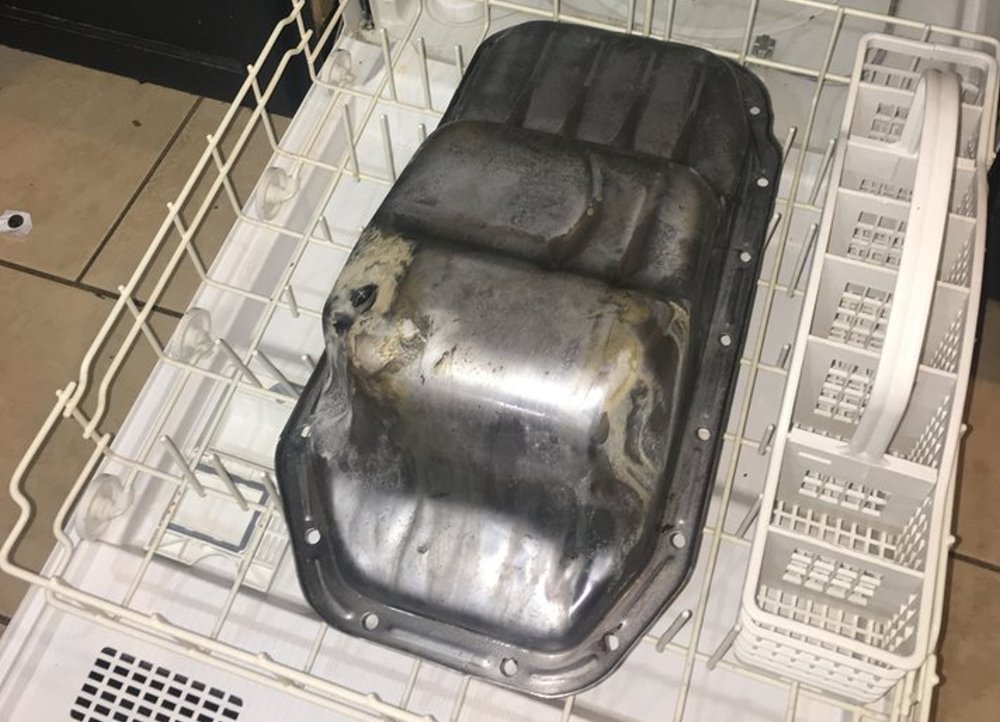
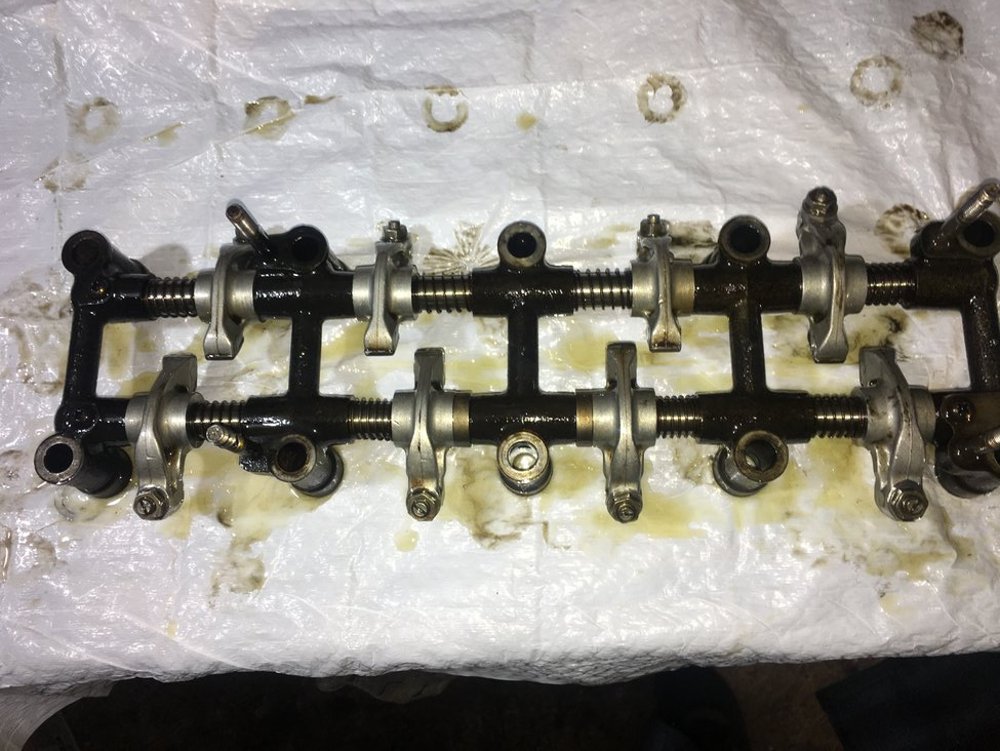
While waiting for the engine block to come back from the machine shop, the OP decided to address some rust under the bed and when he did, this went from a engine project to a restoration project, taking the thread in a very different direction.
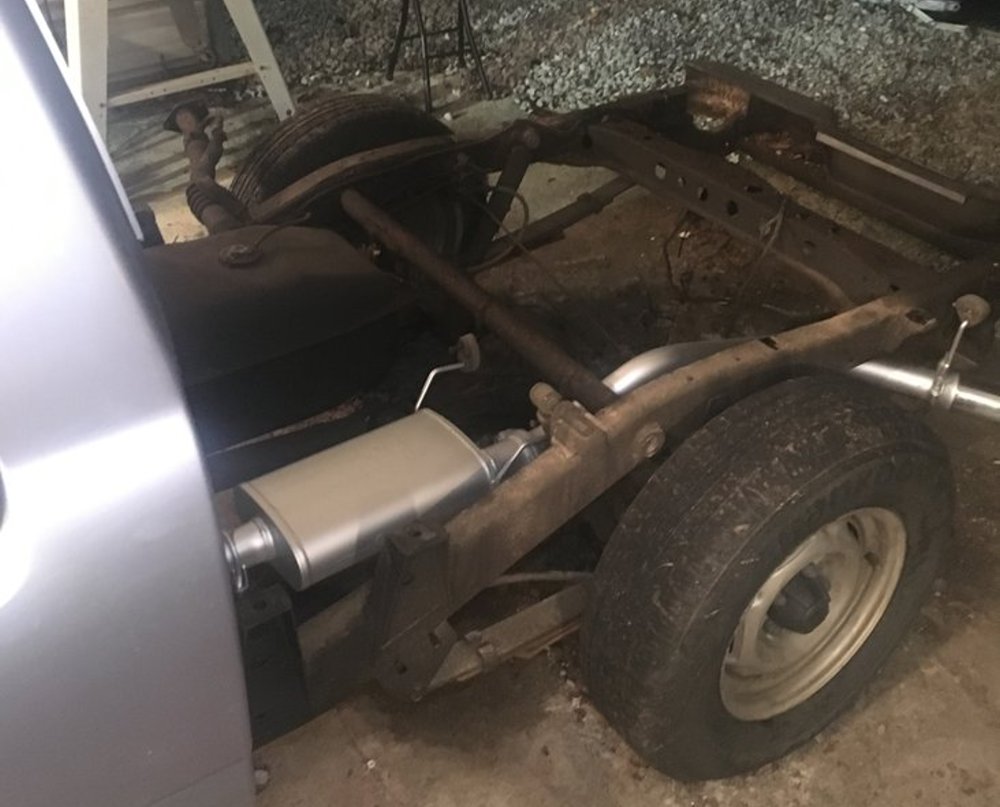
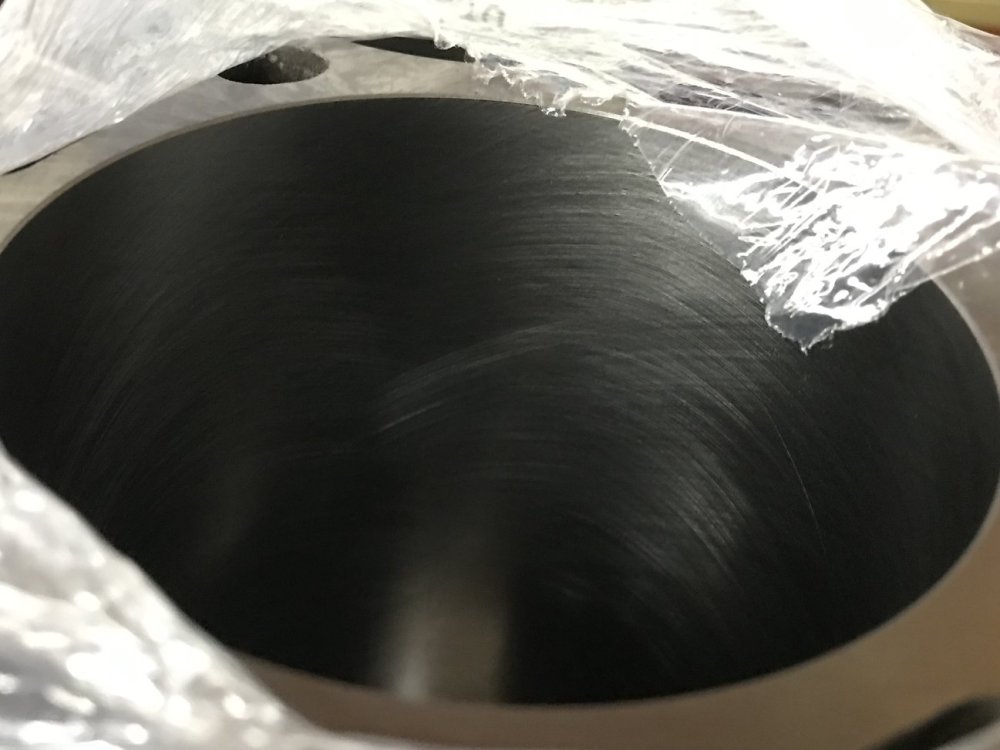
Meanwhile, the engine block was returned looking great, but we really haven’t seen much of the engine since the clean block came back due to the focus on the rear frame area.
Cleaning Up the Chassis
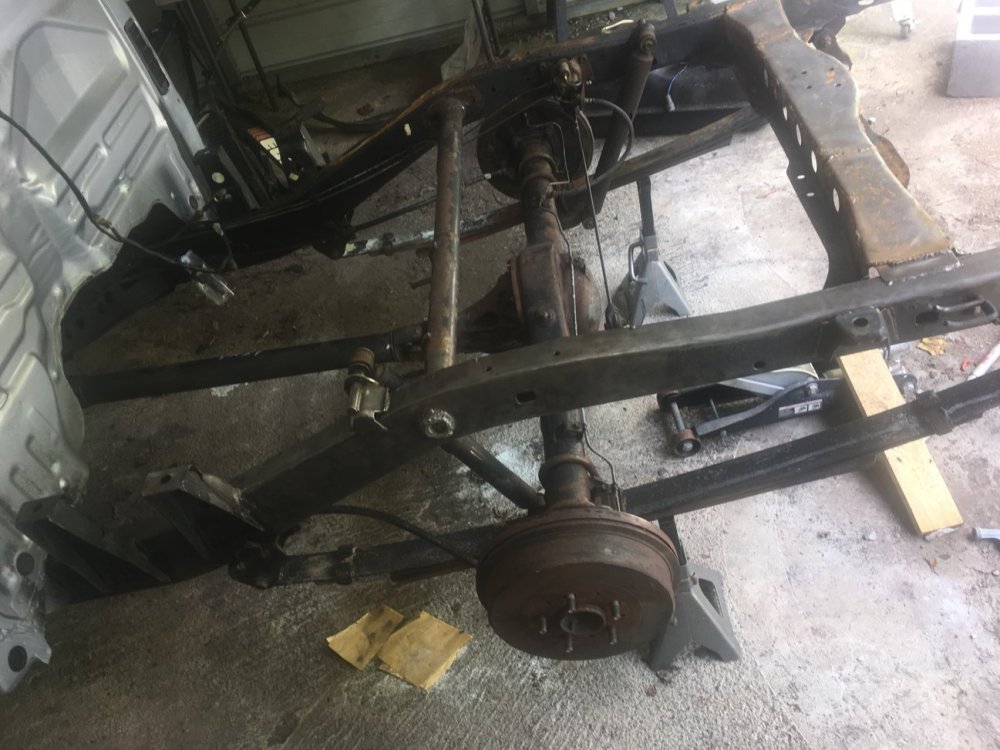
When the OP first pulled the bed off, his goal was to clean up some rust on the frame. Over time, he removed a few items to make the repairs more effective and as he got further in, he kept removing items until he was left with a nearly-bare frame.
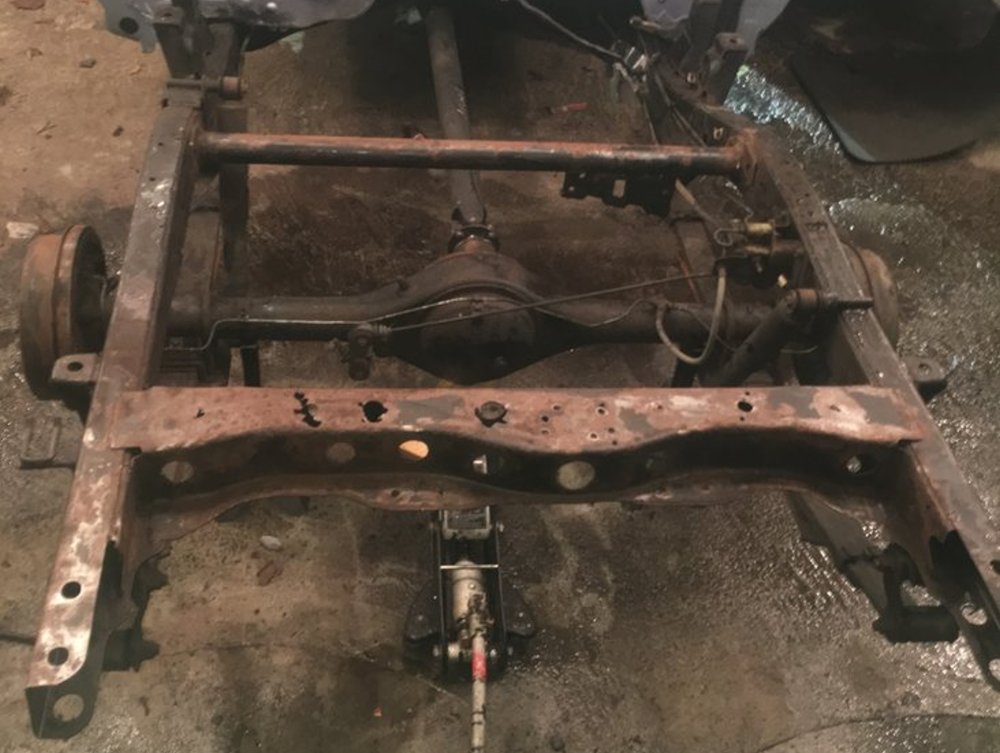
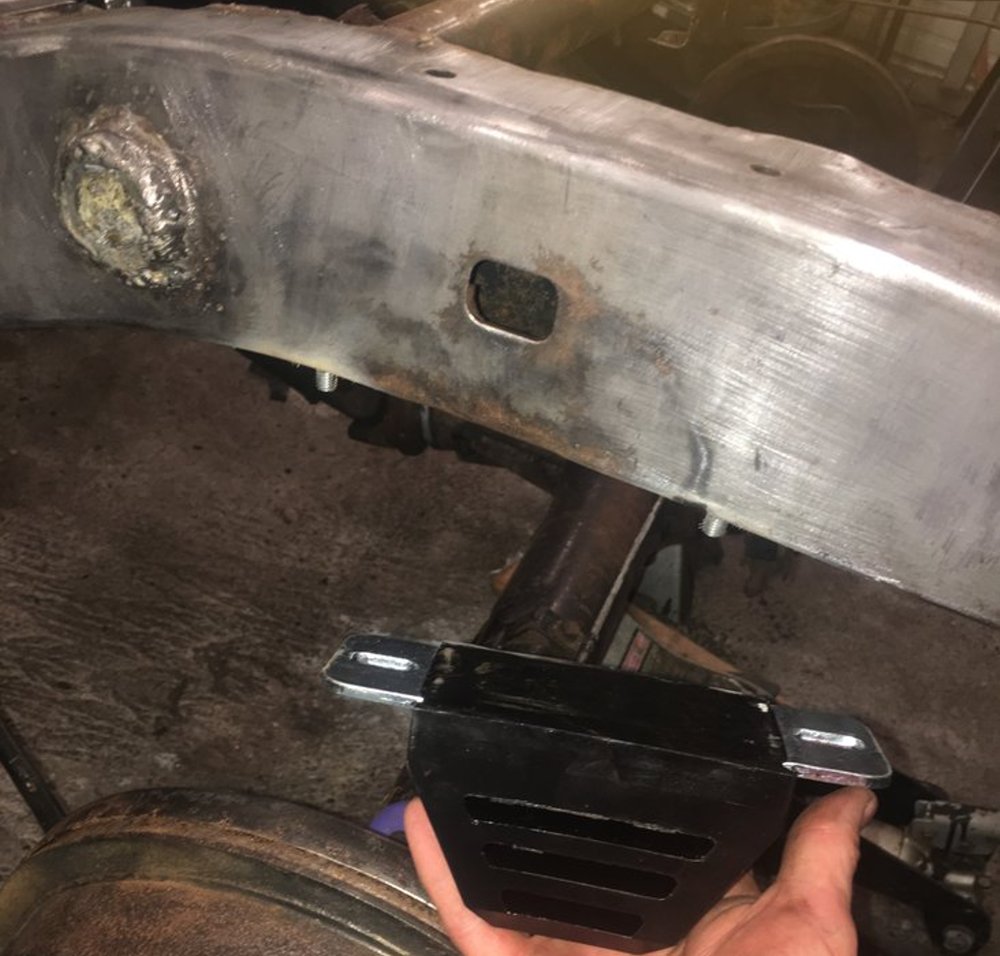
This allowed him to remove the rust, reinforce the weak spots, add some new chassis components and coat the entire unit in anti-rust protection, so once the engine is back together in the engine bay, there will be no concerns of the chassis failures due to rusty rear end bits.
This project has plenty of work left to be done, but so far, so good.
What do you think? Let us know in comments, or join in the discussion at the forums.
Photos: YotaTech Forums/MasterOfNone
