1985 4Runner Being Restored to a Fun Daily Driver
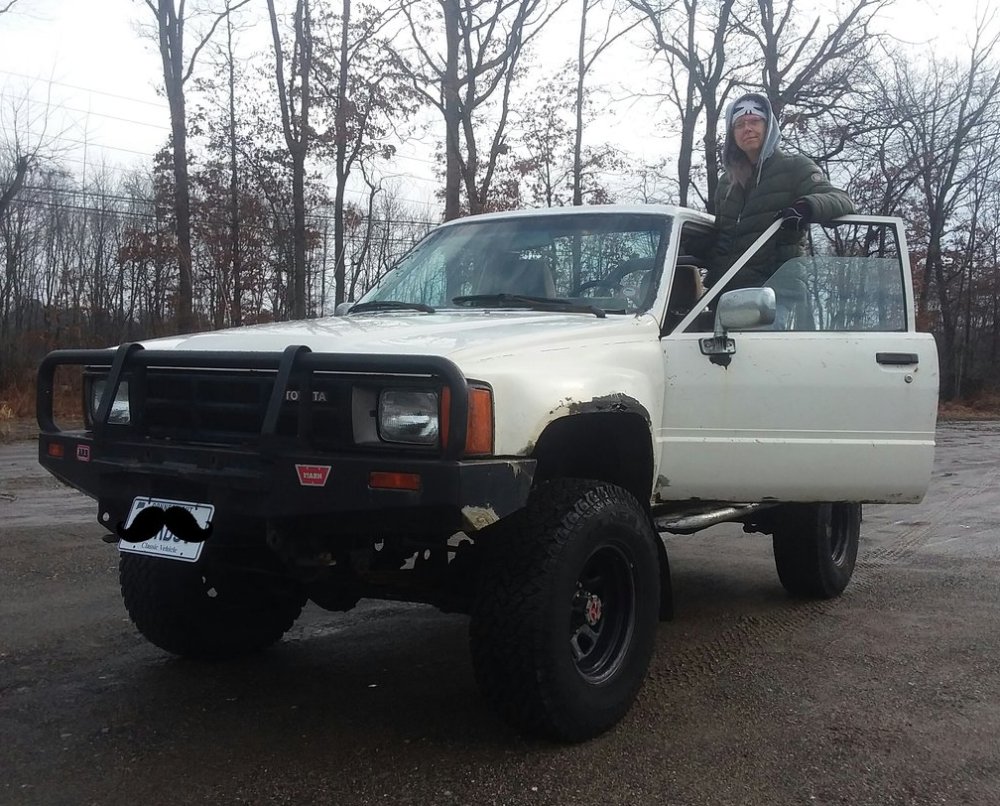
Classic SUV was in rough shape when project began, but it is already looking much better thanks to one dedicated YotaTech member.
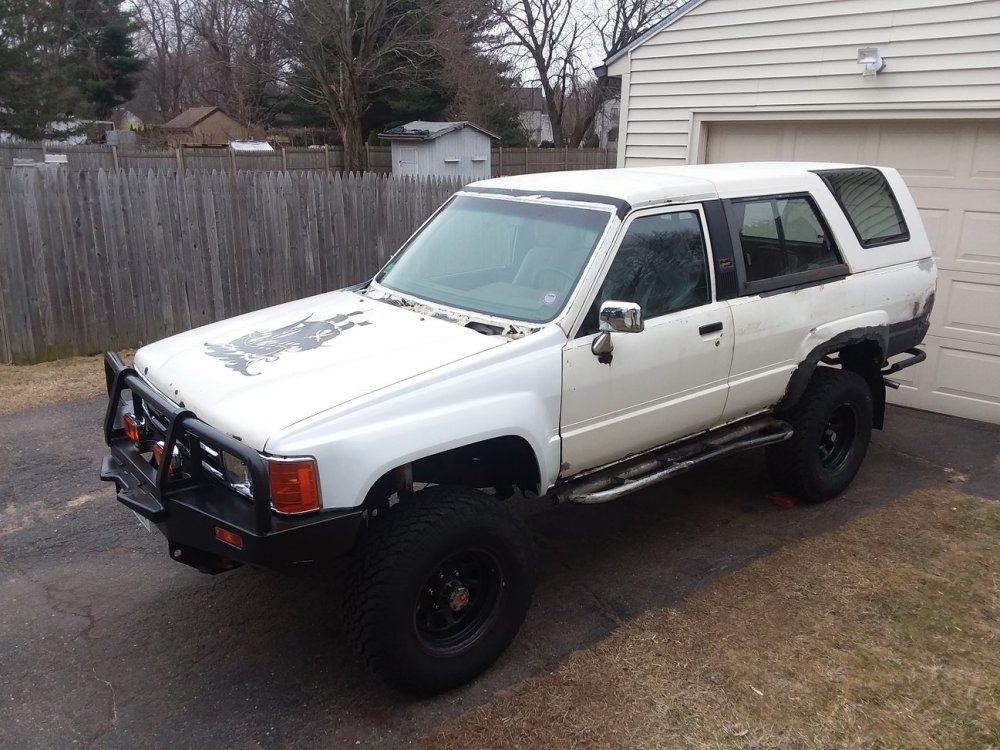
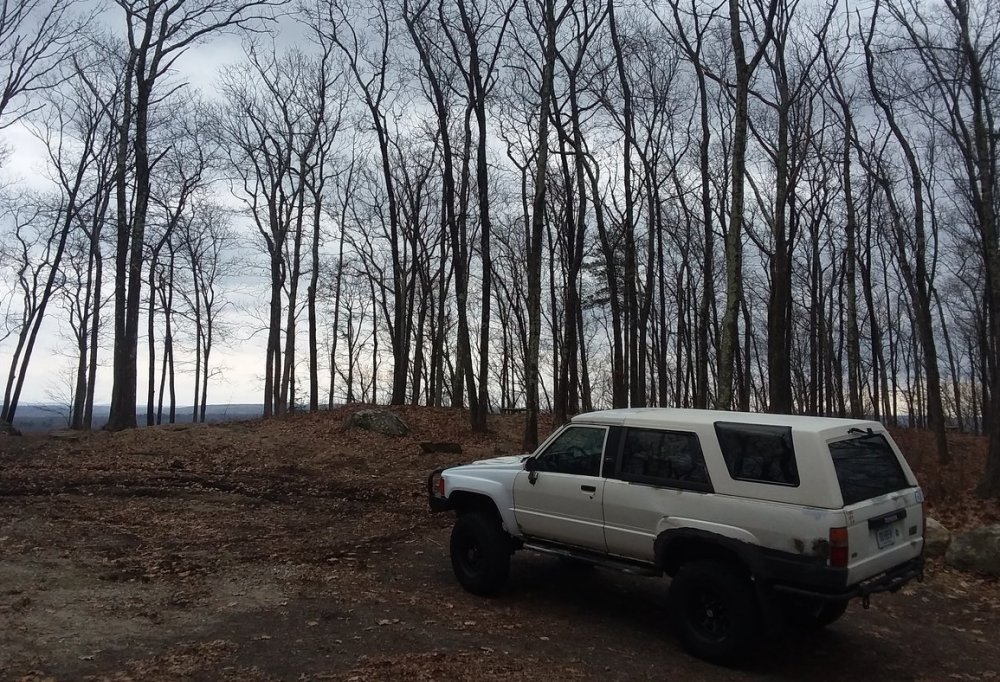
Restoring a rough 1985 Toyota 4Runner into a reliable daily driver might seem like a daunting task, but that is the project that “Damion812” has been sharing with the community over the past few months. This project began back in January and since then, he has made a great deal of progress in fixing the problems that prevent this classic SUV from being a great daily driver.
It still isn’t pretty, but some key improvements have been made in terms of eradicating problematic rust and refreshing the running gear of this old school 4Runner. There is plenty left to do, but with the progress of the build, we wanted to bring it to the attention of the community.
The Introduction
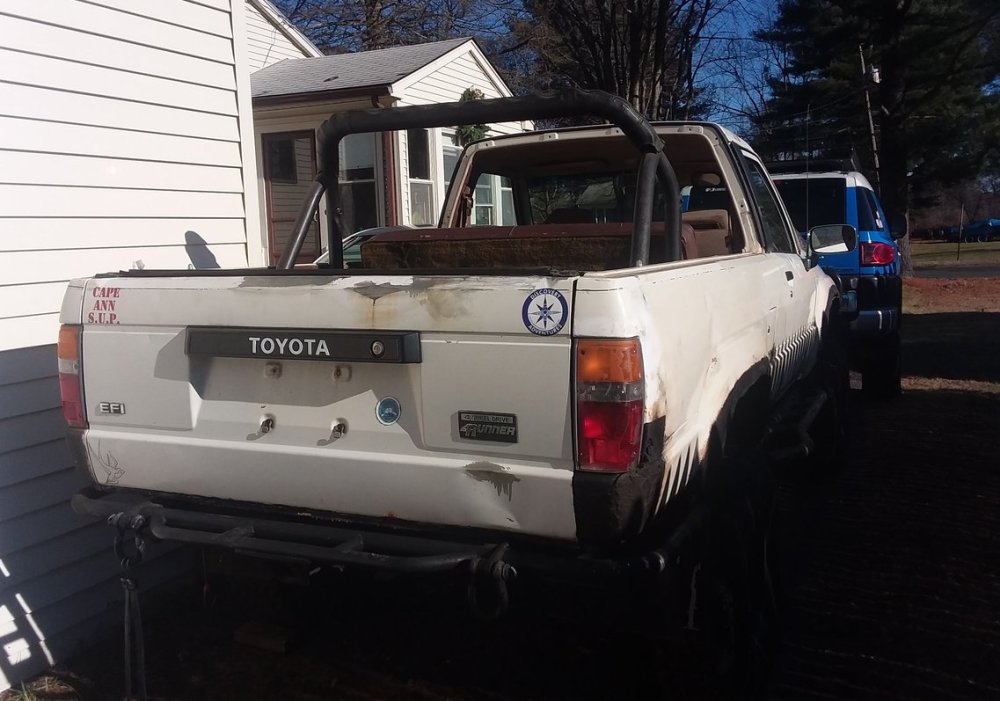
When the OP first shared his new-to-him 1985 Toyota 4Runner with the forum, he offered up a few pictures of the truck when he got it, along with explaining a little about his own automotive past along with his plans for this project.
First time poster on this forum. I’m also damion812 on the FJ cruisers forum. My plan is to use it for a daily over the course of a year. I got the idea from 365 Days of A, I followed a blog a few years back about this guy who daily drove a 1930 model A. At the time I was in the process of restoring a 1965 VW beetle, our project Herbie, and I came up with the idea of doing the daily thing with another beetle. I found a 1966 to use and it was a good time!
This time I want to try it with my first favorite of makes, Toyota and with something that doesn’t have anemic Heat Then the wife might join along with this one😁 I’ll probably use this forum for a lot of the resources that it has and start a blog on the whole Adventure here as well. I realize people are already doing this right now as opposed to 50 year-old car but this seems to be more fun to me than brand new. just my opinion though. if the idea of driving one of these through the salt is a turn off to you, I totally agree. Just take a look at the pictures of the beetle before I drove it through the snow and a pictures of it currently to see how I maintained it through a season of salt. After the year I’ll probably look into doing a restoration on the 4runner also.
Some other details about the truck:
22RE
manual transmission
not sure on the lift it happened a few owner’s ago
ARB front bumper
lunch box locker in the rear
greaseable shackle pins
somewhere around 245000 miles currently
the only thing we’ve done to drive it so far is just register it .
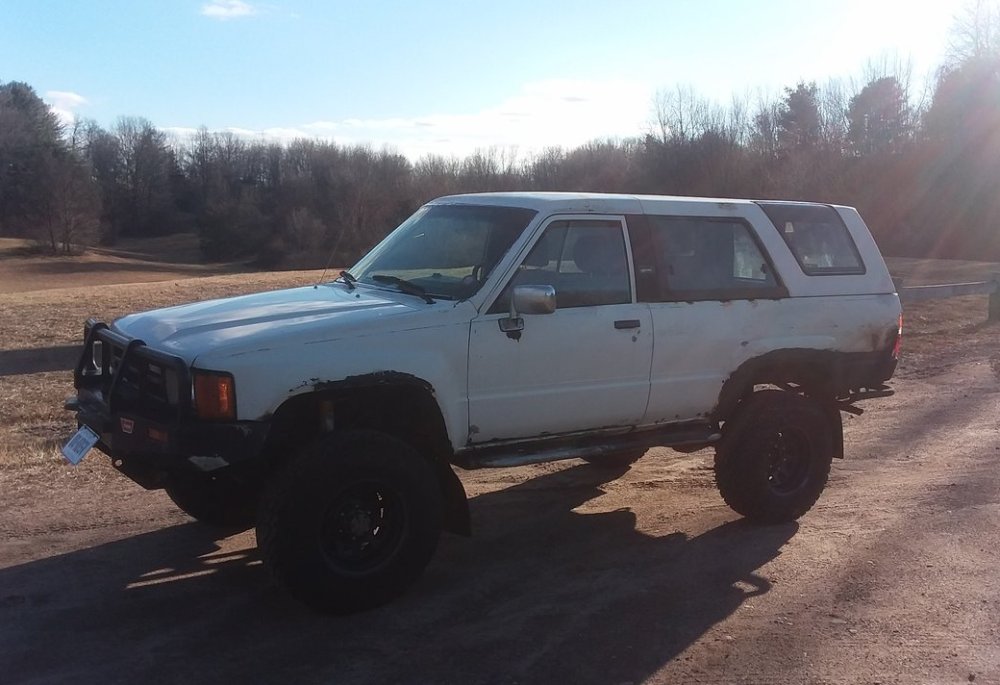
As you might expect, the community was quick to chime in to support the project, while “Melrose 4r” recognized the truck from the Craigslist ad.
I restored mine back to daily driver level. Start with a good inspection of everything and review previous owner records if you got any.
Check valve adjustment, do a comp test, inspect plugs, cap, rotor, water pump, belts, alternator, change oil and fluid in trans. Look for anything unusual.
improve the ground cable from battery to engine block if not already. With the valve cover off, check the timing chain to see if the guides are intact, plastic or metal(replaced, improved).Good luck with your 4Runner.
Wait a minute, I recognize your truck from Craigslist a while ago. It was in Gloucester. I liked the front bumper and stance of it. Now that I see the Cape Ann bumper sticker on it I realize it’s the same one.
To which the OP and current owner replied:
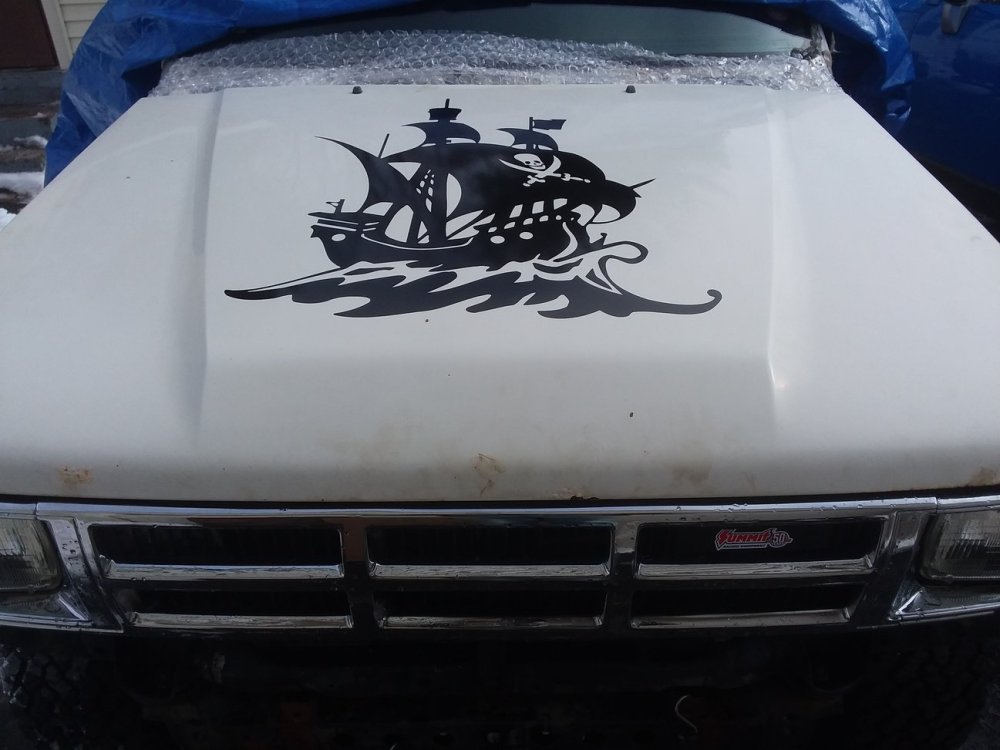
Stop looking for more you addict! Lol. Once I saw you were in MA I thought you would recognize it. Too funny. Yeah we also have a resident beach sticker for it. We’re adding that one and leaving the others on it till I paint it. Since it came from a little seaside town we’re gunna kinda go with a pirate theme. And we call it Blackbeard. My son refers to it as the flea runner though since it was such a mess inside. I think the biggest fear people have looking at it though is there worried that it was in that flood back in January. First thing I looked at was the see if body drain plugs were pulled from it. And the first thing I noticed was the front ones were pulled in the carpets yanked out of it. I did find that the front body drain plugs were pulled and the carpet was pulled out of it but it wasn’t because of high water. It was because the windshield leaked and front quarter panels leaked onto the floor. I’ve got something on it until I can weld it in the meantime though. I also checked the sellers Facebook page for videos and pictures of it to see if it was ever in any of that flooding. I did find pictures and a video of it being used at one point though.
The Project Begins
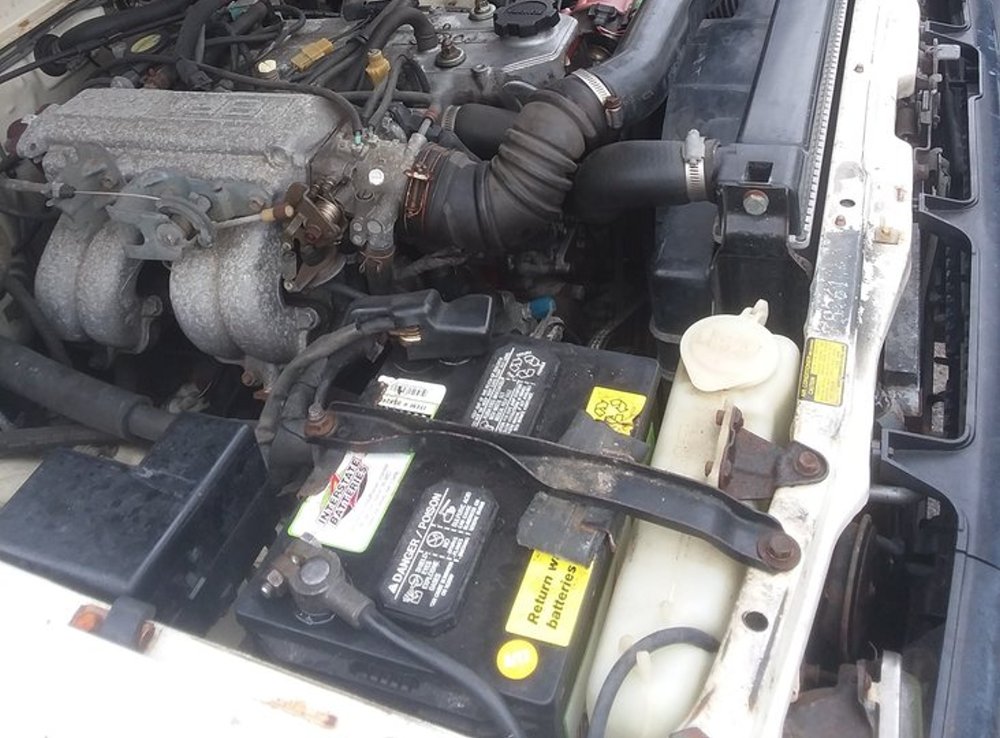
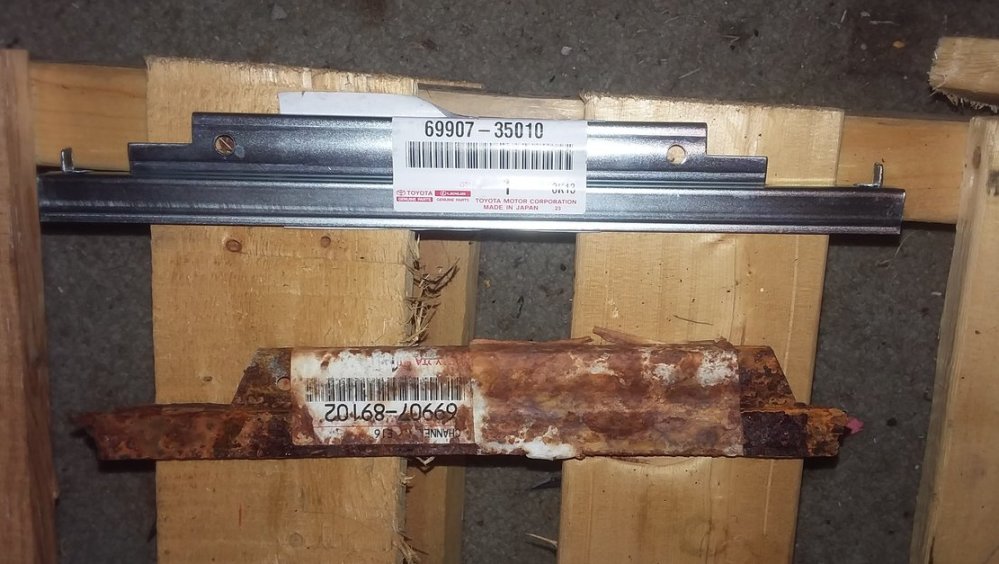
At first, the OP was doing some basic things to make the 4Runner a better driver, including a new, larger battery, a new rear glass carrier and some brake work.
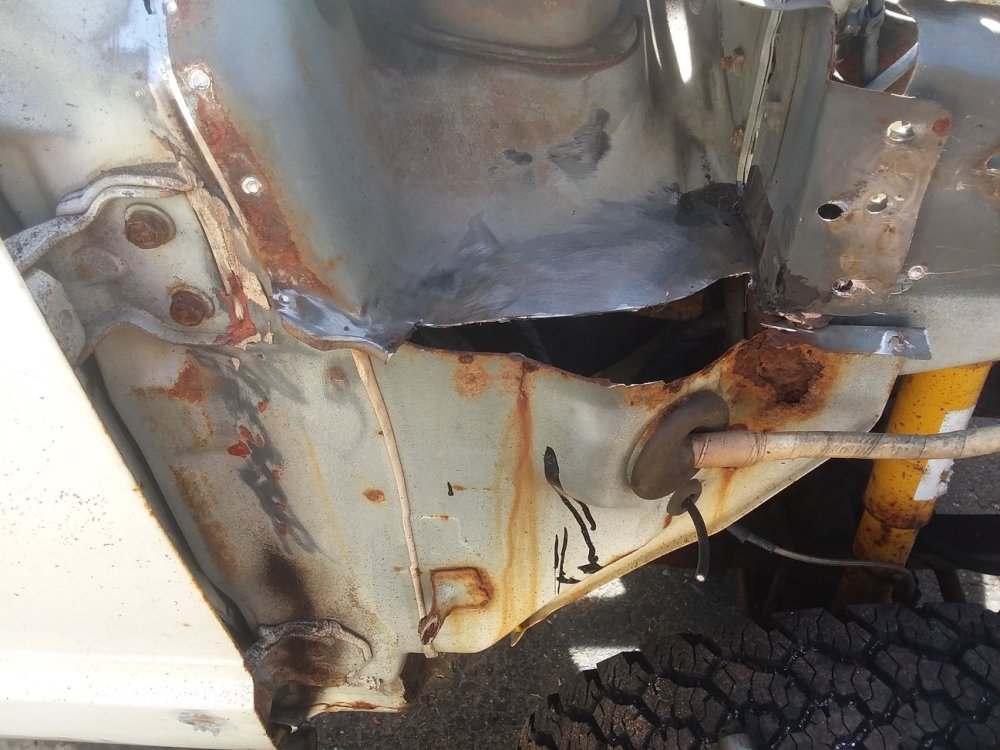
The next step was one of the first big ones, as the OP pulled the front fenders to attack the rust and rot of the chassis. The “cancer” was extensive, but the OP was able to add new metal and clean up the areas under the fenders.
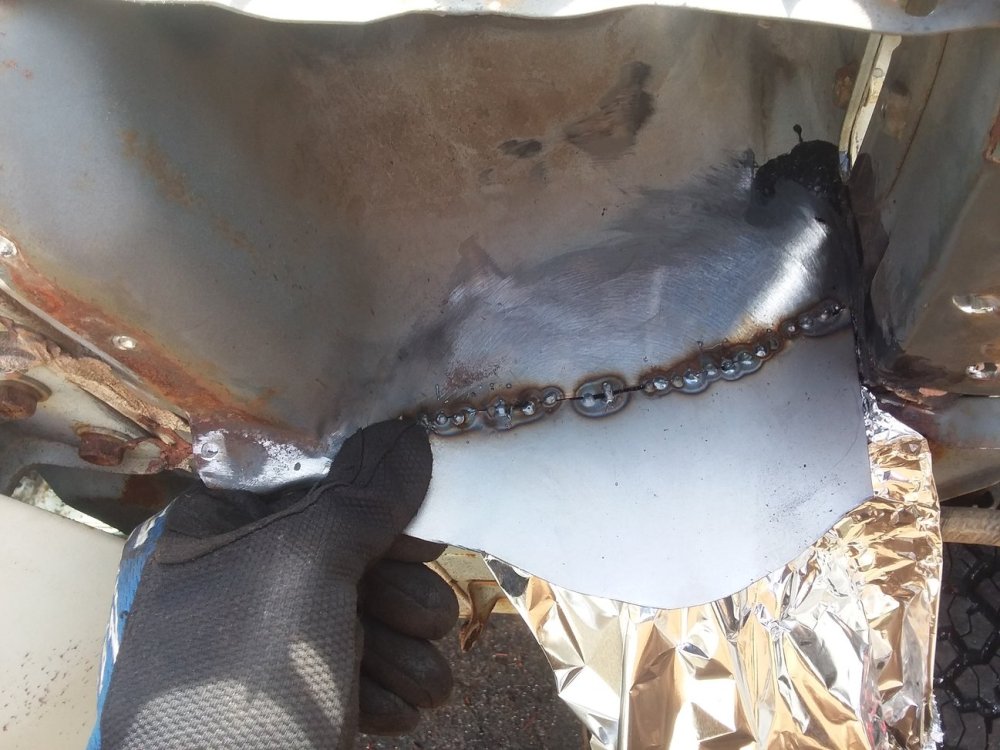
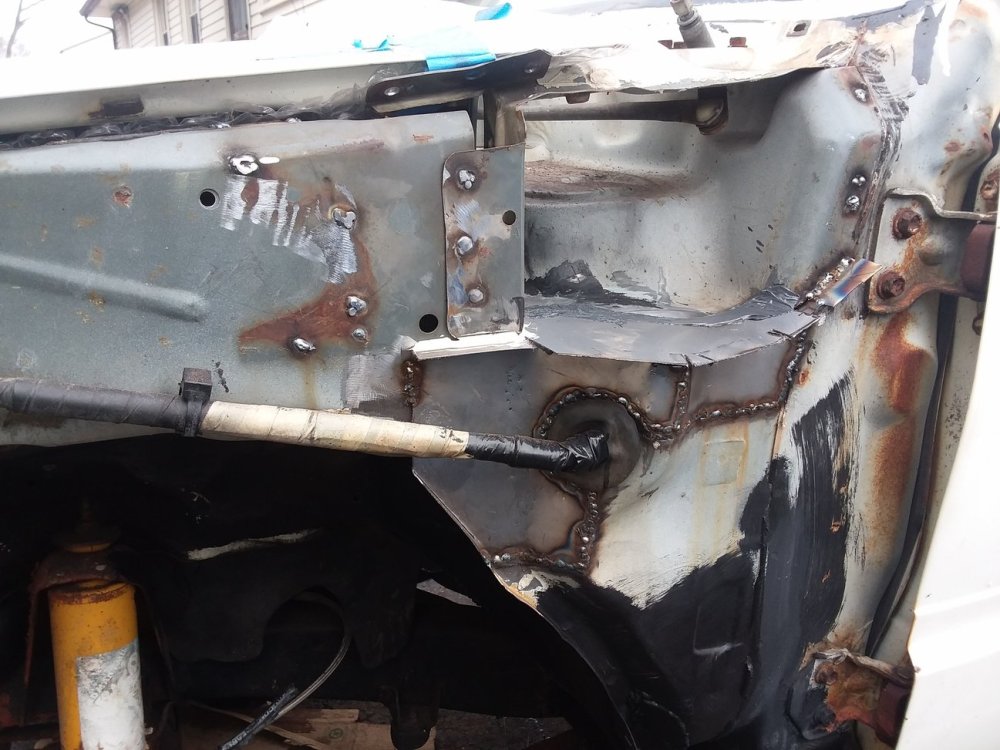
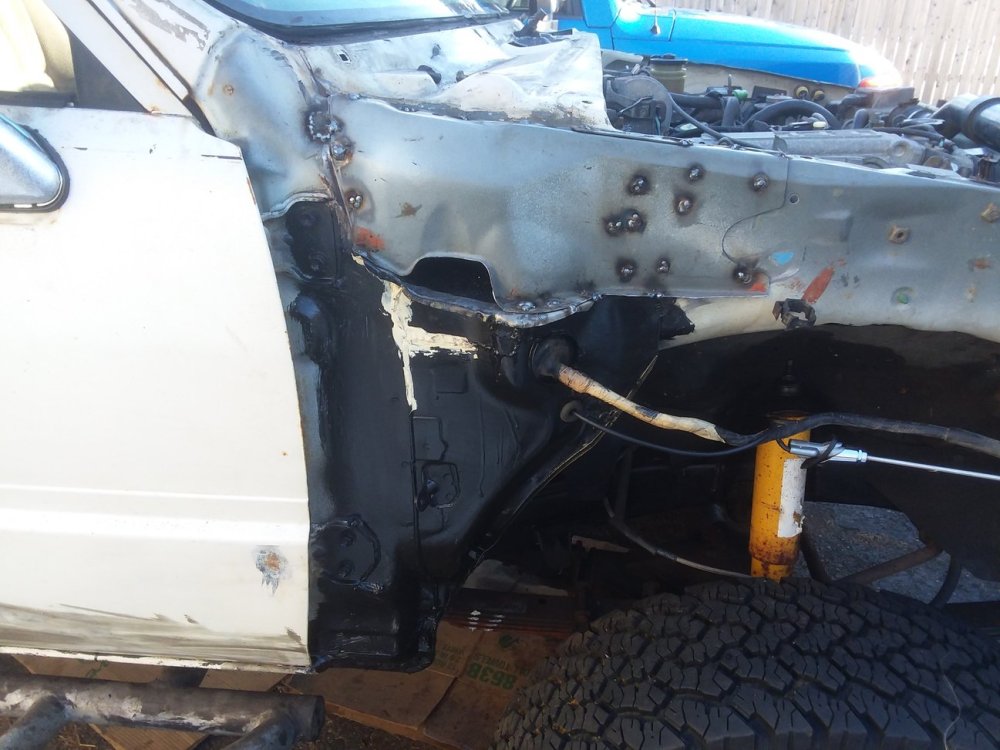
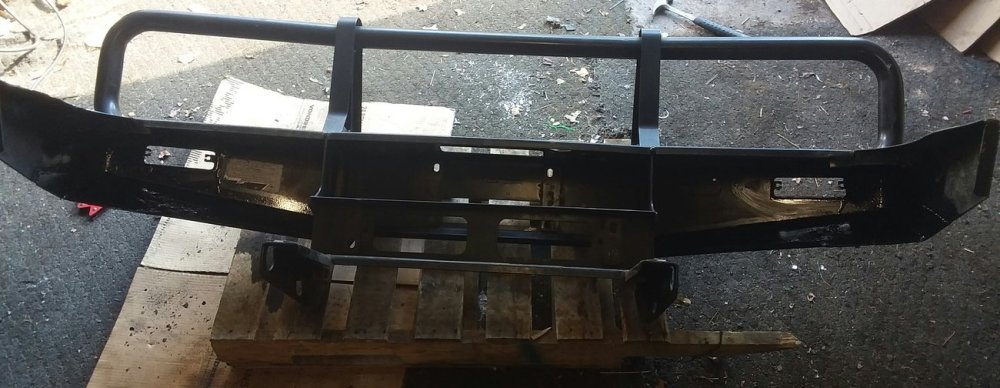
When the weather was rough, he worked inside on the off-road bumper, along with cleaning up the hood and adding a unique pirate ship decal right in the middle. He also added seatbelts, and when the weather cleared up, the OP was able to button-up the front end and hit the road.
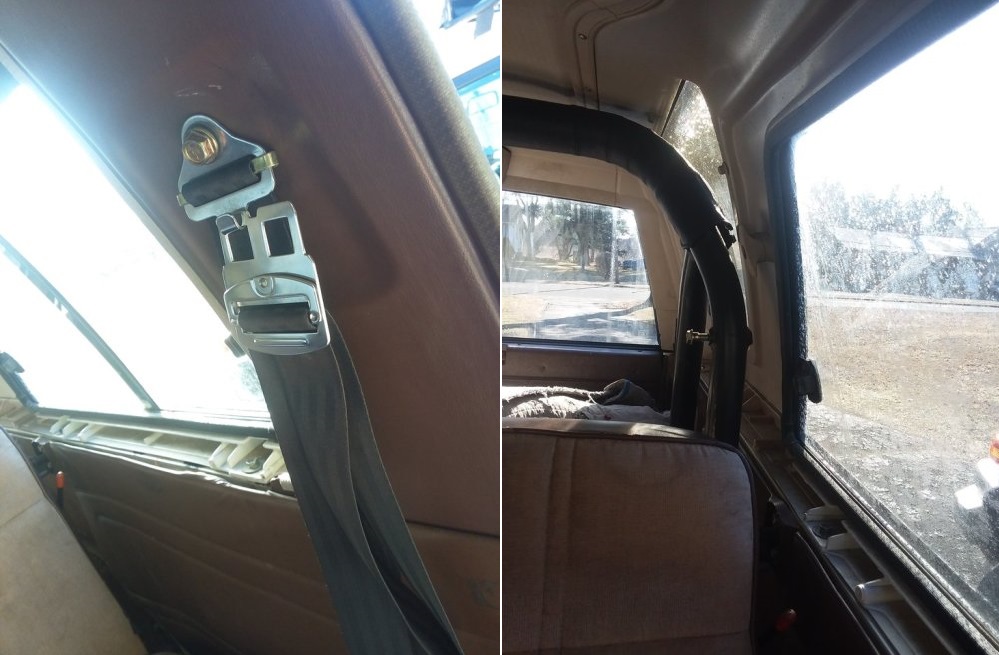
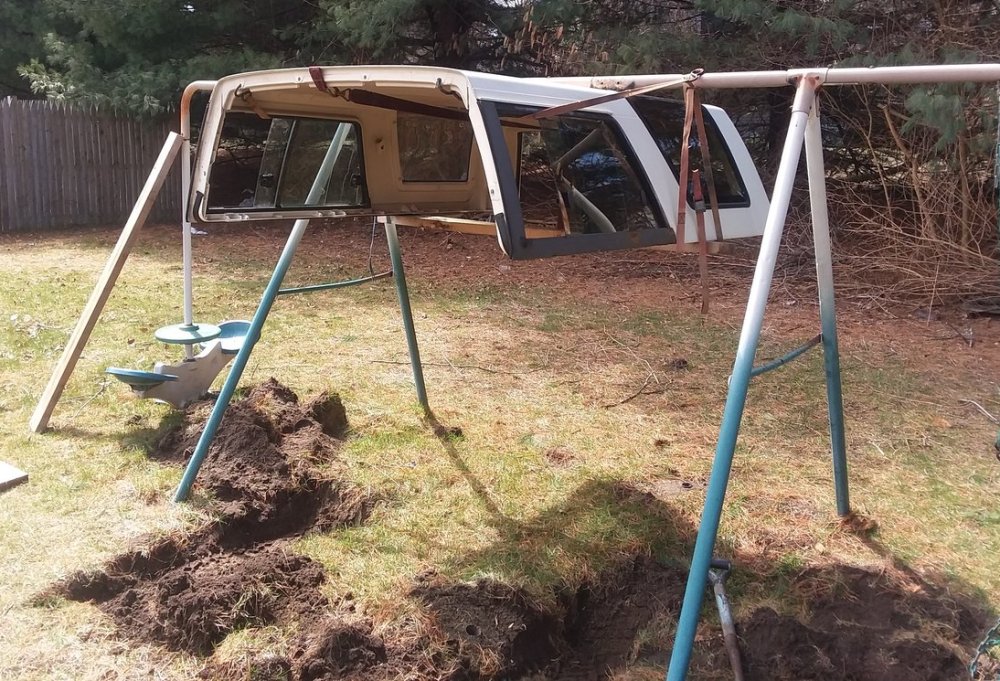
He also showed off the apparatus that he created to remove the rear roof, using his son’s old swing set.
Heading Underneath
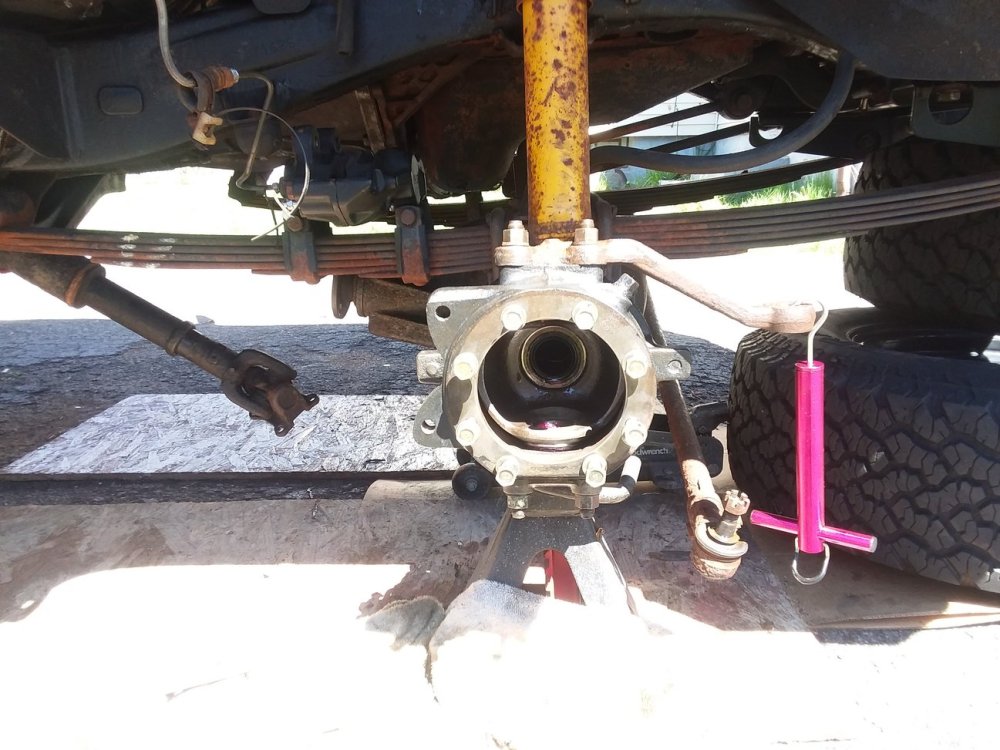
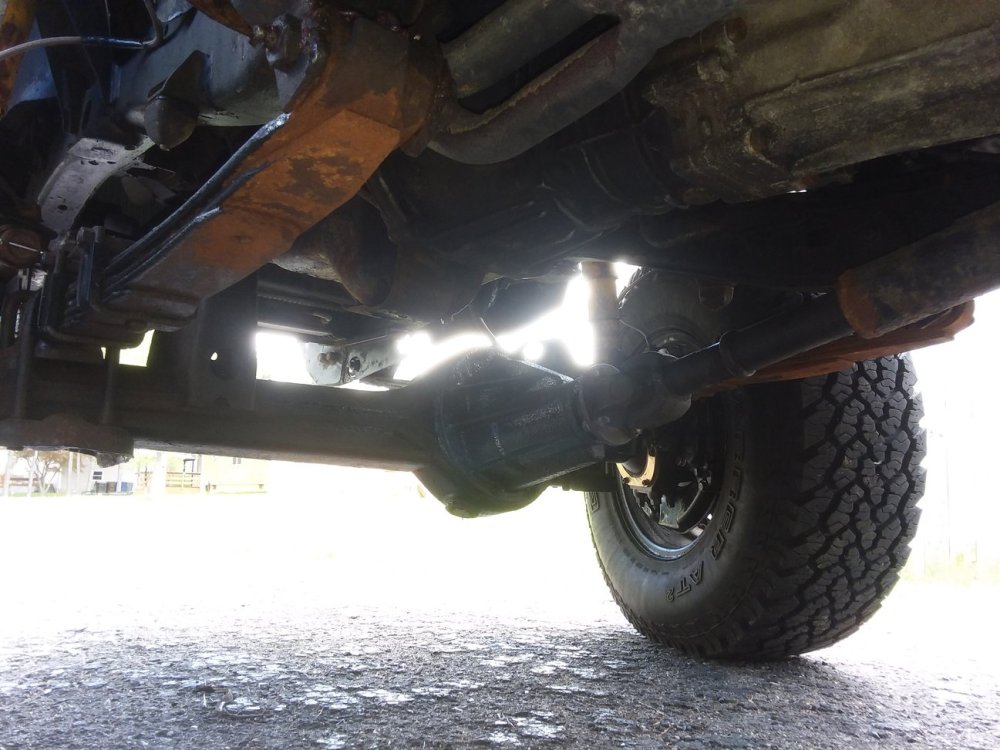
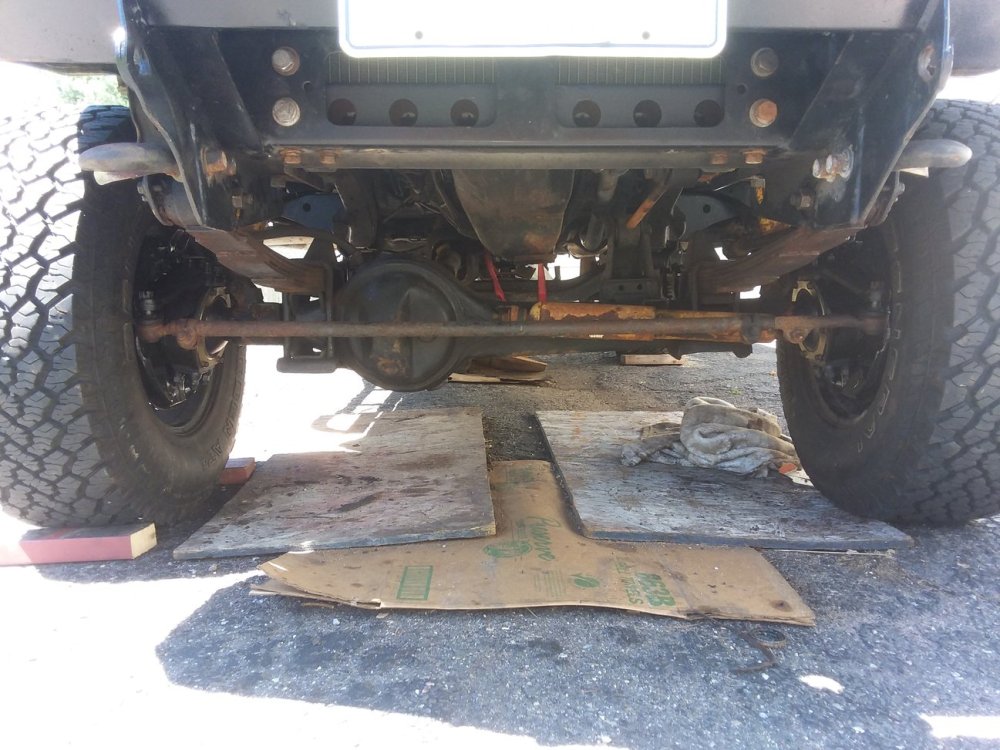
Next, the OP pulled the wheels and attacked the axles, adding new seals and such to prolong their life. While the axles were apart, he added new front and rear differentials, so when he was completed with this phase of the project, the axles and differentials were like-new, and the brakes were functioning as expected.
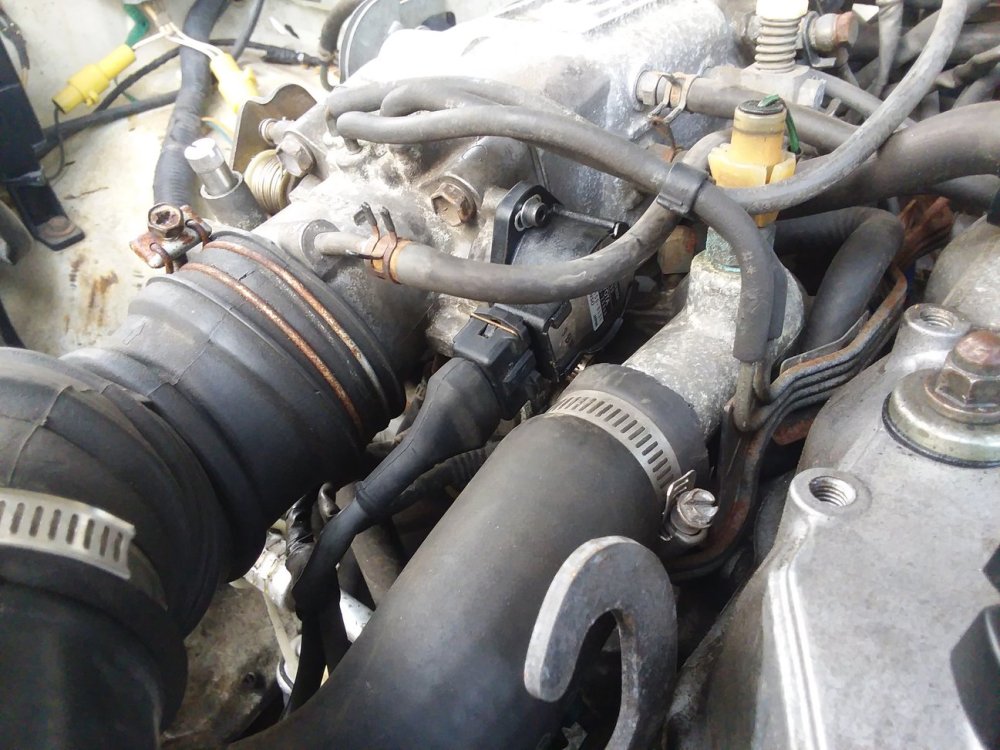
Most recently, the engine was acting up, so the OP installed a new throttle position sensor, furthering the push for better drivability.
That is where the project has paused for now, but with warm weather upon us, the odds are good that this project will move at full speed over the next few months. Click here to have a closer look at the project thus far, with lots more pictures and information on the build.
