Toyota Tundra: How to Install HID HeadLights
High-intensity discharge lamps make for a great investment because they improve your roadway visibility and give your truck a fresh new look. You can make this update yourself at home in less than 60 minutes by following these super simple steps.
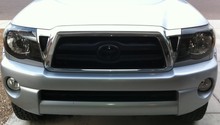
This article applies to the Toyota Tundra (2000-present).
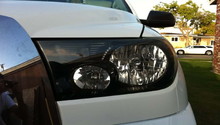
If you’re looking for a way to improve roadway visibility and make your Tundra stand out on the road, you need not look any further than HID headlights. Also, referred to as high-intensity discharge lamps, this relatively new form of headlight improves night time visibility by a significant margin, and it offers a cool blue light that will make your truck stand out from all the other night time drivers.
Headlight installation is pretty straightforward and can be done in less than an hour—here’s how.

Materials Needed
- HID headlight kit
- Phillips head screwdriver
- Metric socket socket and ratcheting wrench
- Plastic removal tool
- Zip ties (optional)
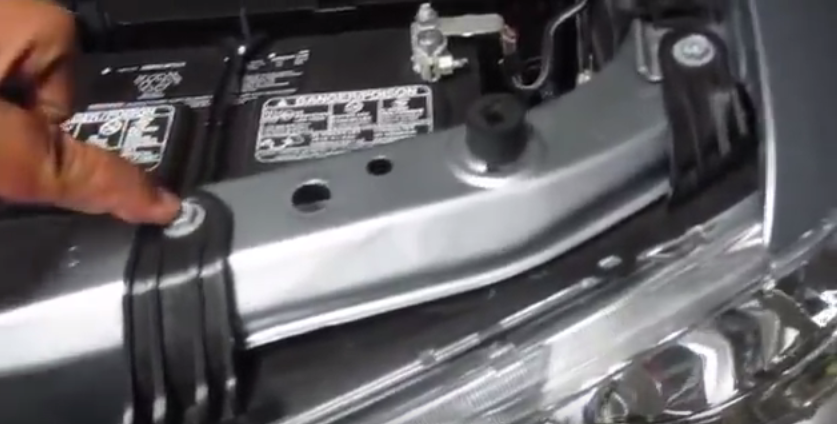
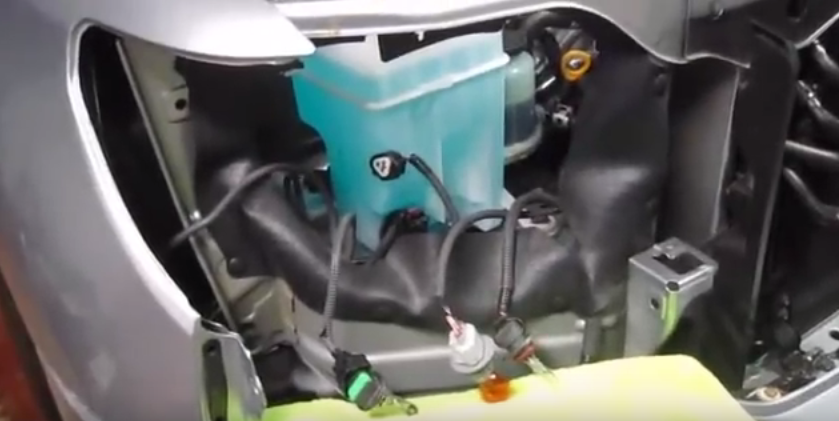
Step 1 – Remove components surrounding headlights
Remove the plastic walls, black plugs, and metal bolts surrounding the headlights:
Take the plastic walls off below the headlight. This will expose the plugs you need to remove. Taking them out will make the installation process easier later on. Once that’s complete, remove the bolts that secure the assembly to the truck.
Step 2 – Remove the headlight assembly
With the headlight assembly loose, slide it forwards carefully. The bulbs and wiring are still attached, so pull too hard and you'll start breaking stuff. Using your Phillips-head screwdriver, remove any set screws on the back of the housing securing the bulbs in place. From there, twist the bulbs gently and they should release from the housing. Once everything in Step 1 has been removed, slide the headlight assembly out of the truck, leaving behind the bulbs and wires in the truck.
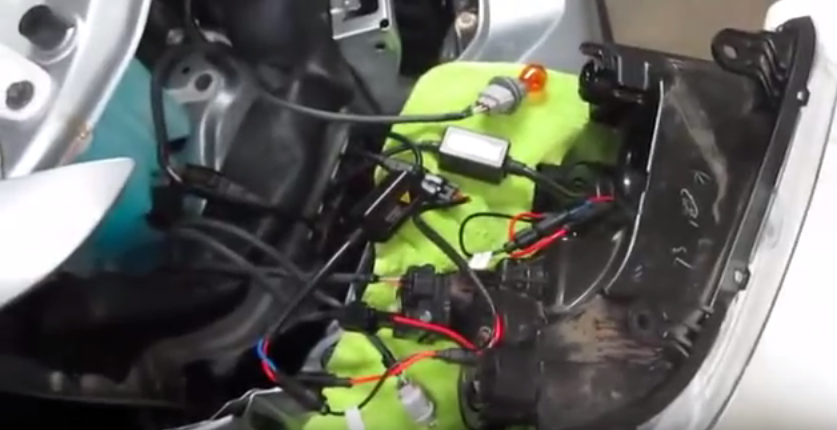
Step 3 – Install the HID headlight assembly
This is fairly straightforward, as your new headlight kit should have everything clearly marked. Connect the blinker lights, high beams, low beams, et al, and zip tie when complete to ensure no wires are crossed, and everything remains separate. Mounting the ballasts for the HID kit may require some work, but mounting them with a few zip ties to the back of the headlight housing is common.
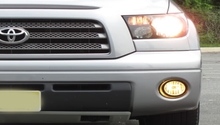
Once you are confident everything is hooked up, turn the lights on to ensure proper operation. If running properly, move on to test the high beams and blinkers.
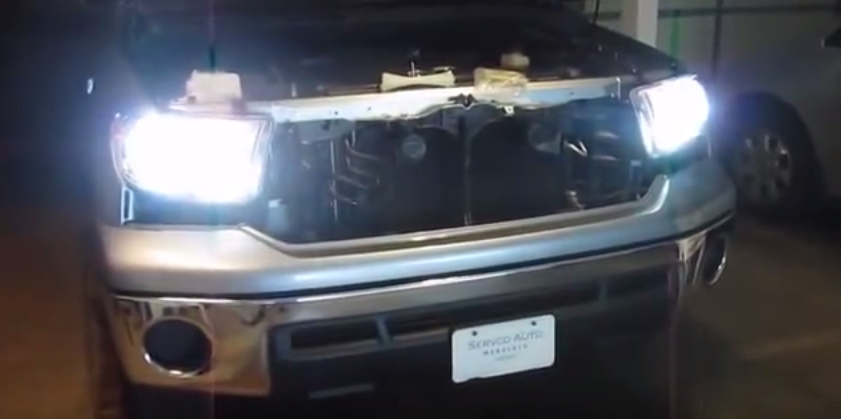
Step 4 – Reinstall headlight assembly
If all bulbs are operating properly, slide the headlight kit back into place and secure the black plastic plugs. Next, tighten the bolts atop the headlight assembly. Finally, reinstall the plastic walls below the headlights. Again, test the lights out to ensure no wires were pinched/severed during the assembly re-installation.
Featured Video: Toyota Tundra HID Install
Related Discussions and Site
- 05 Tundra HID Retrofit Progress - YotaTech.com
- 01 with HID's and DRL Disabled - YotaTech.com
- Hella 4000's Converted to HID - YotaTech.com
- HID Kit High-Low Beam Install - TundraSolutions.com