Toyota 4Runner, Tacoma, and Tundra: How to Repair Scratches and Paint Chips
The thought of repairing scratches and paint chips can be a bit daunting. However, it's possible to complete the task without spending too much money (or time) on the task. Read on to find out how to repair your Toyota's scratches and paint chips yourself.
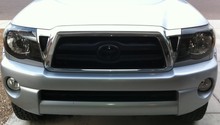
This article applies to the Toyota 4Runner, Tacoma, and Tundra (1984-present).
Scratches and paint chips can mar your vehicle's appearance and can even decrease its resale value. Even if you don't plan on selling your Toyota 4Runner, Tacoma, or Tundra in the near future, it's a good idea to repair scratches and paint chips before they turn into a potentially costlier problem. While a trip to the repair shop is one option, many owners understandably don't want to be left with a high repair bill, not to mention the inconvenience of leaving the car for repairs. Here are some straightforward steps for repairing scratches and paint chips on your vehicle.

Materials Needed
- Sanding paper/orbital sander/buffer
- Vacuum
- Garden hose
- Cloth or sponge, soap, and bucket of water
- Primer
- Automotive masking paper
- Masking tape
- Box of matches
- Desired paint
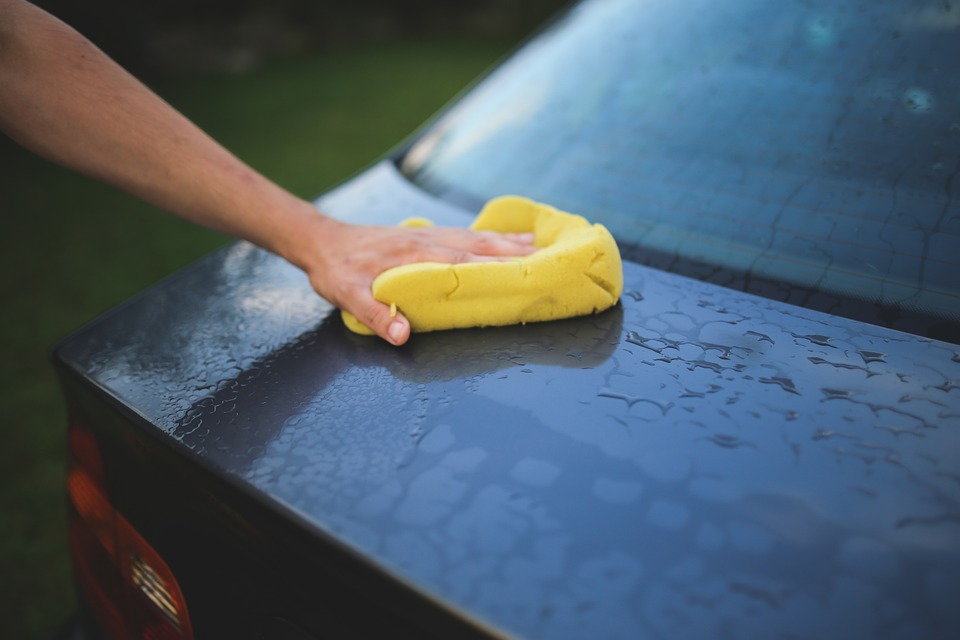
Step 1 – Clean and wash vehicle and work space
Before you begin working on your car, you'll want to make sure that your work space and car are both as clean as possible. If you're going through the trouble of sanding and repainting, it's best to avoid blemishing your work with dirt and grime. Begin by washing your vehicle thoroughly. You may need to repeat the wash and rinse cycle to get rid of any lingering dirt.
Once the car is clean, vacuum your work space to avoid tracking dirt and dust to the car. If you're working in a garage, it's a good idea to vacuum out the entire garage to ensure that your Toyota stays clean throughout the process. Allow your truck to dry before moving on to the next step.
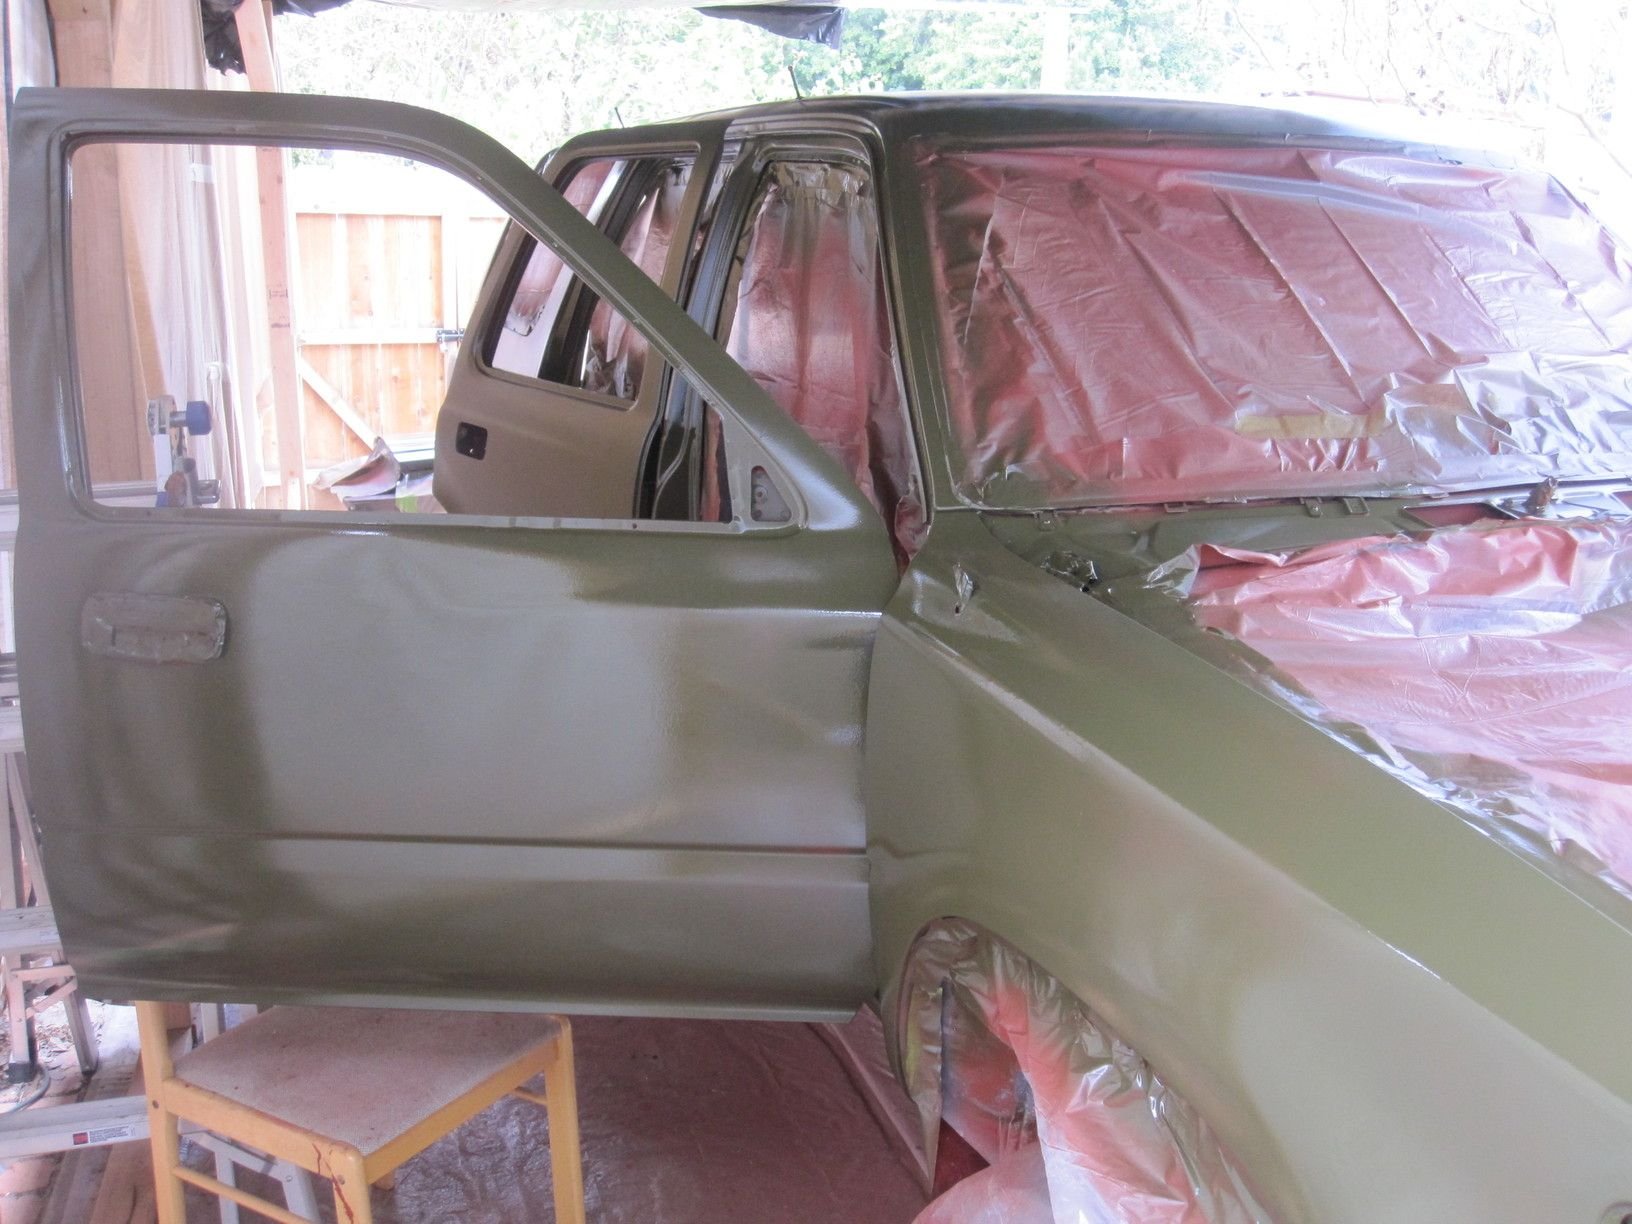
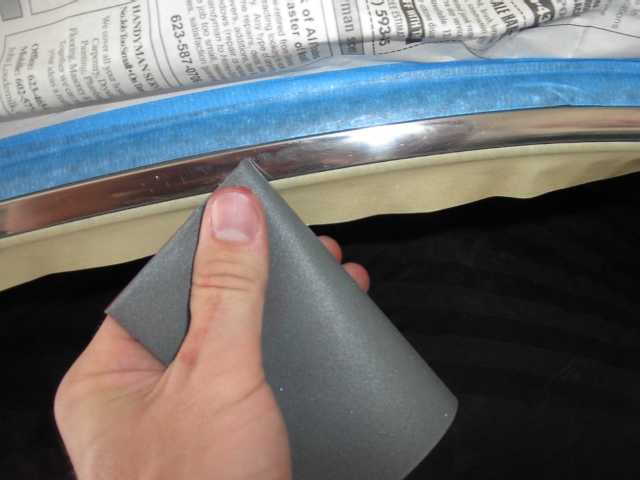
Step 2 – Mask and cover your vehicle
Cover up any parts of the truck that you don't want to paint. The automotive masking paper and tape comes in handy here. It helps to first place the tape strips down to cover up components such as weathering strips and rubber components. Then, apply the paper. Be sure to cover up any openings.
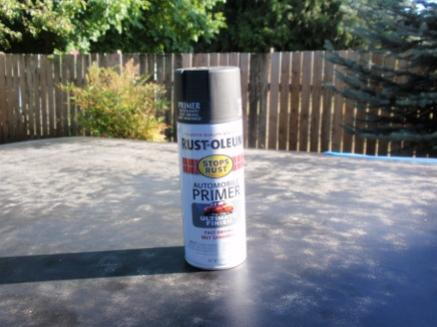
Step 3 – Apply the primer
Check your can of primer for the recommended temperature range. If the temperature is too hot or too cold, the primer may not spray or dry adequately. Don't worry about spraying the primer a bit thin as it's possible to sand then re-coat it. You may need to apply up to three coats of primer.
Pro Tip
For best results, practice with the primer on a cardboard box or a covered wall. You'll need to get the timing and amount right to avoid any runs. While it's possible to clean up primer when it runs, you'll want to get the technique down.
Step 4 – Sand and prime again
Be sure that the primer from the first round has dried. Once it's ready, sand the area by hand with a 400-grit paper. Stop once the primer has sanded down to a smooth finish (this should happen fairly quickly). When it reaches this stage, apply the primer again.
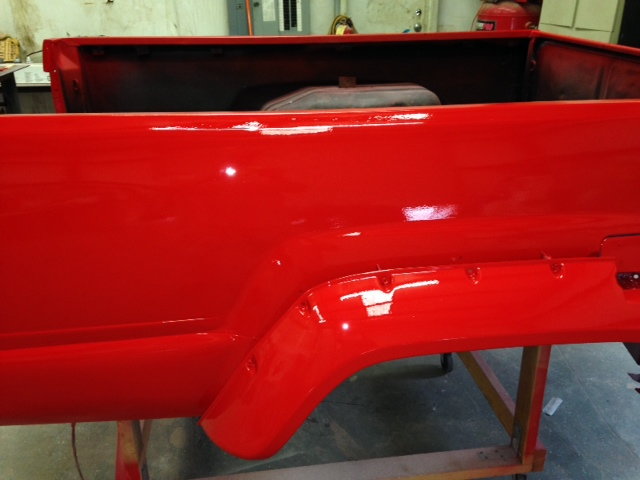
Step 5 – Apply the paint
Start by applying a thin coat of paint. As with the primer, you'll want to make sure that the paint doesn't run. The primer may show through a bit, but that's OK. After applying the initial coat you may need to apply an additional one to two coats of paint to obtain the desired level of thickness and shine.
Related Discussions
- How do I fix this scratch/gouge? - Yotatech.com
- How to remove light bush scratches in paint - Yotatech.com
- What does a good paint job cost? - Yotatech.com