Toyota 4Runner, Tacoma, and Tundra: How to Change a Tire
You won't need a mechanic to change a tire on your Toyota 4Runner, Tacoma or Tundra. Here are the simple steps you'll need to take to complete this straightforward repair.
This article applies to the Toyota 4Runner, Tacoma, and Tundra (1985-present).
We all know the old adage that says, "accidents will happen," but this rarely feels more true than when we're stranded on the side of a road or highway trying desperately to get in touch with a reputable tow truck because we've blown a tire and don't know how (or have the tools needed) to fix the damaged tire. By knowing how to do something as easy as changing the tire on your Toyota 4Runner, Tacoma or Tundra, you can eliminate the panic and stress that usually goes along with this all too common occurrence. Here's how to safely and quickly change a tire.

Materials Needed
- Lug wrench
- Spare or new tire
- WD-40
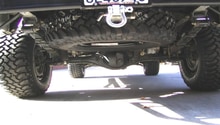
Step 1 – Lower the spare tire
Before you can access your spare tire, you will first need to lower it. With the hatch door open, check for a hole located near the bumper (towards the center). Insert the long end of the jack handle down into the hole. You should feel it stop, meaning it cannot go any farther down into the whole with normal force. Lower the tire by turning the jack handle in a counterclockwise direction. Add lubrication, as needed, or simply remove the air from the spare tire to assist in getting more slack in the cable.

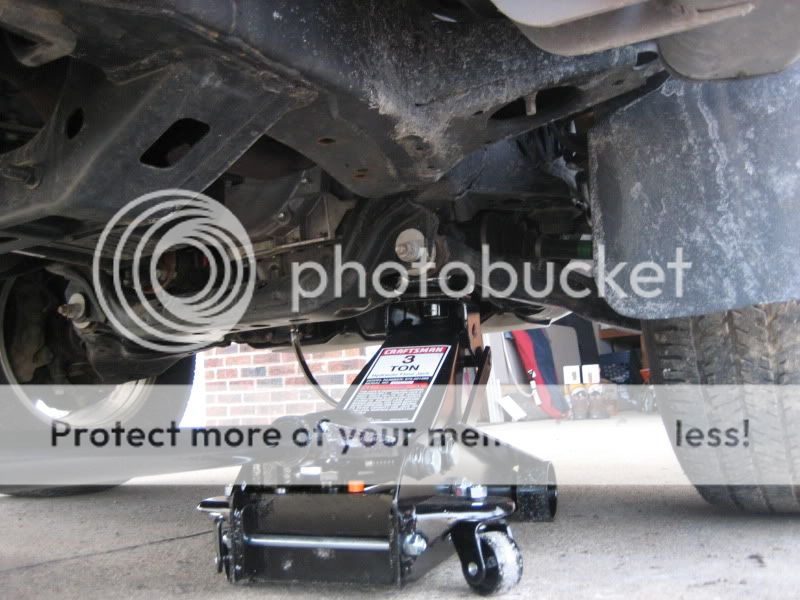
Step 2 – Jack up your car/truck
Place the jack stand under the crossmember/subframe and lift your truck off the ground slowly. Place your jack stands under the frame rails. It's recommended that you jack up the rear of your truck first, and then move to the front and begin lifting it there.
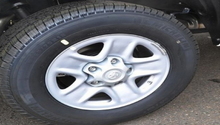
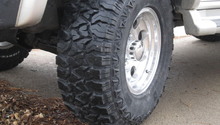
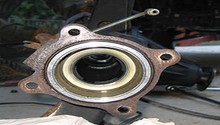
Step 3 – Remove and replace the old tire
Using a lug wrench, loosen and remove all of the lug nuts on the damaged tire. You may need to remove the hubcap. Grab the tire with both hands and pull it towards you. The tire should come completely off the wheel base with ease. If you experience trouble removing it, it's highly recommended that you apply several coats of WD-40 to the entire area.

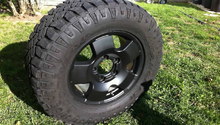
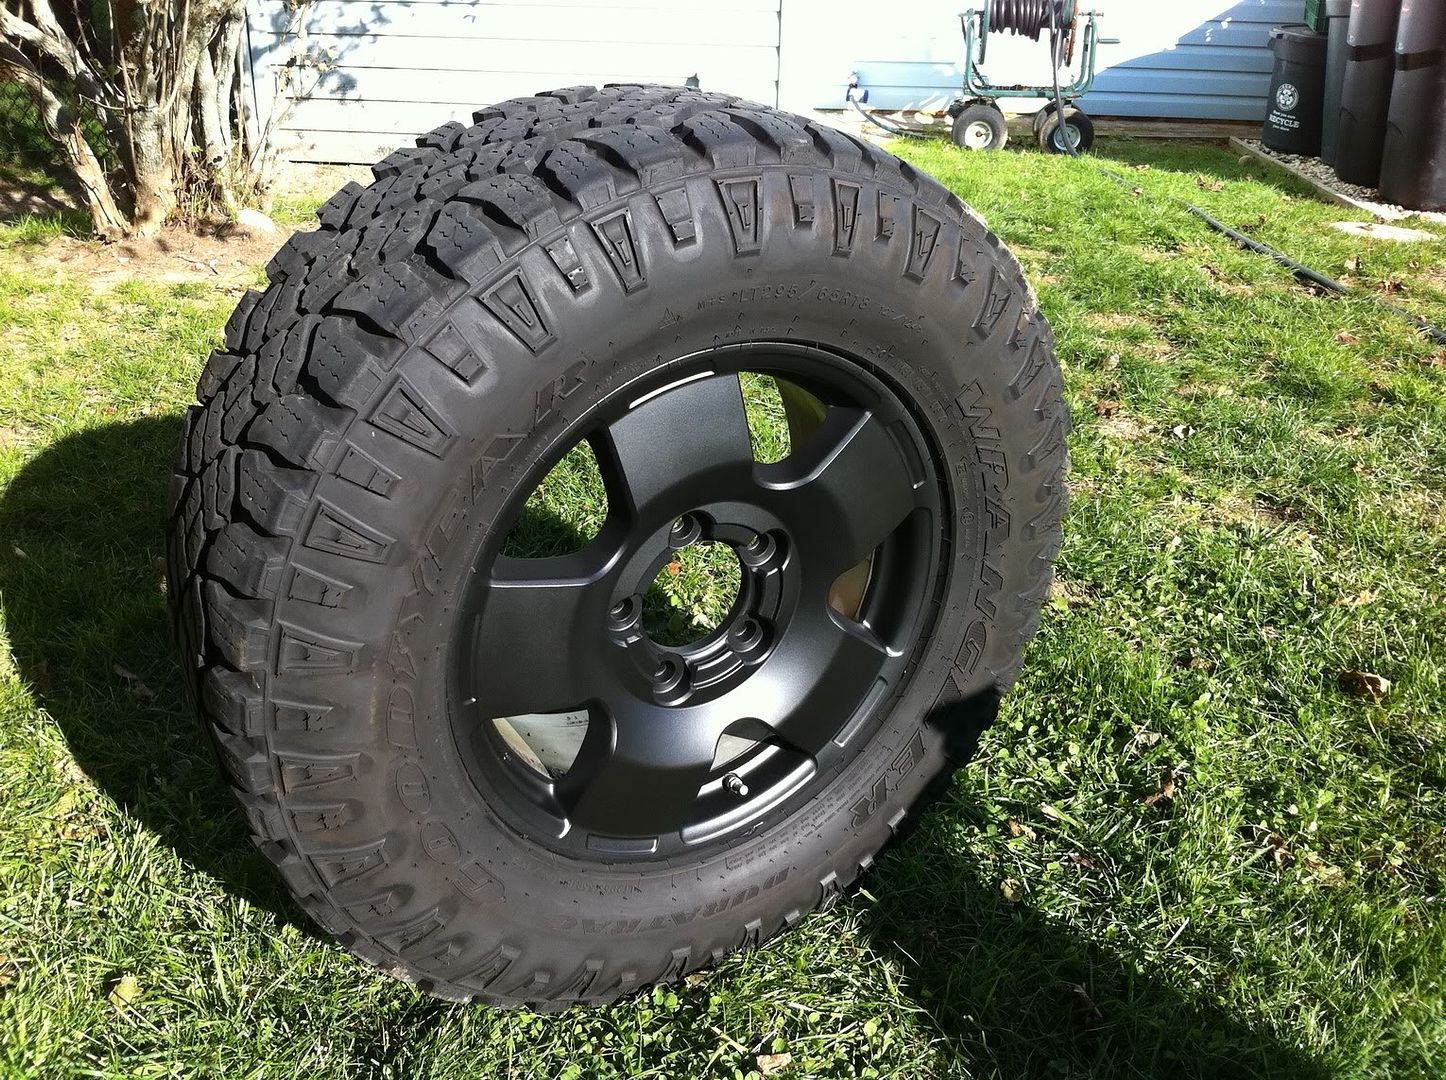
Step 4 – Mount the new tire
To mount your new tire, line up the lug nut posts so they match the holes in your spare tire. Mount the tire onto the wheel base, pushing it in until it is flush with the base and cannot go any farther. Tighten your lug nuts.
Pro Tips
- When changing a tire, it's important that you use the same size tire as the ones that came on your truck.
- You won't necessarily need to have your tires professionally aligned after changing a tire. The exception to this rule is when a new tire appears to wear oddly or there was some previous issue that might require it.
Related Discussions
- Release Spare Tire - Yotatech.com
- Wheel Alignment - Yotatech.com
- Changing a Spare Tire - Yotatech.com