Toyota 4Runner 1984-1995: How to Replace Ball Joints
Do you have a scraping or grinding noise coming from your suspension? It might be time to replace those old, worn out ball joints before things get much worse.
This article applies to the Toyota 4Runner (1984-1995).
The ball joints are relatively simple components with a serious task to handle. By linking the suspension arms to the hub where the wheel mounts, the ball joints handle the forces from impacts that the wheels receive from things like potholes or off-road terrain, as well as dealing with the constant movement that the suspension sees. Once the ball joint's rubber boots tear, the packed grease within becomes subject to contamination, prematurely killing the joint. If a ball joint is allowed to continue to degrade, it can result in joint failure, which will damage other suspension components and could cause a severe accident if it were to occur while at speed. Ball joints can be expected to last between 60,000 to 100,000 miles, so if you're due, let's get it done!

Materials Needed
- Jack
- Jack stands
- Ratchet
- Sockets: 12mm, 15mm, 18mm
- Breaker bar
- Hammer and punch
- Ball joint puller
Step 1 – Remove the CV
Begin by jacking up the front of your 4Runner and placing it on jack stands. Remove the front wheels. Remove the bolts from the hub (could be either 12mm or 15mm). Use a hammer and a brass punch to remove the cone shaped washers, one at a time. This can be a frustrating process and might take some time or convincing from a butane torch. Remove the bolts that hold the CV to the differential. Remove the CV nut washer, snap ring, and washer to free the CV for removal.
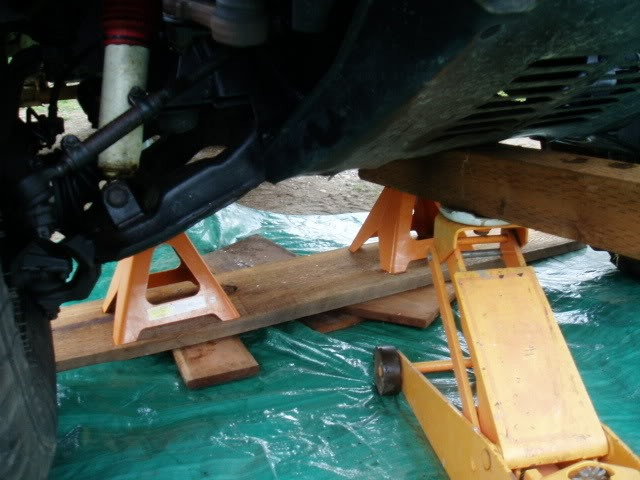
Figure 1. Jack the car up and place it on jack stands. 
Figure 2. Remove the front wheels. 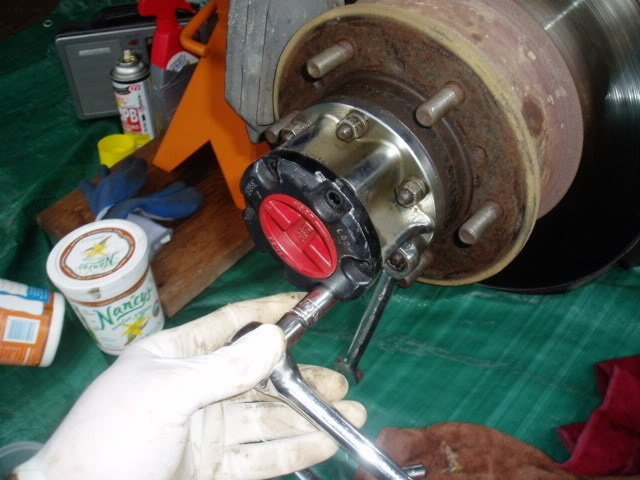
Figure 3. Remove the hub bolts. 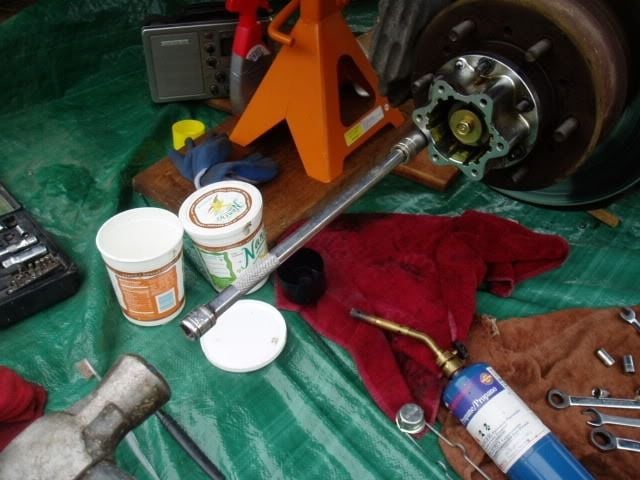
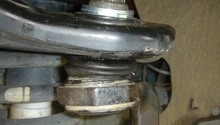
Figure 4. Remove the cone shaped washers. 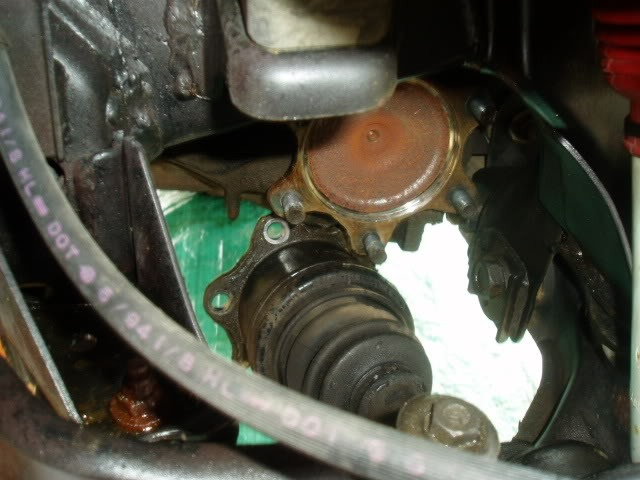
Figure 5. Remove the CV bolts and the CV.
Step 2 – Replace ball joints
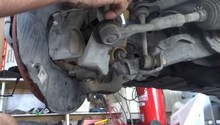
Remove the bolts and nuts holding the upper ball joint. Depending on the ball joint puller you have, you might have to remove the brake caliper and knuckle arm to gain adequate clearance as well. Use the ball joint puller to remove the upper, then the lower ball joints. Install the new upper as well as lower ball joints and torque to spec.
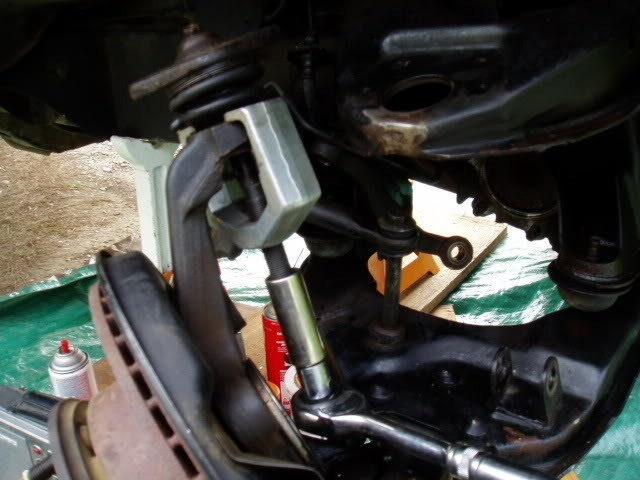
Figure 6. Remove the upper ball joint. 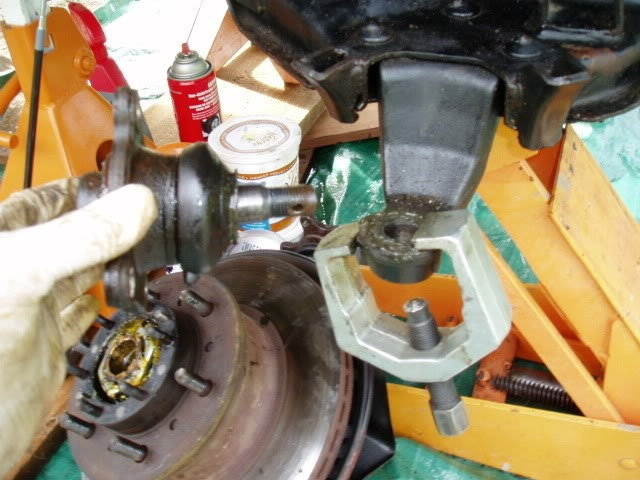
Figure 7. Remove the lower ball joint. 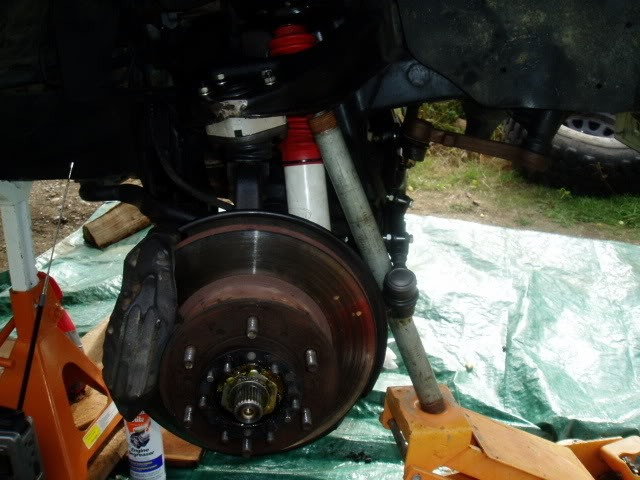
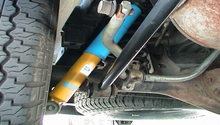
Figure 8. Install the new upper and lower ball joints.
Step 3 – Reinstall CV
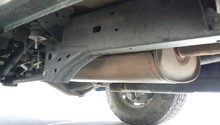
Slide the CV back into place and replace the snap ring, washer, and bolts. Reinstall the hub, cone shaped washers, and bolts. Repeat on the other side, then reinstall the wheels, lower the car off the jack stands, and test drive.
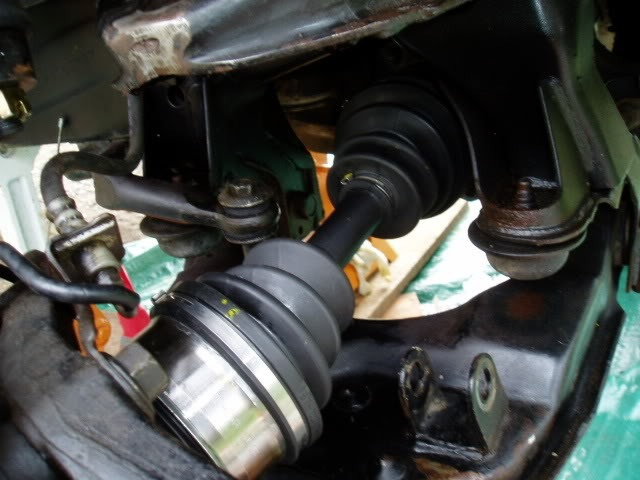
Figure 9. Reinstall the CV. 
Figure 10. Reinstall the hub. 
Figure 11. Reinstall the wheels and test drive.
Related Discussions
- Ball Joint Replacement - YotaTech.com
- Ball Joint Failure - YotaTech.com