Swim's 1994 4runner Build Up thread- the Alaskan Assult Vehicle (AAV)

 03-07-2011, 03:49 PM
#82
Registered User
Thread Starter

Hmmm it's been a while since I updated.
-Erich_870 - Engine was built buy a guy in Maryland. I grew up with his brother, so I got the "good guy discount" He builds trophy truck engines, so he doesn't really have time to build 3vze's. Transmission was rebuilt by Hansen Transmission here in town.
-yotasavg- Thanks man, engine mods are fun, but they are sure time consuming.
-ChefYota4x4- Thanks!! I've been following your thread since I first started on this board. Awesome work! The squeal was fun to track down..... yeah, not. Pulled the belts... nope, not there. Thought it was the false water pump.... nope. Pulled it down to the timing belt thinking it was the big idler pulley, as it turns out it was actually the primary tensioner. It was annihilated. So, new belt and tensioner. Slapped it all back together, re-timed it, and she's running again!
03-07-2011, 03:51 PM
#83
Registered User
Thread Starter
-Thrice- Thanks man, I love the 3vze. It's so quirky... it just keeps you on your toes. I like those kinds of things..... I guess that's why I fly old planes too....
 03-19-2011, 09:10 PM
#86
Registered User
Thread Starter
03-19-2011, 10:03 PM
#87
Registered User
Join Date: Oct 2008
Location: northen nevada
Posts: 326
Likes: 0
Received 0 Likes
on
0 Posts
Nice 4runner I like you're build I also liked the 3.0 I had in my 94 ext cab I had almost 500thousand on it when my ex wife took it in the divorce that was with no major things done to motor or transmission only regular maitnance like timing belts and oil changes and tune ups one set of fuel injectors but great build
 05-03-2011, 10:07 AM
#90
Registered User

Join Date: May 2011
Posts: 1
Likes: 0
Received 0 Likes
on
0 Posts
can the valves be adjusted on the 3vz-e 3.0 v6 motor
does anyone know about valve adjustments on a 94 toyota 4runner? i heard that they can NOT be adjusted? can they be? i am lackin power and this is what i think needs to be done. but i had a friend say that they cant be adjusted??? its a v6 3vz-e 3.o
05-04-2011, 09:41 AM
#92
Registered User
Thread Starter
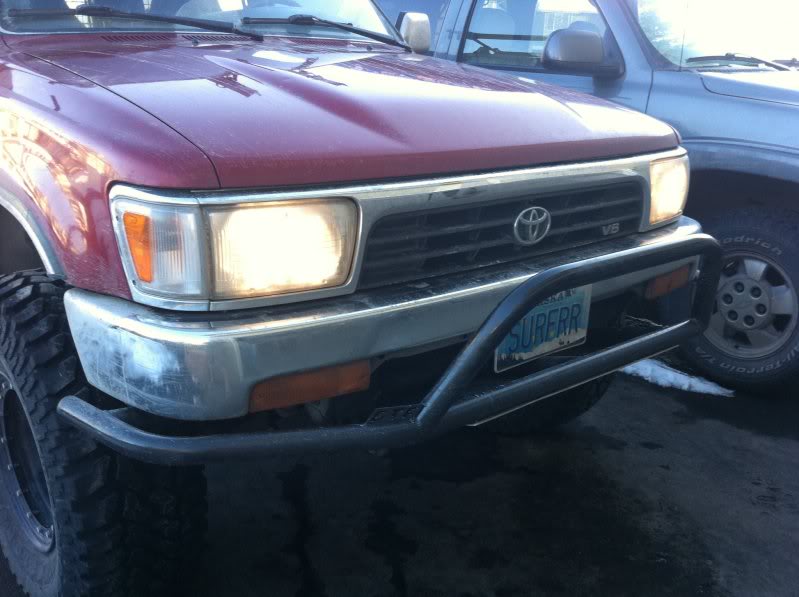
As some of you know, my plan for this vehicle is not to rock crawl, but to get me out to do the things I'm addicted to. Mountain Biking, Climbing, Surfing, Triathlons, Scuba Diving, and Skiing. So far, it's done a pretty good job, but there are some things that are missing that would make my life easier. It should also be noted that this vehicle will no longer spend time in a cold environment, it leaves for sunny socal in July.
The first and foremost, onboard water, and a hot shower. To some this would seem unnecessary, to me, it's important. I often head from the crag to work, or from the surf to work. Most of the time smelling pretty badly. I'd love to be able to pull out a shower head, flip a switch, and rinse off before work.
So here is the goal. Establish a way to have at least 10 gallons of water on-board, without taking up any additional cabin space. Be able to fill the water container without opening the tailgate, but also without cutting into any exterior panel that is visible. Install a hot water shower that will operate without having to lift the hood. All access will be up front.
Last edited by Swim; 05-04-2011 at 09:54 AM.
05-04-2011, 09:59 AM
#93
Registered User
Thread Starter
-----This is for a Water tank for my shower, not for fuel-----
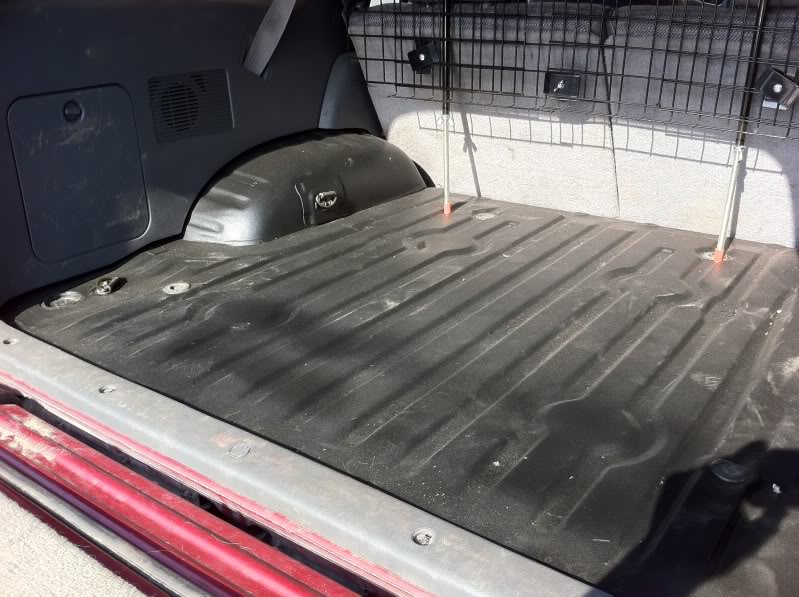
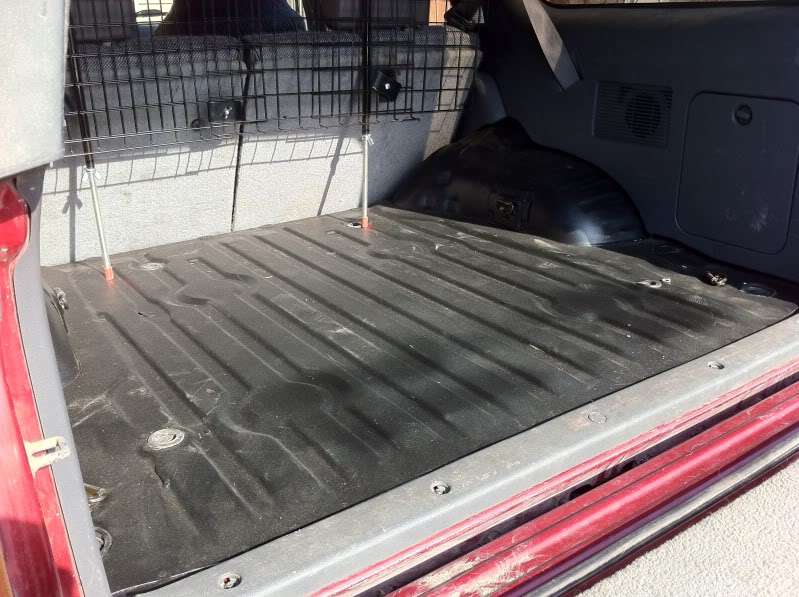
So here's what I'm thinking. I no longer have a spare tire underneath. I'm thinking to keep costs low, but to make an effective tank, what about using 2, 6gallon jerry cans. The space I'm working with is 24x34x8", I can't get too close to the exhaust on the driverside otherwise the tanks will burn.
So here's what I've come up with. (PLEASE excuse the horrible rendering... I'm not feelin it today)
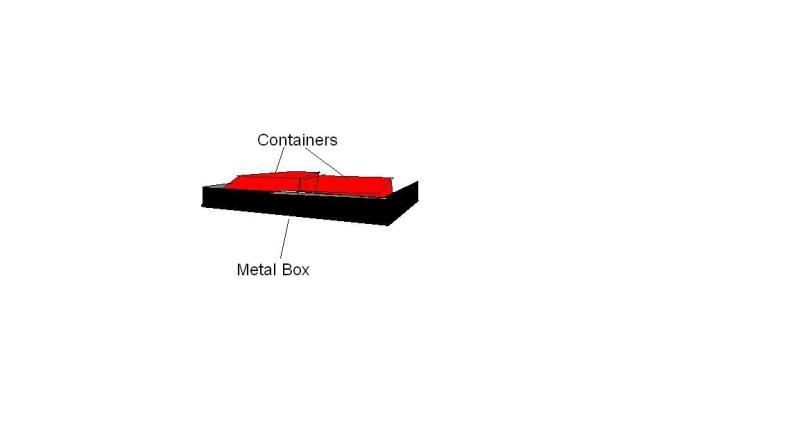
So far the cans seem to fit pretty well under there in the test fit. This is NOT permanent.
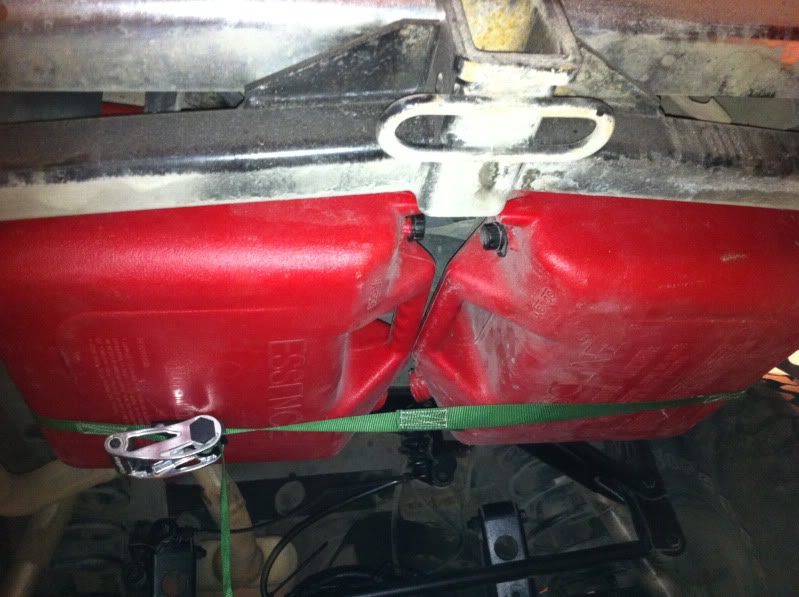
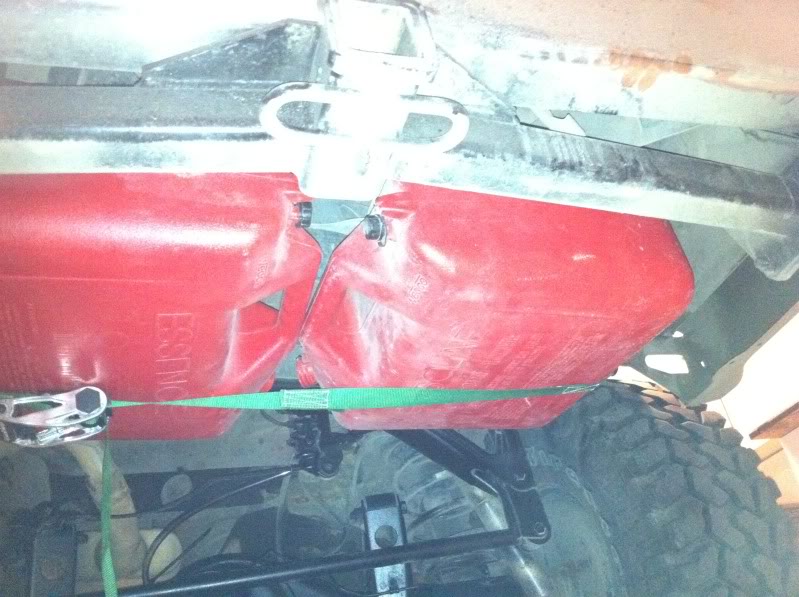
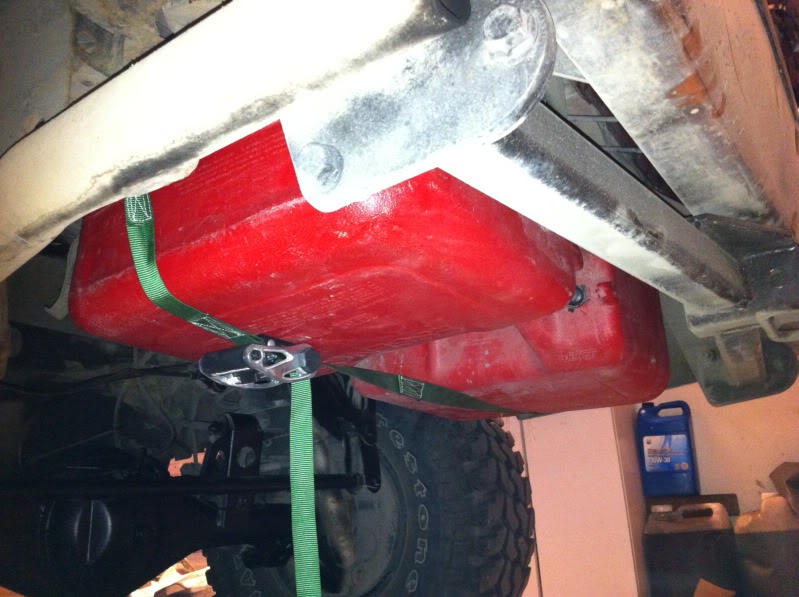
Now, how do I fill them, and is 12 gallons gonna be enough?
So here's what I'm thinking. I no longer have a spare tire underneath. I'm thinking to keep costs low, but to make an effective tank, what about using 2, 6gallon jerry cans. The space I'm working with is 24x34x8", I can't get too close to the exhaust on the driverside otherwise the tanks will burn.
So here's what I've come up with. (PLEASE excuse the horrible rendering... I'm not feelin it today)
So far the cans seem to fit pretty well under there in the test fit. This is NOT permanent.
Now, how do I fill them, and is 12 gallons gonna be enough?
Last edited by Swim; 05-04-2011 at 10:14 AM.
05-04-2011, 10:10 AM
#94
Registered User
Well first off I don't think that would be a legal fuel tank setup.
Second with them being plastic and down there like that would be an easy puncture, depending on the box surrounding it.
Setting up the pickup tube/tubes would be difficult I would think as well as a gauge of sort.
12 gallons is a little less than what the normal holds (17 I think maybe 15, around that anyway)
Probably your best bet would be to get a proper fuel cell. Cut the floor in the back and do a half mount (half in, half out) and box it all in proper.
Last edited by Lumpy; 05-04-2011 at 10:11 AM.
05-04-2011, 10:13 AM
#95
Registered User
Thread Starter
Well first off I don't think that would be a legal fuel tank setup.
Second with them being plastic and down there like that would be an easy puncture, depending on the box surrounding it.
Setting up the pickup tube/tubes would be difficult I would think as well as a gauge of sort.
12 gallons is a little less than what the normal holds (17 I think maybe 15, around that anyway)
Probably your best bet would be to get a proper fuel cell. Cut the floor in the back and do a half mount (half in, half out) and box it all in proper.
Second with them being plastic and down there like that would be an easy puncture, depending on the box surrounding it.
Setting up the pickup tube/tubes would be difficult I would think as well as a gauge of sort.
12 gallons is a little less than what the normal holds (17 I think maybe 15, around that anyway)
Probably your best bet would be to get a proper fuel cell. Cut the floor in the back and do a half mount (half in, half out) and box it all in proper.
This is for water. For a shower. No fuel
05-04-2011, 10:30 AM
#97
Registered User
Sometimes I just don't know about myself...Damit use blue so I don't get confused. Help me out a bit!!!
Now that were on the same page...
Cap the caps...drill and cap the sides which is now the top and bottom. 2 on top 1 on bottom. One of the top make a garden hose connection and silicone it in and the other top one make a small breather line. Tie the 2 top hoses together with a y connector. On the bottom do the same garden hose connection. tie the 2 bottom together so it will draw from both at the same time. Have the fill line go into one of the inner rear storage compartment with 10' of hose. Use the existing breathers on the jugs to tie the 2 together again to help keep them balanced.
That better?
Last edited by Lumpy; 05-04-2011 at 10:33 AM.
05-04-2011, 12:24 PM
#100
Registered User


