8t74runner's 1981 Pickup


 01-13-2012, 08:25 PM
#2
Registered User
nice looking first gen! ive always wanted a first gen but could never find oine in decent shape for a decent price, everything i saw was kinda beat up and them wanting 3500-5k!
01-14-2012, 05:48 AM
#4
Registered User
Thread Starter

Join Date: Jan 2012
Location: Calhoun, GA
Posts: 14
Likes: 0
Received 0 Likes
on
0 Posts
Right now, i'm working on replacing the water pump, fan clutch, thermostat, bolting the engine in with more than 2 bolts per side, and fixing an exhaust leak. After that, i've gotta run down a grill, some door panels, and a tailgate would be nice.
The truck is pretty solid. the only major rust is the back right corner of the bed, which ive found, just haven't cut off the old bed.
The truck is pretty solid. the only major rust is the back right corner of the bed, which ive found, just haven't cut off the old bed.
 01-16-2012, 04:35 PM
#6
Registered User
Thread Starter
Join Date: Jan 2012
Location: Calhoun, GA
Posts: 14
Likes: 0
Received 0 Likes
on
0 Posts
barely missed it, but near drowned in s*** creek shortly after. or it would have been nice to been a little closer when the wires started smokin.
The short side of the story is the clutch pedal fell off at a red light, tried to crank it in gear, the cheap toggle switch for the starter that was straight wired to the battery burned up, starter wouldn't cut off and smoked all the ground wires off the motor. Two hours later we were back on the road, and it now cranks with the key...
So after toyota adventure #1, I removed all the junk wiring out from under the dash and under the hood.

The next project.
The charge light stays on, yet the alternator is charging fine. Seems after some one did the Buick swap on it, they felt the need to butcher about all the wiring. Yes that is duct tape.


Some under hood shots showing off the Buick radiator and chrome fan shroud.


The carb linkage.

The short side of the story is the clutch pedal fell off at a red light, tried to crank it in gear, the cheap toggle switch for the starter that was straight wired to the battery burned up, starter wouldn't cut off and smoked all the ground wires off the motor. Two hours later we were back on the road, and it now cranks with the key...
So after toyota adventure #1, I removed all the junk wiring out from under the dash and under the hood.
The next project.
The charge light stays on, yet the alternator is charging fine. Seems after some one did the Buick swap on it, they felt the need to butcher about all the wiring. Yes that is duct tape.
Some under hood shots showing off the Buick radiator and chrome fan shroud.
The carb linkage.
Trending Topics
 01-25-2012, 04:52 PM
#10
Registered User
Thread Starter
Join Date: Jan 2012
Location: Calhoun, GA
Posts: 14
Likes: 0
Received 0 Likes
on
0 Posts
No, not a fan of half done.
Done a little cleaning on the engine and started replacing the cooling system.
New parts:
Radiator and cap
water pump
thermostat
belts
hoses
fan clutch
i also got a metal fan shroud, seat belts, and a grill for $80 from a local shop.
get it tore down and realize it doesn't have the lower radiator hose pipe, the alternator bearing was in worse condition than the water pump bearing, the thermostat housing bolts were standard, and the valve cover gasket was just the gasket, not the kit.
So as it sits right now, the new water pump and thermostat is in, and the valves are adjusted. The radiator came in a day late, the Celica lower hose has to be ordered, and the alternator is getting rebuilt.
Some pics

The throttle cable wasnt bolted to the firewall and was cutting a slice in it. the cable looks fine. Ive read somewhere that the bracket on the valve cover needed to be modified somehow to give it some more slack? Any ideas?

And the only good news: Found a grill!

Done a little cleaning on the engine and started replacing the cooling system.
New parts:
Radiator and cap
water pump
thermostat
belts
hoses
fan clutch
i also got a metal fan shroud, seat belts, and a grill for $80 from a local shop.
get it tore down and realize it doesn't have the lower radiator hose pipe, the alternator bearing was in worse condition than the water pump bearing, the thermostat housing bolts were standard, and the valve cover gasket was just the gasket, not the kit.
So as it sits right now, the new water pump and thermostat is in, and the valves are adjusted. The radiator came in a day late, the Celica lower hose has to be ordered, and the alternator is getting rebuilt.
Some pics
The throttle cable wasnt bolted to the firewall and was cutting a slice in it. the cable looks fine. Ive read somewhere that the bracket on the valve cover needed to be modified somehow to give it some more slack? Any ideas?
And the only good news: Found a grill!
 01-27-2012, 04:16 PM
#12
Registered User
Thread Starter
Join Date: Jan 2012
Location: Calhoun, GA
Posts: 14
Likes: 0
Received 0 Likes
on
0 Posts
Finally got the radiator in. Had to make a bracket to mount it to the driver side since the po had trimmed the core support for the Buick radiator. Also had the alternator bearings replaced for $25, fixed the throttle cable, and relocated the vacuum advance hose for the distributor.


A friend of mine works at the CAT shop down the road, so im going to use there steam bay and clean under the hood finally.
A friend of mine works at the CAT shop down the road, so im going to use there steam bay and clean under the hood finally.
01-24-2013, 07:49 PM
#13
Registered User
Thread Starter
Join Date: Jan 2012
Location: Calhoun, GA
Posts: 14
Likes: 0
Received 0 Likes
on
0 Posts
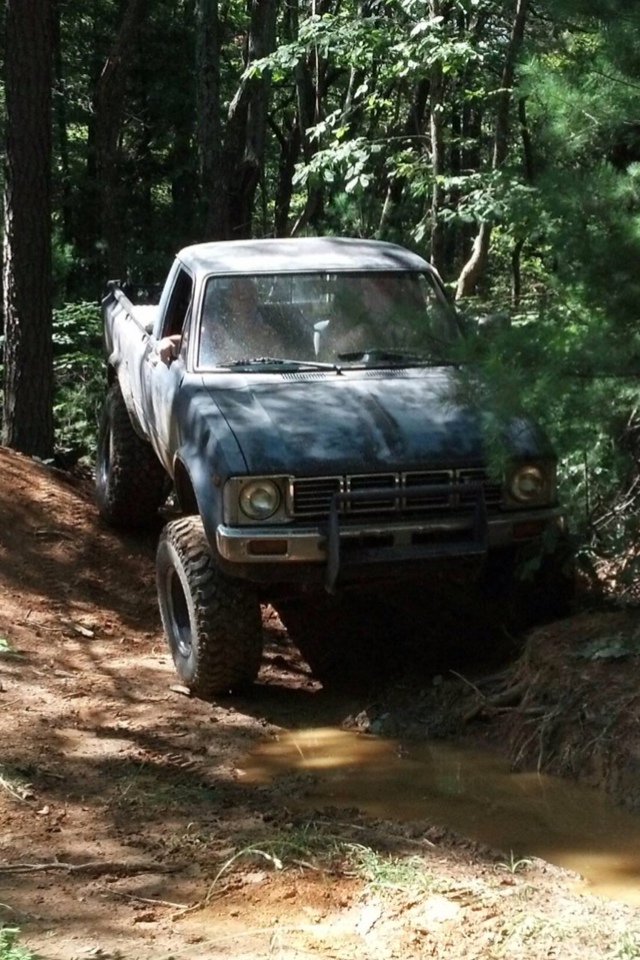
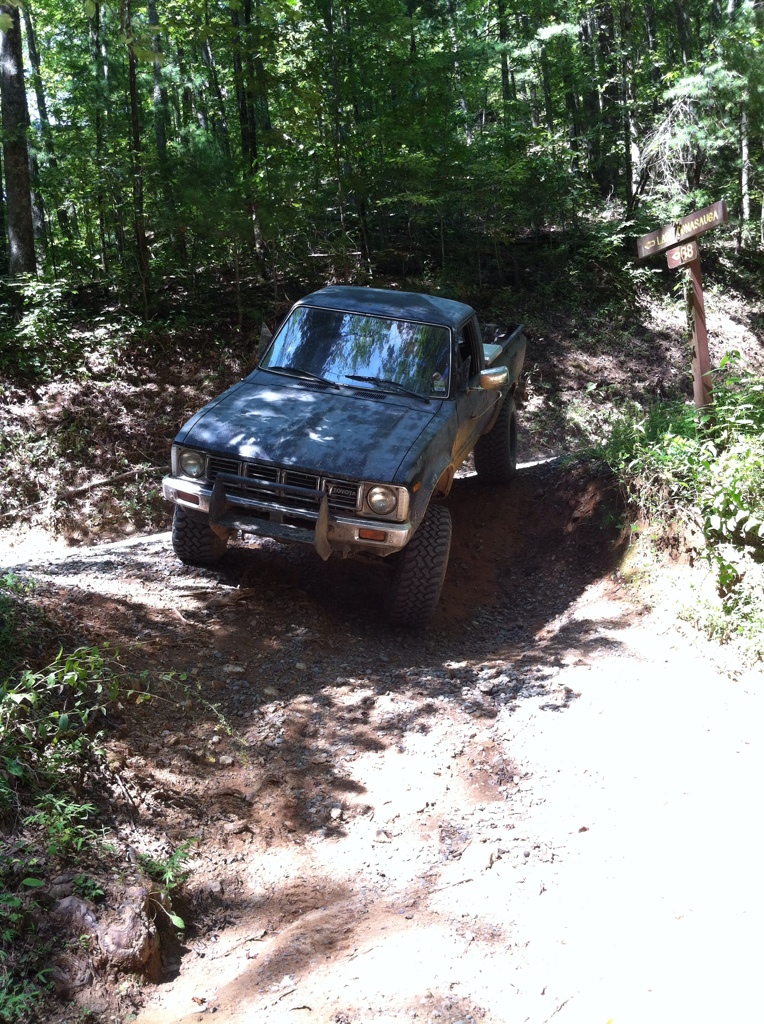
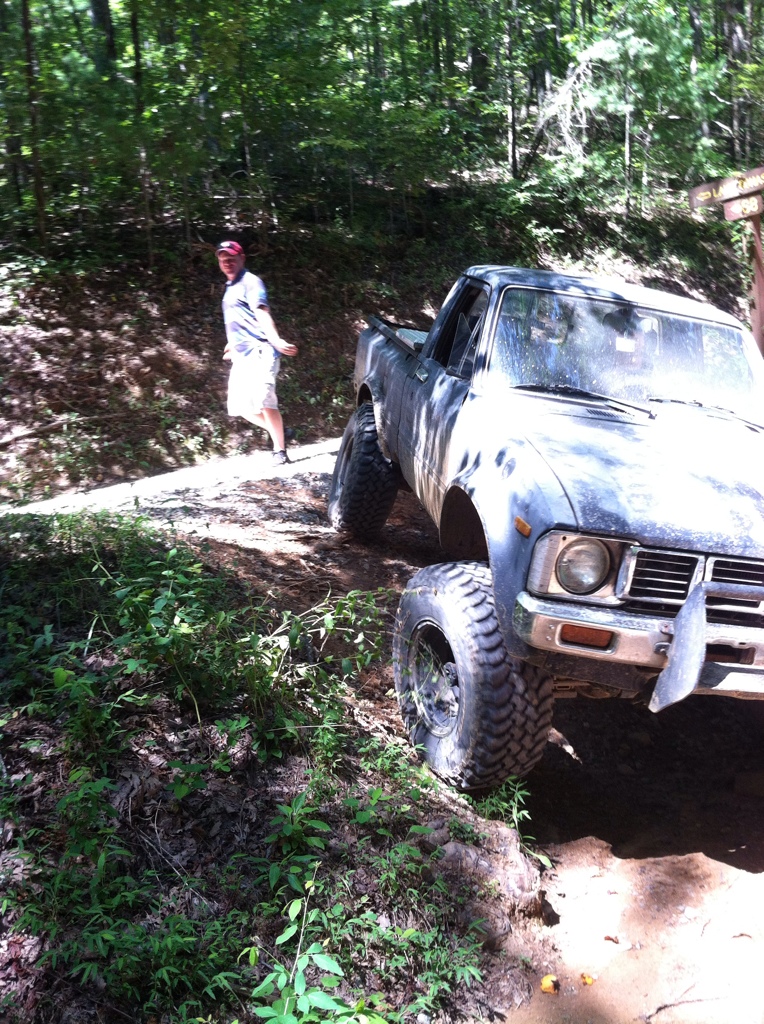
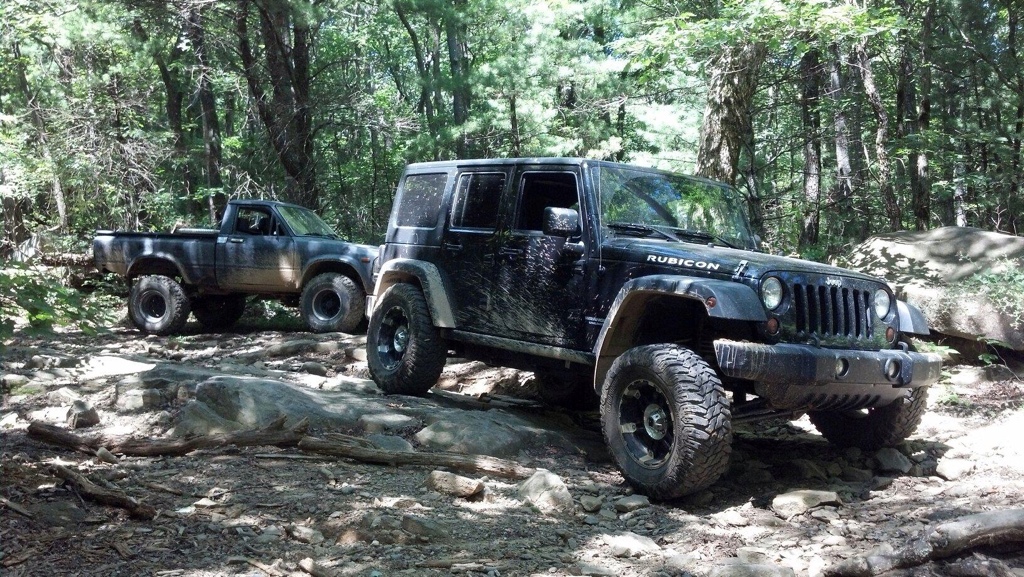
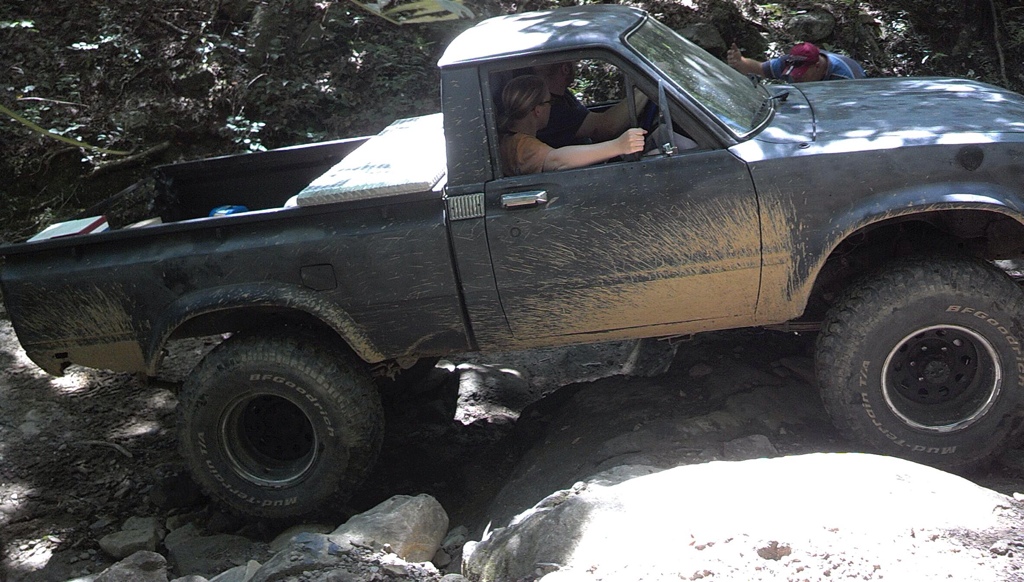
Since my last post, I've made a little progress. Went wheeling in it for the first time and had some idle issues and lost the brakes coming off the mountain. Once we were on the road, a quick bleeding got it back to stopping, but the sway bar bushings, endlink bushings, and drivers tie rod were definately showing they're age now.


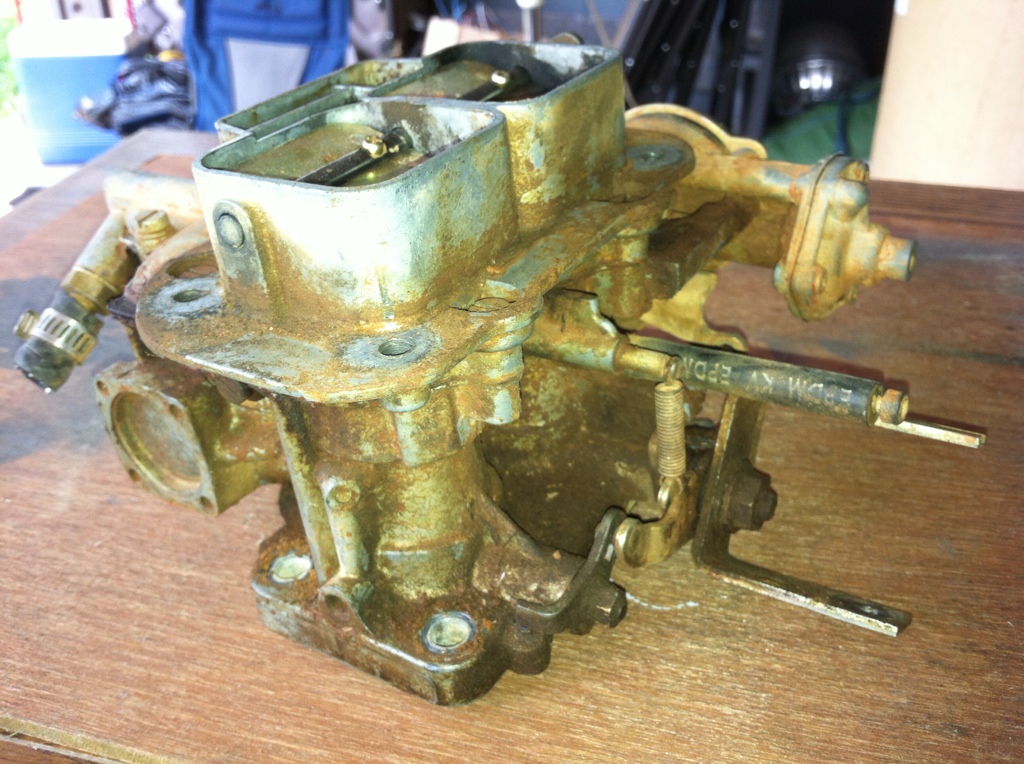
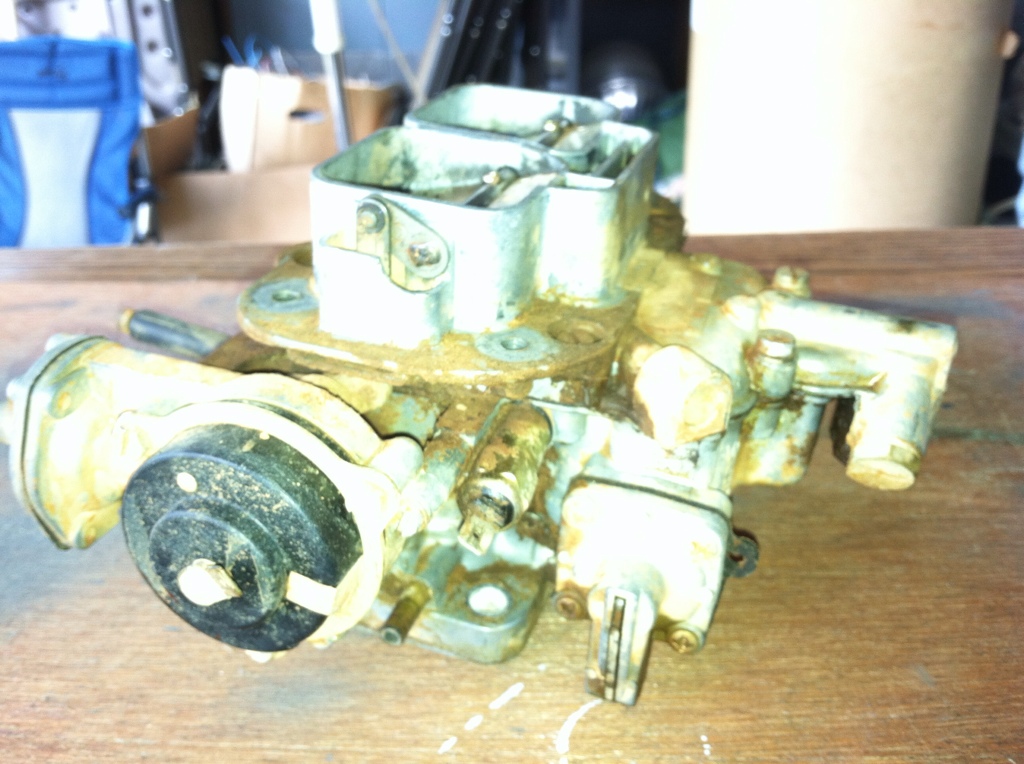
I rebuilt the Weber and resealed the 2 piece base and installed a new filter element that I found at a VW show for a buck.
Some before pics on the Weber.
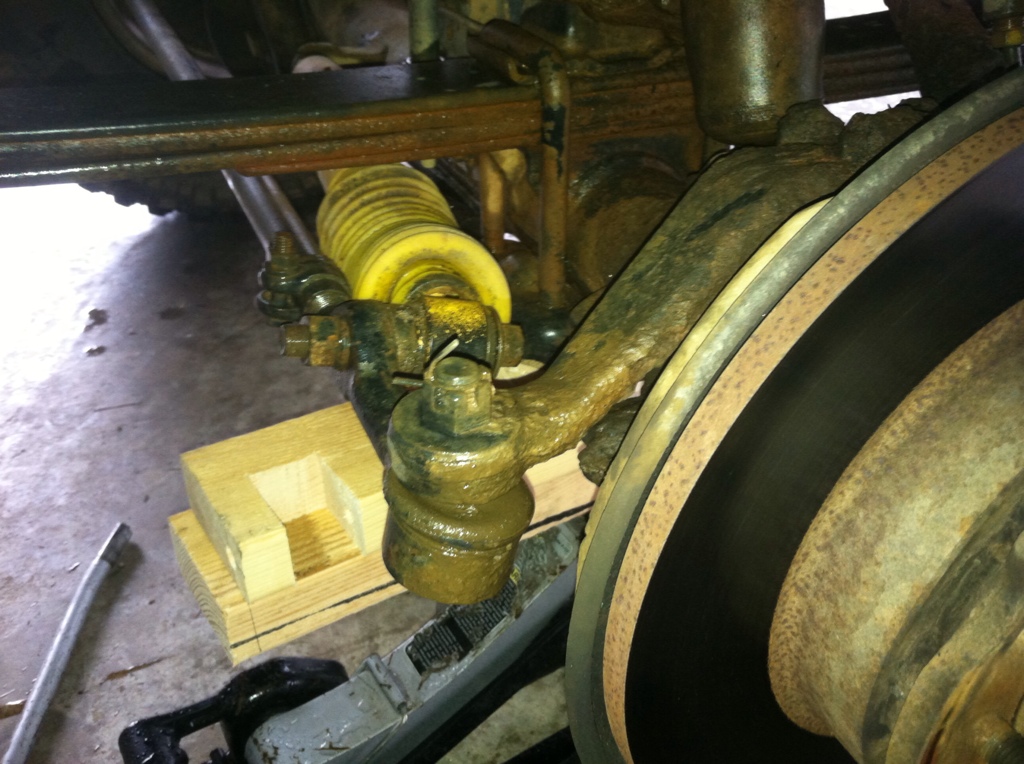
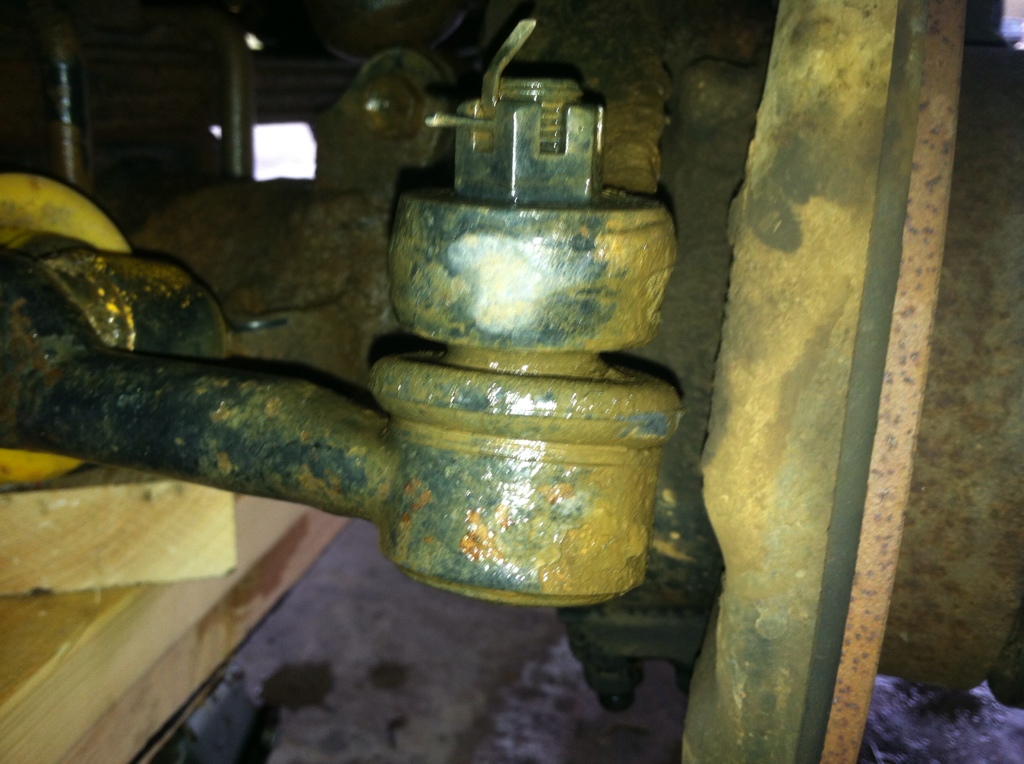
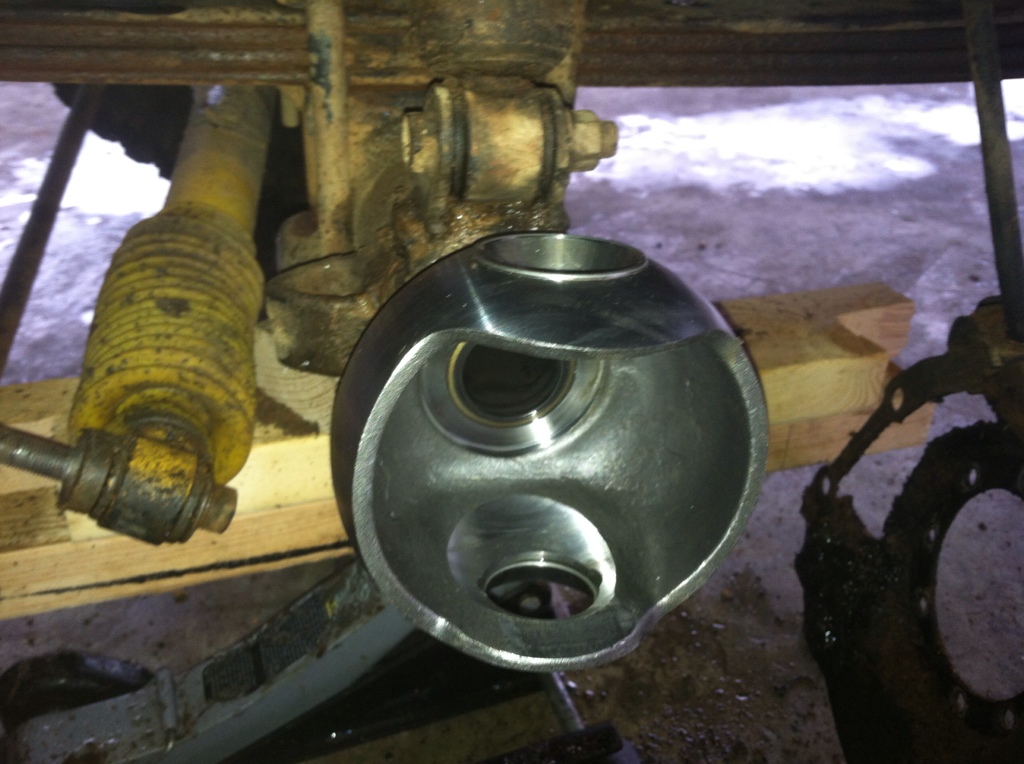
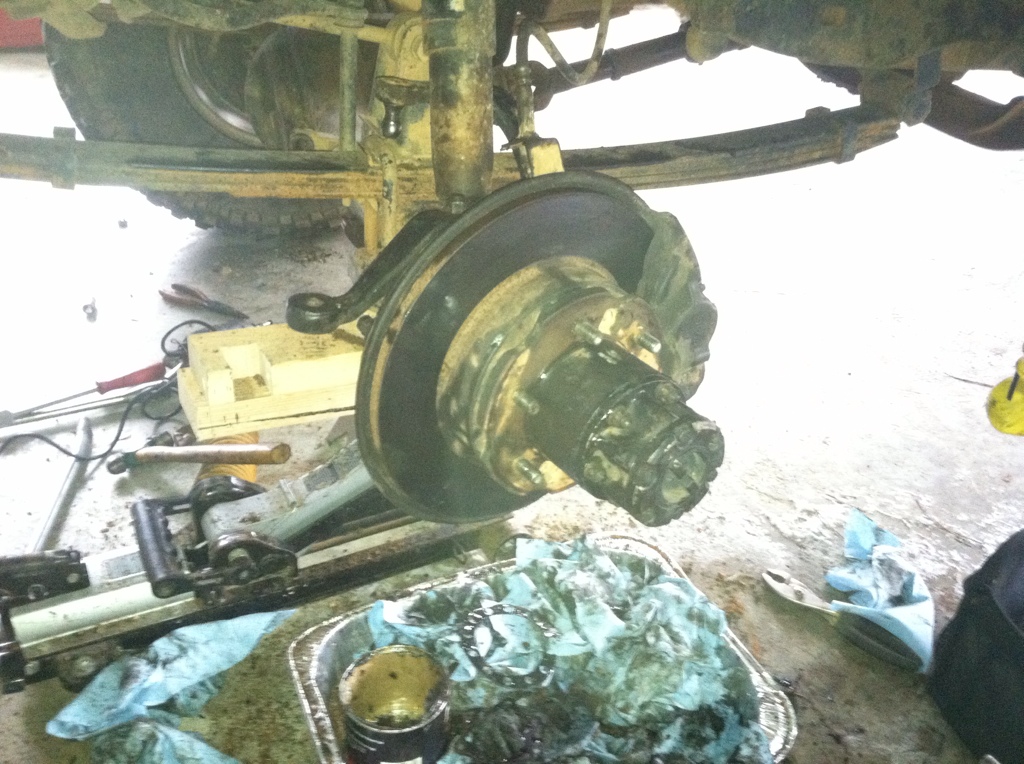
I tore the right side of the axle apart, found a broke knuckle bearing and the truck sat for 5 weeks in the front yard of the house we just closed on the day before. Also gave the ol ride a $24 rattle can make over.
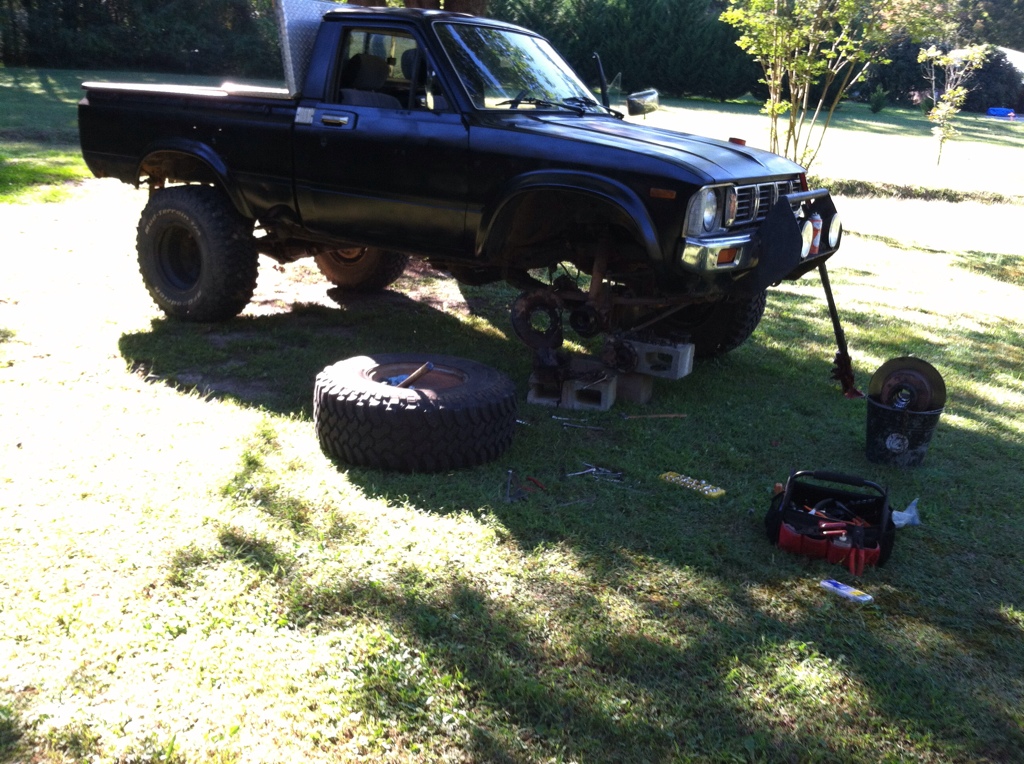
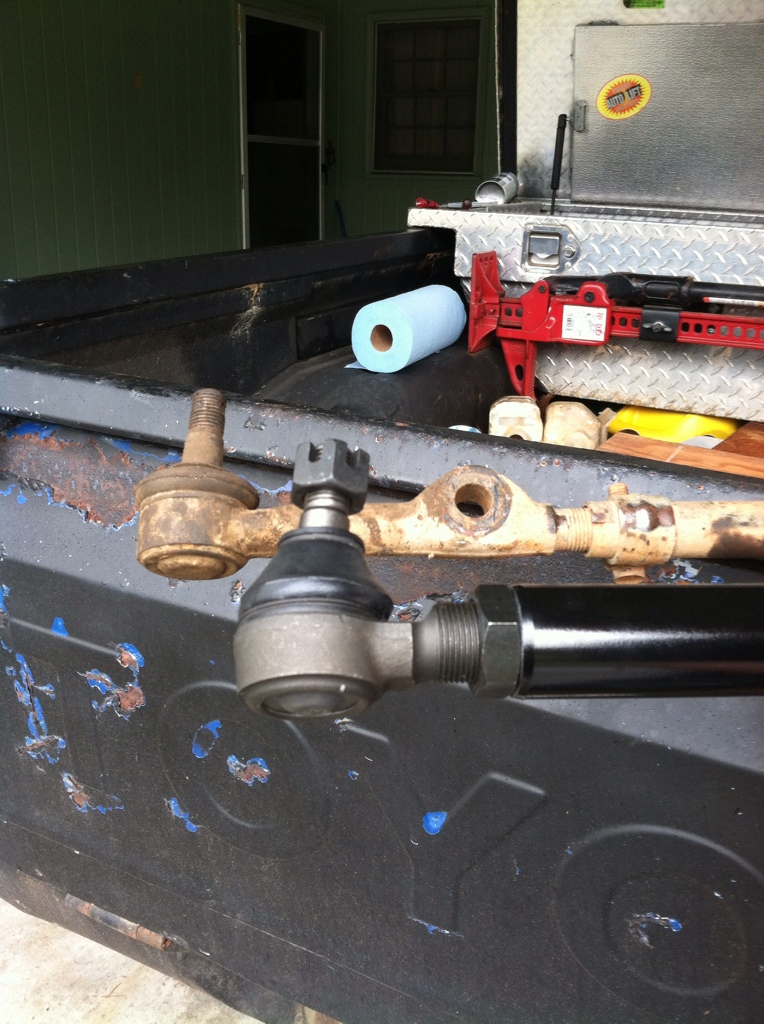
Finally my wife located my inspiration to reassemble it and i got it back on the road. Mounted Hella 500s on the push bar that i had from my 4runner. I ordered a Marlink tie rod as well as a steering dampener and a Moog drag link kit.
And a shot of the left side reassembled.
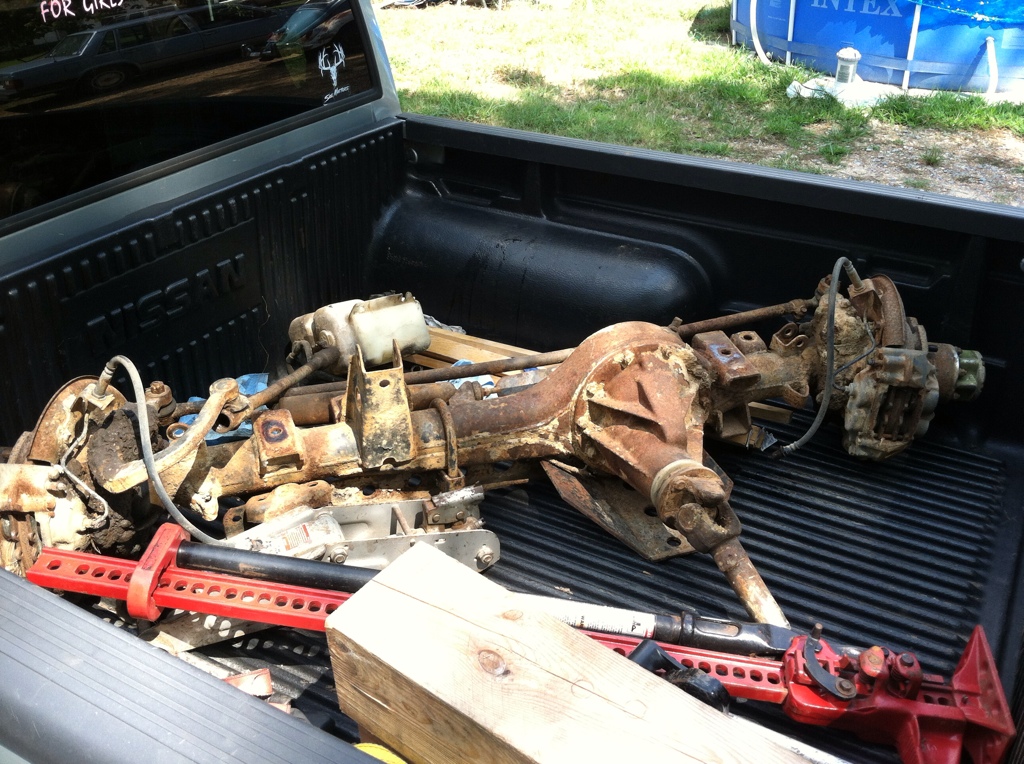
I scored a front axle at the scrap yard for $50 and a rough tail gate for $25
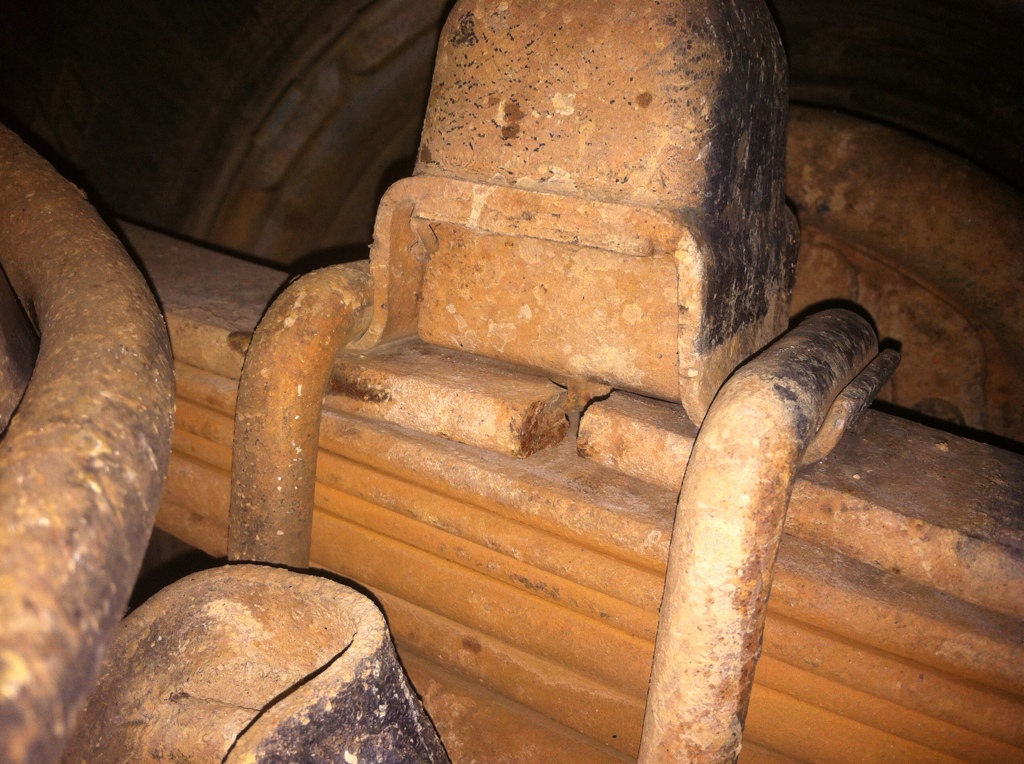
Also, broke a AAL on the right side. Got it removed but it dropped the rear 2 inches so its lower than the front now. May do the Zuk mod this weekend the help it out.
I rebuilt the Weber and resealed the 2 piece base and installed a new filter element that I found at a VW show for a buck.
Some before pics on the Weber.
I tore the right side of the axle apart, found a broke knuckle bearing and the truck sat for 5 weeks in the front yard of the house we just closed on the day before. Also gave the ol ride a $24 rattle can make over.
Finally my wife located my inspiration to reassemble it and i got it back on the road. Mounted Hella 500s on the push bar that i had from my 4runner. I ordered a Marlink tie rod as well as a steering dampener and a Moog drag link kit.
And a shot of the left side reassembled.
I scored a front axle at the scrap yard for $50 and a rough tail gate for $25
Also, broke a AAL on the right side. Got it removed but it dropped the rear 2 inches so its lower than the front now. May do the Zuk mod this weekend the help it out.
01-26-2013, 08:00 AM
#14
Registered User
Thread Starter
Join Date: Jan 2012
Location: Calhoun, GA
Posts: 14
Likes: 0
Received 0 Likes
on
0 Posts
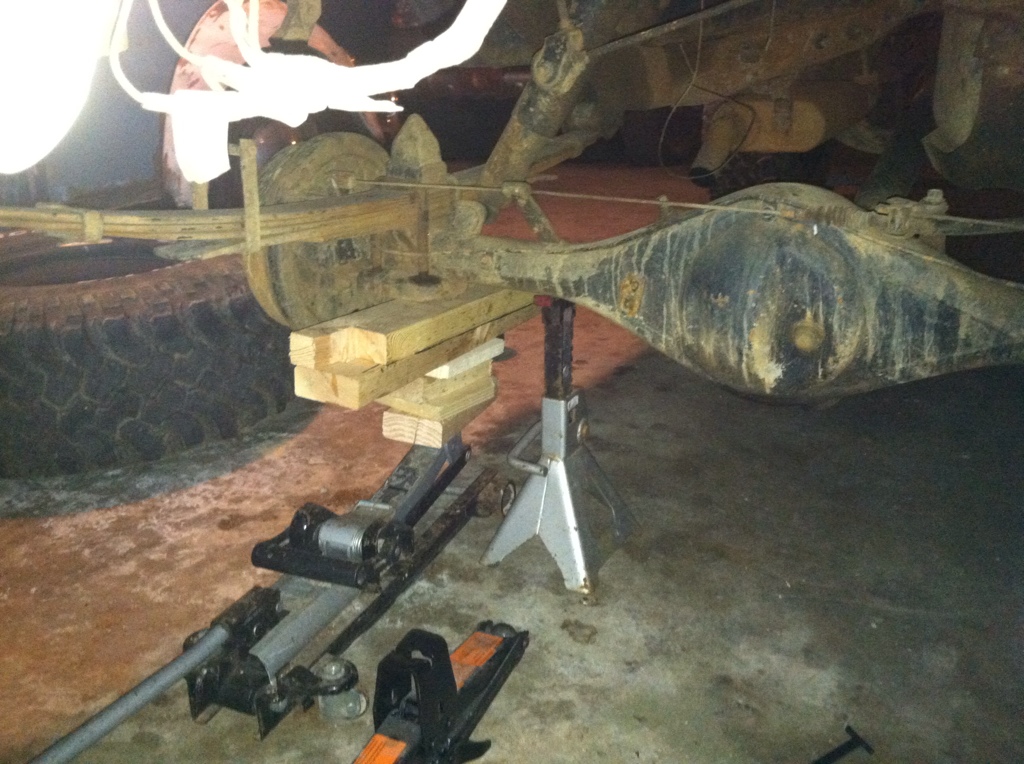
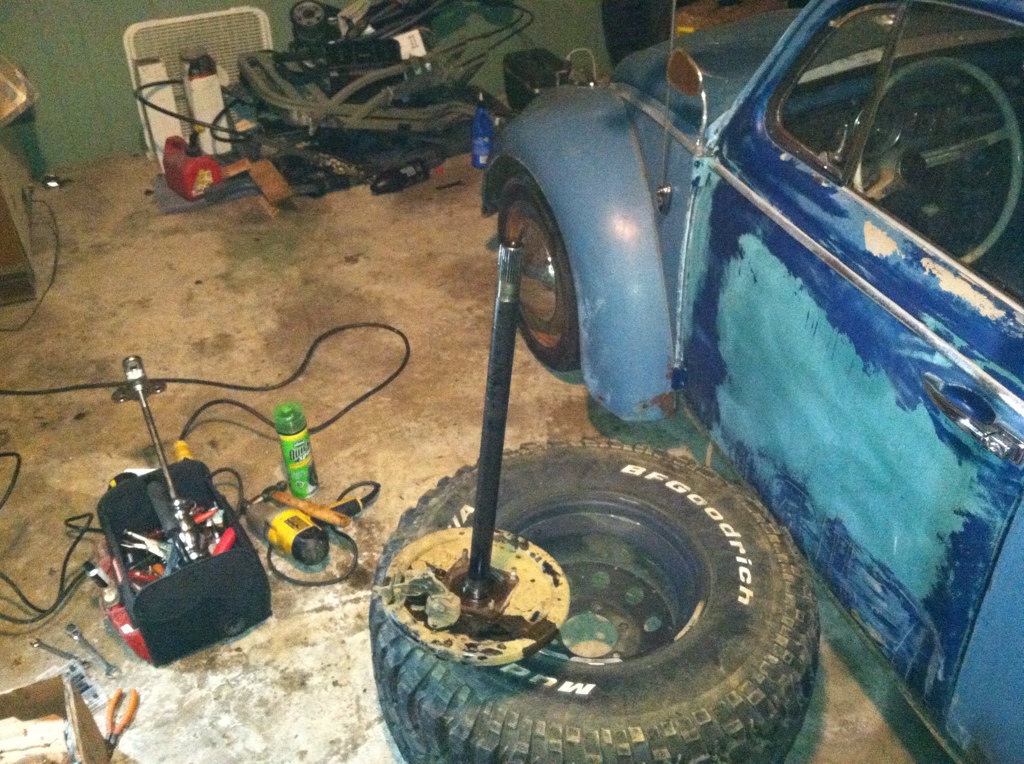
Rear axle bearing time
Started pullling it at 10:40 and had it out by 11:00 in 30* weather.
using my custom jack. yes there is a jack stand under there.

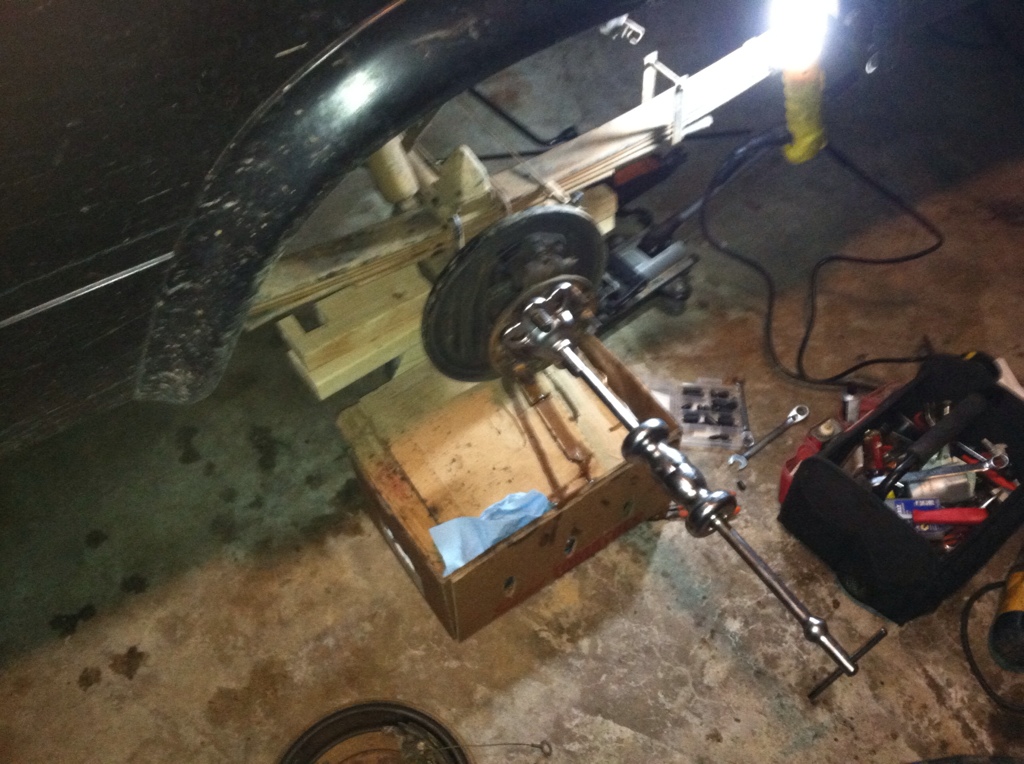
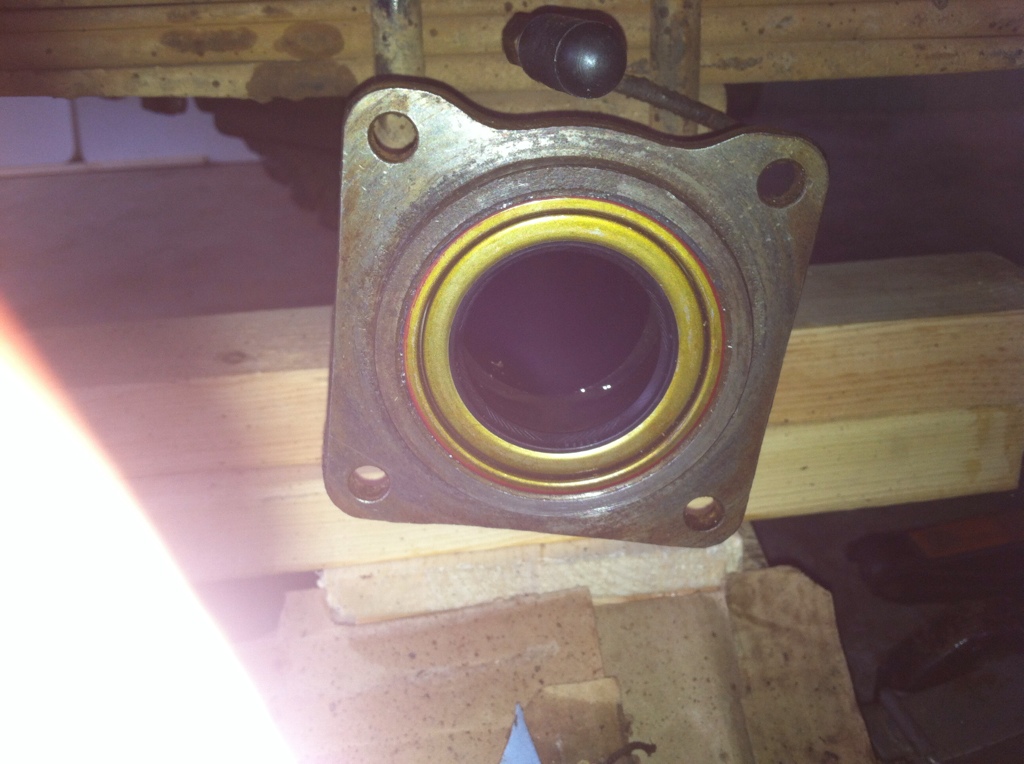
I dropped the axle off and got the bearing pressed. I used the kit from Marlin Crawler that came with a nachi bearing.
No reassembly pics. oh well...
Started pullling it at 10:40 and had it out by 11:00 in 30* weather.
using my custom jack. yes there is a jack stand under there.
I dropped the axle off and got the bearing pressed. I used the kit from Marlin Crawler that came with a nachi bearing.
No reassembly pics. oh well...

Thread
Thread Starter
Forum
Replies
Last Post
jasonty
Pre 84 Trucks (Build-Up Section)
41
12-23-2018 01:00 PM
GreatLakesGuy
The Classifieds GraveYard
8
09-04-2015 09:27 AM


